json-server を使ってAPIのモックを作る手順を備忘録として残す。
手順
-
package.jsonの作成 - json-server のインストール
- jsonの追加
- サーバ起動
1. package.json の作成
Node.jsインストール済みの環境で、プロジェクトとなるディレクトリ(ここではapi-mock)を作成し、そのディレクトリへ移動したら、$ npm initコマンドを実行。
package.jsonが生成される。
※今回はyarnではなくnpmを用いている
package.json
{
  "name": "api-mock",
  "version": "1.0.0",
  "description": "",
  "main": "index.js",
  "scripts": {
    "test": "echo \"Error: no test specified\" && exit 1"
  },
  "author": "",
  "license": "ISC",
}
2. json-server のインストール
$ npm install json-server --save-devを実行すると、開発環境にjson-serverがインストールされ、devDependenciesに追加される。同時に、package-lock.json、node_modulesが生成される。
package.json
〜〜〜〜省略〜〜〜〜
  "devDependencies": {
    "json-server": "^0.17.0"
  }
3. jsonの追加
レスポンスデータを記述するjsonファイルを作成する。
db.json
{
"posts": [
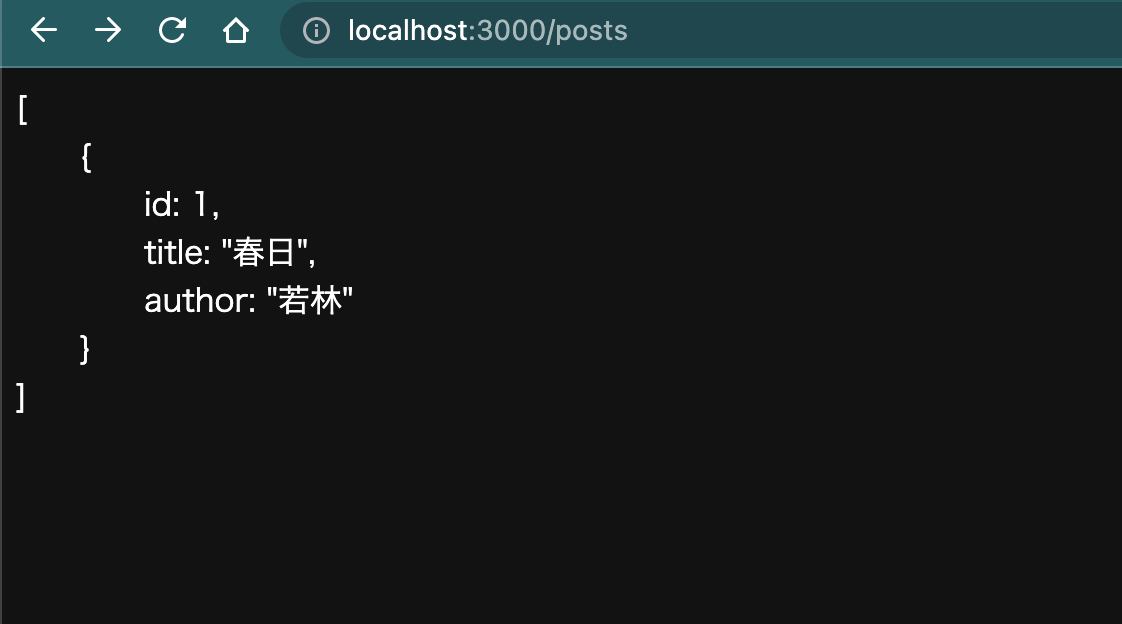
{ "id": 1, "title": "春日", "author": "若林" }
],
"comments": [
{ "id": 1, "body": "リトルトゥース", "postId": 1 }
]
}
4. サーバ起動
package.jsonのscriptsを追加。
package.json
{
  "name": "api-mock",
  "version": "1.0.0",
  "description": "",
  "main": "index.js",
  "scripts": {
    "test": "echo \"Error: no test specified\" && exit 1",
    // 追加
    "json-server": "json-server --watch db.json"
  },
  "author": "",
  "license": "ISC",
  "devDependencies": {
    "json-server": "^0.17.0"
  }
}
$ npm run json-serverを実行。
以下の表示が出れば成功。
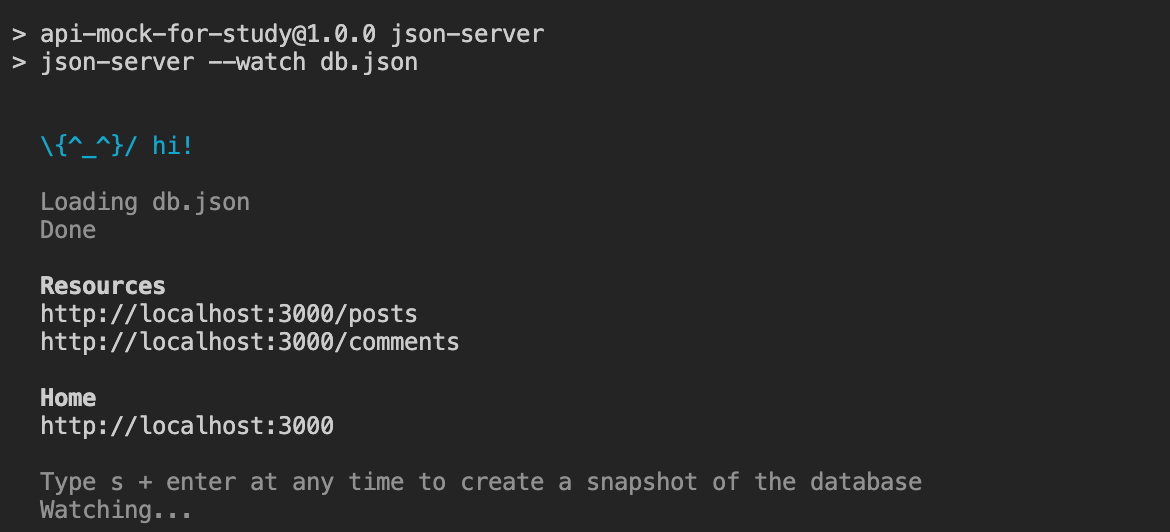
http://localhost:3000/posts を開くとレスポンスを確認できる。