内容
- Kotlin + SpringBootで簡単なCRUDアプリを作る
- こちらの記事のKotlin版です
- 今回は雛形を作って動作確認まで
雛形作成
SpringInitializrを使う
-
ここでzipを落としてもいいけど今回はIntelliJ上で作成する
- IntelliJ上でSpringInitializrを使うにはCommunityではなくUltimateを使う必要あり
手順
- 雛形作成
- IntelliJを開き「新規プロジェクトの作成」を選択
- SpringInitializrで雛形を作る

- サンプルなのでアプリ名はなんでもいい

- 今回はKotlinで開発するので言語はKotlinを選択
- ビルドツールはmavenとgradleどちらでもよいが今回はmavenを選択
- 今回作る範囲ではどちらを選んでもさほど変わらない

- 必要なライブラリを選択すると同梱した状態で雛形ができる
- 今回は以下の5つを選択(後からでも追加可能)
- Devtools・・・ホットデプロイとかできるようになる
- JPA・・・JavaとDBをつなぐORMapper
- H2・・・インメモリのDB
- Thymeleaf・・・テンプレートエンジン
- Web・・・エンドポイント(URL)を簡単に作れる
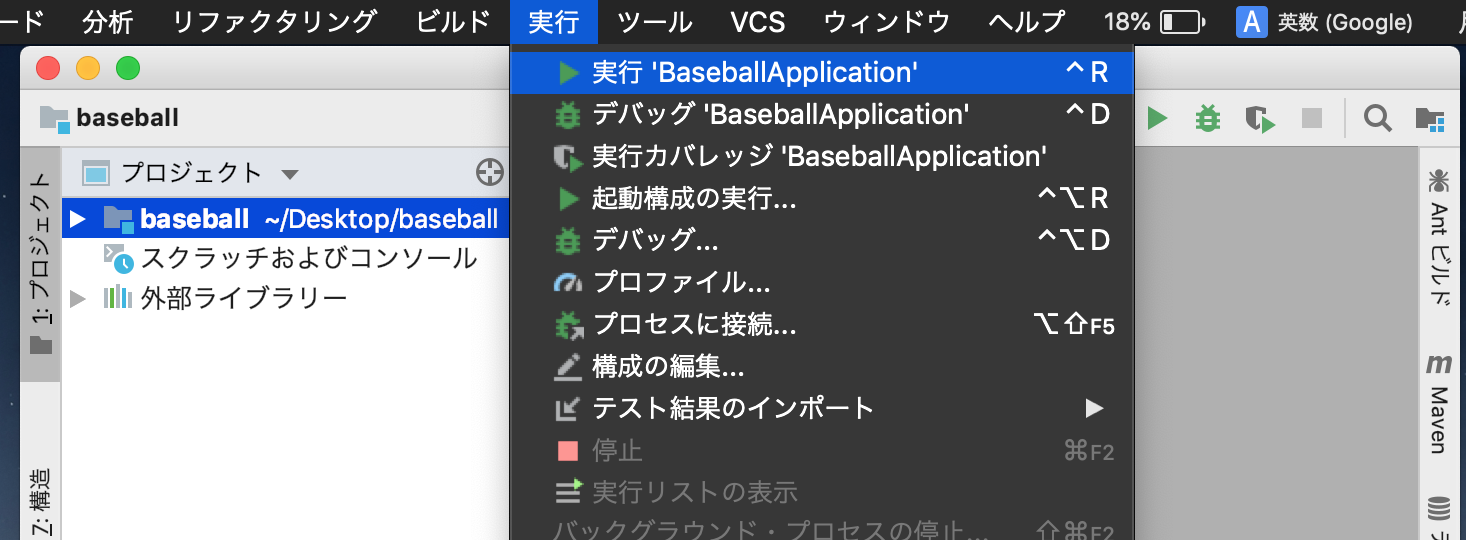
アプリの起動
- 雛形の生成が終わったらまずは動作確認
- 「実行」を選択すると起動できる
- 起動するとコンソールにこんな感じの出力がされる

- 最後にstartedと出ていれば正常に起動が完了している
- アプリの起動は以下のコマンドでターミナル上で実行することもできる
-
mvn spring-boot:runorgradle bootRun
-
雛形で生成されたファイルの確認
BaseballApplication.kt
src/main/kotlin/com/example/baseball/BaseballApplication.kt
package com.example.baseball

import org.springframework.boot.autoconfigure.SpringBootApplication
import org.springframework.boot.runApplication

@SpringBootApplication
class BaseballApplication

fun main(args: Array<String>) {
    runApplication<BaseballApplication>(*args)
}
- このmainメソッドがアプリのエントリーポイントになり、Springアプリを起動している
application.properties
src/main/resources/application.properties
- この時点では空のファイル
- アプリに関する設定を記述する
BaseballApplicationTests.kt
src/test/kotlin/com/example/baseball/BaseballApplicationTests.kt
package com.example.baseball

import org.junit.Test
import org.junit.runner.RunWith
import org.springframework.boot.test.context.SpringBootTest
import org.springframework.test.context.junit4.SpringRunner

@RunWith(SpringRunner::class)
@SpringBootTest
class BaseballApplicationTests {

    @Test
    fun contextLoads() {
    }

}
- テストコードの雛形
HelloWorldをブラウザから確認
- http://localhost:8080/ にアクセスするとHelloWorldと表示されるようにする
手順
- 作るファイルは2つ
- 1つ目はユーザからのアクセスを受け取ってテンプレートを返すファイル
- 2つ目はユーザに返すテンプレート
HelloWorld.kt
-
com.example.baseballにHelloWorld.ktを作成する
src/main/kotlin/com/example/baseball/HelloWorld.kt
package com.example.baseball

import org.springframework.stereotype.Controller
import org.springframework.web.bind.annotation.GetMapping

@Controller // ①
class HelloWorld {
    @GetMapping("/") // ②
    fun hello() = "hello" // ③
}
- ①:
@ControllerをつけることでこのClassがユーザからのアクセスを受け取ることができる - ②:
@GetMapping("/")とすると、httpメソッドがGETでURLが/のアクセスがあるとこのメソッドが呼ばれるようになる- ()の中のパスは、
http://localhost:8080に続く内容を表す - 例えば
@GetMapping("/users")だとhttp://localhost:8080/usersにマッピングされる
- ()の中のパスは、
- ③:
src/main/resources/templates/配下のhello.htmlをユーザに返す- Stringを返しているだけなのになぜそんな動きをするかというと、このClassに
@Controllerがついているから
- Stringを返しているだけなのになぜそんな動きをするかというと、このClassに
hello.html
-
src/main/resources/templates/にhello.htmlを作成する
src/main/resources/templates/hello.html
<!DOCTYPE html>
<html>
  <head>
    <meta charset="utf-8" />
    <title>baseball</title>
  </head>
  <body>
    <h1>HelloWorld</h1>
  </body>
</html>
動作確認
- http://localhost:8080/ にアクセスすると以下の画面が表示される

ホットデプロイ
- [TODO] IntelliJでホットデプロイがうまくいっていない
次回
- 続きはこちら