LambdaでWEBスクレイピングを作動させたい

前から気になっていたAWSのサービス、Lambdaを使ってWEBスクレイピングを実行してみました。
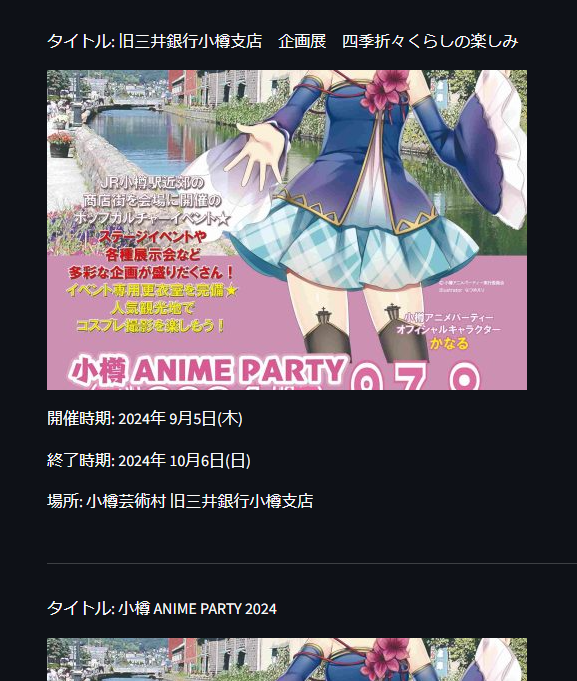
取得した内容をstreamlitで実行して表示すると下記のようになります。
小樽の観光サイトのイベントのタイトル、画像、開催時期、終了時期をスクレイピングしてjson形式で返します。
どんな風に作ったか説明していきます。
Pythonコード
必要なライラブリ
import json
import requests
from bs4 import BeautifulSoup
import urllib3
json形式で取得するため、json
webスクレイピングに使用するrequests,BeautifulSpoup
SSL証明書がないという警告を無視するためのurlib3
(↑公開するなら対応必要かも)
を入れておきます。
警告無視とWEBスクレイピングの関数
urlib3を使ってSSL接続の際証明書がない旨の警告を非表示にします。(個人使用の範囲内の為)
接続先の
https://otaru.gr.jp/summer
のsummerには月によって
spring,summer,fall,winter
の文字列が入っていたのでその設定を行います。
現在の月をdatetimeで取得し、季節を設定します。
urllib3.disable_warnings(urllib3.exceptions.InsecureRequestWarning)

st.set_page_config(page_title="イベント情報")
st.write("https://otaru.gr.jp/summer からWEBスクレイピング")

current_month = datetime.now().month

if 3 <= current_month <= 5:
    season = 'spring'
elif 6 <= current_month <= 8:
    season = 'summer'
elif 9 <= current_month <= 11:
    season = 'fall'
else:
    season = 'winter'

url = f'https://otaru.gr.jp/{season}'
chromeのデベロッパーツールで要素確認
ここで実際に取得したいページで要素を確認しましょう。
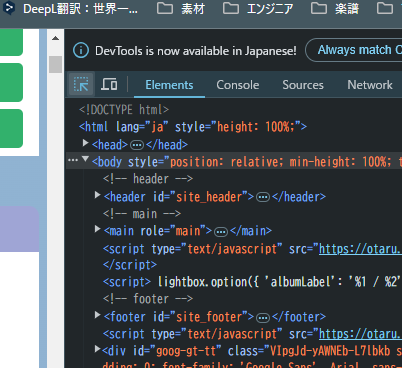
F12を押下後、この矢印のマークを押して、必要な情報の上でクリックしてください。
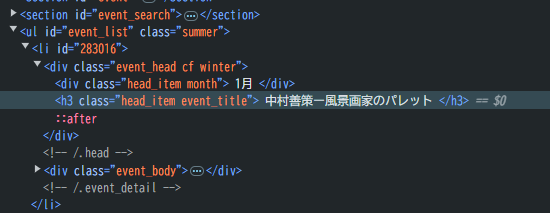
こんな風にhtmlの情報が見れます。
イベントタイトルはh3要素で書いてあり、classは「head_item event_title」と設定してあります。
以下は実際のwebスクレイピングのコードです。
requestsとbeautifulSoupを使います。
soup.find_allで条件に合致するすべてのデータを取得してきます。
def get_h3_with_images(class_name_h3, class_name_img):
    response = requests.get(url, verify=False)
    soup = BeautifulSoup(response.content, 'html.parser')

    h3_tags = soup.find_all('h3', class_=class_name_h3)

    result = []
    for h3 in h3_tags:
        img_tag = h3.find_next('img', class_=class_name_img)
        img_src = img_tag['src'] if img_tag else None

        result.append({
            "title": h3.get_text(strip=True),
            "img_src": img_src
        })

    return result
下記のコード説明は省略
他のWebスクレイピングの記事で扱ったこともあるので省略。
def get_event_details():
    response = requests.get(url, verify=False)
    soup = BeautifulSoup(response.content, 'html.parser')

    details_list = []

    events = soup.find_all('div', class_='event_detail')  # 各イベントの詳細が格納された要素を取得

    for event in events:
        details = {}

        start_time = event.find('div', class_='col left', string='開催時期')
        if start_time:
            details['開催時期'] = start_time.find_next_sibling('div').get_text(strip=True)

        end_time = event.find('div', class_='col left', string='終了時期')
        if end_time:
            details['終了時期'] = end_time.find_next_sibling('div').get_text(strip=True)

        location = event.find('div', class_='col left', string='場所')
        if location:
            details['場所'] = location.find_next_sibling('div').get_text(strip=True)

        details_list.append(details)

    return details_list
ハンドラを設定する
lambda特有のハンドラーという関数を設定します。
これがないとAPIとして動作してくれません。
def lambda_handler(event, context):
    class_name_h3 = 'head_item event_title'
    class_name_img = 'attachment-3x2 size-3x2 wp-post-image'

    h3_with_images = get_h3_with_images(class_name_h3, class_name_img)
    event_details = get_event_details()

    events = []
    if h3_with_images and event_details:
        for i in range(min(len(h3_with_images), len(event_details))):
            events.append({
                "title": h3_with_images[i]['title'],
                "img_src": h3_with_images[i]['img_src'],
                "details": event_details[i]
            })

    return {
        'statusCode': 200,
        'body': json.dumps(events, ensure_ascii=False)
    }
これでコードは完成です。lambda_function.pyとして保存します。
依存関係のダウンロード
lambdaには基本的なpythonのライラブリしかそろっていないので、beautifulSoupやその他のライラブリを直接アップロードする必要があります。
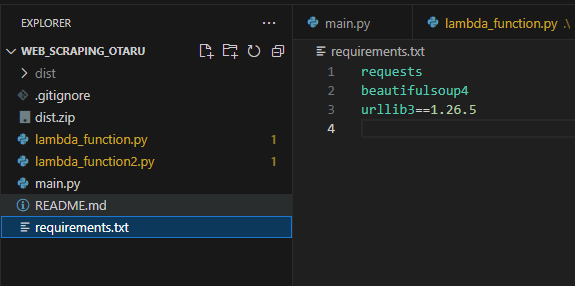
requirements.txtとしてこのように記載してください。
ここに書いてあるモジュールをフォルダにダウンロードして、パッケージ化していきます。
下記URLがとても参考になりますのでこちらを参照ください。
上記ページでも出てくる下記AWS CLIのアクセスキー取得周りは結構めんどくさいので
下記を参考にするとよいです。
https://qiita.com/yamasakk/items/3060d22faeed8e05ebe4
アップロード
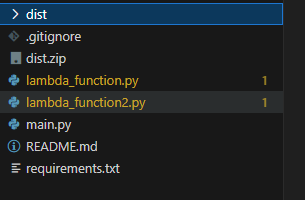
パッケージするフォルダにlambda_function.pyをコピーしておくのを忘れずに。
画像のdist.zipにlambda_function.pyが入っています。
下記参照
https://dev.classmethod.jp/articles/deploy-a-python-lambda-from-windows/
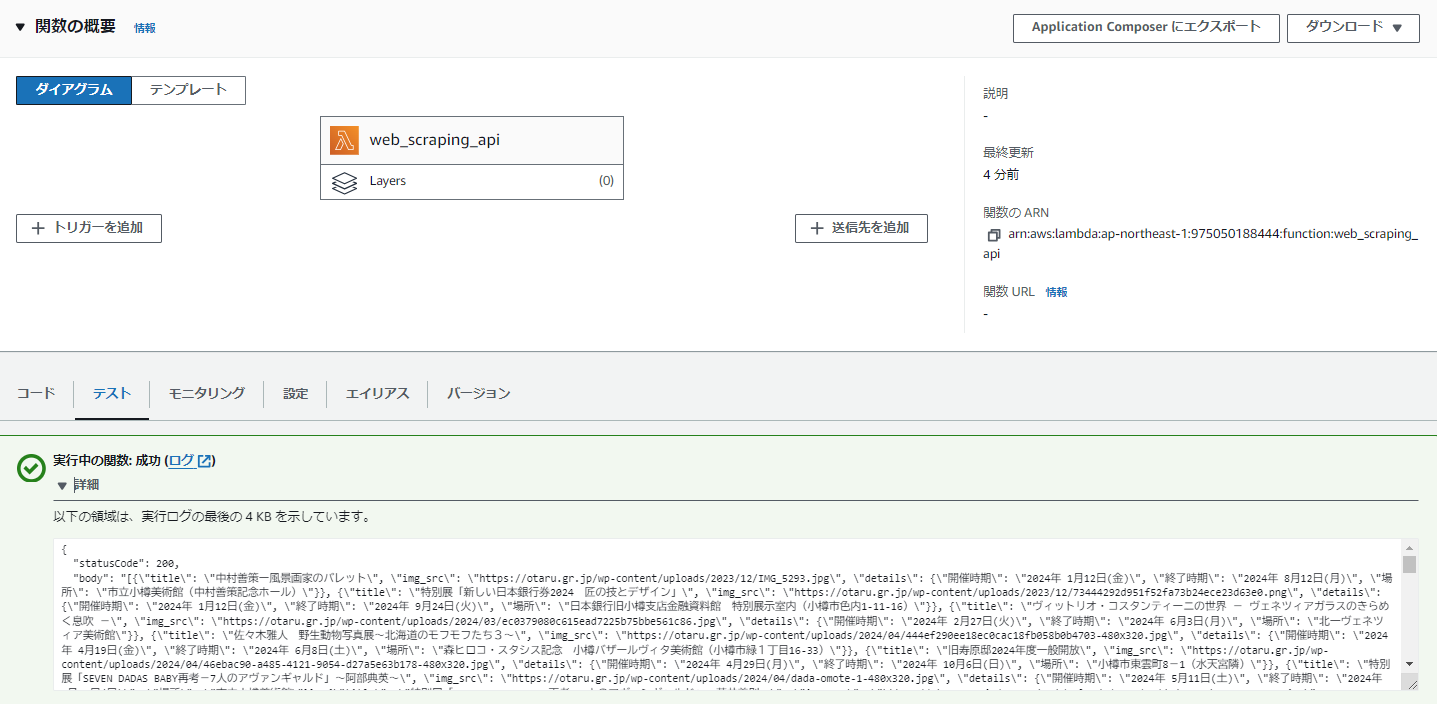
テスト
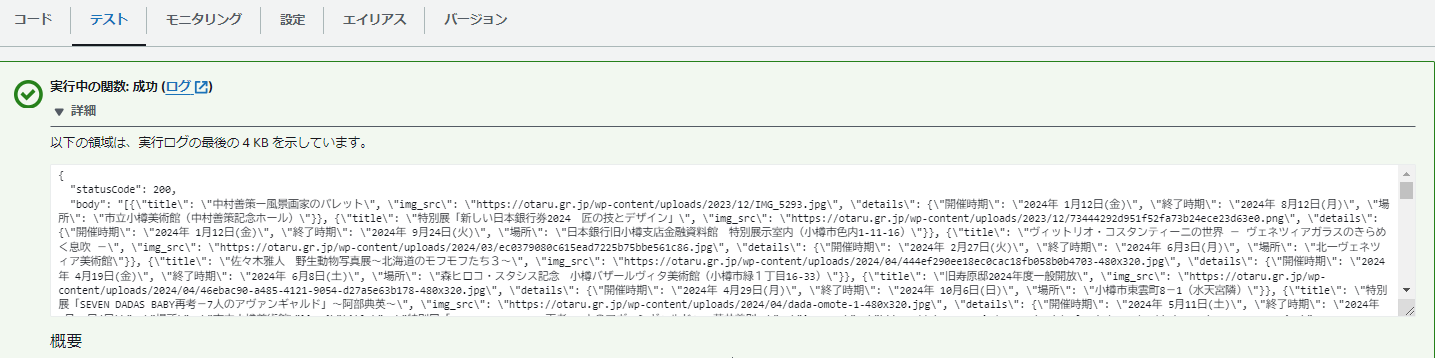
うまく行きました。
この情報をもとに、実際の地図上にイベントの場所を表示できたら楽しいかもしれません。
リポジトリ
つづき
このJSONファイルをS3に保存しました。