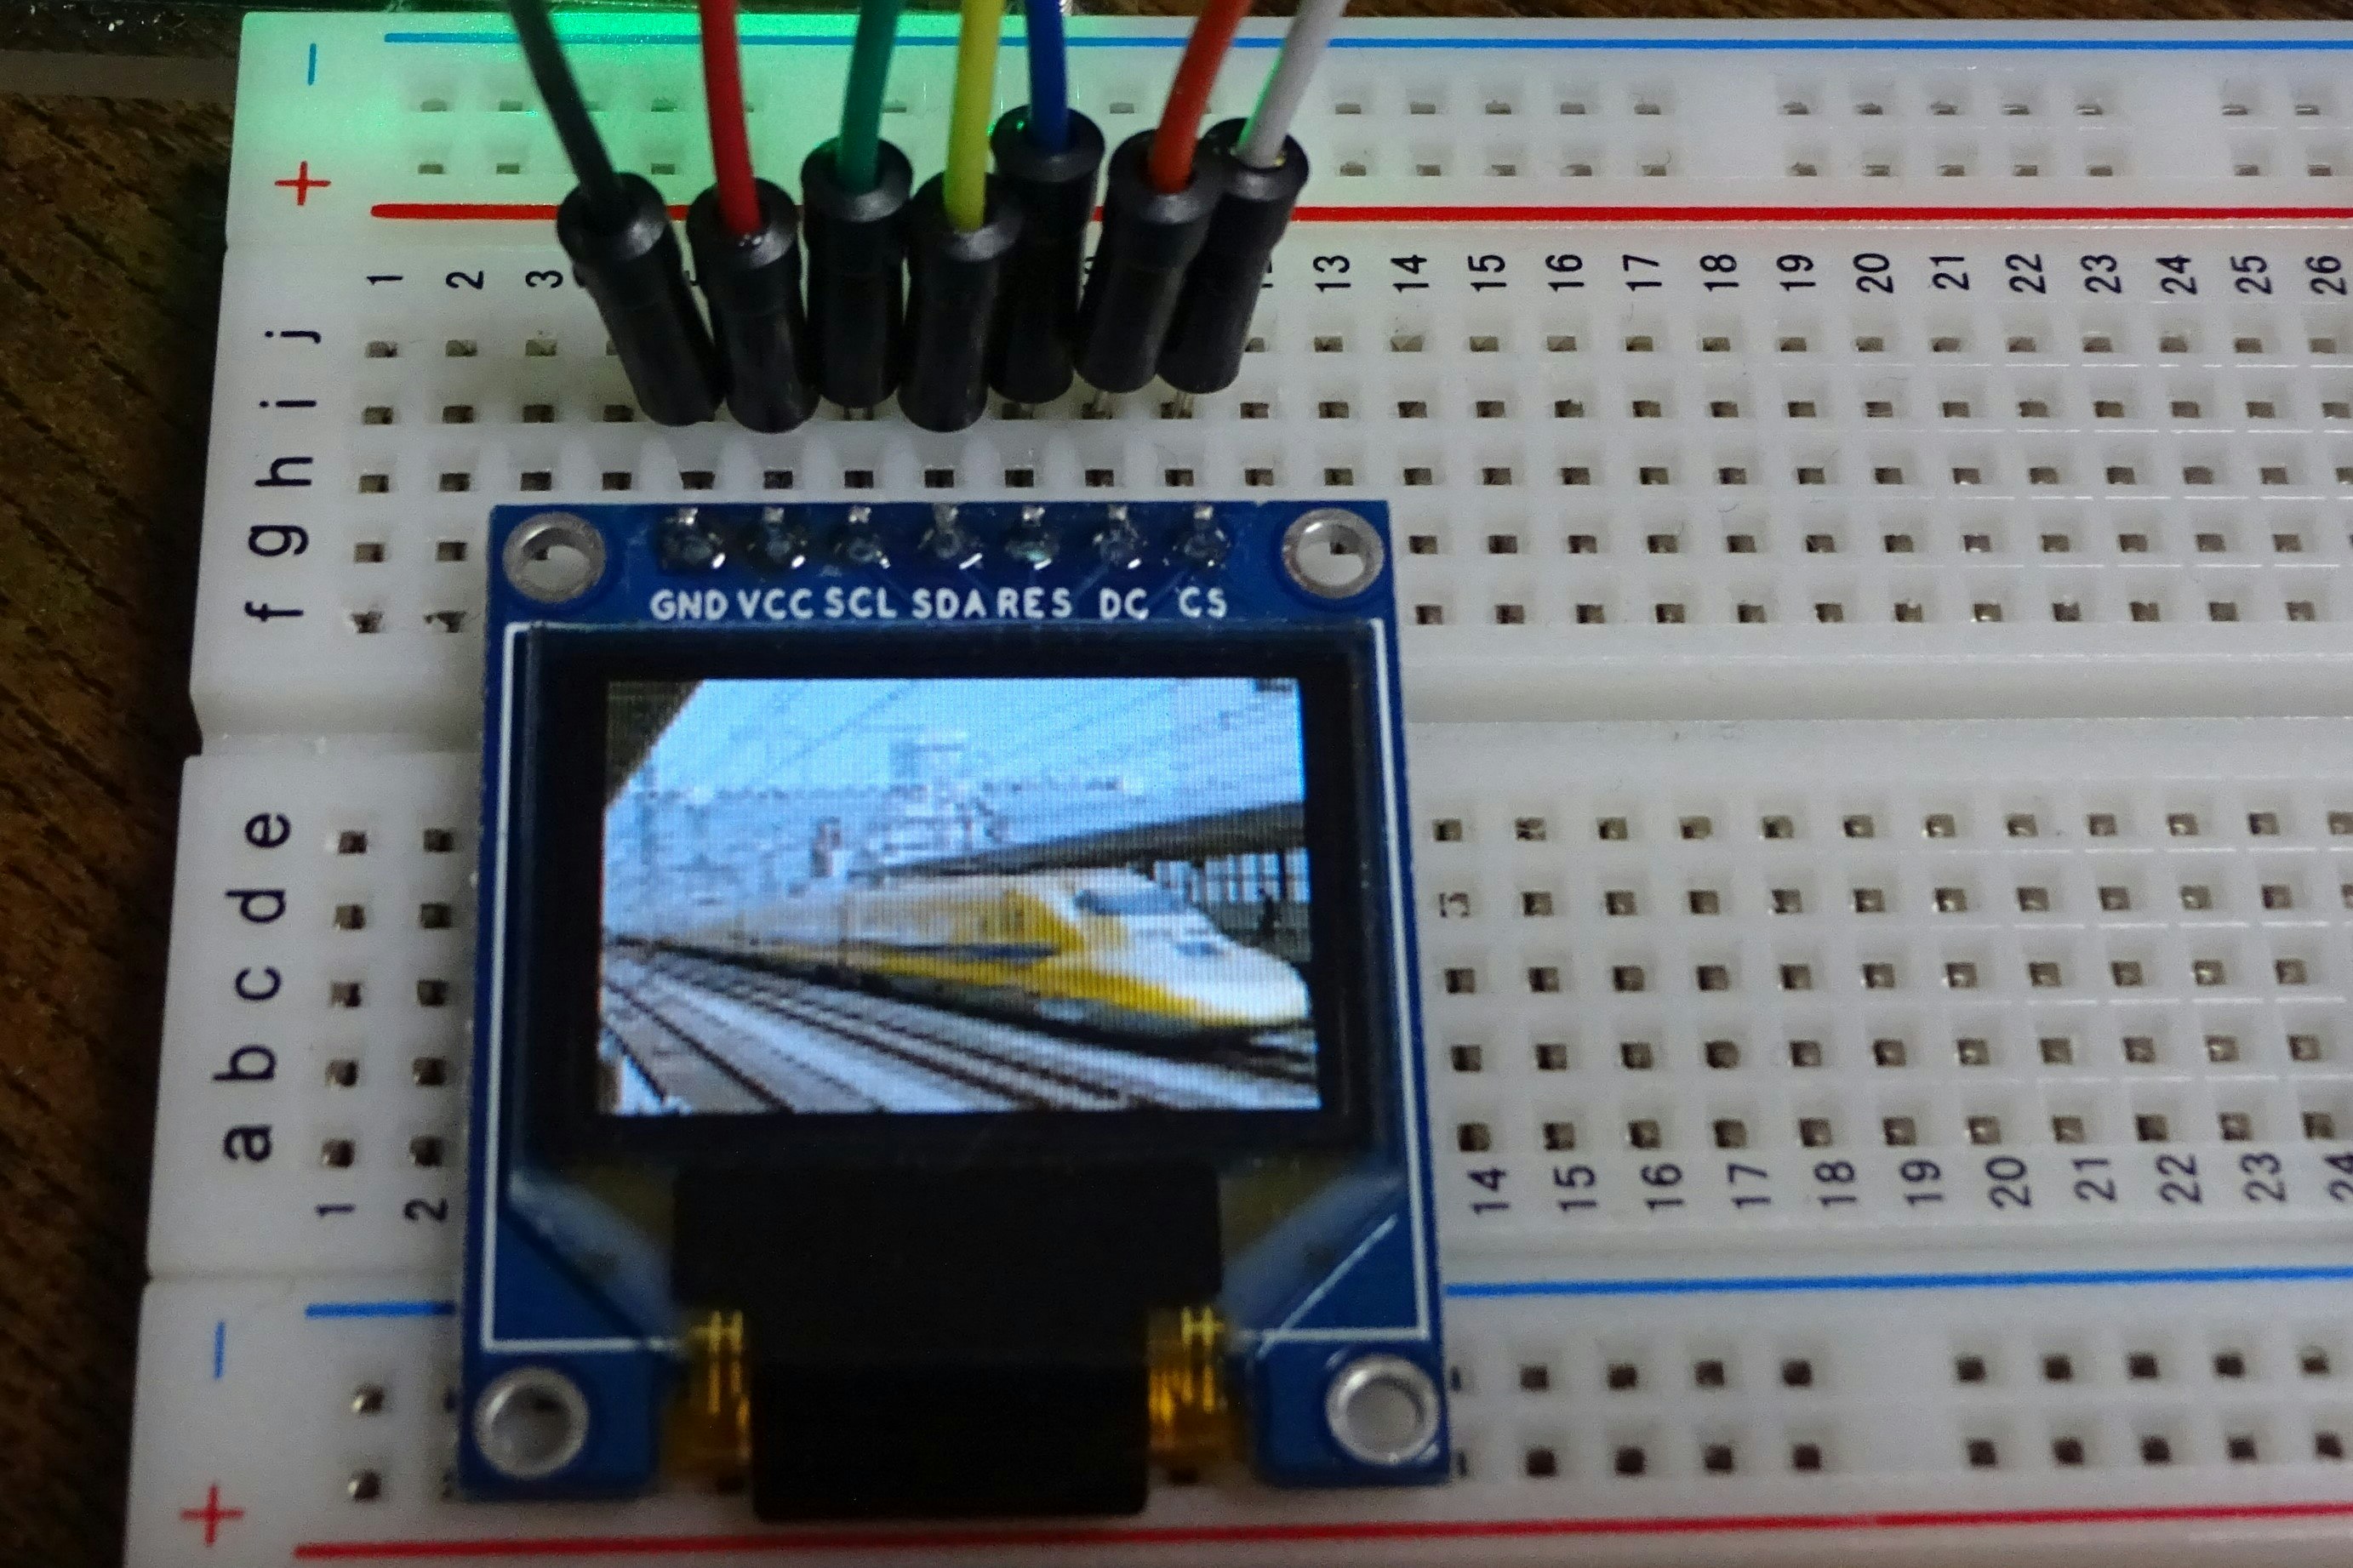
初のフルカラーディスプレイ
アマゾンで「HiLetgo 0.95インチ SPI OLEDディスプレイモジュールフルカラー65KカラーSSD1331 7ピンArduinoに対応」を購入したので、画像を表示させてみる。
実行環境
・Arduino UNO マルツ版
・0.95インチ OLEDディスプレイ SSD1331
ライブラリ
・Adafruit_GFX.h
・Adafruit_SSD1331.h
・SPI.h
Arduinoに接続
ピンの接続
| Arduino | SSD1331 |
|---|---|
| 5V | VCC |
| GND | GND |
| 8 | DC |
| 9 | RES |
| 10 | CS |
| 11 | SDA |
| 13 | SCL |
画像の用意
画像の表示には、画像を「16ビットの符号なし整数型」に変換する必要がある。
変換のために、「lcd-image-converter」を使用した。
■設定
Optionsタブ→Conversion内
Preset: Color R5G6B5
Prepare→ Type:Color,Main Scan Direction:Top to Bottom
Image→ Block type:16Bit
に設定した。
画像は事前に「96×64ピクセル」に変換しておく。
書き出すと96×64個の16bitデータが得られるので、それを画像データの配列に代入する。
プログラム
# include <Adafruit_GFX.h>
# include <Adafruit_SSD1331.h>
# include <SPI.h>

# define sclk 13
# define mosi 11
# define cs   10
# define rst  9
# define dc   8
# define  BLACK 0x0000

//画像データ
const uint16_t Img_data [] PROGMEM = {
    0x0000, 0x0000,...,
};

Adafruit_SSD1331 display = Adafruit_SSD1331(&SPI, cs, dc, rst);

void setup() {
  display.begin();
  display.fillScreen(BLACK);
  display.drawRGBBitmap(0, 0,Img_data, 96, 64);
//display.drawRGBBitmap(最初のx座標,y座標,画像配列名,画像の幅,画像の高さ)
}

void loop() {
}
結果

試しにドクターイエローの画像を表示させてみた。画像の変換にとても苦戦したが、思っていたよりも簡単に表示することができた。しかしArduinoの容量不足で画像を切り替えたりできないのが難点。SDカードモジュールを使えば解決できるそうだ。
参考文献
Arduinoでカラーディスプレイの制御
小型カラー液晶SSD1331とAdafruit GFX ライブラリを使用してbitmapを表示する
OLED Displays: A Beginner’s Guide to Display Text, Image & Animation Using Arduino