MongoDBにおけるリレーションについて
mongooseにおけるデータ構造は以下のようなイメージです。
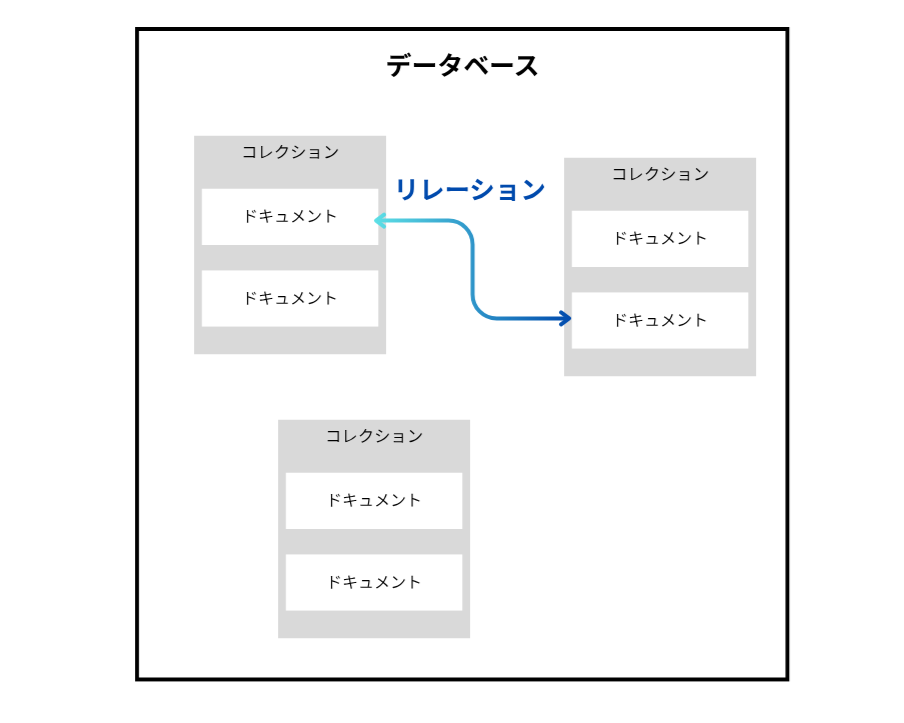
※画像はCanvaで作成
populate
コレクションから他のコレクションに紐づけるリレーションする方法は色々あります。
1.そのコレクションに、紐づけたいドキュメントオブジェクトをそのまま埋め込む。
2.片方(コレクション1)に片方(コレクション2)のドキュメントidを埋め込む。
3.両者にそれぞれのidをもたせる。(推奨されていない。詳しくはググろう)
今回用いるpopulate()は2.3.のリレーションの手法で使います。
ようはid情報から他のデータを引っ張れるようにしたいんじゃあ!!というノリです。
実際のコード
const mongoose = require('mongoose');
const { Schema } = mongoose;

const personSchema = Schema({
  _id: Schema.Types.ObjectId,
  name: String,
  age: Number,
  stories: [{ type: Schema.Types.ObjectId, ref: 'Story' }]
});

const storySchema = Schema({
  author: { type: Schema.Types.ObjectId, ref: 'Person' },
  title: String,
  fans: [{ type: Schema.Types.ObjectId, ref: 'Person' }]
});

const Story = mongoose.model('Story', storySchema);
const Person = mongoose.model('Person', personSchema);
const author = new Person({
  _id: new mongoose.Types.ObjectId(),
  name: 'Ian Fleming',
  age: 50
});

await author.save();

const story1 = new Story({
  title: 'Casino Royale',
  author: author._id // assign the _id from the person
});

await story1.save();
// that's it!
const story = await Story.
  findOne({ title: 'Casino Royale' }).
  populate('author').
  exec();
// prints "The author is Ian Fleming"
console.log('The author is %s', story.author.name);
populateを使うことで、StoryからPersonの名前が引っ張れるというわけです。
※コードは Mongoose 公式ドキュメントより引用。
参考