はじめに
Vision.framework とは
iOS11で登場した、画像解析のApple標準フレームワークです。
画像処理に関する研究分野のことを「コンピュータビジョン(computer vision)」と言いますが、Vision.frameworkという名称はそれに由来しています。
同じくiOS11から追加された機械学習フレームワークのCore MLが内部で使われています。
Vision - Apple Developer Documentation
iOS13でのアップデートについて
従来のVision.frameworkでは、文字と認識されていた部分は矩形の画像領域と判定されていましたが、iOS13ではその部分をテキストデータとして取得できるようになったようです。
自分はiOS11の頃のVision.frameworkは触ったことがありませんが、当時の記事を拝見する限り、ハマリポイントも減り、簡単に実装できるようになったのではないかと思います(実際、100行にも満たないコードで実装が完了しました)。
WWDC 2019の動画が分かりやすいです。
Text Recognition in Vision Framework - WWDC 2019 - Videos - Apple Developer
実装
公式サンプルコードをもとにテストアプリを作ってみます。
サンプルコード / Locating and Displaying Recognized Text on a Document
ボタンを押したらスキャン用カメラが起動し、画像から検出したテキストデータを画面に表示する簡単なアプリです。
※カメラ機能はシュミレーターでは使えないので、実機ビルドできる環境でお試しください
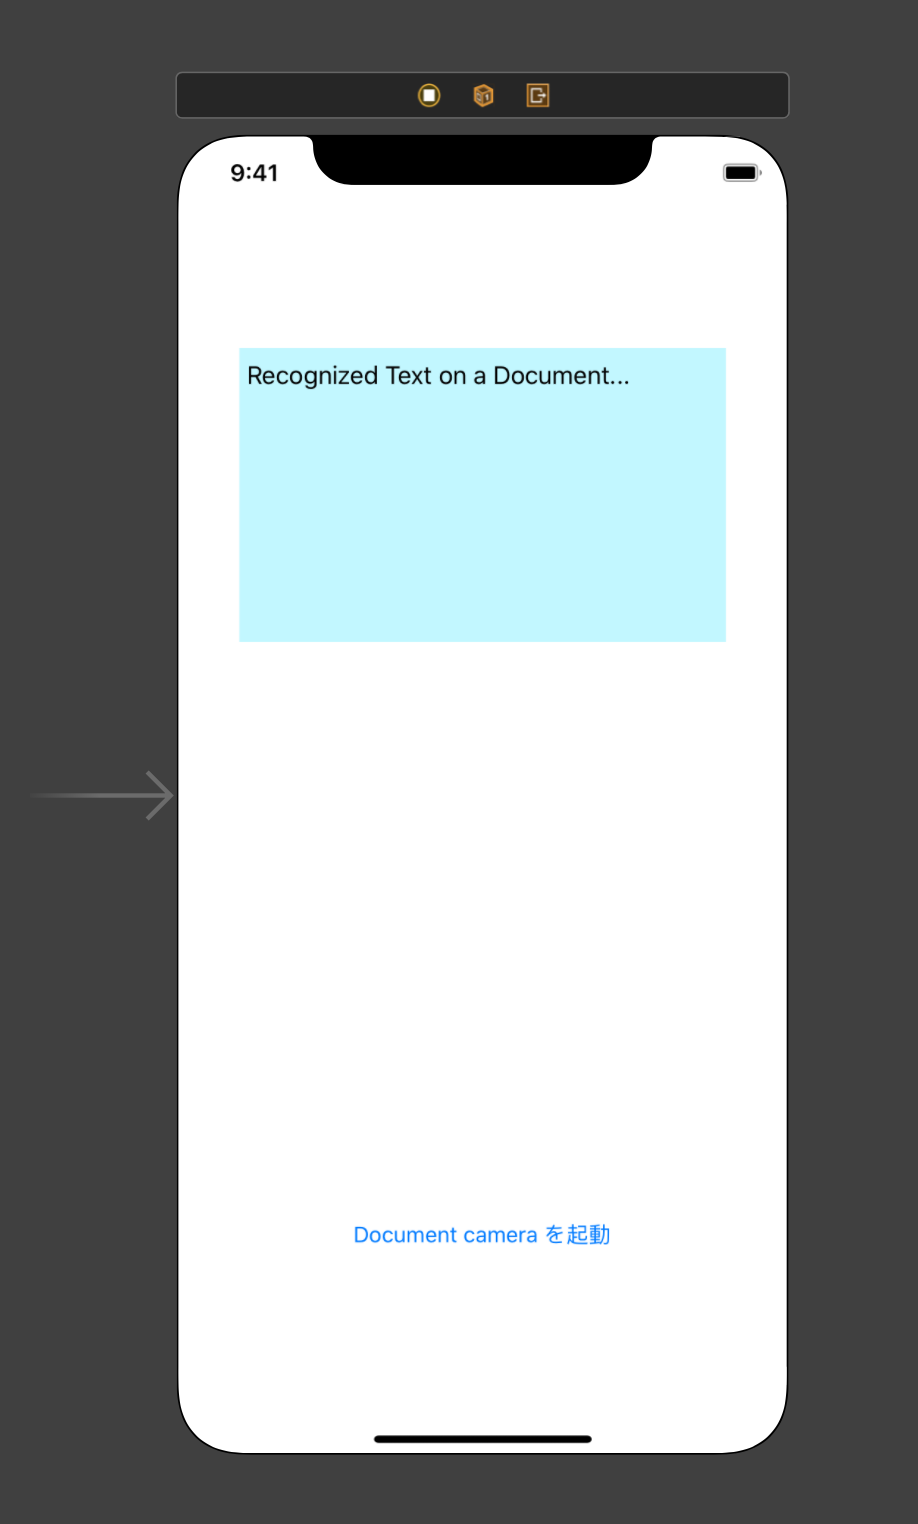
画面を作る
UIButtonとUITextViewだけのシンプルな画面です。
適当なAutoLayoutをつけて、UIButtonはIBOutlet、UITextViewはIBActionで繋げておきます。
コードを書く
まずインポートを記述します。
import Vision
import VisionKit
VNRecognizeTextRequestをセットアップするメソッドを実装し、viewDidLoad()で呼び出します。
-
VNRecognizeTextRequestで画像から検出したテキスト情報を受け取り、文字列として連結 -
recognitionLevelで「文字認識のレベル」を.accurateに設定-
.fastと.accurateの2つの選択肢がある
*.fastは動画などのリアルタイム読み込みに向いており、速い代わりに文字認識の精度は低め
*.accurateは非同期での読み込みに向いており、若干時間はかかるが、筆記体なども正しく認識できるほど精度が高い
-
    override func viewDidLoad() {
        super.viewDidLoad()
        setupVision()
    }

    // Setup Vision request as the request can be reused
    func setupVision() {
        let textRecognitionRequest = VNRecognizeTextRequest { request, _ in
            guard let observations = request.results as? [VNRecognizedTextObservation] else {
                print("The observations are of an unexpected type.")
                return
            }
            // 解析結果の文字列を連結する
            let maximumCandidates = 1
            for observation in observations {
                guard let candidate = observation.topCandidates(maximumCandidates).first else { continue }
                self.resultingText += candidate.string + "\n"
            }
        }
        // 文字認識のレベルを設定
        textRecognitionRequest.recognitionLevel = .accurate
        self.requests = [textRecognitionRequest]
    }
ボタンが押されたときにスキャン用のカメラが起動するように実装します。
    @IBAction func cameraButtonTapped(_ sender: UIButton) {
        let documentCameraViewController = VNDocumentCameraViewController()
        documentCameraViewController.delegate = self
        present(documentCameraViewController, animated: true)
    }
VNDocumentCameraViewControllerのデリゲートメソッドdocumentCameraViewController(_:didFinishWith:)を実装します。
これはカメラでスキャン用画像の保存に成功したときに呼ばれます。
- 非同期でリクエストを実行
- メインスレッドで
textViewに検出したテキスト情報を表示する
extension ViewController: VNDocumentCameraViewControllerDelegate {

    // DocumentCamera で画像の保存に成功したときに呼ばれる
    func documentCameraViewController(_ controller: VNDocumentCameraViewController, didFinishWith scan: VNDocumentCameraScan) {
        controller.dismiss(animated: true)

        // Dispatch queue to perform Vision requests.
        let textRecognitionWorkQueue = DispatchQueue(label: "TextRecognitionQueue",
                                                             qos: .userInitiated, attributes: [], autoreleaseFrequency: .workItem)
        textRecognitionWorkQueue.async {
            self.resultingText = ""
            for pageIndex in 0 ..< scan.pageCount {
                let image = scan.imageOfPage(at: pageIndex)
                if let cgImage = image.cgImage {
                    let requestHandler = VNImageRequestHandler(cgImage: cgImage, options: [:])

                    do {
                        try requestHandler.perform(self.requests)
                    } catch {
                        print(error)
                    }
                }
            }
            DispatchQueue.main.async(execute: {
                // textViewに表示する
                self.textView.text = self.resultingText
            })
        }
    }
}
最後に、info.plistにPrivacy - Camera Usage DescriptionをKeyとして追加します。
Valueには文字認識のためにカメラを使用しますなど適当な文言を入れます。

実機ビルドに成功したら、文字認識で遊ぶ準備完了です![]()
おまけ
下記メソッドをviewDidLoad()などで呼び出すことで、文字認識がサポートされている言語が配列で取得できます。
現状日本語はサポートされておらず、英数字だけが対応しているようです。
    // 文字認識できる言語の取得
    private func getSupportedRecognitionLanguages() {
        let accurate = try! VNRecognizeTextRequest.supportedRecognitionLanguages(for: .accurate, revision: VNRecognizeTextRequestRevision1)
        print(accurate) // ["en-US"]
    }
GitHub
ここで書いたコードはGitHubに上げています。
https://github.com/orimomo/VisionFrameworkTest
遊んでみる
ティッシュ
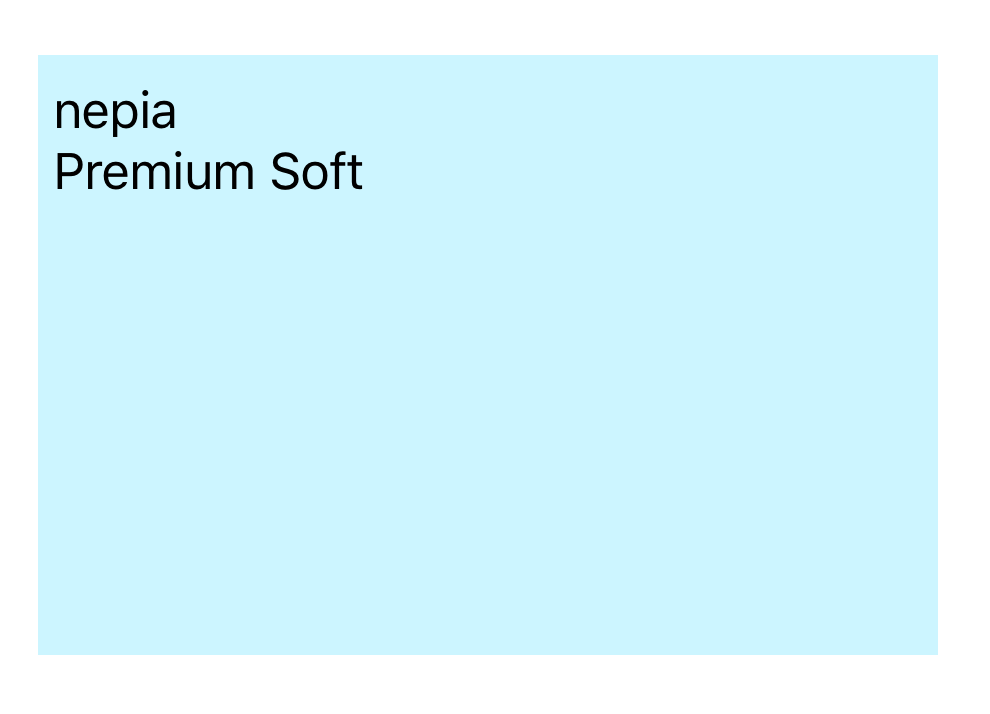
まずは目についたティッシュをパシャリ ![]() (勝手に文字領域を認識してくれて賢い)
(勝手に文字領域を認識してくれて賢い)
まずはお手並み拝見です。
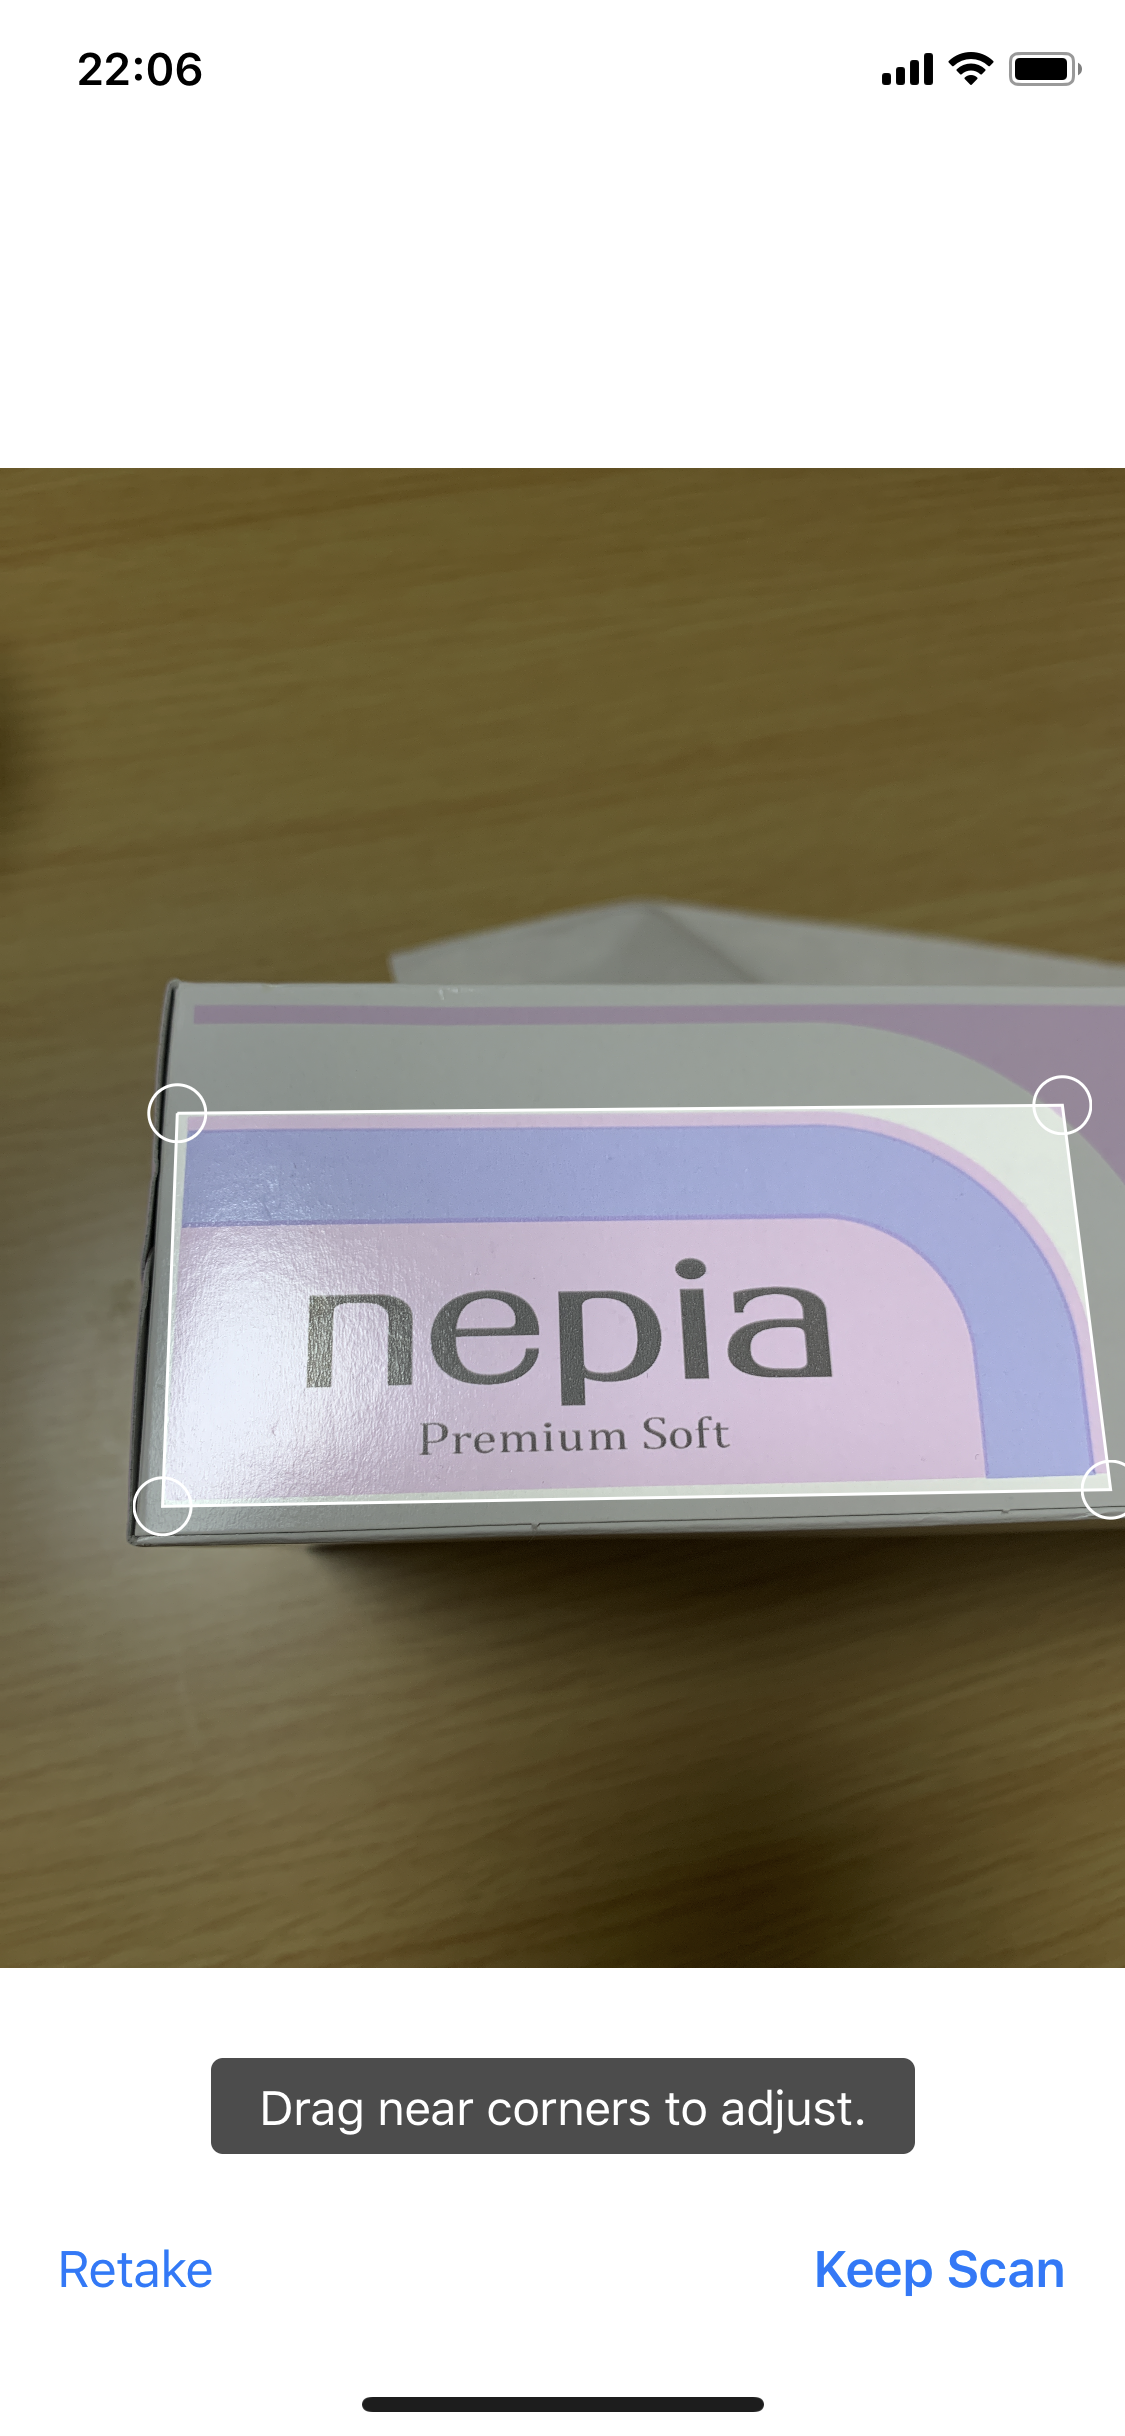
ANKERケーブルの箱の裏
続いてANKERケーブルの箱の裏をパシャリ ![]()
文量が多めですが、どうでしょうか?
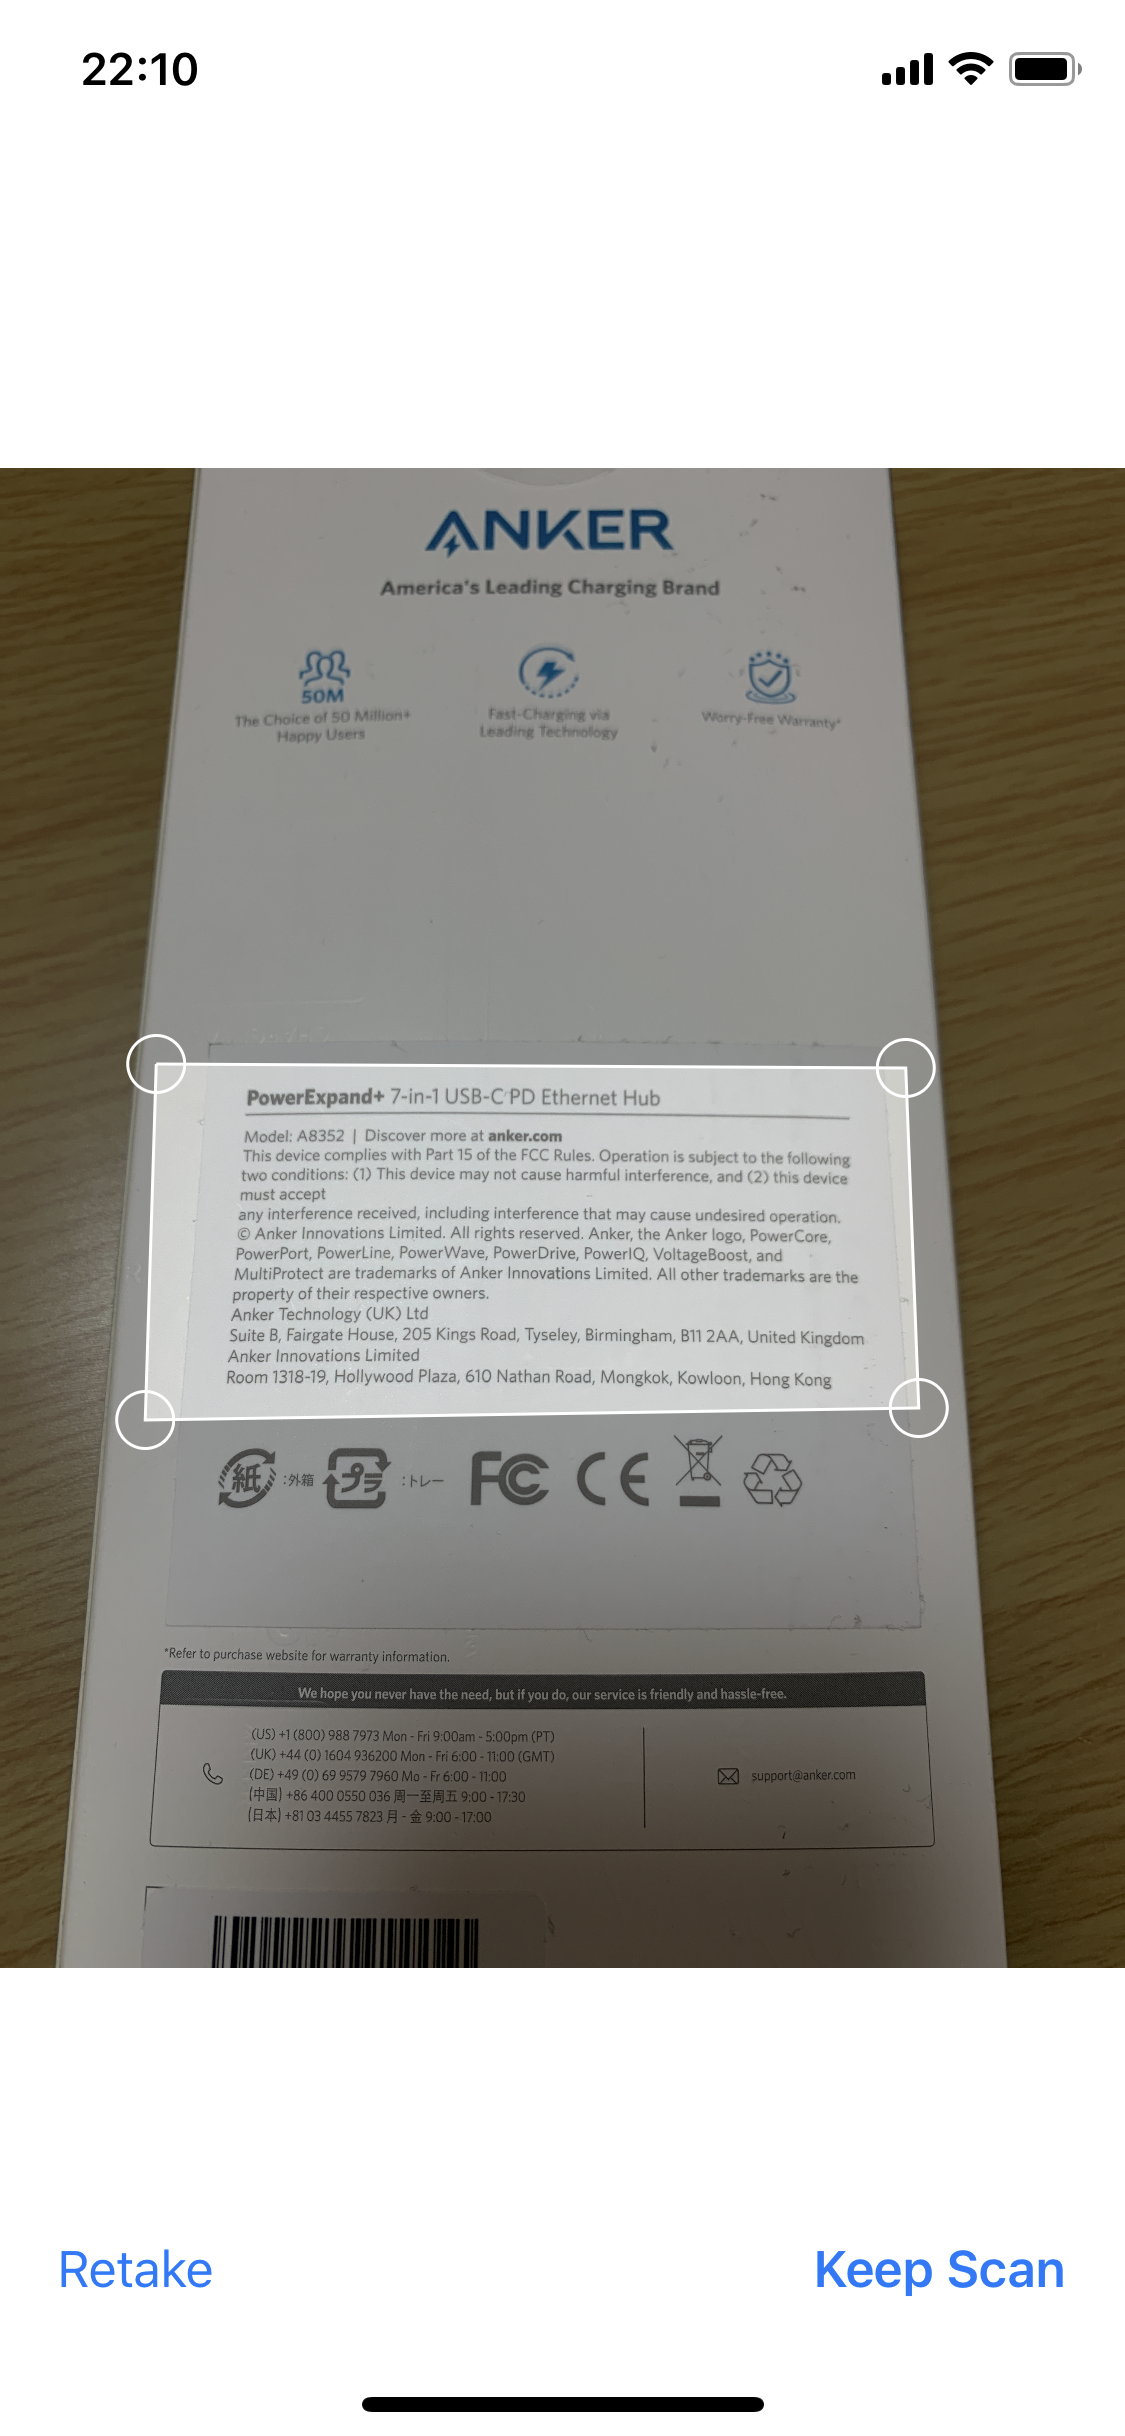
↓↓解析結果
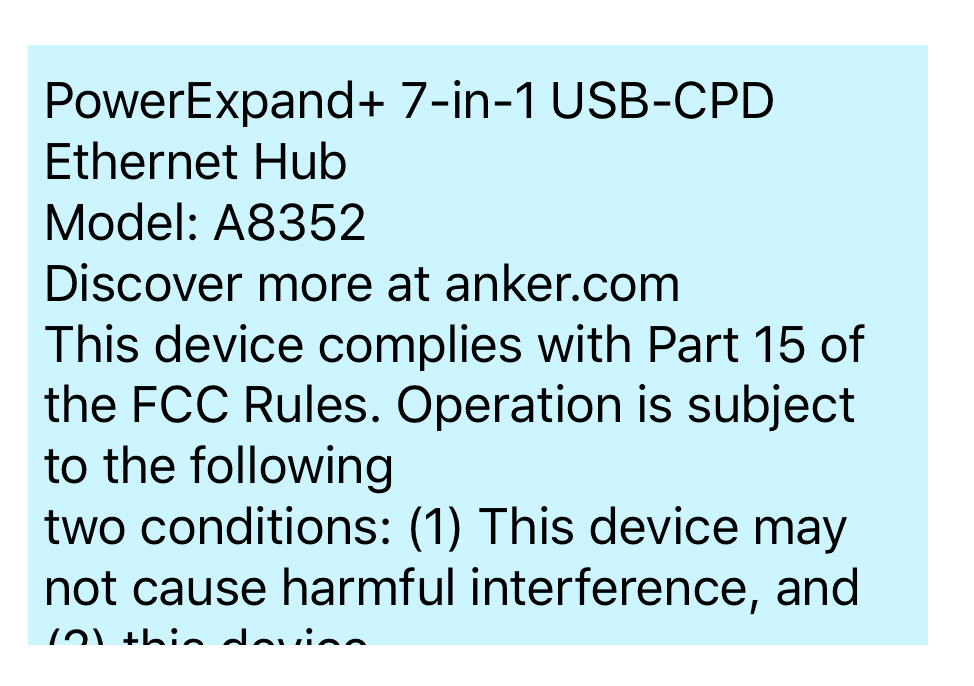
TextViewが小さくて全部お見せできないのが残念ですが、ちゃんと最後まで認識していました!
箱に書いてある文字が小さいので、半角スペースを読み取れていない箇所が稀にあるものの、ほぼ ![]() と言える精度です。
と言える精度です。
Googleサイト
最後はGoogleサイトをパシャリ ![]()
これまでのような印刷物ではなく、また日本語も含まれていますね。結果はいかに!
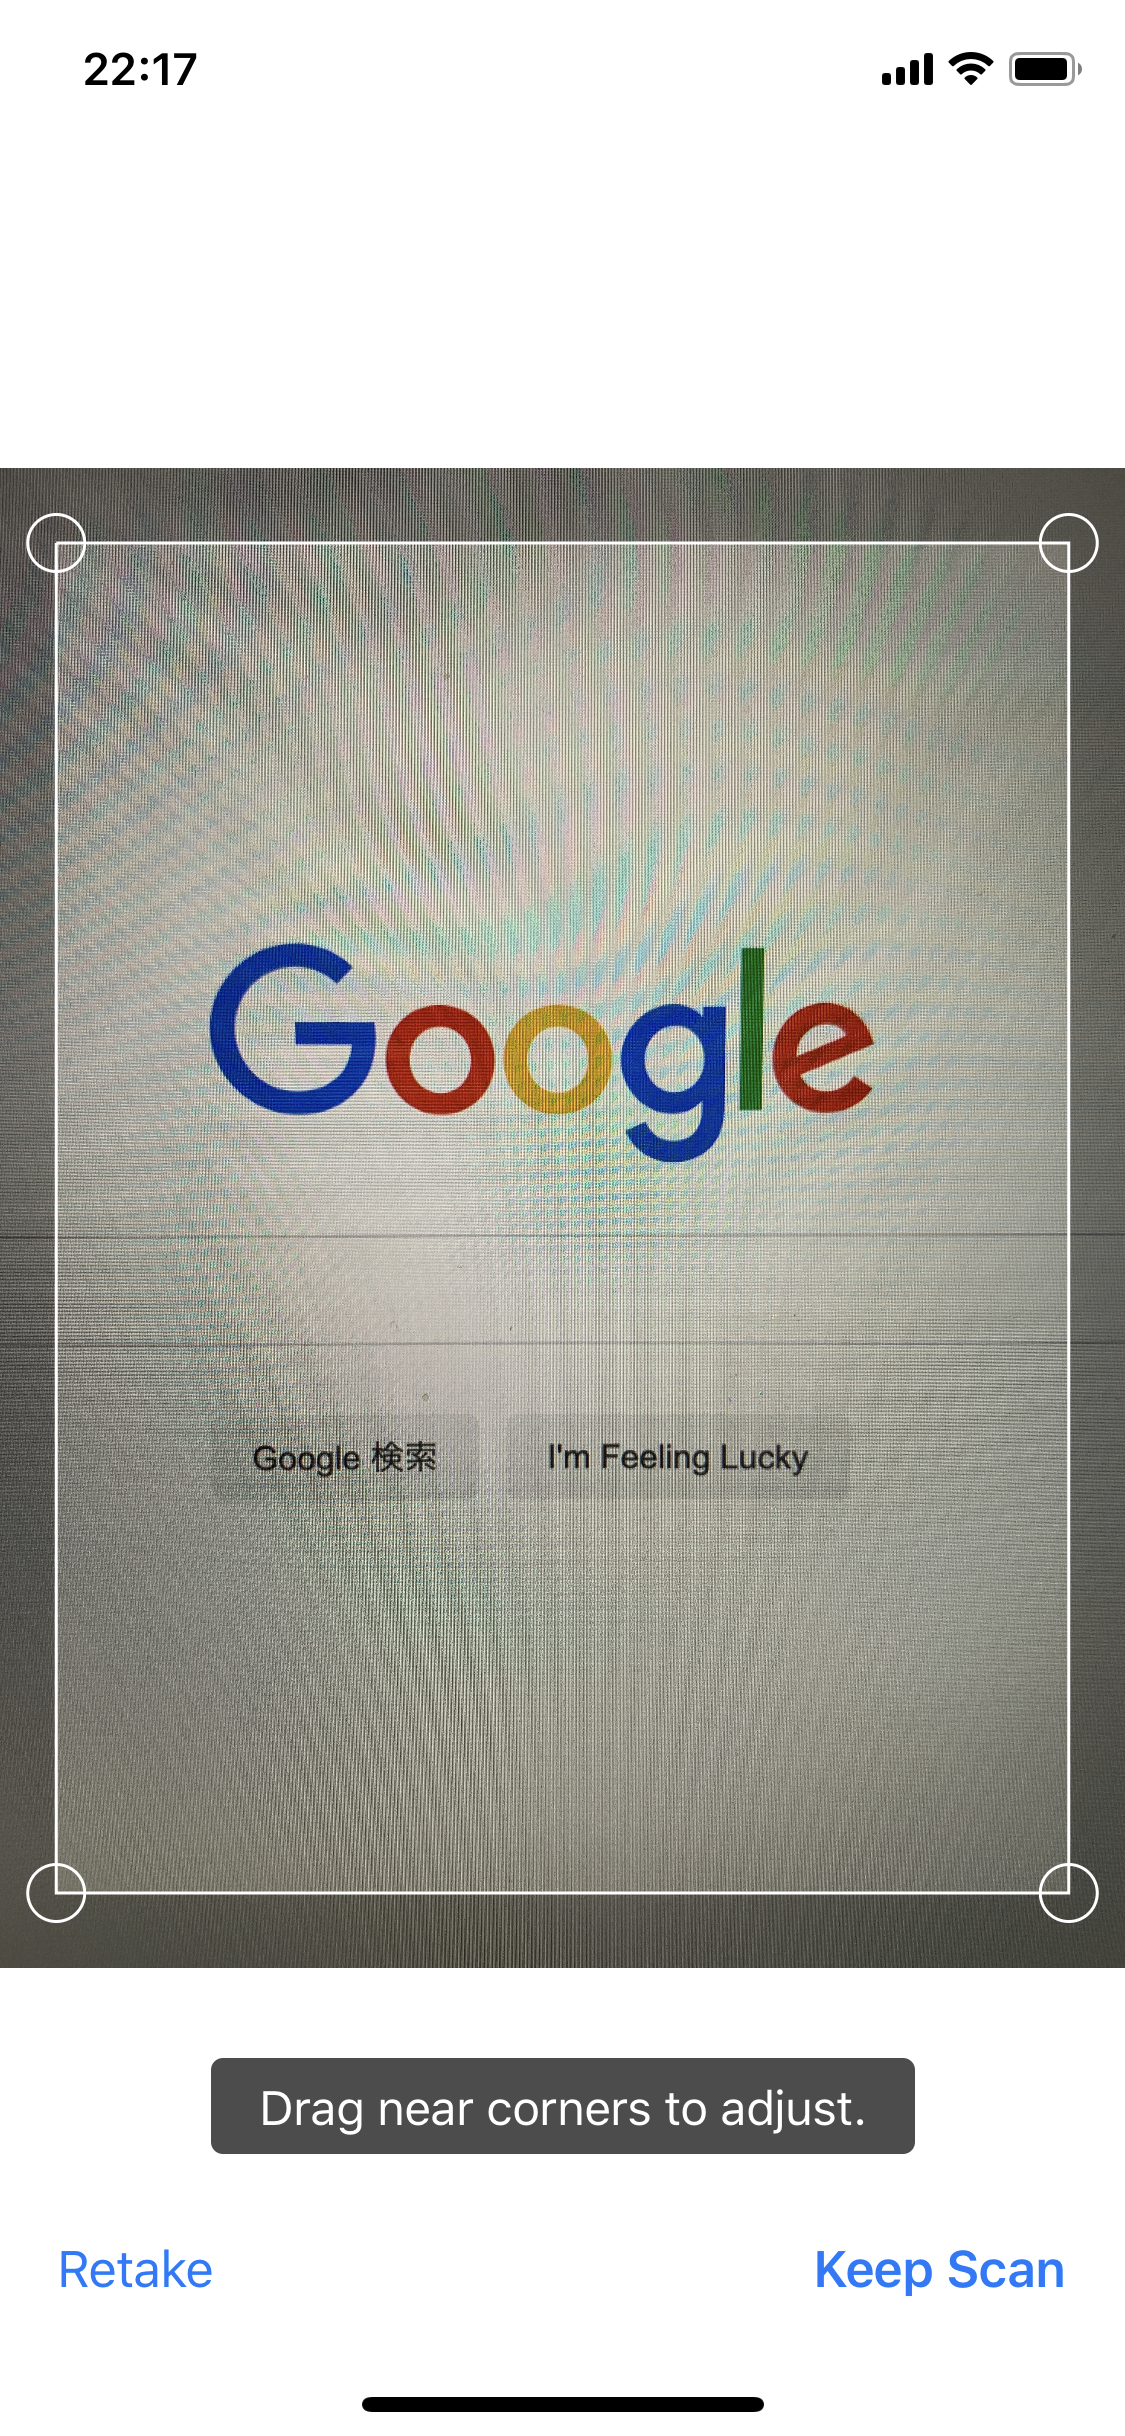
↓↓解析結果

日本語部分はサポートされていないので当然だめでしたが、英語部分は問題なく認識できました!
おわりに
簡単なコードだけで文字認識が実現できたのは驚きでした。
日本語がサポートされれば活用の幅がぐっと広がると思うので、今後の拡張に期待したいと思います![]()
