OCI上のOracle Linux 9上のPostgreSQLと、OCIでマネージドサービス(PaaS)として提供されているOCI Database with PostgreSQLを構築しました。
その後、OCI外で稼働しているPostgreSQLからの移行を想定し、OCI GoldenGateを利用するための準備を実施しています。
なお、OCI GoldenGateの構築・設定方法、PostgreSQL間のデータのリアルタイム・レプリケーションについては次の記事に記載しております。
ソースデータベースの準備 (PostgreSQL on Linux Compute VM)
OCI Compute VMで稼働するOracle Linux 9へのPostgreSQLのインストール
OCI Compute VMを利用してOracle Linux 9の環境を構築し、PostgreSQLをインストールしました。
利用したOracle Linuxの詳細はこちらです。
sudo uname -r
5.15.0-204.147.6.2.el9uek.x86_64
PostgreSQL 16をインストールするためにこちら(https://yum.postgresql.org/repopackages/)からRHEL用のPostgreSQL repositoryを追加、既存のPostgreSQL moduleを無効にし、インストールを実施します。
sudo dnf update -y
sudo dnf install https://download.postgresql.org/pub/repos/yum/reporpms/EL-9-x86_64/pgdg-redhat-repo-latest.noarch.rpm -y
sudo dnf module disable postgresql  -y
sudo dnf install postgresql16-server -y
sudo dnf install postgresql16-contrib -y
ここでpostgresql16-contribもインストールしていることに注意してください。OCI GoldenGateを利用してPostgreSQLデータベースからキャプチャするには、test_decodingデータベース・プラグインのインストールが必要になるためあらかじめインストールしています。
インストールされたPostgreSQL 16を初期化し、サービスとして登録することで自動起動の設定を行います
sudo /usr/pgsql-16/bin/postgresql-16-setup initdb
sudo systemctl enable postgresql-16
sudo systemctl start postgresql-16
操作しているOSユーザーをpostgres ユーザーに変更します。
sudo su - postgres
psqlでpostgresユーザーでログインし、ログインパスワードを設定します。
psql -U postgres
postgres=# \password
Enter new password for user "postgres":  (PASSWORD)
Enter it again:
\q
OSユーザーをopcユーザーに変更しリモートアクセスで利用する5432ポートを解放します。
(VCNのセキュリティ・リストやセキュリティ・グループでも5432ポートのアクセスを許可します)
sudo systemctl restart postgresql-16
sudo firewall-cmd --add-service=postgresql --zone=public --permanent
sudo systemctl restart firewalld
PostgreSQLの構成パラメータの設定
ローカルおよび10.0.0.0/16上に構築したPrivate Endpoint経由でパスワード認証でアクセスできるようにpg_hba.confを編集します。
localで始まる行のMETHODをmd5に、hostで始まる行のADDRESSを10.0.0.0/16に変更しました。
sudo vi /var/lib/pgsql/16/data/pg_hba.conf

# TYPE  DATABASE        USER            ADDRESS                 METHOD

# "local" is for Unix domain socket connections only
local   all             all                                     md5
# IPv4 local connections:
host    all             all             10.0.0.0/16            scram-sha-256
外部からのリモート・データベース接続を許可するようにPostgreSQLデータベース構成ファイルpostgresql.confでlisten_addresses を’*’に設定します。
Oracle GoldenGateの利用に必要なロギングの設定を行いました。詳細については下記のドキュメントを参照ください。
https://docs.oracle.com/cd/F51462_01/coredoc/prepare-postgresql.html#GUID-7847A4F4-9EC3-441C-BE41-E5E57D66E715
sudo vi /var/lib/pgsql/16/data/postgresql.conf

#------------------------------------------------------------------------------
# CONNECTIONS AND AUTHENTICATION
#------------------------------------------------------------------------------

# - Connection Settings -

listen_addresses = '*'                  # what IP address(es) to listen on;
                                        # comma-separated list of addresses;
                                        # defaults to 'localhost'; use '*' for all
                                        # (change requires restart)


#------------------------------------------------------------------------------
# WRITE-AHEAD LOG
#------------------------------------------------------------------------------

# - Settings -

wal_level = logical                     # minimal, replica, or logical
                                        # (change requires restart)


#------------------------------------------------------------------------------
# REPLICATION
#------------------------------------------------------------------------------

# - Sending Servers -

# Set these on the primary and on any standby that will send replication data.

#max_wal_senders = 10           # max number of walsender processes
                                # (change requires restart)
max_replication_slots = 10      # max number of replication slots
                                # (change requires restart)
PostgreSQLを再起動し、変更した設定を反映します。
sudo systemctl restart postgresql-16
連携対象となるスキーマの作成
GoldenGateユーザー ggadmin を作成し、ソース・データベースとしてociggllデータベースを作成します。
psql -U postgres
CREATE USER ggadmin WITH PASSWORD ‘PASSWORD’;
GRANT ggadmin TO admin;
CREATE DATABASE ociggll OWNER ggadmin;
連携対象となるスキーマ src_ociggll を作成します。
psql ociggll -U ggadmin
CREATE SCHEMA IF NOT EXISTS src_ociggll AUTHORIZATION ggadmin;
テーブルのレコード数を確認するためのファンクションを作成しておきます。
create function
src_ociggll.cnt_rows(schema text, tablename text) returns integer
as
$body$
declare
  result integer;
  query varchar;
begin
  query := 'SELECT count(1) FROM ' || schema || '.' || tablename;
  execute query into result;
  return result;
end;
$body$
language plpgsql;
src_ociggllスキーマにlogテーブルを作成し、初期ロードの対象となるレコードを追加しておきます。
CREATE TABLE src_ociggll.log (
id serial primary key,
date timestamp WITHOUT TIME ZONE
);
INSERT INTO src_ociggll.log(id, date) VALUES (1, current_timestamp);
INSERT INTO src_ociggll.log(id, date) VALUES (2, current_timestamp);
INSERT INTO src_ociggll.log(id, date) VALUES (3, current_timestamp);
事前に作成したcnt_rowsファンクションを利用して、テーブルとレコード数を確認します
select table_schema, table_name, src_ociggll.cnt_rows(table_schema, table_name) from information_schema.tables where table_schema not in ('pg_vatalog', 'information_schema') and table_type='BASE TABLE' order by 3 desc;

(略)
 pg_catalog   | pg_namespace             |        5
 pg_catalog   | pg_database              |        4
 pg_catalog   | pg_language              |        4
 src_ociggll  | log                      |        3
 pg_catalog   | pg_auth_members          |        3
 pg_catalog   | pg_shdescription         |        3
 (略)
ターゲットデータベースの準備 (OCI Database with PostgreSQL)
OCI Database with PostgreSQLインスタンスの作成
はじめにOCI IAMのポリシーを作成します。今回の検証環境ではAdministratorsグループに属するユーザーで作業を行なっており、特にセキュリティ上の配慮が不要のためTenancyレベルで権限を付与しています。
必要なポリシーは環境によって異なるため、下記ドキュメントを参照の上、OCI Tenancyの管理者に相談ください。
https://docs.oracle.com/ja-jp/iaas/Content/postgresql/policies.htm
検証環境で設定したポリシーはこちらになります。
Allow group Administrators to manage postgres-db-systems in tenancy
Allow group Administrators to manage postgres-backups in tenancy
Allow group Administrators to manage postgres-configurations in tenancy
Allow group Administrators to read postgres-work-requests in tenancy
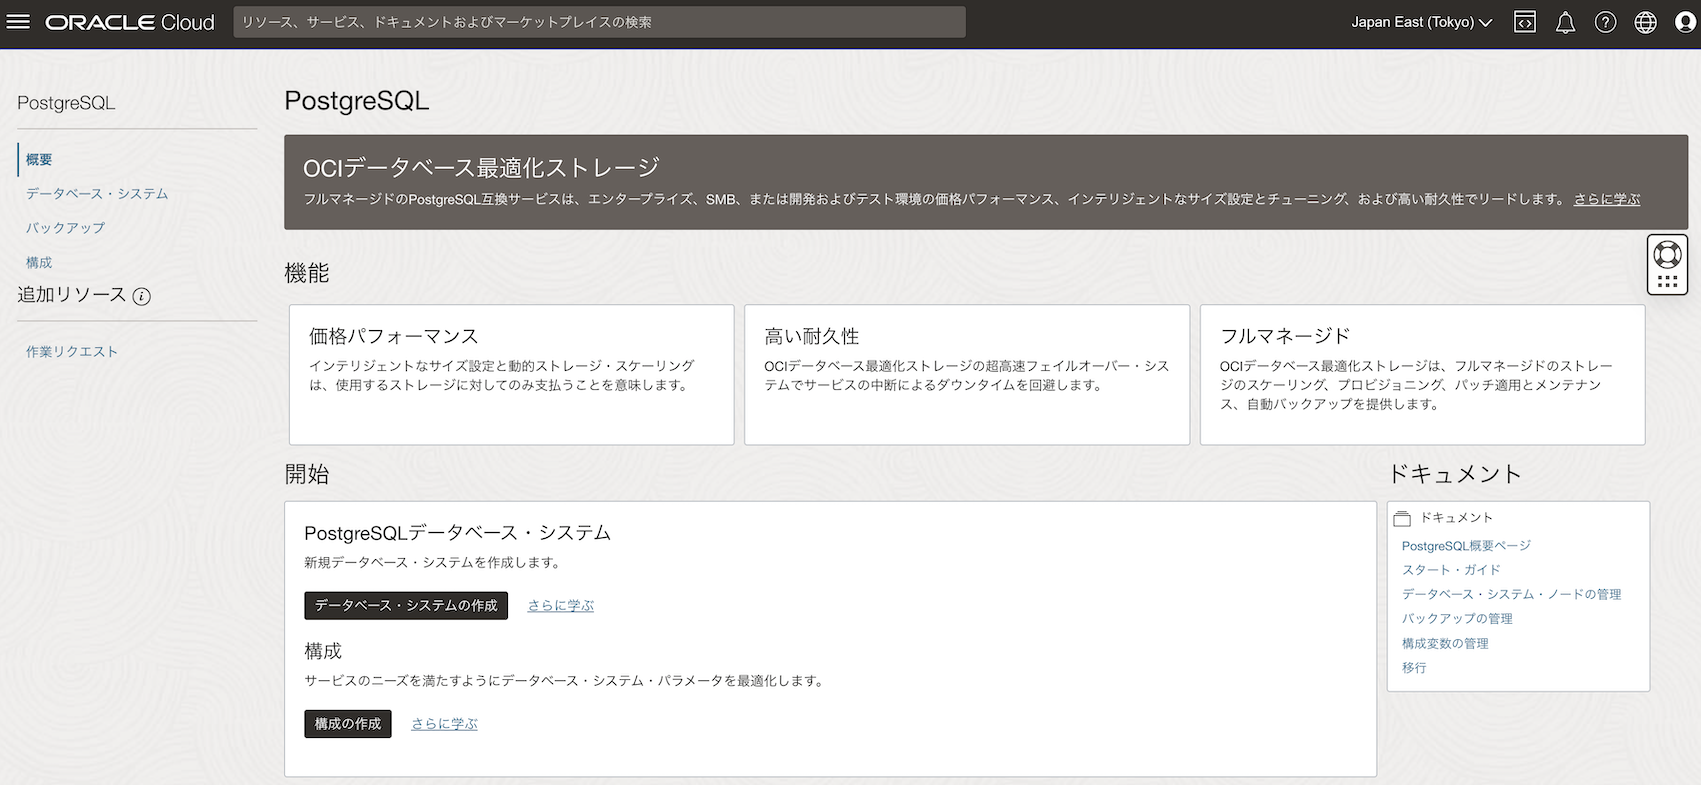
ポリシーの設定が済みましたら、ナビゲーション・メニューを開き、「データベース」の項目にある「PostgreSQL」を選択し、OCI Database with PostgreSQLのサービス・ダッシュボードにアクセスします。

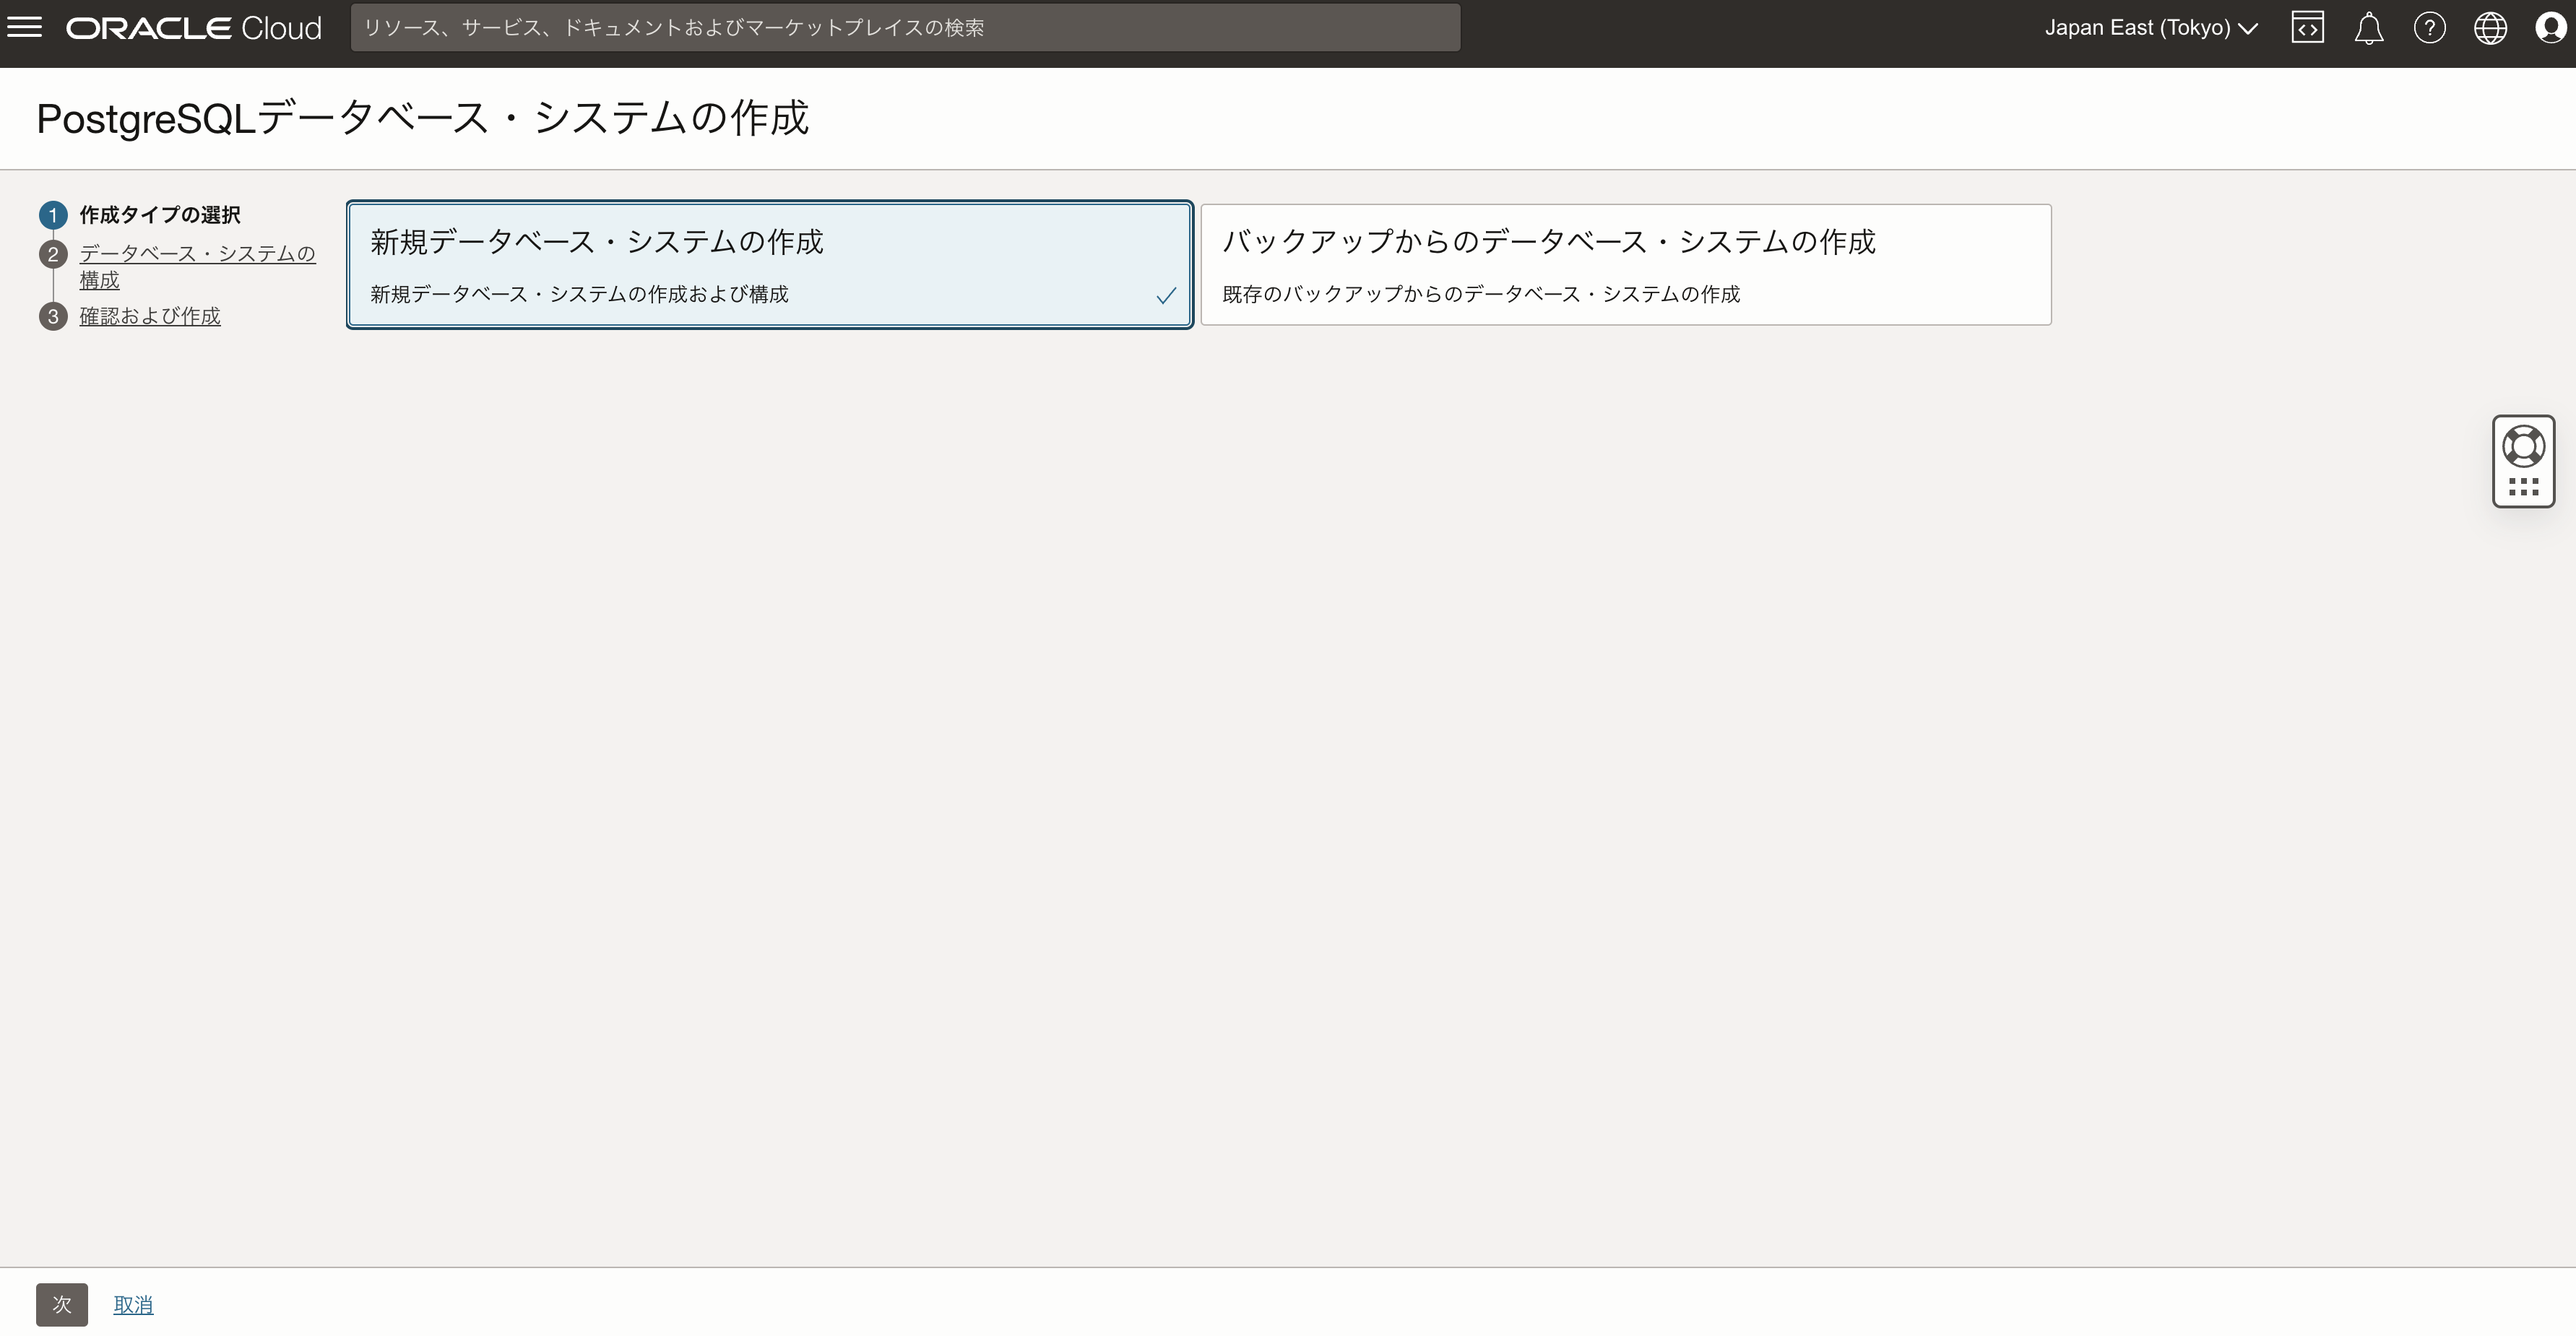
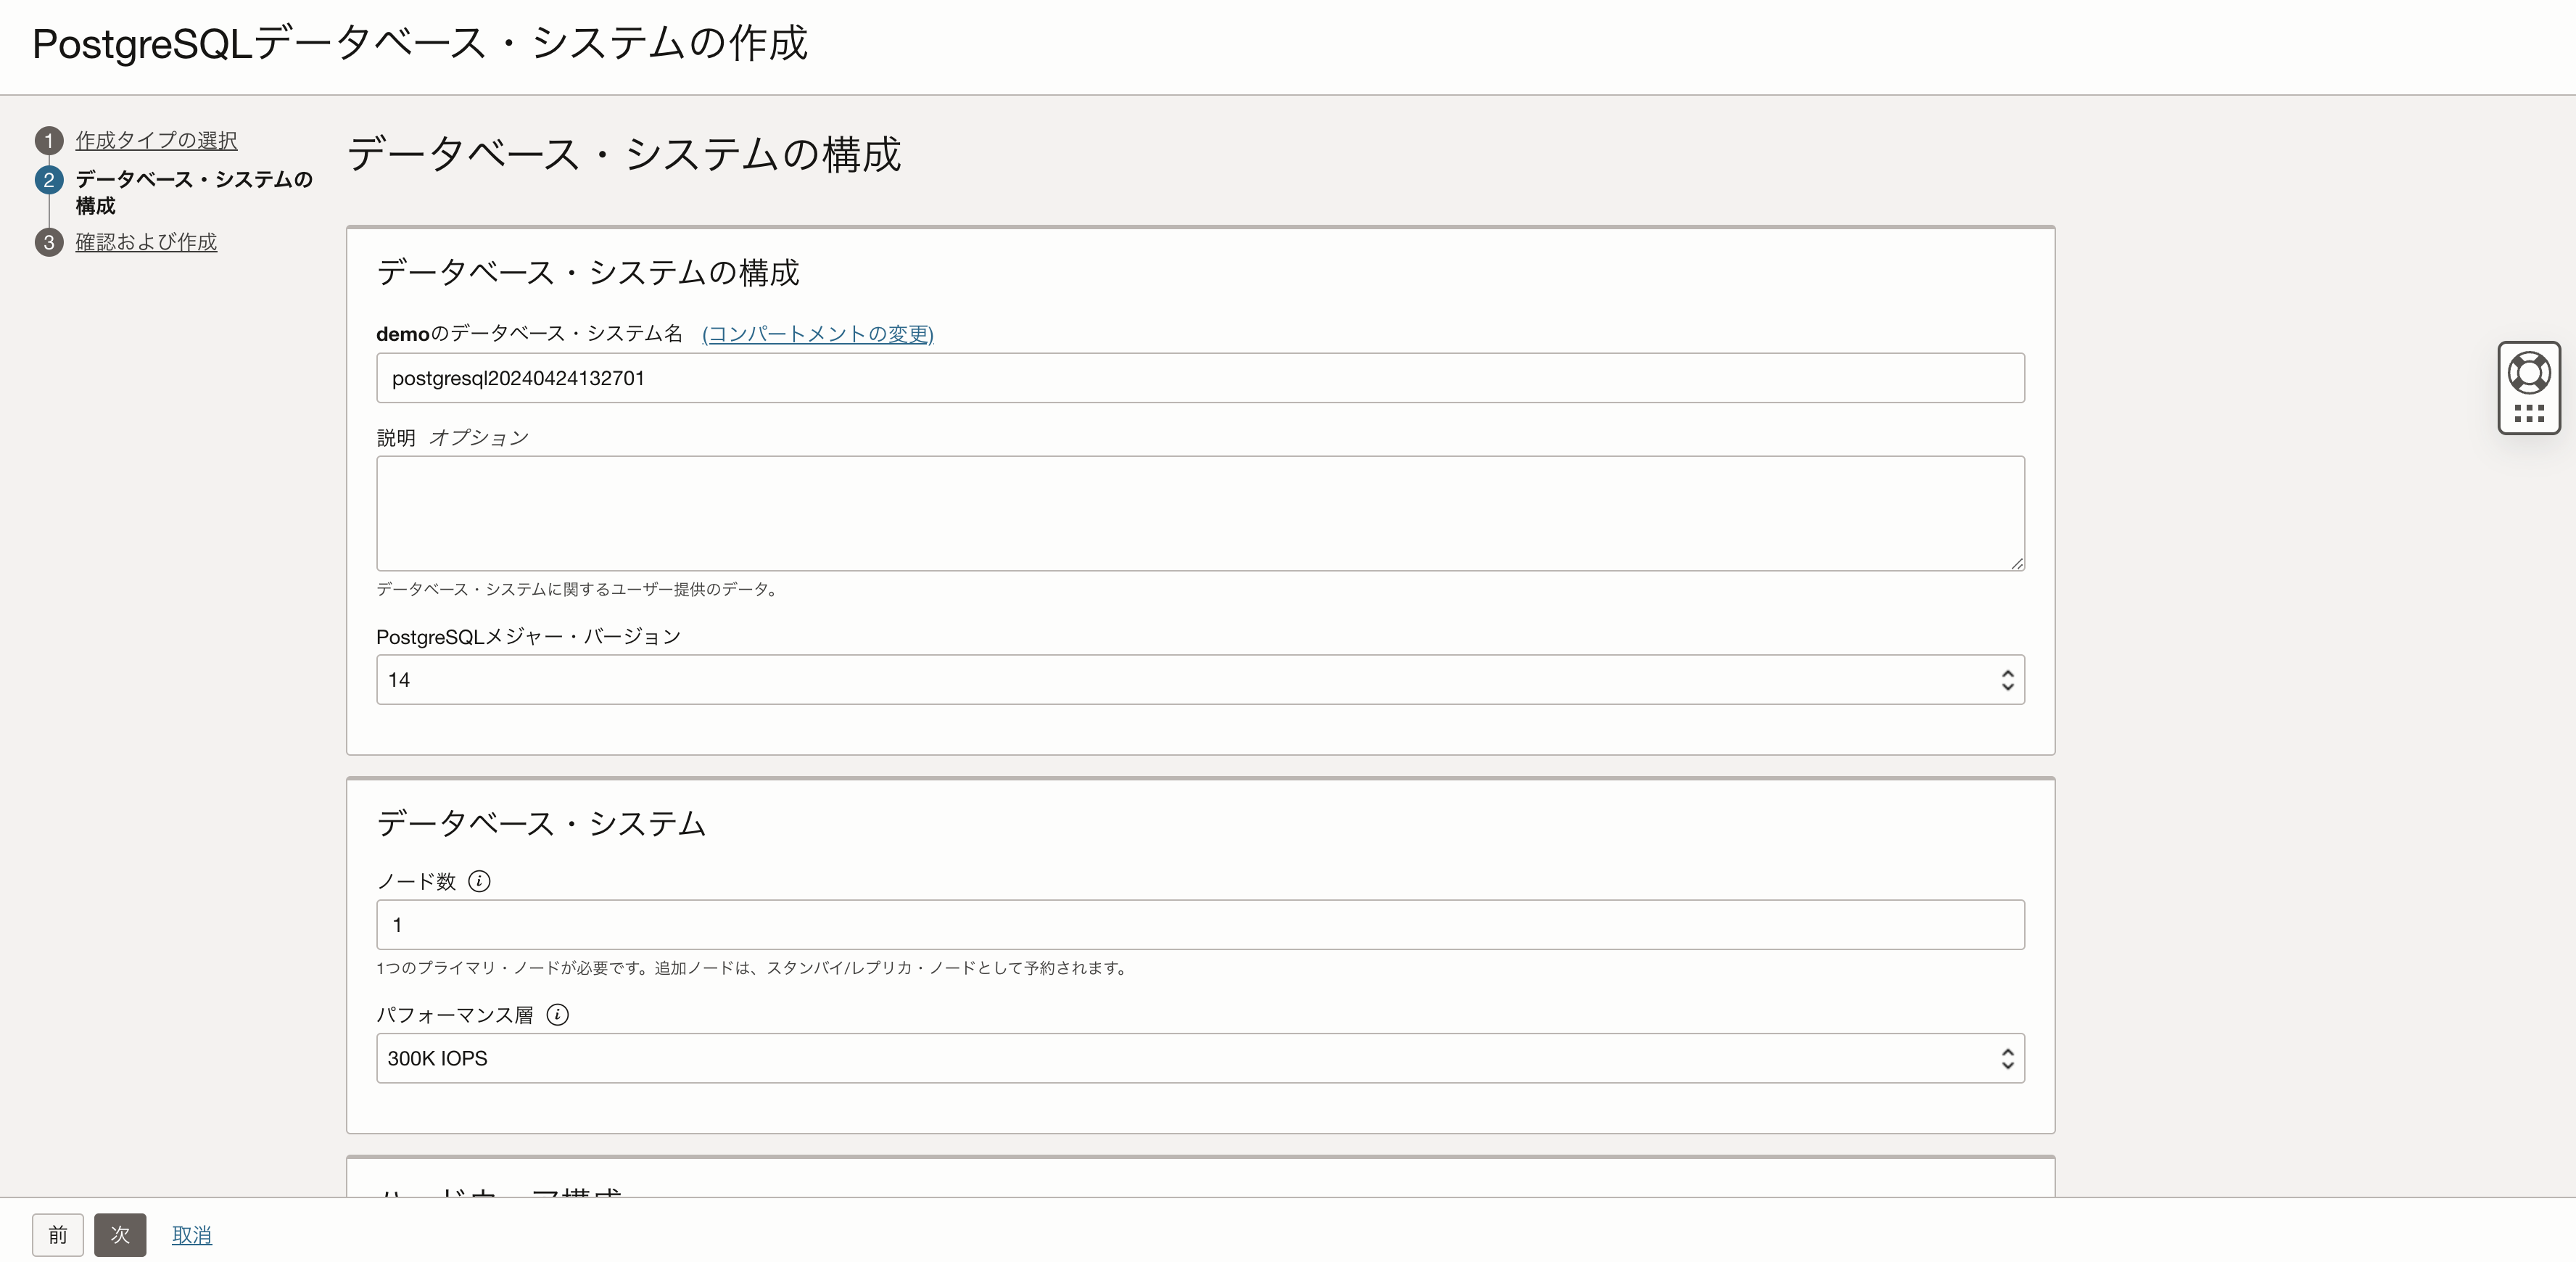
データベース・システムの作成を選択します。ウィザードに従い下記の設定を投入していきます。
- データベース・システムの構成
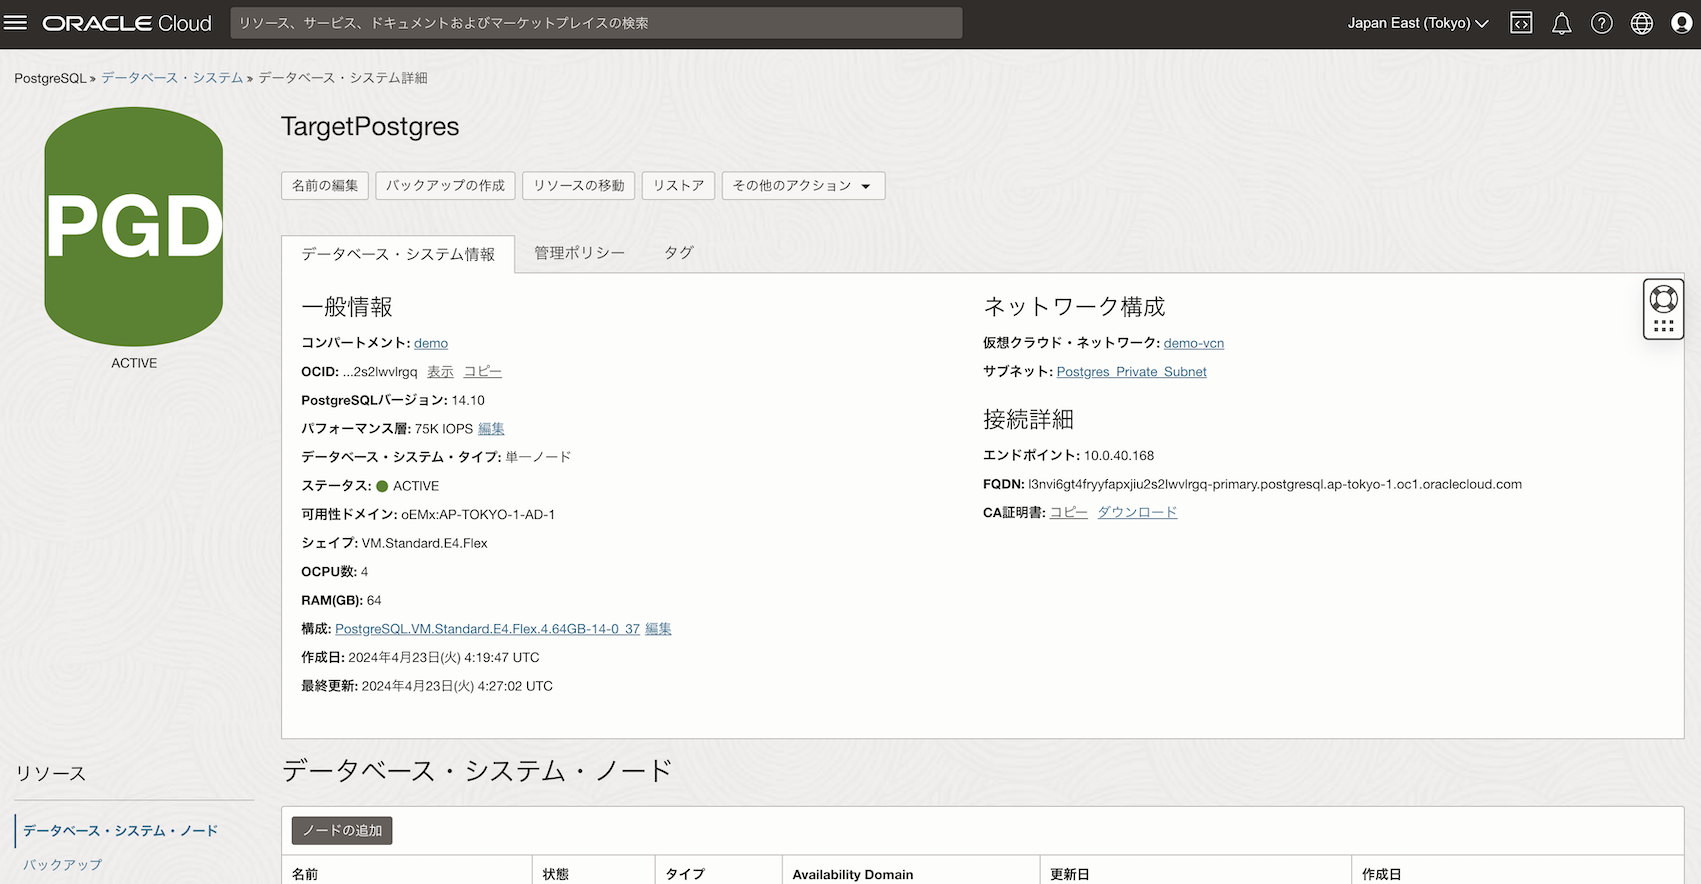
- “コンパートメント名”のデータベース・システム名:TargetPostgres
- 説明:オプション
- PostgreSQLメジャー・バージョン:14
- データベース・システム
- ノード数:1
- パフォーマンス層:75L IOPS
- ハードウェア構成
- OCPU:4
- 使用可能なシェイプ:PostgreSQL.VM.Standard.E4.Flex.4.64GB
- ネットワーク構成
- ”コンパートメント名”の仮想クラウド・ネットワーク:ex) demo-vcn
- ”コンパートメント名”のサブネット: ex) Postgres_Private_Subnet (リージョナル)
- プライベートIPアドレス:オプション
- データベース・システム管理者資格証明
- ユーザー名:admin
- パスワード・オプション:パスワード・オプション
- パスワード/パスワードの確認
管理者パスワードは8文字から32文字までの長さで、大文字、小文字、数字および特殊文字をそれぞれ1つ以上含める必要があります。

しばらく待ち、ステータスがACTIVEに変わると準備完了です。

ターゲットデータベースの作成と連携対象となるスキーマの移行
エンドポイントとして提供されるプライベートIPに対して、管理者ユーザーであるadminユーザーでアクセスし、GoldenGateの接続ユーザーであるggadminと連携対象であるociggllTgtデータベースを作成します。
psqlの操作は、事前に作成していたソースデータベースの環境を利用して実施しました。
psql -h 10.0.40.168 -d postgres -U admin;
CREATE USER ggadmin WITH PASSWORD ‘PASSWORD’;
GRANT postgres TO ggadmin;
CREATE DATABASE ociggllTgt OWNER ggadmin;
連携対象となるスキーマ src_ociggll を作成します。
psql ociggll -U ggadmin
CREATE SCHEMA IF NOT EXISTS src_ociggll AUTHORIZATION ggadmin;
ソースデータベースと同じようにテーブルのレコード数を確認するためのファンクションを作成します。
create function
cnt_rows(schema text, tablename text) returns integer
as
$body$
declare
  result integer;
  query varchar;
begin
  query := 'SELECT count(1) FROM ' || schema || '.' || tablename;
  execute query into result;
  return result;
end;
$body$
language plpgsql;
ソースデータベース環境において、ociggllのメタデータをエクスポートし、ターゲットデータベースに対しインポートを行いました。
cd /tmp
pg_dump -W -U ggadmin -d ociggll -F c -v -s --file=/tmp/sourceexport.dump
pg_restore -W -h 10.0.40.168 -U ggadmin -d ocigglltgt -v sourceexport.dump
src_ociggll スキーマとlogテーブルが作成されていることを確認します。
psql -h 10.0.40.168 -d ocigglltgt -U ggadmin;

select table_schema, table_name, src_ociggll.cnt_rows(table_schema, table_name) from information_schema.tables where table_schema not in ('pg_vatalog', 'information_schema') and table_type='BASE TABLE' order by 3 desc;

 pg_catalog   | pg_foreign_data_wrapper |        0
 pg_catalog   | pg_foreign_server       |        0
 pg_catalog   | pg_policy               |        0
 pg_catalog   | pg_replication_origin   |        0
 pg_catalog   | pg_default_acl          |        0
 src_ociggll  | log                     |        0
 pg_catalog   | pg_seclabel             |        0
 pg_catalog   | pg_shseclabel           |        0
 pg_catalog   | pg_subscription         |        0
 pg_catalog   | pg_partitioned_table    |        0
スキーマのメタデータのみ移行しているためlogテーブルにレコードは存在していません。初期ロードはOCI GoldenGateを利用して実施しました。
まとめ
OCI上のOracle Linux 9上のPostgreSQLと、OCIでマネージドサービス(PaaS)として提供されているOCI Database with PostgreSQLを構築し、OCI GoldenGateを利用してリアルタイム連携を行うための事前準備を実施しました。OCI GoldenGateを使わなくてもOracle Linux 上にPostgreSQLを構築する方法やOCI Database with PostgreSQLの構築方法としてお役に立てば幸いです。OCI GoldenGateを利用したリアルタイム連携については次の記事を参照ください。
参考情報
https://zatoima.github.io/postgresql-logical-decoding.html
https://jumpcloud.com/blog/how-to-install-postgresql-16-rhel-9
https://docs.oracle.com/ja-jp/iaas/Content/postgresql/home.htm


