私はLaravel初心者です。基本的にググりながら書いています。よろしくお願いします。![]()
Laravelで簡単にチャットを作ってみようと思ったのですが、1秒ごとにDBにアクセスするようなのは避けたかったので、Redisでやってみるといいんじゃないかと思い、作成してみたので書かせていただきます。m(_ _)m
Redisを使ってチャットをするというやり方はこちらが参考です。
RedisとServer Sent EventでJavaScriptでチャットを作ってみた:電脳ヒッチハイクガイド:電脳空間カウボーイズZZ(電脳空間カウボーイズ)
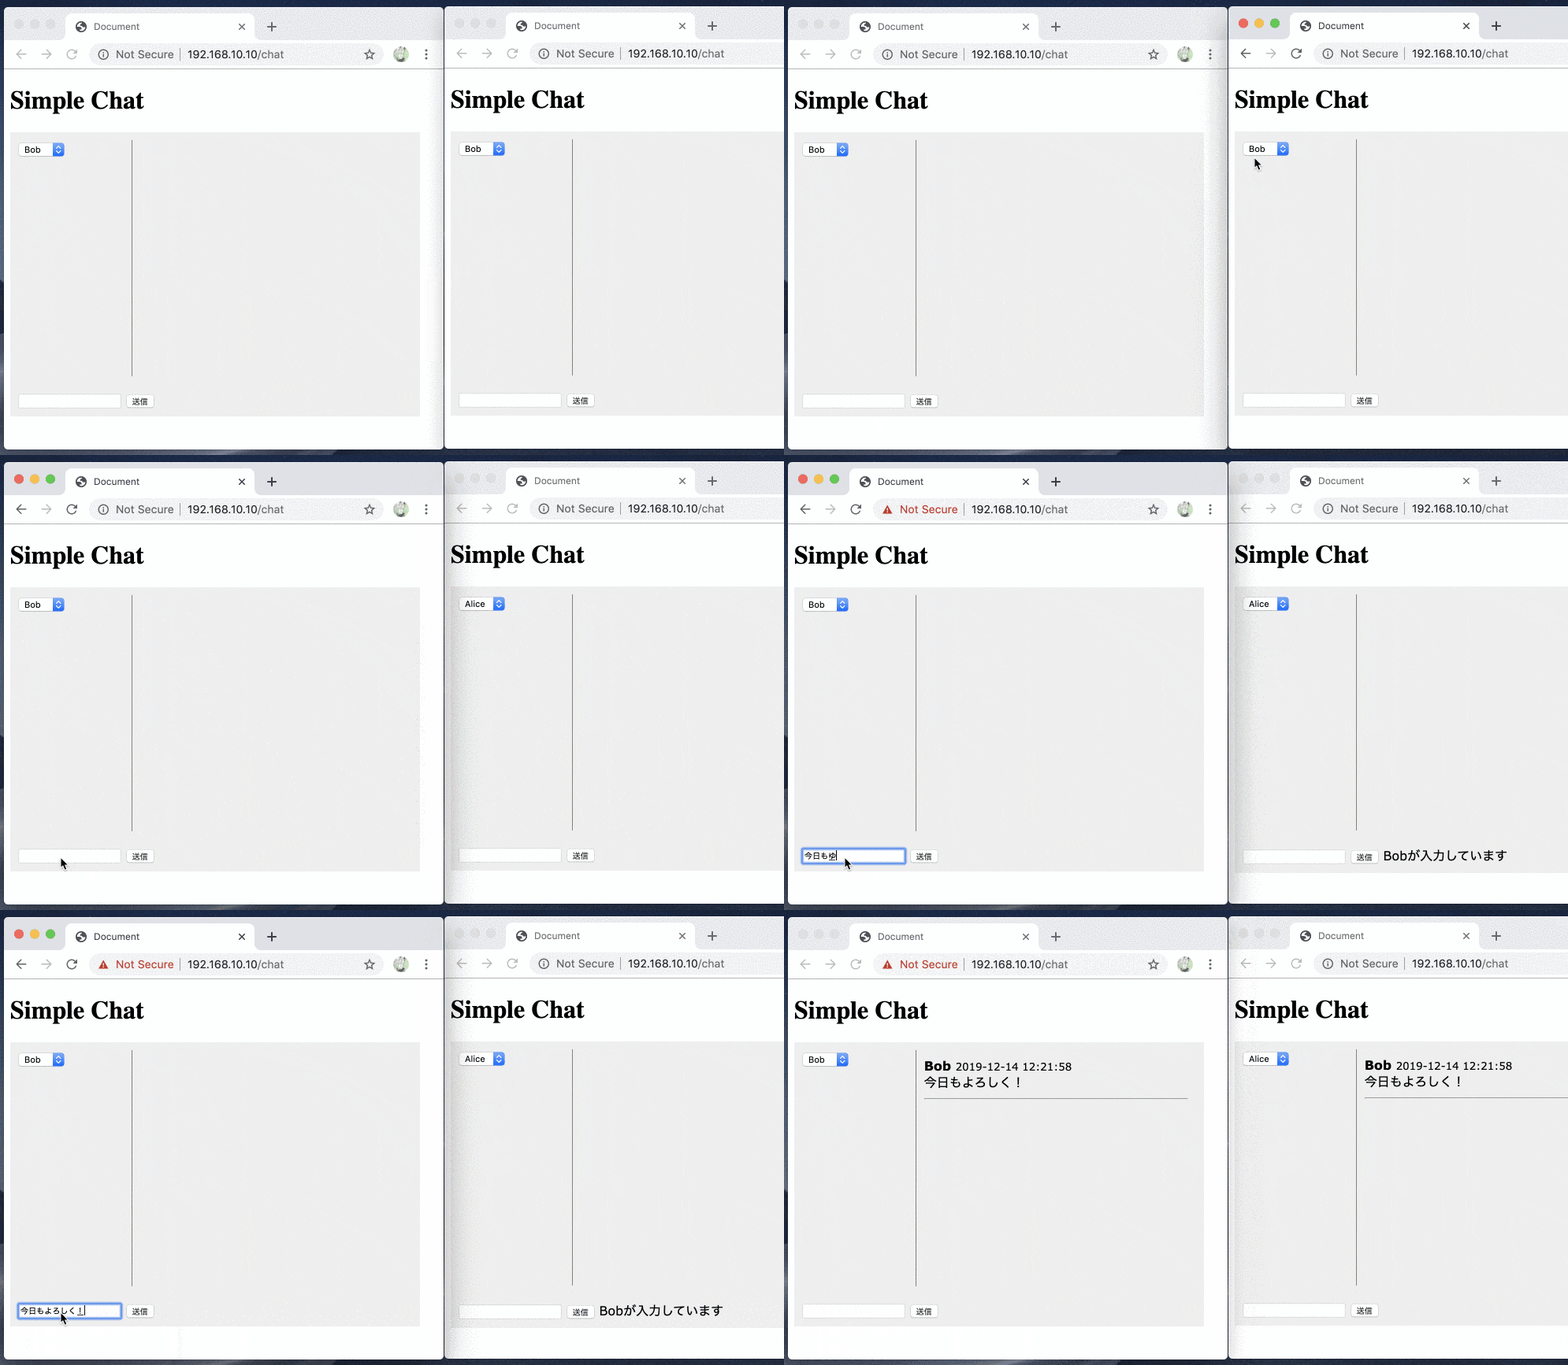
このような簡単なチャットを作成します
自動生成ファイルもありますが、自分が最終的に変更したのは↓です
1. Homesteadで環境構築しました
参考:Laravel Homestead - Laravel - The PHP Framework For Web Artisans
vagrant@homestead:~$ pwd
/home/vagrant

vagrant@homestead:~$ composer create-project --prefer-dist laravel/laravel code #laravelのプロジェクト作成
/* 省略 */

vagrant@homestead:~$ cd code #laravelのルートに移動
/home/vagrant/code/public の内容が読み込まれて、Laravelの最初のページを表示できました。
Laravelのバージョンは6.2です。

2. コントローラー、ビュー作成
2-1. ルートを定義する
web.php に1行追加
Route::get('/chat', 'ChatController@index');
2-2. コントローラー作成
$ php artisan make:controller ChatController #app/Http/Controllers/ChatController.php が作成される
コントローラーで画面が表示されるように変更します
<?php

namespace App\Http\Controllers;

use Illuminate\View\View;
use Illuminate\Http\Request;

class ChatController extends Controller
{
    /**
     * チャット画面表示
     *
     * @return View
     */
    public function index(): View
    {
        return view('chat');
    }
}
2-3. bladeファイル作成
chat.blade.phpを作成
<!DOCTYPE html>
<meta charset=UTF-8>
<title>Document</title>

<h1>Simple Chat</h1>
これで /chat にアクセスしてhtmlを表示することができます

ここまでの変更分はこのようになりました
3. vuejsを使えるようにする
参考:JavaScript & CSS Scaffolding - Laravel - The PHP Framework For Web Artisans
3-1. vueの足場(雛形)を作成
$ composer require laravel/ui --dev #vueの足場(雛形)を作成するために、laravel/uiをインストールする
$ php artisan ui vue #vueの足場(雛形)を作成
php artisan ui vue 実行後は↓のような差分になりました
3-2. vueのコンポーネントを画面に表示する
自動生成された ExampleComponent.vue を表示してみます
app.js と chat.blade.php を変更
  const app = new Vue({
      el: "#app",
+     template: '<example-component />',
  });
  <!DOCTYPE html>
  <meta charset=UTF-8>
  <title>Document</title>
+ <script src={{ mix('js/app.js') }} defer></script>

  <h1>Simple Chat</h1>
+ <div id=app></div>
$ yarn #ライブラリなどをインストール
$ yarn dev #js、cssをビルドしてpublic/配下に出力。yarn watchとしたら変更を監視してくれる
vueのコンポーネントを画面に表示することができました。
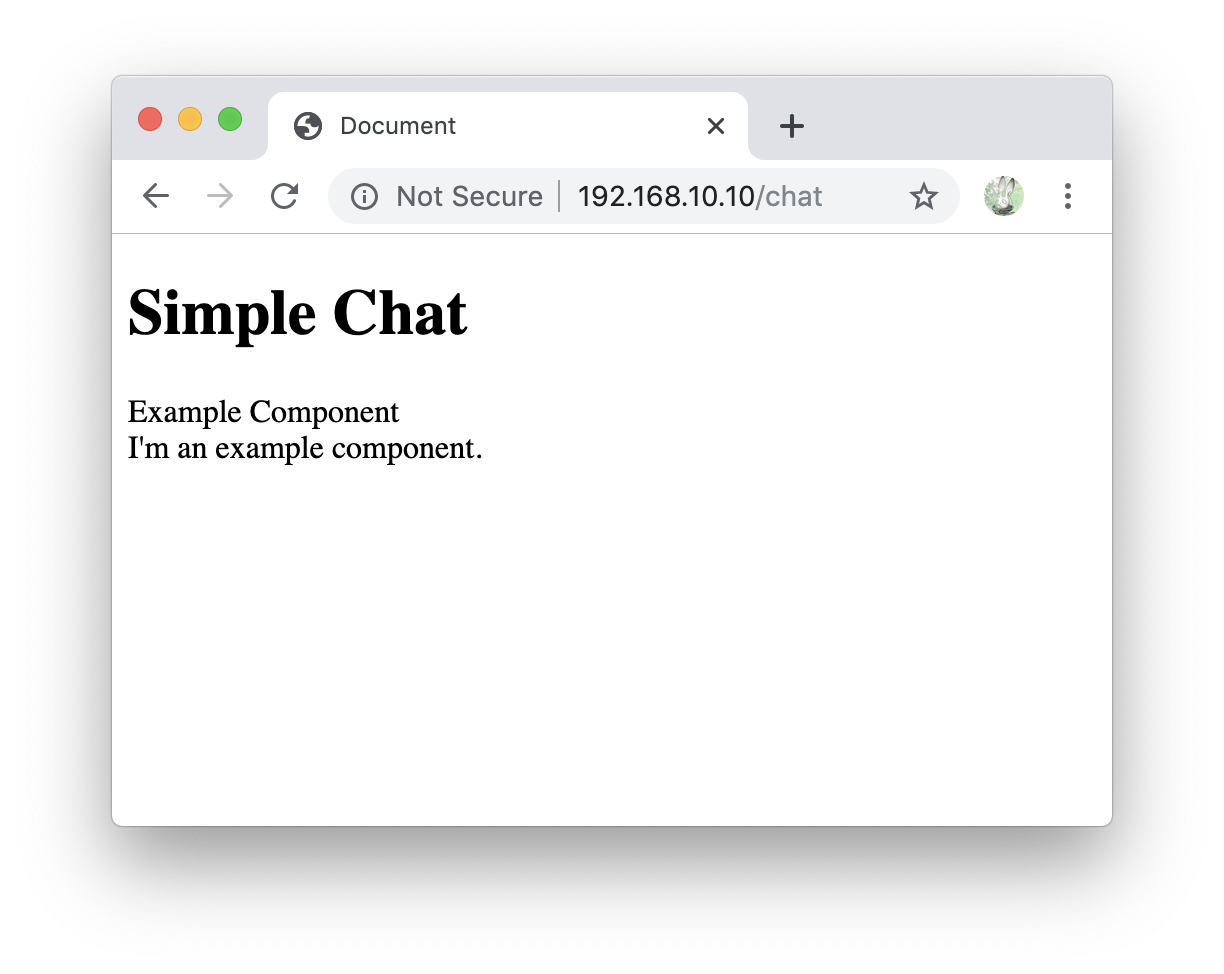
yarn devのビルドした出力結果も含まれていますが、ここで変更したコミットは以下です。
※今回は特に気にしませんでしたが、app.jsなどの自動生成ファイルは.gitignoreに設定しましょう
4. チャットの画面を作成
app.jsでApp.vueを読み込むように変更
  Vue.component('example-component', require('./components/ExampleComponent.vue').default);
+ Vue.component('App', require('./components/App.vue').default);


  const app = new Vue({
      el: "#app",
-     template: '<example-component />',
+     template: '<App />',
  });
resources/js/components/App.vue を作成
<template>
    <div id="app" class="container">
        <div class="flex">
            <div class="users">
                <select v-model="selectUser">
                    <option v-for="user in users">
                        {{ user }}
                    </option>
                </select>
            </div>
            <div class="chat">
            </div>
        </div>
        <form>
            <input>
            <input type="submit" value="送信">
        </form>
    </div>
</template>

<script>
    const users = ['Bob', 'Alice', 'Carol'];
    export default {
        data() {
            return {
                users,
                selectUser: users[0],
            }
        },
    }
</script>

<style lang="scss" scoped>
# app {
    font-family: Verdana;

    &.container {
        width: 500px;
        padding: 10px;
        background: #eee;

        .users {
            width: 30%;
            height: 300px;
            border-right: 1px solid gray;
        }

        .chat {
            width: 70%;
            height: 300px;
            padding: 10px;
            overflow: scroll;

            p {
                margin: 0;
            }
        }
    }

    .flex {
        display: flex;
    }
}
</style>

ここでの変更、※public/js/app.jsはyarn devかyarn watchで生成されたファイル
5. テーブル、モデル作成
チャットの内容をMySQLにも保存します
5-1. MySQL接続の設定
参考
【Laravel Homestead - Laravel - The PHP Framework For Web Artisans】
https://laravel.com/docs/6.x/homestead#connecting-to-databases
user:homestead
password:secret
でMySQLに接続できるので、.envを変更します
- DB_CONNECTION=mysql
- DB_HOST=127.0.0.1
- DB_PORT=3306
- DB_DATABASE=laravel
- DB_USERNAME=root
- DB_PASSWORD=
+ DB_CONNECTION=mysql
+ DB_HOST=127.0.0.1
+ DB_PORT=3306
+ DB_DATABASE=homestead
+ DB_USERNAME=homestead
+ DB_PASSWORD=secret
5-2. テーブル作成
migrationファイル作成
$ php artisan make:migration create_chat_table --table chat
Created Migration: 2019_12_11_145549_create_chat_table
以下のように変更
<?php
use Illuminate\Database\Migrations\Migration;
use Illuminate\Database\Schema\Blueprint;
use Illuminate\Support\Facades\Schema;
class CreateChatTable extends Migration
{
    /**
     * Run the migrations.
     *
     * @return void
     */
    public function up()
    {
        Schema::create('chats', function (Blueprint $table) {
            $table->increments('id');
            $table->string('user');
            $table->string('post');
            $table->timestamps();
        });
    }
    /**
     * Reverse the migrations.
     *
     * @return void
     */
    public function down()
    {
        Schema::dropIfExists('chats');
    }
}
php artisan migrateを実行する。※チャットのテーブル以外にもデフォルトであるマイグレーションファイルも実行される
$ php artisan migrate
Migrating: 2014_10_12_000000_create_users_table
Migrated:  2014_10_12_000000_create_users_table (0.08 seconds)
Migrating: 2014_10_12_100000_create_password_resets_table
Migrated:  2014_10_12_100000_create_password_resets_table (0.12 seconds)
Migrating: 2019_08_19_000000_create_failed_jobs_table
Migrated:  2019_08_19_000000_create_failed_jobs_table (0.18 seconds)
Migrating: 2019_12_11_145549_create_chat_table
Migrated:  2019_12_11_145549_create_chat_table (0.2 seconds)
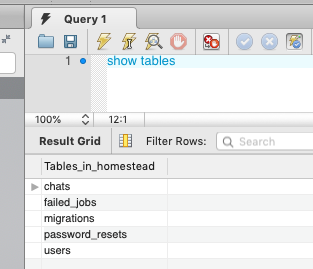
chatsテーブルができていればOK
5-3. モデル作成
$ php artisan make:model Chat
生成されたapp/Chat.phpを変更
<?php

namespace App;

use Illuminate\Database\Eloquent\Model;

class Chat extends Model
{
    protected $fillable = ['user', 'post'];
}
ここでの変更のコミットです
6. チャットの登録をする
チャットの入力フォームからサブミットすると、ajaxでapiにデータを送るように変更します
 <template>
     <div id="app" class="container">
         <div class="flex">
             <div class="users">
                 <select v-model="selectUser">
                     <option v-for="user in users">
                         {{ user }}
                     </option>
                 </select>
             </div>
             <div class="chat">
             </div>
         </div>
-        <form>
-            <input>
-            <input type="submit" value="送信">
-        </form>
+        <form @submit.prevent="addPost">
+            <input v-model="textValue">
+            <input type="submit" value="送信">
+        </form>
     </div>
 </template>

 <script>
     const users = ['Bob', 'Alice', 'Carol'];
     export default {
         data() {
             return {
                 users,
                 selectUser: users[0],
+                textValue: '',
             }
         },
+        methods: {
+            async addPost() {
+                if (!this.textValue.trim()) {
+                    return
+                }
+                await axios.post('/api/chat/add', { user: this.selectUser, post: this.textValue })
+                this.textValue = ''
+            },
+        },
     }
 </script>

 // ...
api.phpに追加
// ...

Route::post('/chat/add', 'Api\\ChatController@add');
Controllersフォルダに新たにApiフォルダを作成し、そこに新しくChatController.phpを作成します
addメソッドで、MySQLとRedisにデータを保存します。
<?php

namespace App\Http\Controllers\Api;

use App\Chat;
use Illuminate\View\View;
use Illuminate\Http\Request;
use Illuminate\Http\JsonResponse;
use App\Http\Controllers\Controller;
use Illuminate\Support\Facades\Redis;

class ChatController extends Controller
{
    /**
     * チャット保存
     *
     * @param Request $request
     * @return JsonResponse
     */
    public function add(Request $request): JsonResponse
    {
        $chat = Chat::make([
            'user' => $request->get('user'),
            'post' => $request->get('post'),
        ]);
        $chat->save();
        Redis::set('latest_created_at', $chat->created_at->toDateTimeString());
        return response()->json(['result' => 'ok']);
    }
}
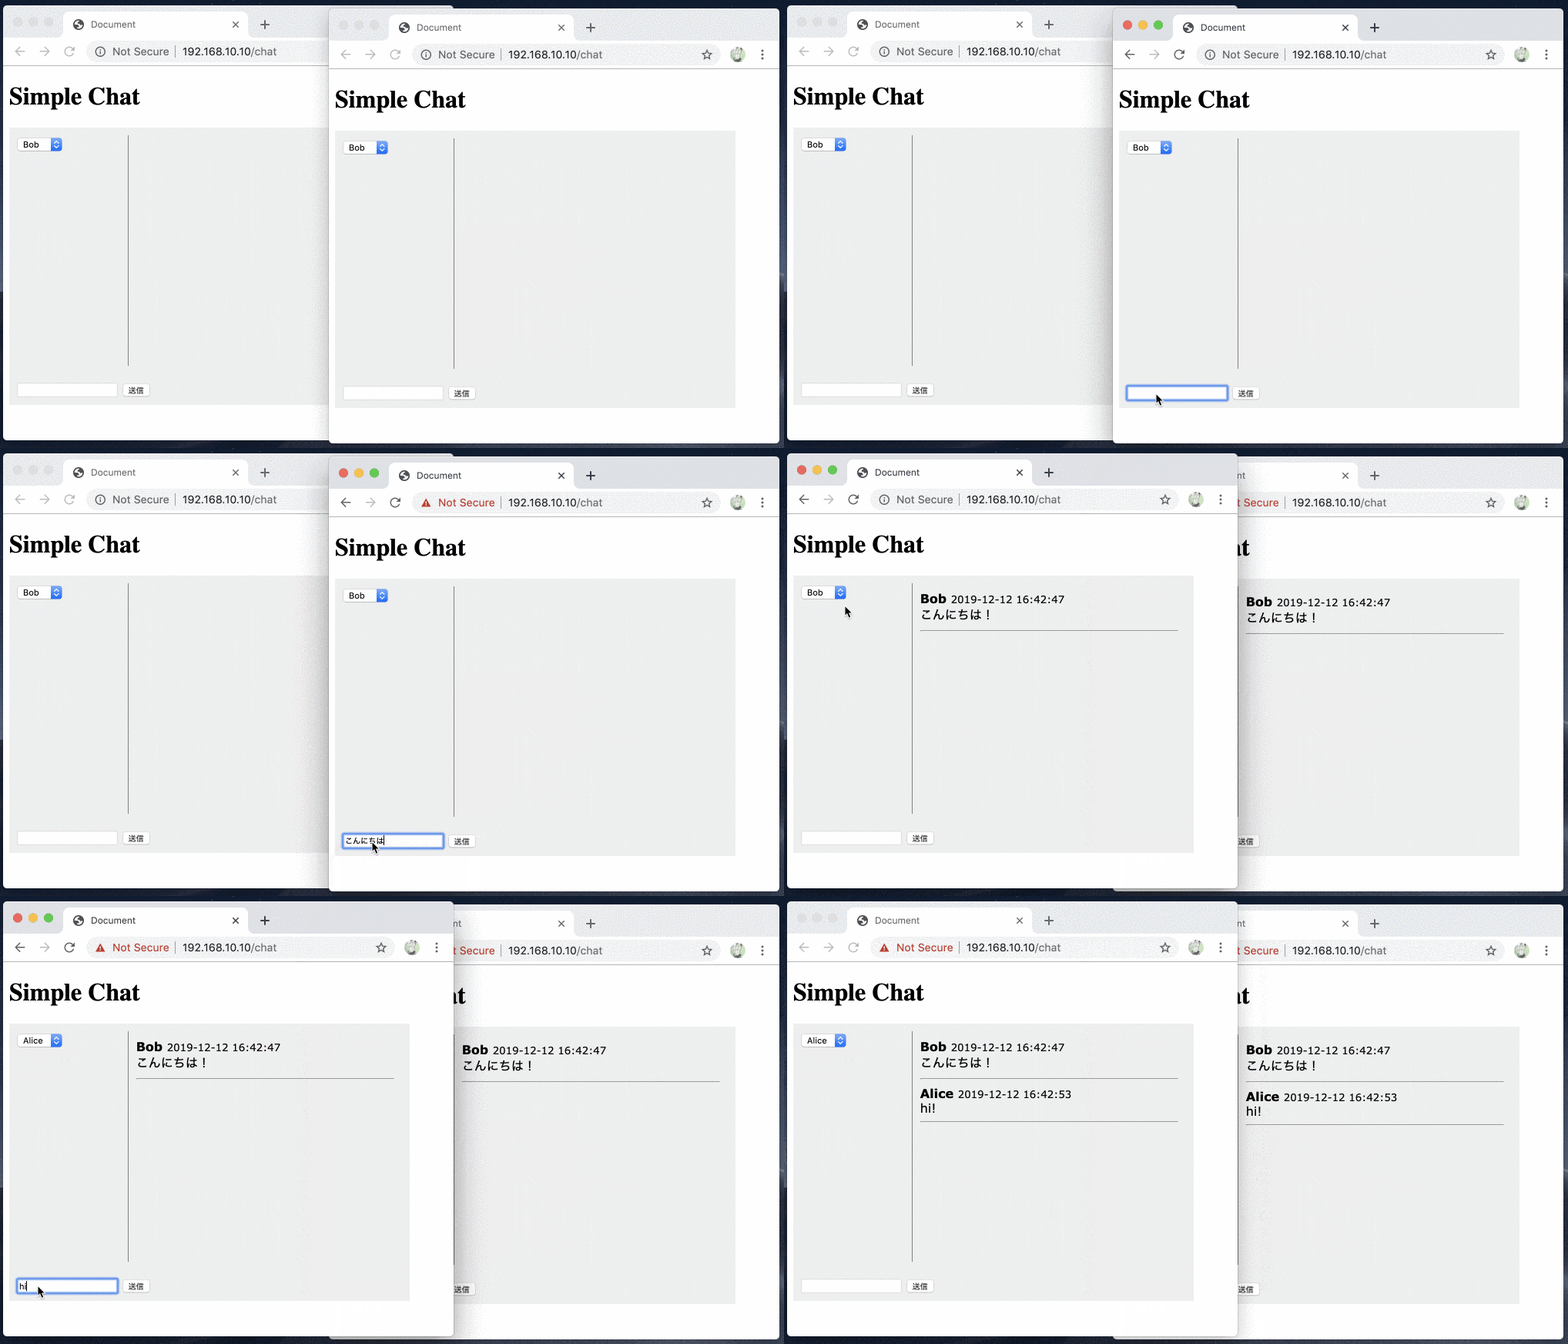
この状態でチャットで送信してみると
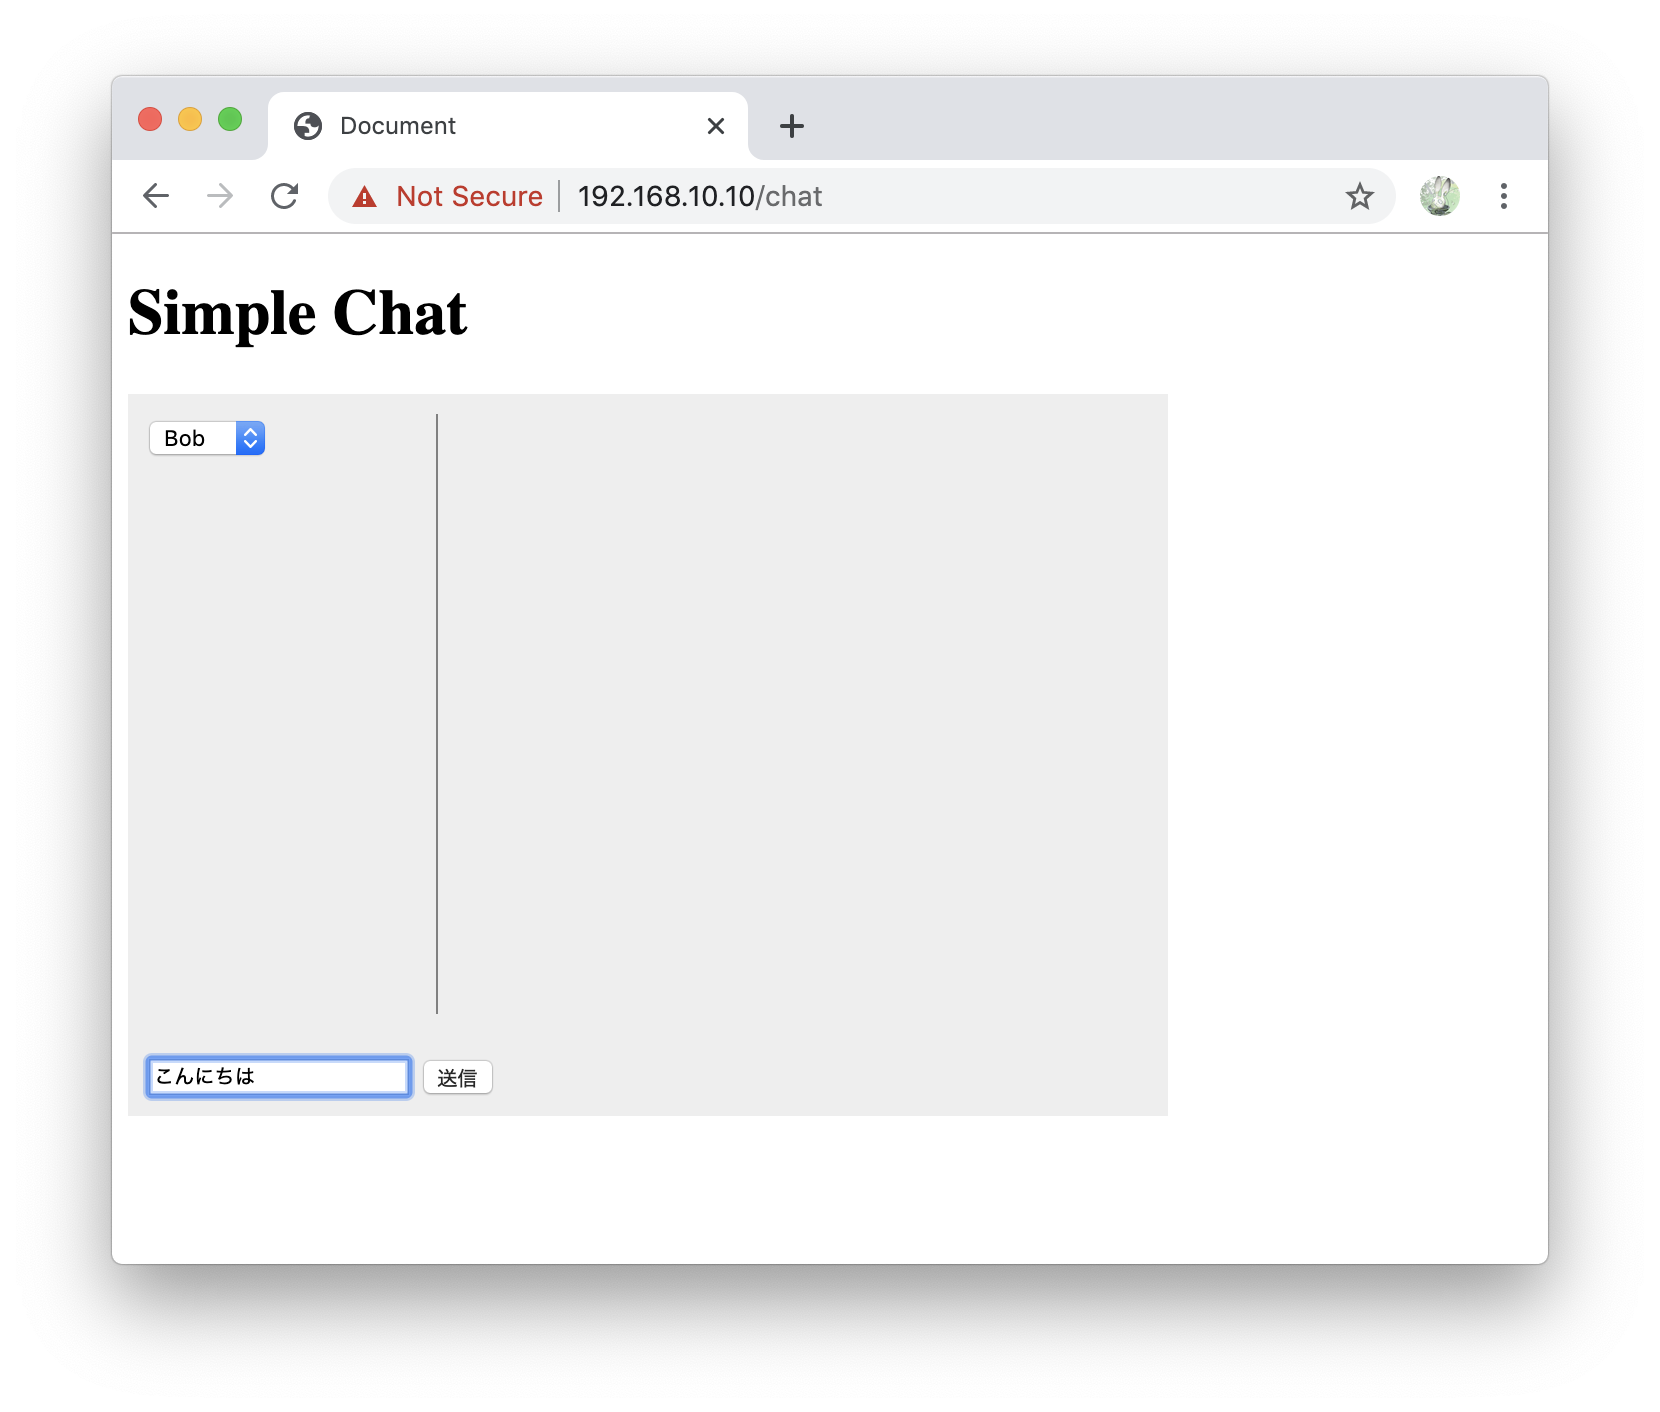
データを保存することができました
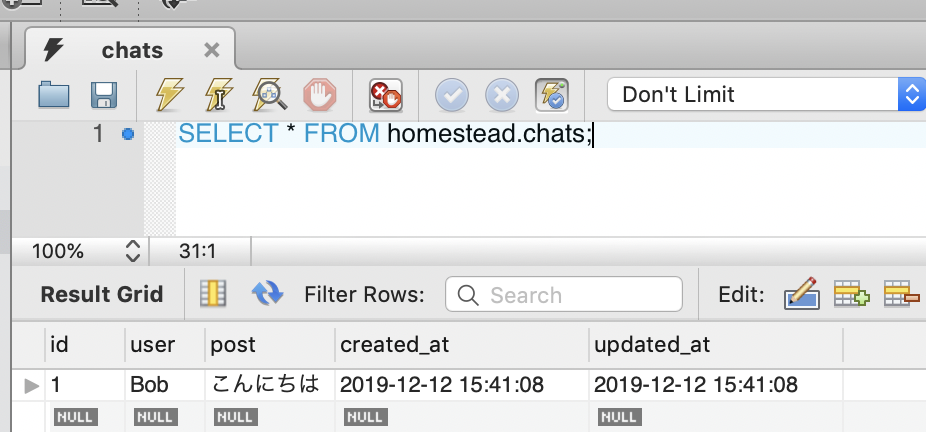
ここでのコミットです
7. チャットの一覧取得
チャットで別の人が打ち込んだ内容を取得するためにServer Sent Eventsを使って取得します。
Server Sent Events(SSE)とはサーバーからプッシュ通知を受信するためのHTTP接続をしてくれるAPIです。
よくwebsocketと比較されます、websocketはブラウザとサーバーで双方向通信できるが、SSEはサーバーからブラウザへの一方向の通信を行います。
参考 : Server Sent Events using Laravel and Vue
created() でServer Sent Eventsを使ってHTTP接続を開き、接続しっぱなしにしてくれます。
<template>
<div id="app" class="container">
<div class="flex">
<div class="users">
<select v-model="selectUser">
<option v-for="user in users">
{{ user }}
</option>
</select>
</div>
- <div class="chat">
- </div>
+ <div class="chat" ref="chat">
+ <div v-for="({ user, post, created_at }) in posts">
+ <p><strong>{{ user }}</strong> <small>{{ created_at }}</small></p>
+ <p>{{ post }}</p>
+ <hr>
+ </div>
+ </div>
</div>
<form @submit.prevent="addPost">
<input v-model="textValue">
<input type="submit" value="送信">
</form>
</div>
</template>
<script>
const users = ['Bob', 'Alice', 'Carol'];
export default {
data() {
return {
users,
selectUser: users[0],
textValue: '',
+ posts: [],
}
},
+ created() {
+ const es = new EventSource('/api/chat/event');
+ es.addEventListener('message', e => {
+ const { posts } = JSON.parse(e.data)
+ if (posts.length) {
+ this.renderList(posts)
+ }
+ });
+ },
methods: {
async addPost() {
if (!this.textValue.trim()) {
return
}
await axios.post('/api/chat/add', { user: this.selectUser, post: this.textValue })
this.textValue = ''
},
+ renderList(posts) {
+ this.posts = [...this.posts, ...posts]
+ // 下に追加したのでスクロールする
+ this.$nextTick(() => this.$refs.chat.scrollTop = this.$refs.chat.scrollHeight)
+ },
},
}
</script>
// ...
api.phpに追加
  // ...

  Route::post('/chat/add', 'Api\\ChatController@add');
+ Route::get('/chat/event', 'Api\\ChatController@event');
Server Sent EventsでJSONを返すようにします
use App\Chat;
use Carbon\Carbon;
use Illuminate\View\View;
use Illuminate\Http\Request;
use Illuminate\Http\JsonResponse;
use App\Http\Controllers\Controller;
use Illuminate\Support\Facades\Redis;
use Symfony\Component\HttpFoundation\StreamedResponse;

// ...

    /**
     * チャット一覧取得
     *
     * @return StreamedResponse
     */
    public function event(): StreamedResponse
    {
        // 最近のチャット5件と、一番最近のcreated_atを取得
        $chats = Chat::orderBy('created_at', 'desc')->limit(5)->get()->sortBy('created_at')->values();
        $tmpLatestCreatedAt = optional($chats->last())->created_at ?? Carbon::minValue();
        $response = new StreamedResponse(function() use ($chats, $tmpLatestCreatedAt) {
            printf("data: %s\n\n", json_encode(['posts' => $chats]));
            ob_flush();
            flush();
            while(true) {
                $latestCreatedAt = is_null(Redis::get('latest_created_at')) ? Carbon::minValue() : Carbon::parse(Redis::get('latest_created_at'));
                if ($latestCreatedAt->gt($tmpLatestCreatedAt)) {
                    // チャットに更新があった場合はテーブルから取得
                    $latestChats = Chat::where('created_at', '>', $tmpLatestCreatedAt)->orderBy('created_at', 'asc')->get();
                    $tmpLatestCreatedAt = $latestCreatedAt;
                }
                echo 'data: ' . json_encode(['posts' => $latestChats ?? []]) . "\n\n";
                ob_flush();
                flush();

                $latestChats = null;

                sleep(1);
            }
        });
        $response->headers->set('Content-Type', 'text/event-stream');
        $response->headers->set('X-Accel-Buffering', 'no');
        $response->headers->set('Cach-Control', 'no-cache');
        return $response;
    }

// ...
チャットの内容を更新に合わせてリアルタイムに取得できました。
ここでの変更です
8. 「Bobが入力中です」と表示させる
<template>
<div id="app" class="container">
<div class="flex">
<div class="users">
<select v-model="selectUser">
<option v-for="user in users">
{{ user }}
</option>
</select>
</div>
<div class="chat" ref="chat">
<div v-for="({ user, post, created_at }) in posts">
<p><strong>{{ user }}</strong> <small>{{ created_at }}</small></p>
<p>{{ post }}</p>
<hr>
</div>
</div>
</div>
<form @submit.prevent="addPost">
- <input v-model="textValue">
+ <input v-model="textValue" @keyup="typing">
<input type="submit" value="送信">
+ {{ typingMessage }}
</form>
</div>
</template>
<script>
const users = ['Bob', 'Alice', 'Carol'];
export default {
data() {
return {
users,
selectUser: users[0],
textValue: '',
posts: [],
+ typingUsers: [],
}
},
created() {
const es = new EventSource('/api/chat/event');
es.addEventListener('message', e => {
- const { posts } = JSON.parse(e.data)
+ const { posts, typing_users: typingUsers = [] } = JSON.parse(e.data)
if (posts.length) {
this.renderList(posts)
}
+ if (!_.isEqual(this.typingUsers, typingUsers)) {
+ this.typingUsers = typingUsers
+ }
});
},
methods: {
async addPost() {
if (!this.textValue.trim()) {
return
}
await axios.post('/api/chat/add', { user: this.selectUser, post: this.textValue })
this.textValue = ''
},
renderList(posts) {
this.posts = [...this.posts, ...posts]
// 下に追加したのでスクロールする
this.$nextTick(() => this.$refs.chat.scrollTop = this.$refs.chat.scrollHeight)
},
+ typing: _.throttle(async function () {
+ await axios.post('/api/chat/typing', { user: this.selectUser })
+ }, 700),
},
+ computed: {
+ typingMessage() {
+ const typingOtherUsers = this.typingUsers.filter(user => user !== this.selectUser)
+ if (typingOtherUsers.length === 0) {
+ return ''
+ }
+ if (typingOtherUsers.length === 1) {
+ return `${typingOtherUsers[0]}が入力しています`
+ }
+ if (typingOtherUsers.length > 1) {
+ return '複数人が入力しています'
+ }
+ }
+ },
}
</script>
// ...
api.phpに追加
  // ...

  Route::post('/chat/add', 'Api\\ChatController@add');
+ Route::post('/chat/typing', 'Api\\ChatController@typing');
  Route::get('/chat/event', 'Api\\ChatController@event');
入力中のユーザー情報を保存して、配列で返すように変更
+   /**
+    * 入力中の人の情報を保存
+    *
+    * @param Request $request
+    * @return JsonResponse
+    */
+   public function typing(Request $request): JsonResponse
+   {
+       Redis::sadd('typing_users', $request->get('user'));
+       return response()->json(['result' => 'ok']);
+   }

    /**
     * チャット一覧取得
     *
     * @return StreamedResponse
     */
    public function event(): StreamedResponse
    {
        // 最近のチャット5件と、一番最近のcreated_atを取得
        $chats = Chat::orderBy('created_at', 'desc')->limit(5)->get()->sortBy('created_at')->values();
        $tmpLatestCreatedAt = optional($chats->last())->created_at ?? Carbon::minValue();
        $response = new StreamedResponse(function() use ($chats, $tmpLatestCreatedAt) {
            echo 'data: ' . json_encode(['posts' => $chats]) . "\n\n";
            ob_flush();
            flush();
            while(true) {
                $latestCreatedAt = is_null(Redis::get('latest_created_at')) ? Carbon::minValue() : Carbon::parse(Redis::get('latest_created_at'));
+               $typingUsers = Redis::smembers('typing_users');
                if ($latestCreatedAt->gt($tmpLatestCreatedAt)) {
                    // チャットに更新があった場合はテーブルから取得
                    $latestChats = Chat::where('created_at', '>', $tmpLatestCreatedAt)->orderBy('created_at', 'asc')->get();
                    $tmpLatestCreatedAt = $latestCreatedAt;
                }
-               echo 'data: ' . json_encode(['posts' => $latestChats ?? []]) . "\n\n";
+               echo 'data: ' . json_encode(['posts' => $latestChats ?? [], 'typing_users' => $typingUsers]) . "\n\n";
                ob_flush();
                flush();

                $latestChats = null;
+               Redis::del('typing_users'); // TODO これだと複数接続しているときにお互いに違うタイミングで消し合ってしまう

                sleep(1);
            }
        });
        $response->headers->set('Content-Type', 'text/event-stream');
        $response->headers->set('X-Accel-Buffering', 'no');
        $response->headers->set('Cach-Control', 'no-cache');
        return $response;
    }
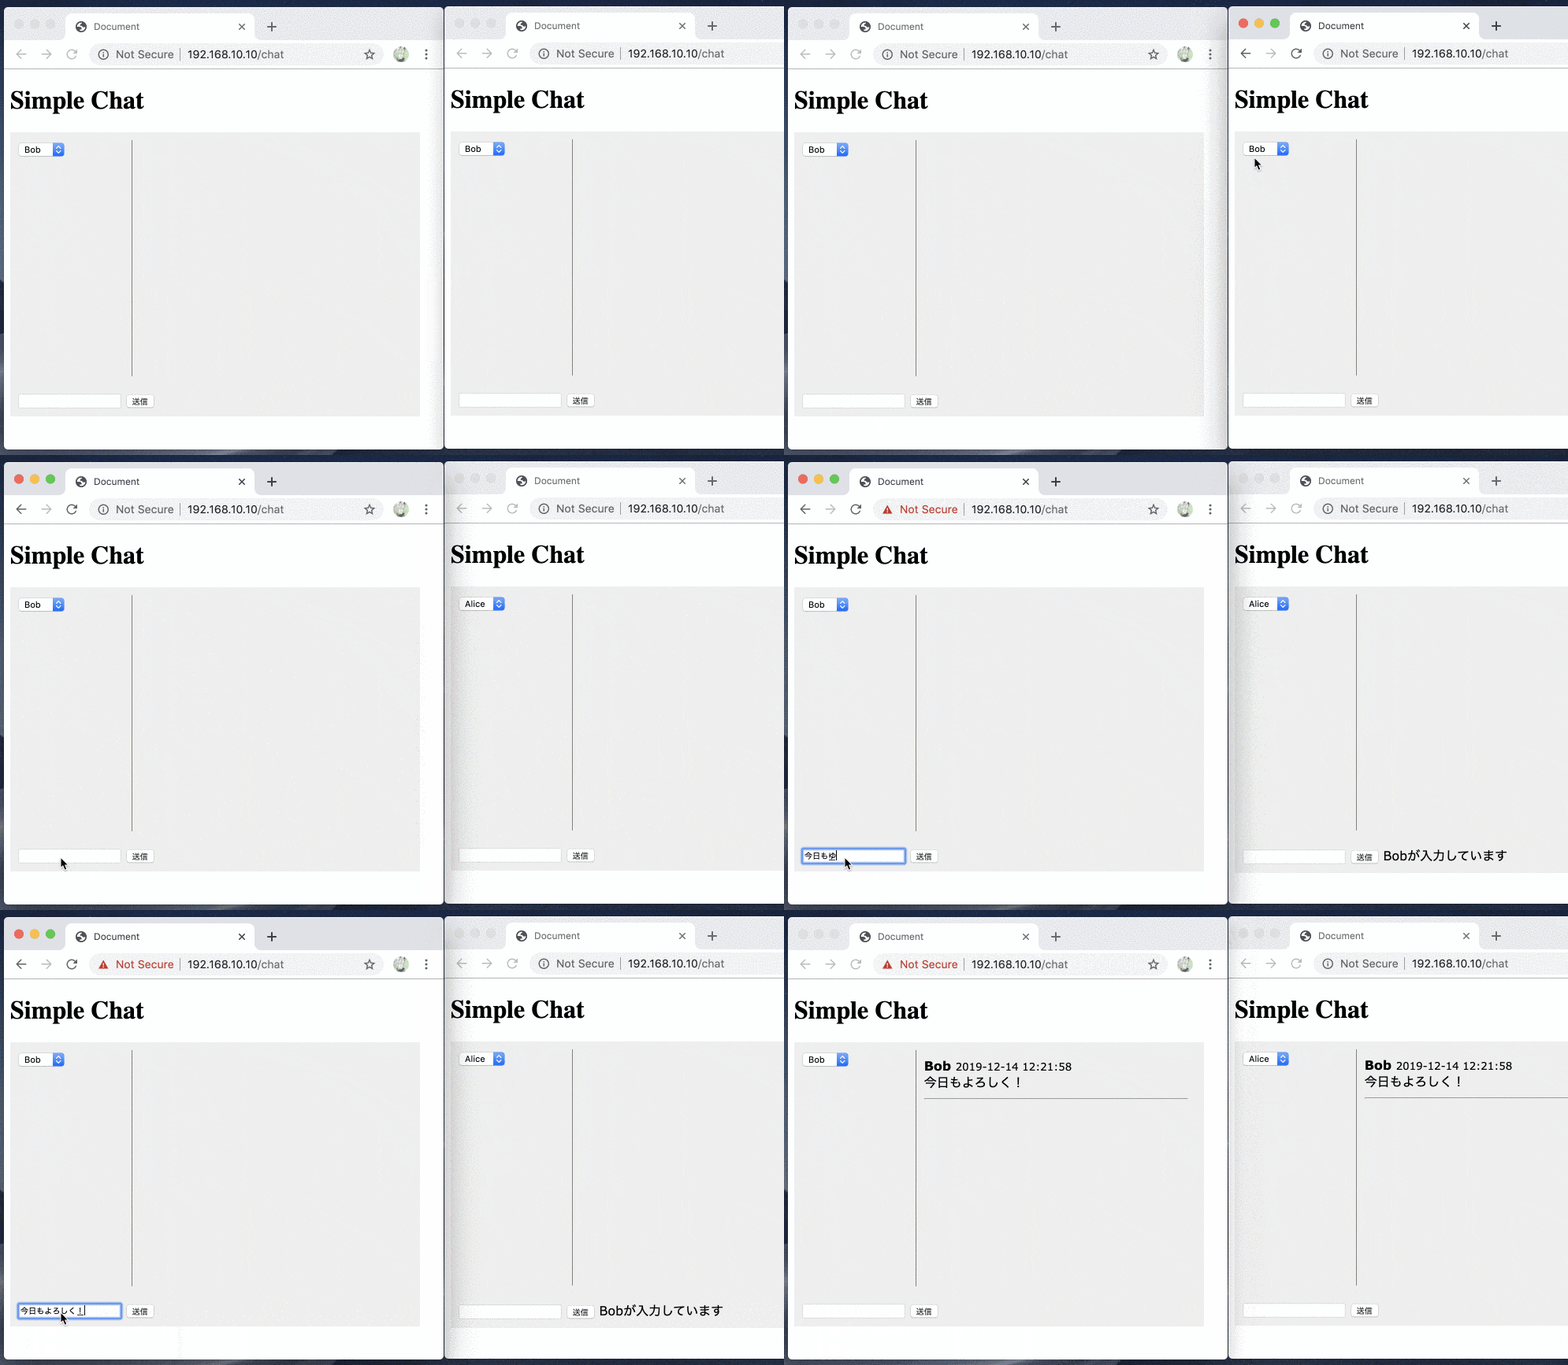
入力中の人の情報を出せることができました
ここでの変更です
最後まで見ていただいてありがとうございましたm(_ _)m
