初めに
Lambda と API Gateway を使用して、ブラウザでクリックボタンを押すと S3 にある画像ファイルをブラウザに表示する方法を実装する手順を説明します。
S3 に画像ファイルを保存する
表示したい画像ファイルを保存します。
Lambda 関数を作成する
以下の Lambda 関数を作成し、Lambda関数のロールに S3 のアクセス権限を付与します。検証だけでしたら Lambda 関数作成時のロールのインラインポリシーに S3 のフルアクセス権限を付与するのが簡単です。
import base64
import boto3
import json

s3 = boto3.client('s3')

def lambda_handler(event, context):
    object_key = event['image']
    response = s3.get_object(
        Bucket='binary-test-bucket',
        Key=object_key,
    )
    image = response['Body'].read()
    return {
        'headers': { "Content-Type": "image/png" },
        'statusCode': 200,
        'body': base64.b64encode(image).decode('utf-8'),
        'isBase64Encoded': True
    }
API Gateway を作成する
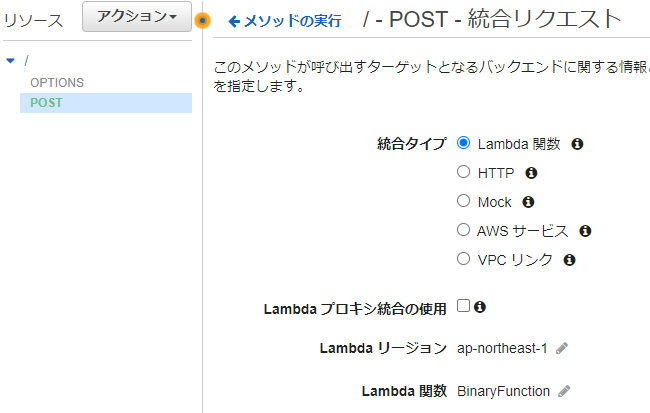
上記の Lambda 関数を選択します。非プロキシ統合にしておきます。おそらくプロキシ統合でも可能ですが、検証は非プロキシ統合で行いました。
フロントエンドを作成する
index.html
<!DOCTYPE html>
<html lang="ja">
<body>
  <h1>Binary Image Sample</h1>
  <img id="image" src="data:image/png;base64,HERE_IS_BINARY_CODE" alt="binary image" />
  <button onclick="showImage()">click</button>
  <script>
    function showImage() {
      const raw = JSON.stringify({image: 'sample.png'});
      const myHeaders = new Headers();
      myHeaders.append('Content-Type', 'application/json');
      const requestOptions = {
        method: 'POST',
        headers: myHeaders,
        body: raw,
        redirect: 'follow',
      };
      fetch('https://API_GATEWAY_ID.execute-api.ap-northeast-1.amazonaws.com/test', requestOptions)
        .then(response => response.text())
        .then(result => {
          const binaryData = JSON.parse(result).body;
          const imgElem = document.getElementById('image');
          imgElem.src = "data:image/png;base64," + binaryData;
        })
        .catch(error => {
          console.log(error);
        });
    }
  </script>
</body>
</html>
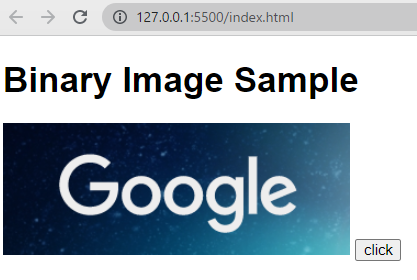
ボタン押下で以下のように画像が表示されます。
参考記事


