やること
- chefを使ってec2にnginxを導入する
事前準備
- ec2インスタンス作成して
% ssh nginx-testでログインできるように設定しておく - 作業マシンにchefとknife-soloをインストール
source 'https://rubygems.org'

gem 'chef'
gem 'knife-solo'
リポジトリ作成
% be knife solo init chef-repo
% cd chef-repo
% be knife solo prepare nginx-test
-
knife solo initでリポジトリを作成。以降はそこで作業を行う -
knife solo prepareで対象サーバにchef-soloを実行できるようにする- nodesディレクトリにnginx-test.jsonが作成される
cookbook作成
cookbook作成
% knife cookbook create nginx -o site-cookbooks
やることをレシピに記述する。
今回の目的はyumでnginxをインストールさせて、nginxを起動させること。
そのためにはリポジトリを追加する必要があるので、ファイルを作成して配置するレシピも記述しておく。
各コマンドについはchefのdocumentを参照
chef-repo/site-cookbooks/nginx/recipes/default.rb
cookbook_file '/etc/yum.repos.d/nginx.repo' do
  source 'nginx.repo'
end

yum_package 'nginx' do
  action :upgrade
end

bash 'run' do
  code '/usr/sbin/nginx'
end
chef-repo/site-cookbooks/nginx/files/default/nginx.repo
[nginx]
name=nginx repo
baseurl=http://nginx.org/packages/rhel/7/$basearch/
gpgcheck=0
enabled=1
cookbook適用
先ほど書いたレシピをnginx-test.jsonのrun_listに追加する。
chef-repo/nodes/nginx-test.json
{
  "run_list": [
    "recipe[nginx]"
  ],
  "automatic": {
    "ipaddress": "nginx-test"
  }
}
以下のコマンドを実行すると、リポジトリファイルを配置 -> nginxのインストール -> nginx実行とレシピが走るはず。
% be knife solo cook nginx-test
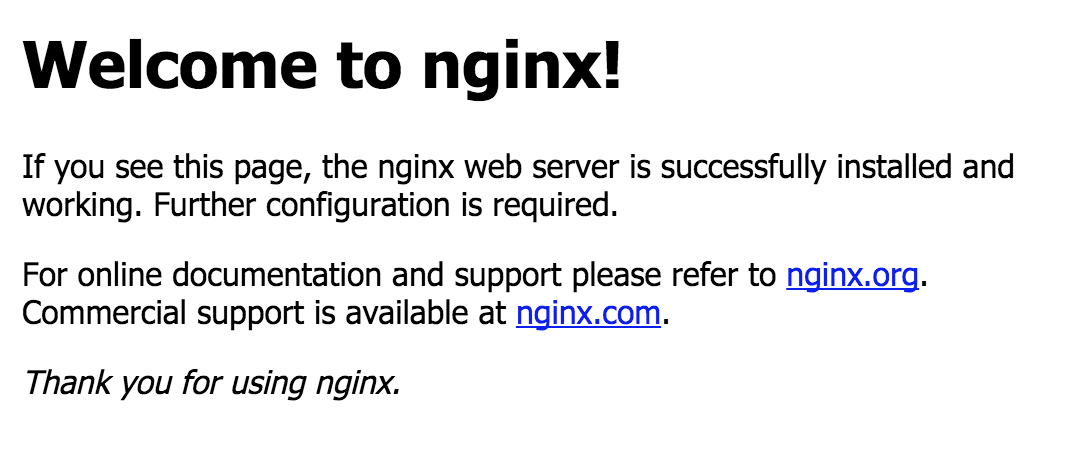
ブラウザから動作していることを確認。
