本業でメールをPythonで送付するという機会がありました。その時にsmtp4devというコンテナを作ると検証用のメールサーバをお手軽に作れるなぁと感動しました。
今後の自分の為にメモっておきます。
smtp4dev
環境構築
ホストの用意とコンテナデプロイ
dockerでお手軽に構築したいので、以下のスペックのVMで環境を作っていきたいと思います。
OSはubuntu24.04にします。

test@docker-host:~$ sudo su -
[sudo] password for test:
root@docker-host:~# apt update && apt upgrade -y
dockerをインストールします。
公式サイトのコマンドを実行すれば問題なくインストールできます。
# Add Docker's official GPG key:
sudo apt update
sudo apt install ca-certificates curl
sudo install -m 0755 -d /etc/apt/keyrings
sudo curl -fsSL https://download.docker.com/linux/ubuntu/gpg -o /etc/apt/keyrings/docker.asc
sudo chmod a+r /etc/apt/keyrings/docker.asc

# Add the repository to Apt sources:
sudo tee /etc/apt/sources.list.d/docker.sources <<EOF
Types: deb
URIs: https://download.docker.com/linux/ubuntu
Suites: $(. /etc/os-release && echo "${UBUNTU_CODENAME:-$VERSION_CODENAME}")
Components: stable
Architectures: $(dpkg --print-architecture)
Signed-By: /etc/apt/keyrings/docker.asc
EOF

sudo apt update

sudo apt install docker-ce docker-ce-cli containerd.io docker-buildx-plugin docker-compose-plugin
systemctl enable docker
docker -v
smtp4devのコンテナをデプロイしていきます。
※-p 2525:25でホスト側の受付ポートを2525にしているのはOP25B(Outbound Port 25 Blocking)のかねあいとかなんとか・・・
root@docker-host:~# docker run -d --rm -it -p 5000:80 -p 2525:25 -p 110:110 rnwo
od/smtp4dev
f833e00344eb193e18a2cd4dde6521ce064230dc9154307de9ac72aba077edf2
root@docker-host:~# docker ps
CONTAINER ID   IMAGE             COMMAND                  CREATED         STATUS         PORTS                                                                                                                                NAMES
f833e00344eb   rnwood/smtp4dev   "dotnet /app/Rnwood.…"   2 seconds ago   Up 2 seconds   0.0.0.0:110->110/tcp, [::]:110->110/tcp, 143/tcp, 0.0.0.0:2525->25/tcp, [::]:2525->25/tcp, 0.0.0.0:5000->80/tcp, [::]:5000->80/tcp   vigilant_galois
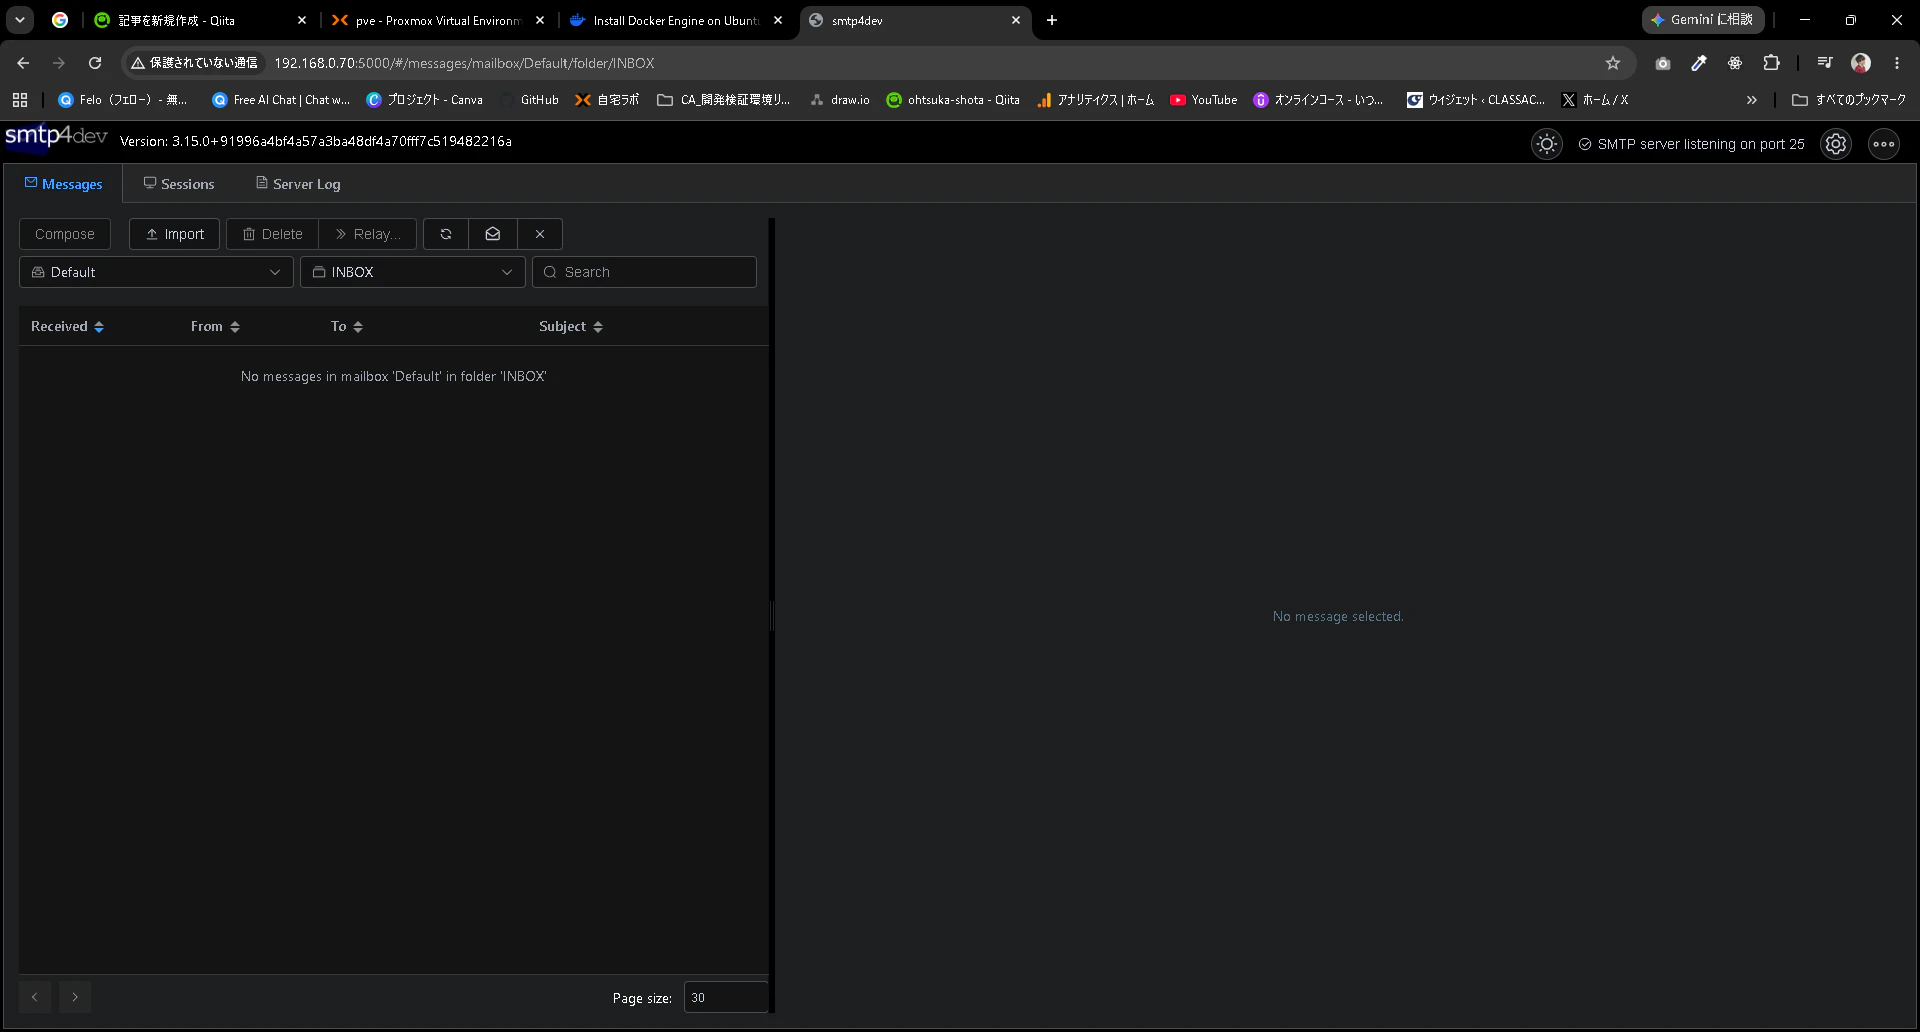
WebブラウザでホストのIPアドレス:5000でアクセスしてみます。
以下のようなUIが表示されれば、OKです。
Pythonコードの用意
今回使うコードは以下。sendmail.pyという名前で保存します。
import smtplib
from email.mime.text import MIMEText
from email.utils import formatdate

# --- 設定項目 ---
SMTP_HOST = "192.168.0.70"  # smtp4devが動いているVMのIPアドレス
SMTP_PORT = 2525            # Dockerで設定したポート番号(25の場合はここを25に変更)

FROM_ADDR = "sender@example.com"
TO_ADDR = "receiver@example.com"
SUBJECT = "smtp4dev 送信テスト"
BODY = "これはPythonから送信したテストメールです。\nsmtp4devの管理画面に届いているか確認してください。"

def send_test_mail():
    # メール本文の作成
    msg = MIMEText(BODY, "plain", "utf-8")
    msg["Subject"] = SUBJECT
    msg["From"] = FROM_ADDR
    msg["To"] = TO_ADDR
    msg["Date"] = formatdate(localtime=True)

    try:
        # SMTPサーバーへ接続(smtp4devは認証・TLS不要)
        with smtplib.SMTP(SMTP_HOST, SMTP_PORT, timeout=10) as server:
            server.set_debuglevel(1)  # 通信ログを表示したい場合は1に設定
            server.send_message(msg)

        print("✅ メール送信に成功しました。")
        print(f"→ http://{SMTP_HOST}:5000 のWeb UIで確認してください。")

    except smtplib.SMTPException as e:
        print(f"❌ SMTPエラーが発生しました: {e}")
    except (ConnectionRefusedError, TimeoutError) as e:
        print(f"❌ 接続エラー: サーバーに接続できません。IPアドレスやポート、ファイアウォールを確認してください。詳細: {e}")

if __name__ == "__main__":
    send_test_mail()
仮想環境を用意して有効化します。
PS C:\Users\ohtsu\Documents\python\mail> python -V
Python 3.12.10
PS C:\Users\ohtsu\Documents\python\mail> python -m venv .venv
PS C:\Users\ohtsu\Documents\python\mail> .\.venv\Scripts\Activate.ps1
動作確認
以下のコマンドでコードを実行してメールを送信します。
(.venv) PS C:\Users\ohtsu\Documents\python\mail> python .\sendmail.py
send: 'ehlo [169.254.83.107]\r\n'
reply: b'250-Nice to meet you.\r\n'
reply: b'250-8BITMIME\r\n'
reply: b'250-SIZE\r\n'

中略

data: (250, b'Mail accepted')
send: 'QUIT\r\n'
reply: b'221 Goodbye\r\n'
reply: retcode (221); Msg: b'Goodbye'
✅ メール送信に成功しました。
→ http://192.168.0.70:5000 のWeb UIで確認してください。
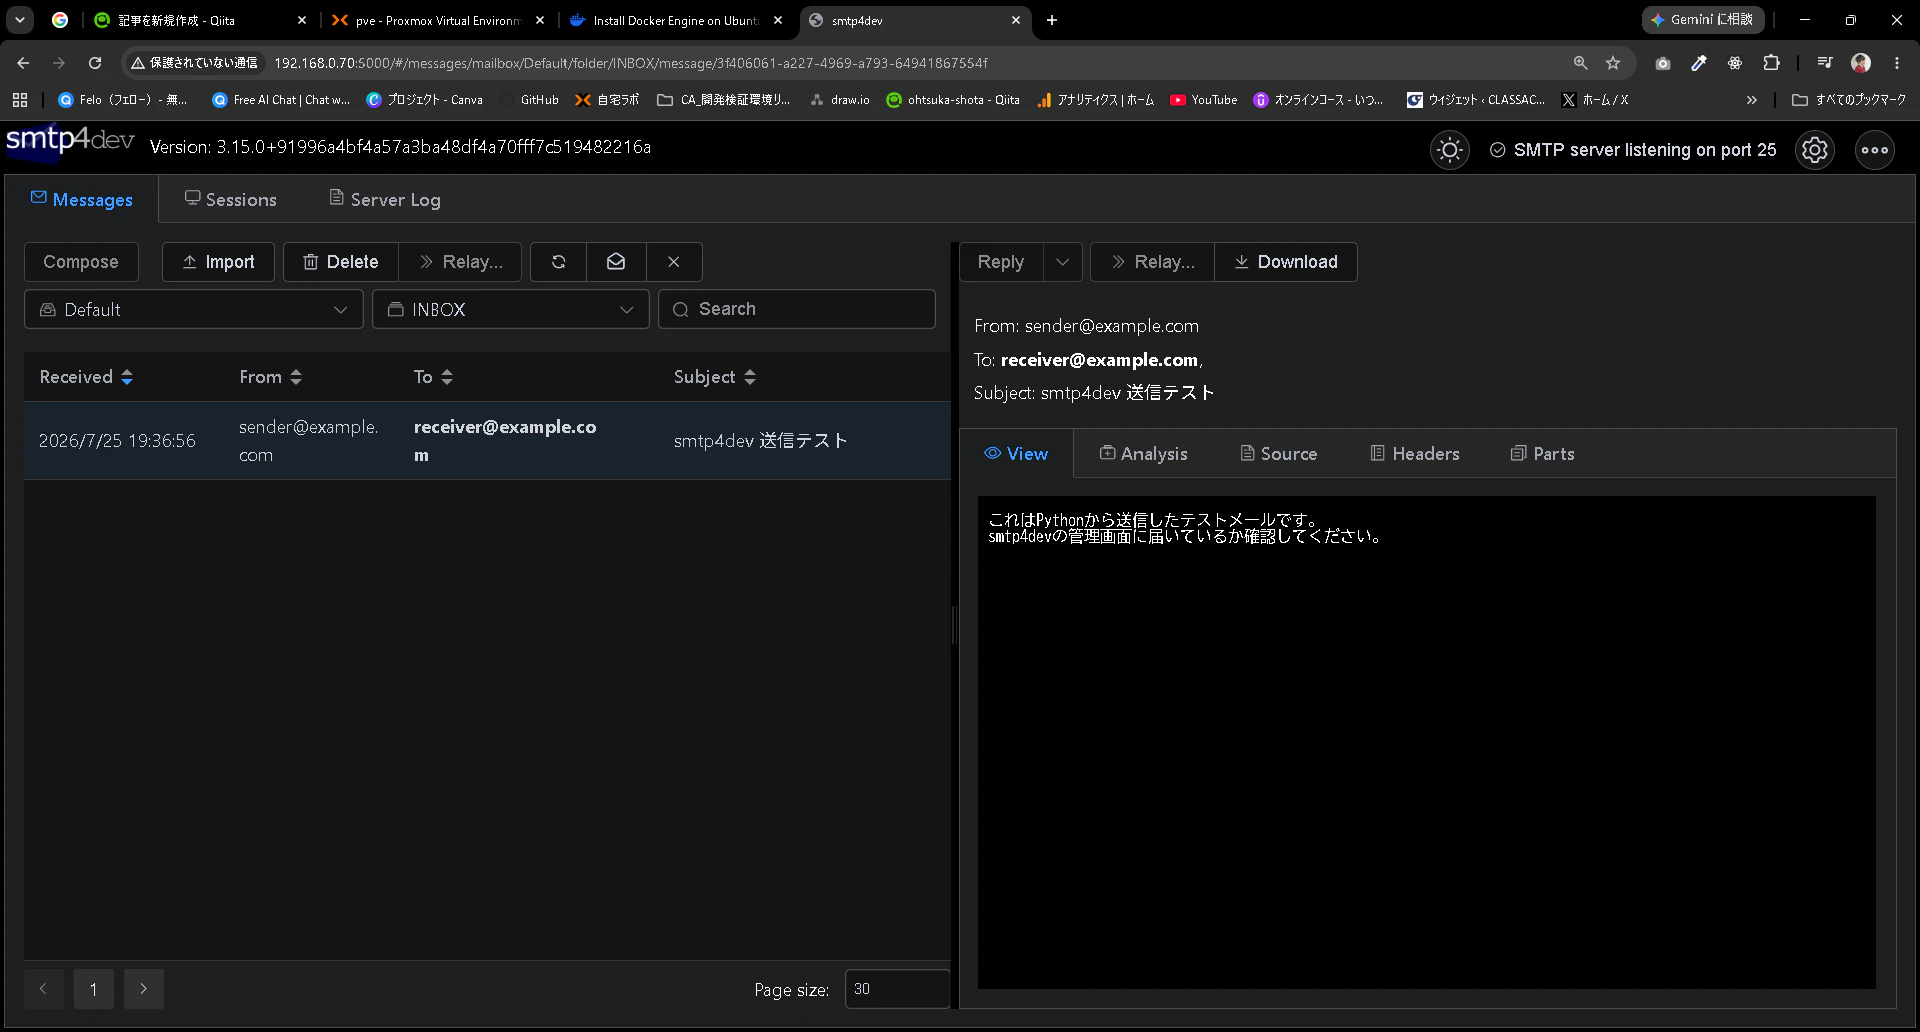
smtp4devを確認します。
メールサーバに到達していることがわかりますね。