#概要
kerasのConv2DTransposeを理解したかった。
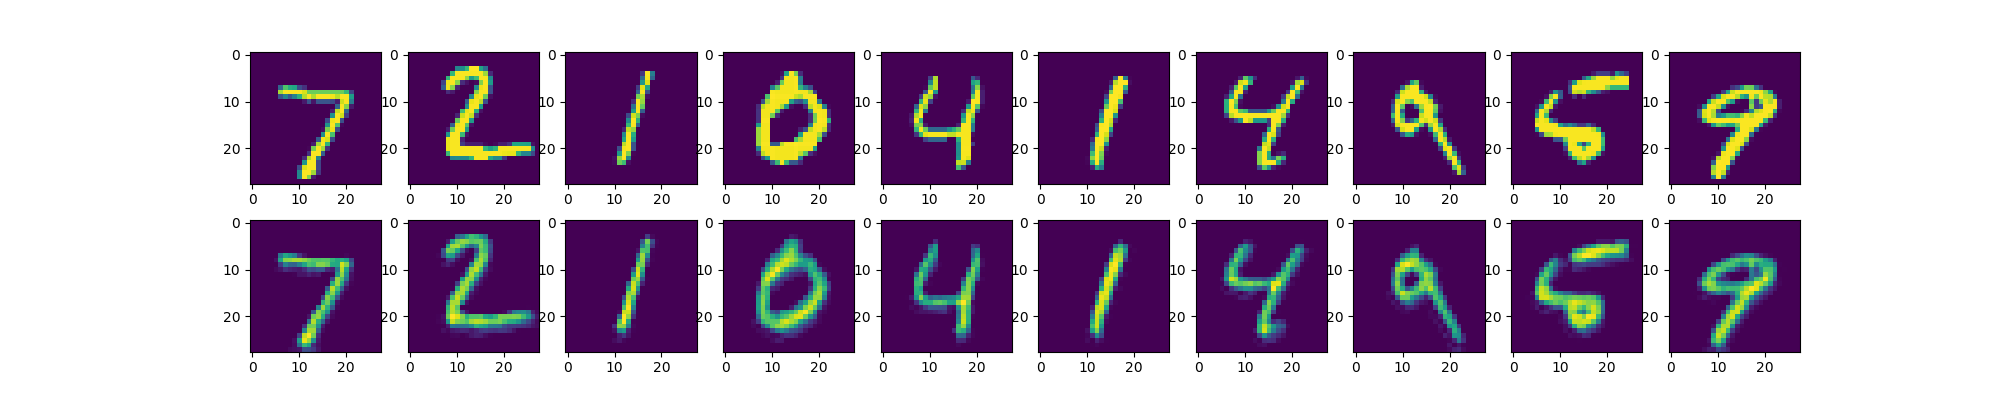
autoencoder書いてみた。
#写真
#サンプルコード
from tensorflow.contrib.keras.python.keras.models import Model
from tensorflow.contrib.keras.python.keras.datasets import mnist
from tensorflow.contrib.keras.python.keras.layers.convolutional import Conv2D, Conv2DTranspose
from tensorflow.contrib.keras.python.keras.models import Sequential
import numpy as np
import matplotlib.pyplot as plt

(x_train, _), (x_test, _) = mnist.load_data()
x_train = x_train.reshape(-1, 28, 28, 1).astype('float32') / 255.
x_test = x_test.reshape(-1, 28, 28, 1).astype('float32') / 255.

input_shape = (28, 28, 1)
model = Sequential()
model.add(Conv2D(filters = 8, kernel_size = (3, 3), strides = (1, 1), padding = 'same', activation = 'relu', input_shape = input_shape))
model.add(Conv2DTranspose(filters = 1, kernel_size = (3, 3), strides = (1, 1), padding = 'same', activation = 'relu'))
model.summary()
model.compile(optimizer = 'adadelta', loss = 'binary_crossentropy')
model.fit(x_train, x_train, epochs = 1, batch_size = 256, shuffle = True, validation_data = (x_test, x_test))
decoded_imgs = model.predict(x_test)

n = 10
plt.figure(figsize = (20, 4))
for i in range(n):
	ax = plt.subplot(2, n, i + 1)
	plt.imshow(x_test[i].reshape(28, 28))
	ax = plt.subplot(2, n, i + 1 + n)
	plt.imshow(decoded_imgs[i].reshape(28, 28))
plt.savefig("auto13.png")
plt.show()
以上。