はじめに
Okta Verifyによる多要素認証(MFA)を使用していると、毎回スマホでコードを確認するのが面倒ですよね。
実は、Okta VerifyのQRコードからTOTPのシークレットキーを取得し、ローカル環境やPostmanからOTPを生成することが可能です。この記事では、Postmanで完結できる形で、TOTPシークレットキーを取得する手順を解説します。
🧪 活用例
- PlaywrightなどのE2Eテストで自動ログインを実現
- CLIツールから毎回スマホを使わずOTP生成
- 自宅PCからVPNログイン用にOTPを使いたい場合 など
準備:QRコードの内容を確認
まず、Oktaポータルで以下の手順を行います。
- Okta にログイン
- 「セキュリティ方式」→「Okta Verify」
- 「他のセットアップ」→「セットアップ」ボタンを押す
- 表示された QR コードを読み取る(Oktaアプリはダメ!)
QRコードの中身は、以下のようなURL形式です:
oktaverify://email@domain.com/?t=XXXXX&f=YYYYY&s=https
これから以下の値を取り出します:
-
XXXXX→ OTDTトークン -
YYYYY→ Authenticator ID -
DOMAIN→ Oktaのドメイン(例:yourcompany.okta.com)
🔑 Step 1: 公開鍵の取得
まずは clientInstanceKey.kid と n を取得します。
Postman で以下の設定をしてください。
🔹 メソッド
GET https://DOMAIN.okta.com/oauth2/v1/keys
🔹 ヘッダー
なし(デフォルトでOK)
🔹 レスポンス例
{
  "keys": [
    ...,
    {
      "alg": "RS256",
      "e": "AQAB",
      "kid": "OpSRC6wLx4oPnqGBUuLz-WL7_knbK_UhClzjvt1cpOw",
      "kty": "RSA",
      "n": "u0Y1ygDJ61AghDiEqeGW7lCv4iW2gLOON0Aw-Tm53xQ..."
    }
  ]
}
👆 一番最後のキーの kid と n を次で使います。
🔐 Step 2: sharedSecret の取得
次に、Postman で以下のPOSTリクエストを作成します。
🔹 メソッド
POST https://DOMAIN.okta.com/idp/authenticators
🔹 ヘッダー
Accept: application/json; charset=UTF-8
Authorization: OTDT XXXXX
Content-Type: application/json; charset=UTF-8
User-Agent: D2DD7D3915.com.okta.android.auth/6.8.1 DeviceSDK/0.19.0 Android/7.1.1 unknown/Google
-
OTDT XXXXXはQRコード中のt値 -
Authorizationの前後にスペースが必要です
🔹 ボディ(JSON)
{
  "authenticatorId": "YYYYY",
  "device": {
    "clientInstanceBundleId": "com.okta.android.auth",
    "clientInstanceDeviceSdkVersion": "DeviceSDK 0.19.0",
    "clientInstanceVersion": "6.8.1",
    "clientInstanceKey": {
      "alg": "RS256",
      "e": "AQAB",
      "okta:isFipsCompliant": false,
      "okta:kpr": "SOFTWARE",
      "kty": "RSA",
      "use": "sig",
      "kid": "先ほどの kid",
      "n": "先ほどの n"
    },
    "deviceAttestation": {},
    "displayName": "1Password",
    "fullDiskEncryption": false,
    "isHardwareProtectionEnabled": false,
    "manufacturer": "unknown",
    "model": "Google",
    "osVersion": "25",
    "platform": "ANDROID",
    "rootPrivileges": true,
    "screenLock": false,
    "secureHardwarePresent": false
  },
  "key": "okta_verify",
  "methods": [
    {
      "isFipsCompliant": false,
      "supportUserVerification": false,
      "type": "totp"
    }
  ]
}
🔹 レスポンス例
{
  "methods": [
    {
      "sharedSecret": "JBSWY3DPEHPK3PXP"
    }
  ]
}
この sharedSecret がTOTPのシークレットキー(例)です。
OTP生成の確認
取得した sharedSecret を以下のように使えば、ローカルでOTPを生成できます。
import { TOTP } from "totp-generator";

const { otp } = TOTP.generate("JBSWY3DPEHPK3PXP");
console.log(otp);
クラスで実装してみた
Okta.ts
import Logger from "@class/common/Logger";
import Postman from "./Postman";
import axios from "axios";
import dayjs from "dayjs";
import { TOTP } from "totp-generator";
import credentials from "@utils/constants/credentials";

class Okta {
  public generateOTP() {
    const { otp, expires } = TOTP.generate(credentials.TOTP_SECRET_KEY);

    Logger.info(
      `will be expired at ${dayjs(expires).format("YYYY-MM-DD HH:mm:ss")}`
    );

    return otp;
  }

  public async getTotpSecret(domain: string, otdtToken: string, authenticatorId: string) {
    const url = `${domain}/idp/authenticators`;
    const { kid, n } = await this.getKeys(domain);

    const payload = {
      authenticatorId,
      device: {
        clientInstanceBundleId: "com.okta.android.auth",
        clientInstanceDeviceSdkVersion: "DeviceSDK 0.19.0",
        clientInstanceVersion: "6.8.1",
        clientInstanceKey: {
          alg: "RS256",
          e: "AQAB",
          "okta:isFipsCompliant": false,
          "okta:kpr": "SOFTWARE",
          kty: "RSA",
          use: "sig",
          kid,
          n,
        },
        displayName: "1Password",
        manufacturer: "unknown",
        model: "Google",
        osVersion: "25",
        platform: "ANDROID",
        rootPrivileges: true,
        screenLock: false,
        secureHardwarePresent: false,
      },
      key: "okta_verify",
      methods: [
        {
          isFipsCompliant: false,
          supportUserVerification: false,
          type: "totp",
        },
      ],
    };

    const headers = {
      Accept: "application/json;charset=UTF-8",
      Authorization: `OTDT ${otdtToken}`,
      "Content-Type": "application/json;charset=UTF-8",
      "User-Agent":
        "D2DD7D3915.com.okta.android.auth/6.8.1 DeviceSDK/0.19.0 Android/7.1.1 unknown/Google",
    };

    const res = await axios.post(url, payload, { headers });
    const method = res.data.methods.pop();
    return method.sharedSecret;
  }

  private async getKeys(domain: string) {
    const url = `${domain}/oauth2/v1/keys`;
    const res = await Postman.get(url);
    const key = res.data.keys.pop();
    const { kid, n } = key;
    return { kid, n };
  }
}

export default new Okta();
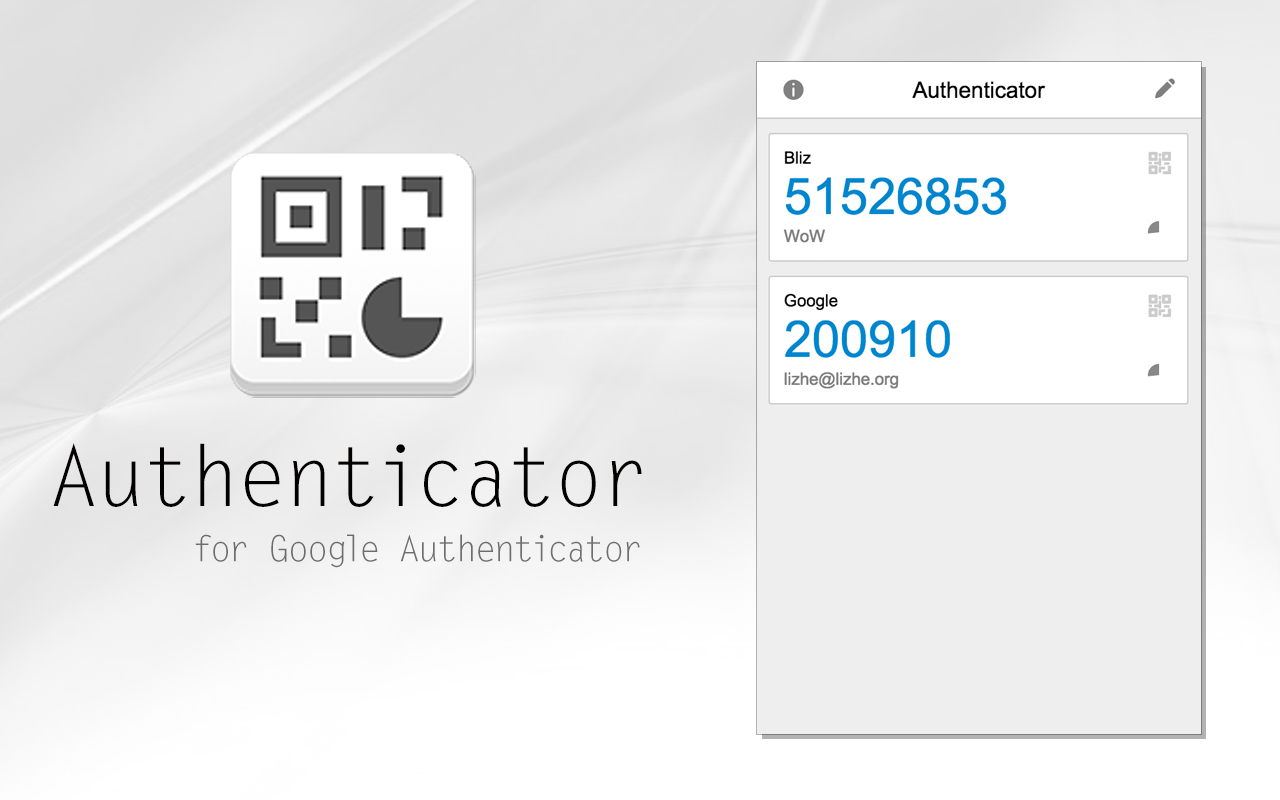
補足:ブラウザ拡張機能
下記を使うと便利です。
⚠️ 注意点
- このリクエストを実行すると、Oktaの
セキュリティ方式に「1Password」という新しいデバイスが登録されます。 - QRコードから得られる情報は短時間で無効になります。失敗したら再発行してください。
-
clientInstanceKeyに関するエラー(400など)が出た場合は、再度GET /oauth2/v1/keysを実行して最新の鍵を取得しましょう。
まとめ
OktaのQRコードとAPIを組み合わせれば、TOTPシークレットをローカルに保存していつでもOTPを生成可能です。セキュリティとのバランスを見ながら、適切に運用していきましょう。
| ステップ | 内容 | 備考 |
|---|---|---|
| Step 1 | 公開鍵取得 |
/oauth2/v1/keys をGET |
| Step 2 | sharedSecret取得 |
/idp/authenticators にPOST |
| Step 3 | ローカルでOTP生成 |
totp-generatorで利用可能 |
参考資料
下記の記事を参考しました。