IRKitとRaspberry PiでスマートHOME
なぜ作ったか
「Hey Siri」で、電気とテレビと空調がついて、
「Hey Siri」で全部消えるという、堕落したルーティンを作りたかった。
あと、Raspberry Piを持て余してたから。(←これね)
環境
iPhone8(iOS12.1) - Raspberry Pi(2 ModelB) - Homekit - IRKit - テレビとか、空調とか
- サーバOS:CentOS7
- デバイス:iPhone8(iOS12.1) 、Raspberry Pi(2 ModelB)、IRKit
- ミドルウェア:Nodejs
- ソフトウェア:Homebridge
iPhoneでIRKitアプリを使ってみる
- IRKitシンプルリモコンをインストール
https://itunes.apple.com/jp/app/irkit%E3%82%B7%E3%83%B3%E3%83%97%E3%83%AB%E3%83%AA%E3%83%A2%E3%82%B3%E3%83%B3/id778790928?mt=8 - IRKitの電源を入れる
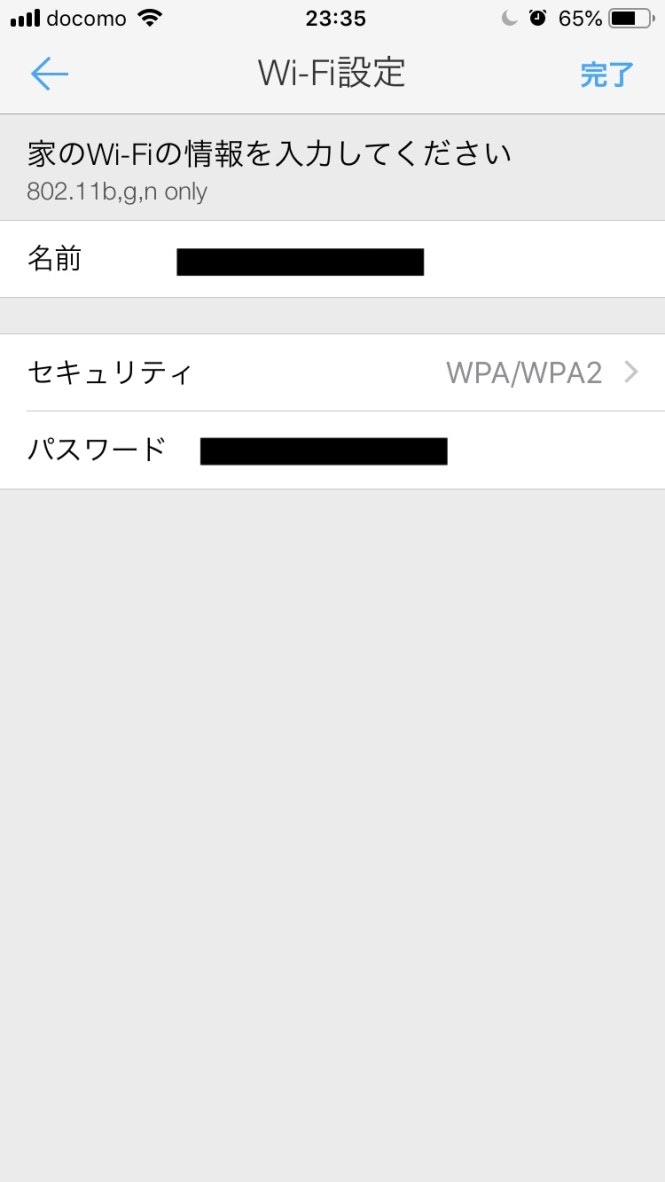
- WiFiを設定する
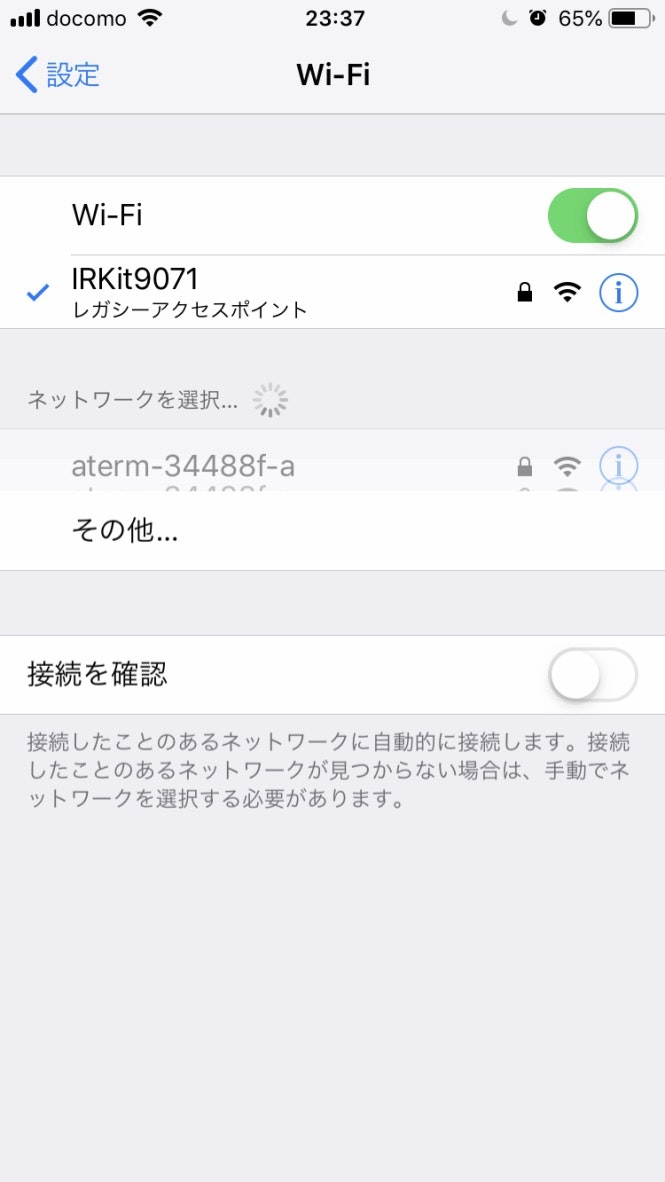
 - IRKitのWiFiに接続する
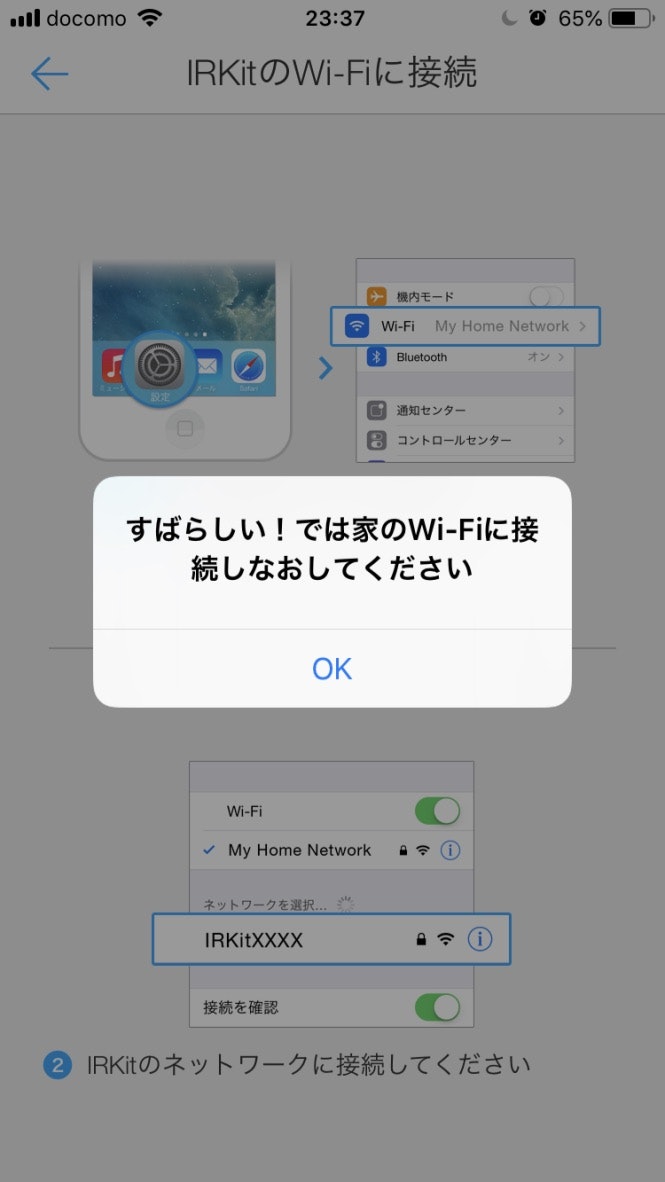
 - 接続完了!
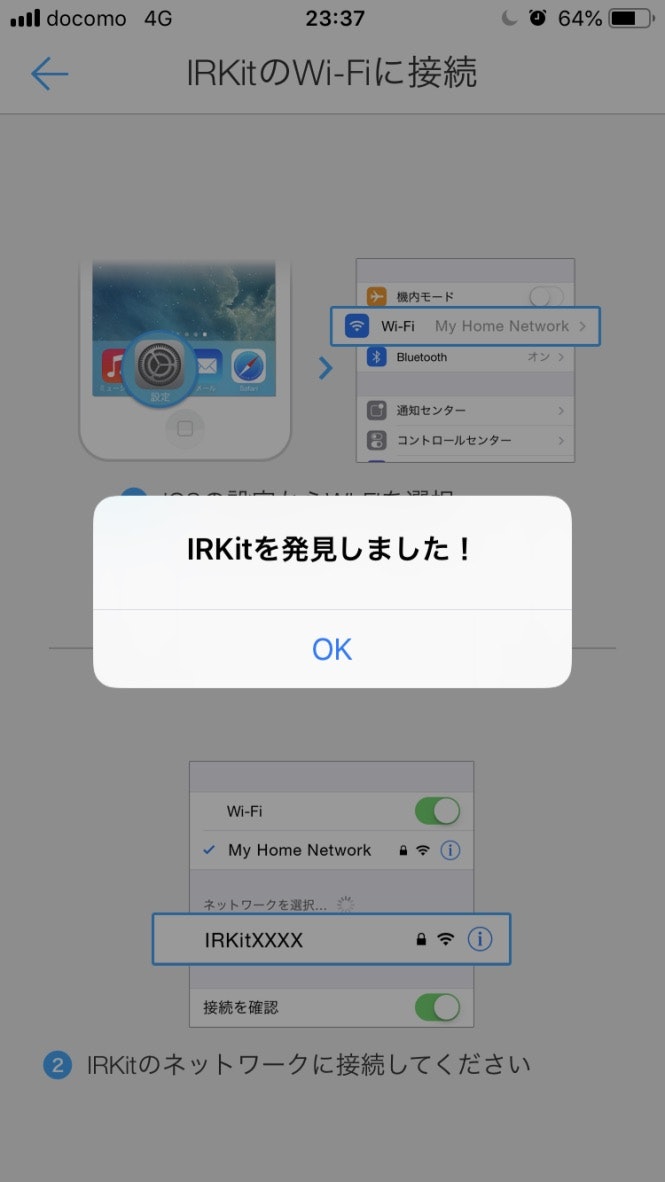
 - IRKitシンプルリモコンを起動すると、IRKitを見つけてくれる
 - リモコンの信号を学習させる
- ボタンに名前をつける
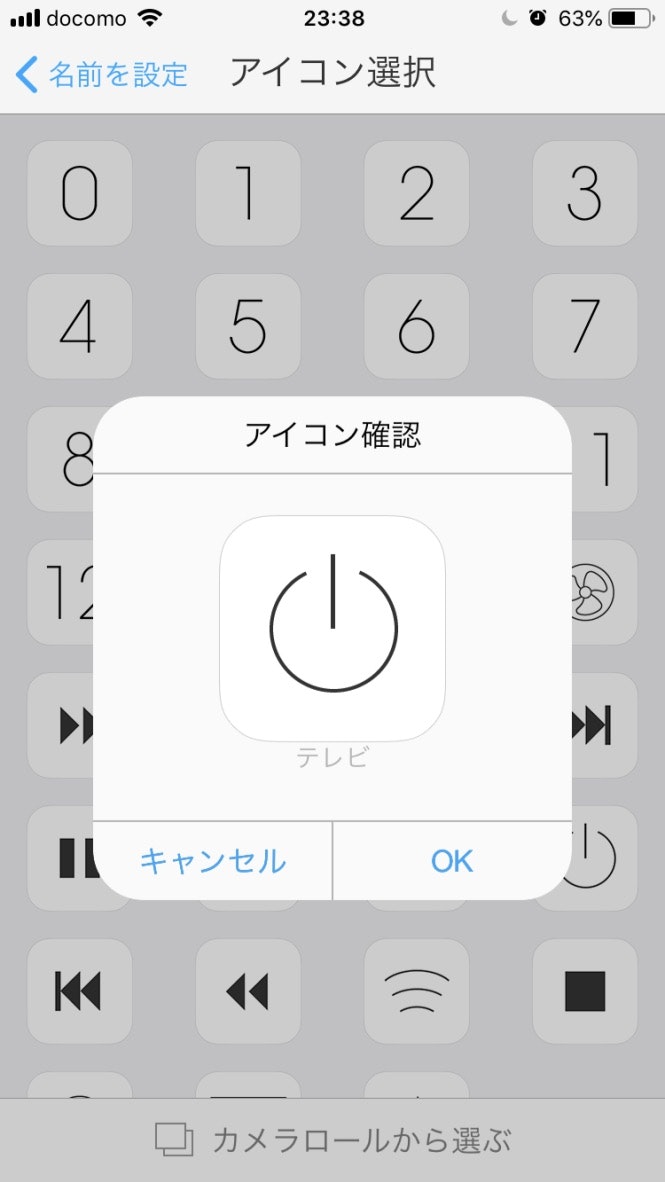
 - ボタンのアイコンを決める
 - ボタンを並べて完成!
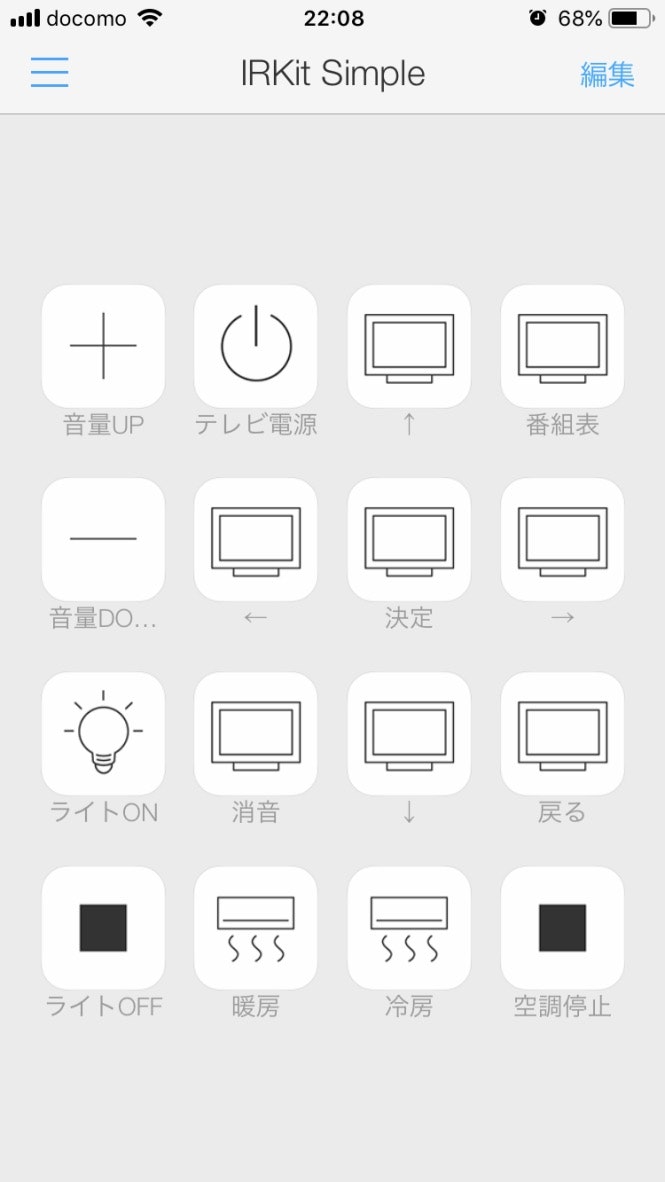 - スマホでテレビとか空調とかを操作できる感動を味わえます。
Raspberry PiとIRKitを接続して、操作してみる
- Raspberry PiとIRKitは同じネットワークに接続してください。
- IRKitのIPアドレスを確認してください。私の環境では「192.168.10.5」でした。
- IRKitにリモコンを向けて目的のボタンを押します。
- その後、ターミナルから下記コマンドを打つことで赤外線情報を取得できます。
[centos-rpi2]# curl -i "http://192.168.10.5/messages" -H "X-Requested-With: curl"
HTTP/1.0 200 OK
Access-Control-Allow-Origin: *
Server: IRKit/3.0.0.0.g85190b1
Content-Type: text/plain
{"format":"raw","freq":38,"data":[6881,3458,873,873,873,2537,873,873,873,787,873,787,873,787,873,787,873,787,873,787,873,787,873,787,873,787,873,787,873,2537,873,873,873,873,873,873,873,873,873,873,873,873,873,873,873,873,873,873,873,2537,873,873,873,873,873,873,873,873,873,873,873,873,873,873,873,873,873,2537,873,873,873,2537,873,2537,873,2537,873,2537,873,873,873,873,873,2537,873,873,873,2537,873,2537,873,2537,873,2537,873,787,873,2537,873,65535,0,65535,0,18662,6881,3458,873,873,873,2537,873,873,873,873,873,873,873,873,873,873,873,873,873,873,873,873,873,873,873,873,873,873,873,2537,873,873,873,873,873,873,873,873,873,873,873,873,873,873,873,873,873,873,873,2537,873,873,873,873,873,873,873,873,873,873,873,873,873,873,873,873,873,2537,873,873,873,2537,873,2537,873,2537,873,2537,873,873,873,873,873,2537,873,873,873,2537,873,2537,873,2537,873,2537,873,873,873,2537,873,65535,0,65535,0,18662,6881,3458,873,873,873,2537,873,873,873,873,873,873,873,873,873,873,873,873,873,873,873,873,873,873,873,873,873,873,873,2537,873,873,873,873,873,873,873,873,873,873,873,873,873,873,873,873,873,873,873,2537,873,873,873,873,873,873,873,873,873,873,873,873,873,873,873,873,873,2537,873,873,873,2537,873,2537,873,2537,873,2537,873,873,873,873,873,2537,873,873,873,2537,873,2537,873,2537,873,2537,873,873,873,2537,873]}
- {"format":"raw","freq":が赤外線の信号です。
- Raspberry PiからIRKitへ信号を送ります。
[centos-rpi2]# curl -i "http://192.168.10.5/messages" -H "X-Requested-With: curl" -d '{"format":"raw","freq":38,"data":[6881,3458,873,873,873,2537,873,873,873,787,873,787,873,787,873,787,873,787,873,787,873,787,873,787,873,787,873,787,873,2537,873,873,873,873,873,873,873,873,873,873,873,873,873,873,873,873,873,873,873,2537,873,873,873,873,873,873,873,873,873,873,873,873,873,873,873,873,873,2537,873,873,873,2537,873,2537,873,2537,873,2537,873,873,873,873,873,2537,873,873,873,2537,873,2537,873,2537,873,2537,873,787,873,2537,873,65535,0,65535,0,18662,6881,3458,873,873,873,2537,873,873,873,873,873,873,873,873,873,873,873,873,873,873,873,873,873,873,873,873,873,873,873,2537,873,873,873,873,873,873,873,873,873,873,873,873,873,873,873,873,873,873,873,2537,873,873,873,873,873,873,873,873,873,873,873,873,873,873,873,873,873,2537,873,873,873,2537,873,2537,873,2537,873,2537,873,873,873,873,873,2537,873,873,873,2537,873,2537,873,2537,873,2537,873,873,873,2537,873,65535,0,65535,0,18662,6881,3458,873,873,873,2537,873,873,873,873,873,873,873,873,873,873,873,873,873,873,873,873,873,873,873,873,873,873,873,2537,873,873,873,873,873,873,873,873,873,873,873,873,873,873,873,873,873,873,873,2537,873,873,873,873,873,873,873,873,873,873,873,873,873,873,873,873,873,2537,873,873,873,2537,873,2537,873,2537,873,2537,873,873,873,873,873,2537,873,873,873,2537,873,2537,873,2537,873,2537,873,873,873,2537,873]}'
Raspberry PiにHomebridgeをセットアップ
- yumのアップデート
yum update
-
node.jsのインストール
- インストール
wget https://nodejs.org/dist/v4.0.0/node-v4.0.0-linux-armv6l.tar.gz tar -xvf node-v4.0.0-linux-armv6l.tar.gz cd node-v4.0.0-linux-armv6l cp -R * /usr/local/- インストールされていることを確認
# node -v v4.0.0 # npm -v 2.14.2 -
Homebridgeのインストール
- Homebridgeインストール
# npm install -g homebridgeエラーが出たんで、gccとgcc-c++をインストールして再実行するとうまくいきました。。。
# yum -y install gcc # yum -y install gcc-c++ # npm install -g homebridge- IRKitとHomebridgeを接続するプラグインをインストール
# npm install -g homebridge-irkit- 設定ファイル(config.json)の作成
# vi /root/.homebridge/config.jsonconfig.json { "bridge": { "name": "Homebridge", "username": "IRKitのMACアドレス", "port": 51826, "pin": "000-00-000" }, "description": "IRKit Control", "accessories": [ { "accessory": "IRKit", "name": "テレビ", "irkit_host": "192.168.10.5", "on_form": {"format":"raw","freq":38,"data":[赤外線の番号]}, "off_form": {"format":"raw","freq":38,"data":[赤外線の番号]} } ] }- 起動確認
# homebridge [12/22/2018, 12:03:05 PM] Loaded config.json with 1 accessories and 0 platforms. [12/22/2018, 12:03:05 PM] --- [12/22/2018, 12:03:05 PM] Loaded plugin: homebridge-irkit [12/22/2018, 12:03:05 PM] Registering accessory 'homebridge-irkit.IRKit' [12/22/2018, 12:03:05 PM] --- [12/22/2018, 12:03:05 PM] Loading 1 accessories... [12/22/2018, 12:03:05 PM] [TV] Initializing IRKit accessory... Setup Payload: X-HM://0023N6U4T2F89 Scan this code with your HomeKit app on your iOS device to pair with Homebridge: ┌─────────────┐ │ QRコードが表示│ └─────────────┘ Or enter this code with your HomeKit app on youriOS device to pair with Homebridge: ┌────────────┐ │ 000-00-000 │ └────────────┘- iOS device to pair with Homebridge:のあとにpinコードが出力されればOKです。
iPhoneのホームAPPにIRKitを登録
- ホームアプリを起動
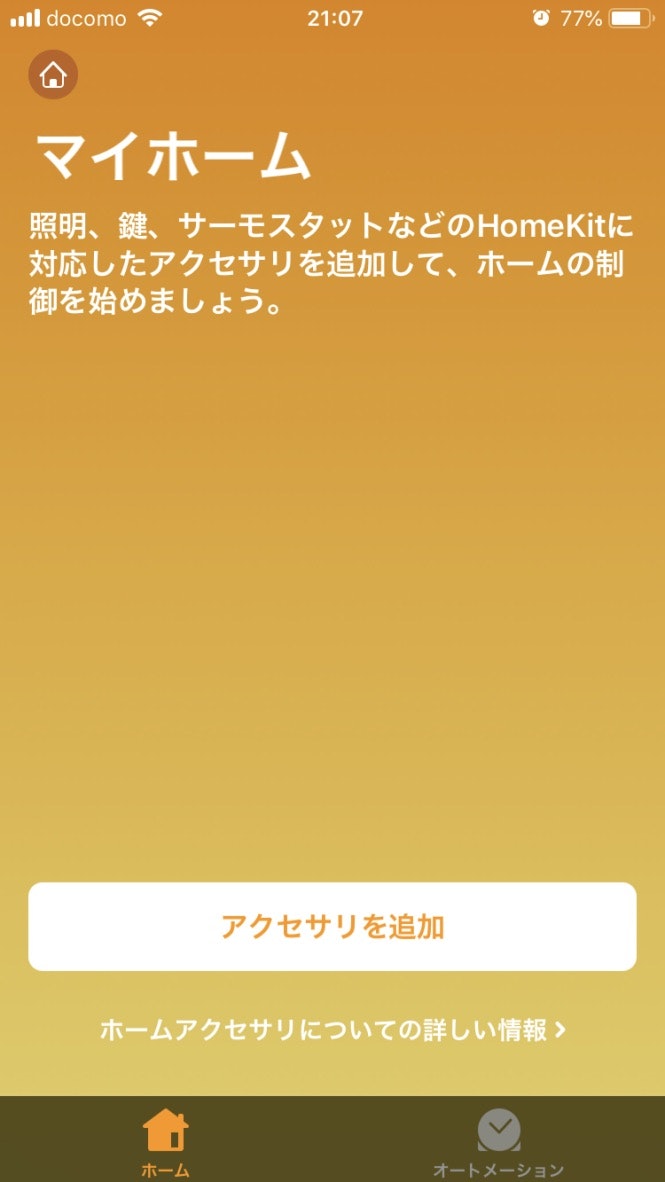 - アクセサリを追加
- pinコードを入力する
- ホームアプリにアクセサリが追加されました。
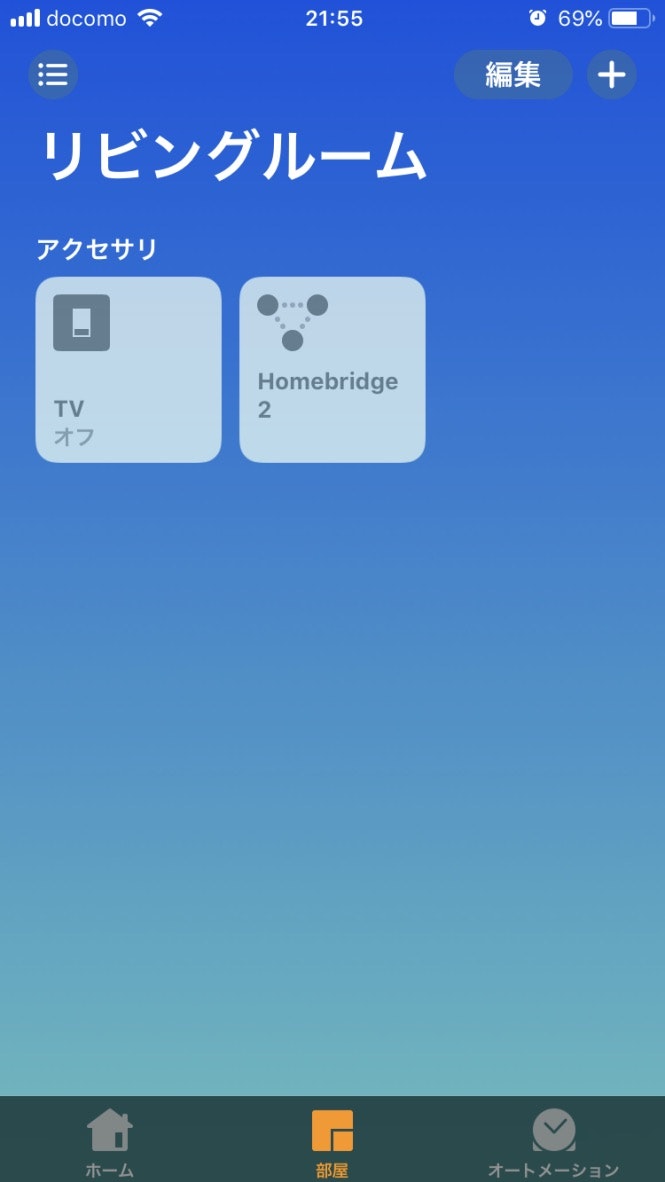
- ボタンを押すとテレビがついて、もう一度押すと消えます。以下のようなログが出力されます。
[12/22/2018, 12:54:06 PM] Homebridge is running on port 51826.
[12/22/2018, 12:54:31 PM] [TV] Setting power state to on
[12/22/2018, 12:54:31 PM] [TV] IRKit power function succeeded!
[12/22/2018, 12:54:37 PM] [TV] Setting power state to off
[12/22/2018, 12:54:37 PM] [TV] IRKit power function succeeded!
[12/22/2018, 12:55:41 PM] [TV] Setting power state to on
[12/22/2018, 12:55:41 PM] [TV] IRKit power function succeeded!
[12/22/2018, 12:55:54 PM] [TV] Setting power state to off
[12/22/2018, 12:55:54 PM] [TV] IRKit power function succeeded!
そして最後に。
ついでにHomebridgeのデーモン化
vi /etc/default/homebridge

# Defaults / Configuration options for homebridge
# The following settings tells homebridge where to find the config.json file and where to persist the data (i.e. pairing and others)
HOMEBRIDGE_OPTS=-U /root/.homebridge

If you uncomment the following line, homebridge will log more
You can display this via systemd's journalctl: journalctl -f -u homebridge
# DEBUG=*
vi /etc/systemd/system/homebridge.service

[Unit]
Description=Node.js HomeKit Server
After=syslog.target

[Service]
Type=simple
User=root
EnvironmentFile=/etc/default/homebridge
ExecStart=/usr/local/bin/homebridge $HOMEBRIDGE_OPTS
Restart=on-failure
RestartSec=10
KillMode=process

[Install]
WantedBy=multi-user.target
# systemctl daemon-reload
# systemctl enable homebridge
# systemctl start homebridge
以上。
