この記事は NestJS Advent Calendar 2019 の 16日目の記事です。
はじめに
この記事では @nestjs/swagger というモジュールの紹介をします。このモジュールを使うと、 NestJS のコントローラーの実装にデコレーターを追加することで Open API(Swagger) の仕様書を生成することができます。これにより、「JSON/YAML で API を定義する必要がない」「実装コードと API の仕様書の乖離がなくなる」などのメリットがあります。
この記事での @nestjs/swagger のバージョンは 4.0.9 を前提にしています。この4系は12月頭にリリースされ、 OpenAPI 3.0 をサポートした他、いくつかの破壊的変更が行われています。いくつか3系とは異なる部分が出てきますので、既存プロジェクトですでに導入されている方はご注意ください。
サンプルリポジトリ
@nestjs/swagger の導入
NestJS のプロジェクトを生成して、 @nestjs/swagger と swagger-ui-express をインストールします。
$ npx -p @nestjs/cli nest new day15-swagger
$ yarn add @nestjs/swagger swagger-ui-express
@nestjs/swagger を使うために以下のように main.ts を編集しましょう。
import { NestFactory } from '@nestjs/core';
import { SwaggerModule, DocumentBuilder } from '@nestjs/swagger';

import { AppModule } from './app.module';

async function bootstrap() {
  const app = await NestFactory.create(AppModule);

  const options = new DocumentBuilder()
    .setTitle('NestJS アドベントカレンダーサンプル')
    .build();
  const document = SwaggerModule.createDocument(app, options);
  SwaggerModule.setup('api', app, document);

  await app.listen(3000);
}
bootstrap();
yarn start:dev を実行し、 http://localhost:3000/api/ にアクセスすると、Swagger UI のページが表示されます。

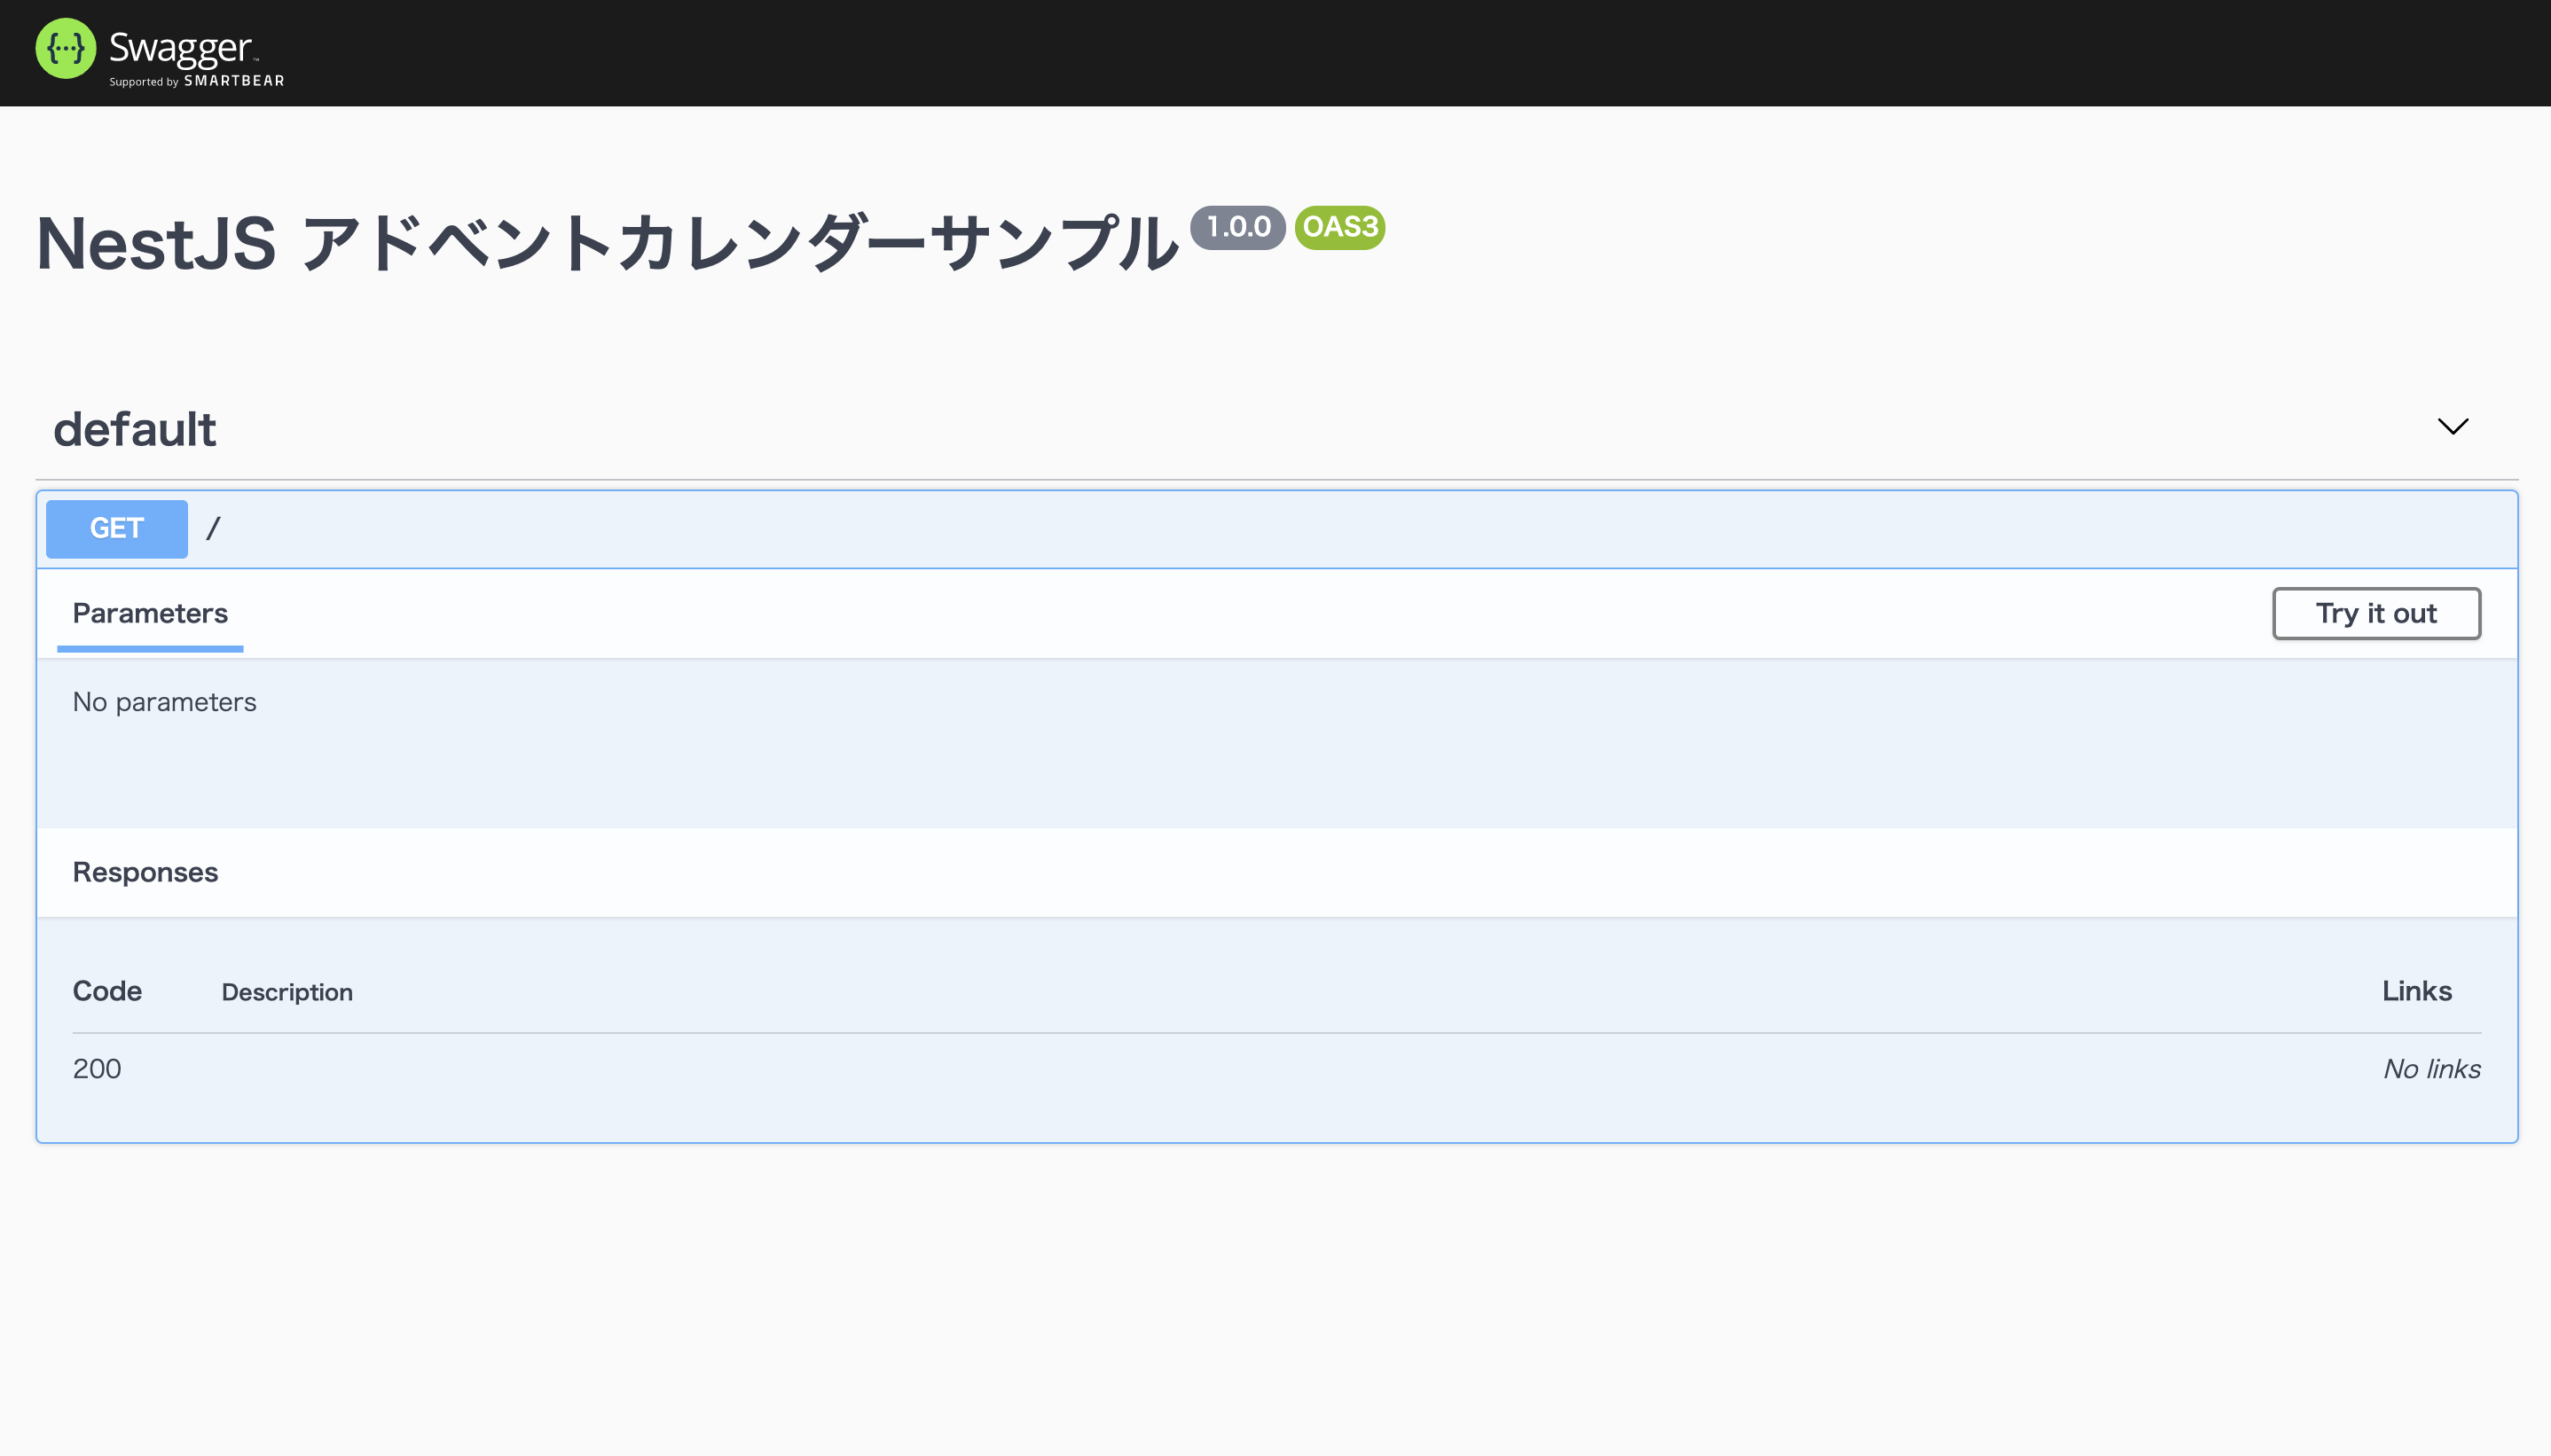
/ というエンドポイントの存在が表示されているだけで、リクエストやレスポンスについては特に表示がされていません。次はアノテーションを用いて、リクエストやレスポンスを定義してみます。
@nestjs/swagger を使った API 定義
ここでは GET /items というエンドポイントを用意します。このエンドポイントは item の id を配列で受け取り、実際の item を配列で返します。
まず、最初に item のモデルを定義します。
import { ApiProperty } from '@nestjs/swagger';

export class Item {
    @ApiProperty()
    id: number;
    @ApiProperty()
    name: string;
}
次に、この item モデルを用いた DTO を定義します。
@ApiProperty をアノテーションとして付与することで @nestjs/swagger に、そのプロパティがスキーマ生成の対象であることを教えています。
import { Item } from "src/model/item.model";
import { ApiProperty } from "@nestjs/swagger";

export class GetItemsResponse {
    @ApiProperty({ type: [Item] })
    items: Item[];
}

export class GetItemsRequest {
    @ApiProperty({ type: [Number] })
    ids: Item["id"][]
}
最後に新しいエンドポイントをコントローラーに追加します。
import { Controller, Get, HttpStatus, Query } from '@nestjs/common';
import { ApiResponse } from '@nestjs/swagger';
import { AppService } from './app.service';
import { GetItemsResponse, GetItemsRequest } from './dto/item.dto';

@Controller()
export class AppController {
  constructor(private readonly appService: AppService) {}

  @Get('/item')
  @ApiResponse({ status: HttpStatus.OK, type: GetItemsResponse })
  getItems(@Query() { ids }: GetItemsRequest): GetItemsResponse {
    return { items: [] };
  }

  @Get()
  getHello(): string {
    return this.appService.getHello();
  }

}
先ほどと同じく http://localhost:3000/api/ にアクセスします。
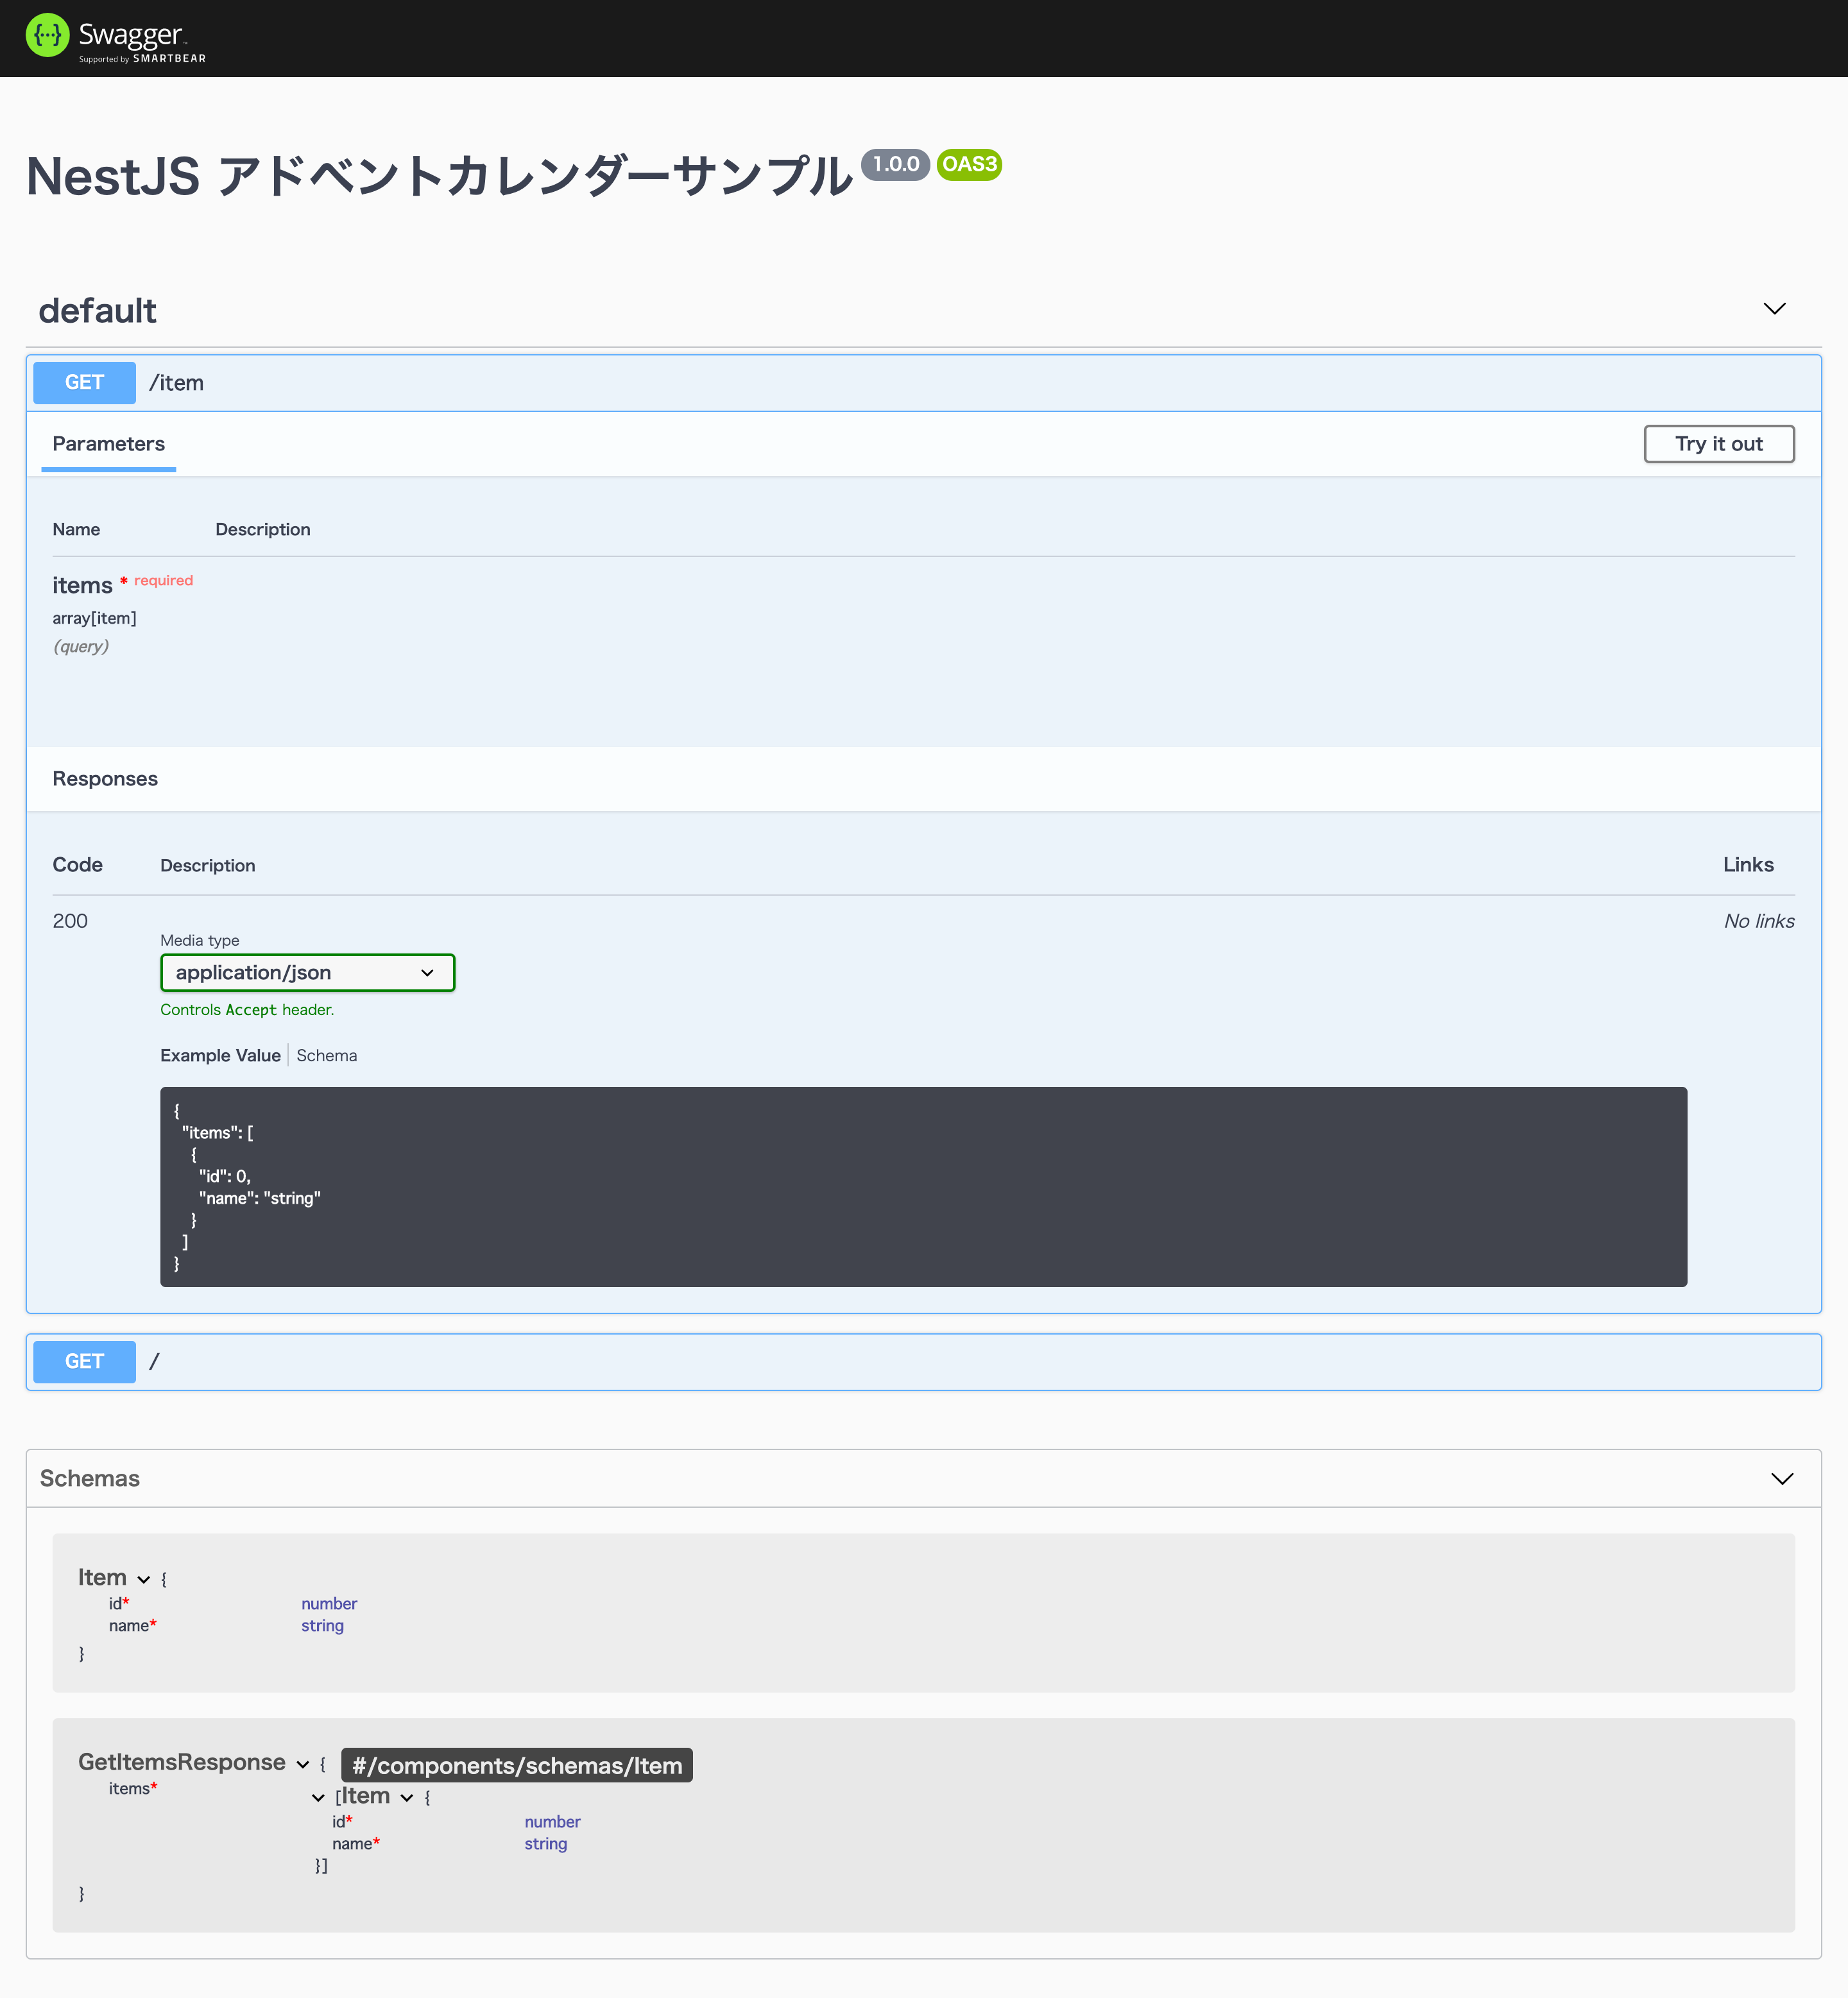
コントローラーに実装を追加したため /items に対するリクエストとレスポンスが追加されています。また、 model や dto として定義したクラスが Schemas にも追加されています。
モックサーバ用の値の追加
@ApiProperty の引数 example を指定することで、 OpenAPI の仕様書を使ったモックサーバのレスポンスを定義できます。
import { Item } from 'src/model/item.model';
import { ApiProperty } from '@nestjs/swagger';

export class GetItemsResponse {
    @ApiProperty({ type: [Item], example: [{ id: 1, name: 'test' }] })
    items: Item[];
}

export class GetItemsRequest {
    @ApiProperty({ type: [String], example: ['1', '2', '3'] })
    ids: string[];
}
試しにモックサーバを立ててみましょう。 @stoplight/prism-cli をインストールします。
$ yarn add -D @stoplight/prism-cli
次に curl http://localhost:3000/api-json > spec.json で仕様書の json ファイルをダウンロードします。
モックサーバを立ち上げます。
$ yarn prism mock spec.json
リクエストを投げてみると、 example に書いた値がレスポンスとして返ってくる事がわかります。
$ curl "http://127.0.0.1:4010/item?ids=1"
{"items":[{"id":1,"name":"test"}]}
終わりに
@nestjs/swagger を使うことで、コントローラーの定義と OpenAPI の定義の生成が同時に行えることを紹介しました。
