Arduino MEGA2560(の互換機)の2回めの記事です。
今回はLCD(リキッドクリスタルディスプレイ)を使ってコードに書いた文字を液晶ディスプレイに表示させて見ようと思います。
使うのは前回同様Elegooのmega2560。仕様は本家Arduino MEGA2560とほぼ同じはず。
使うもの
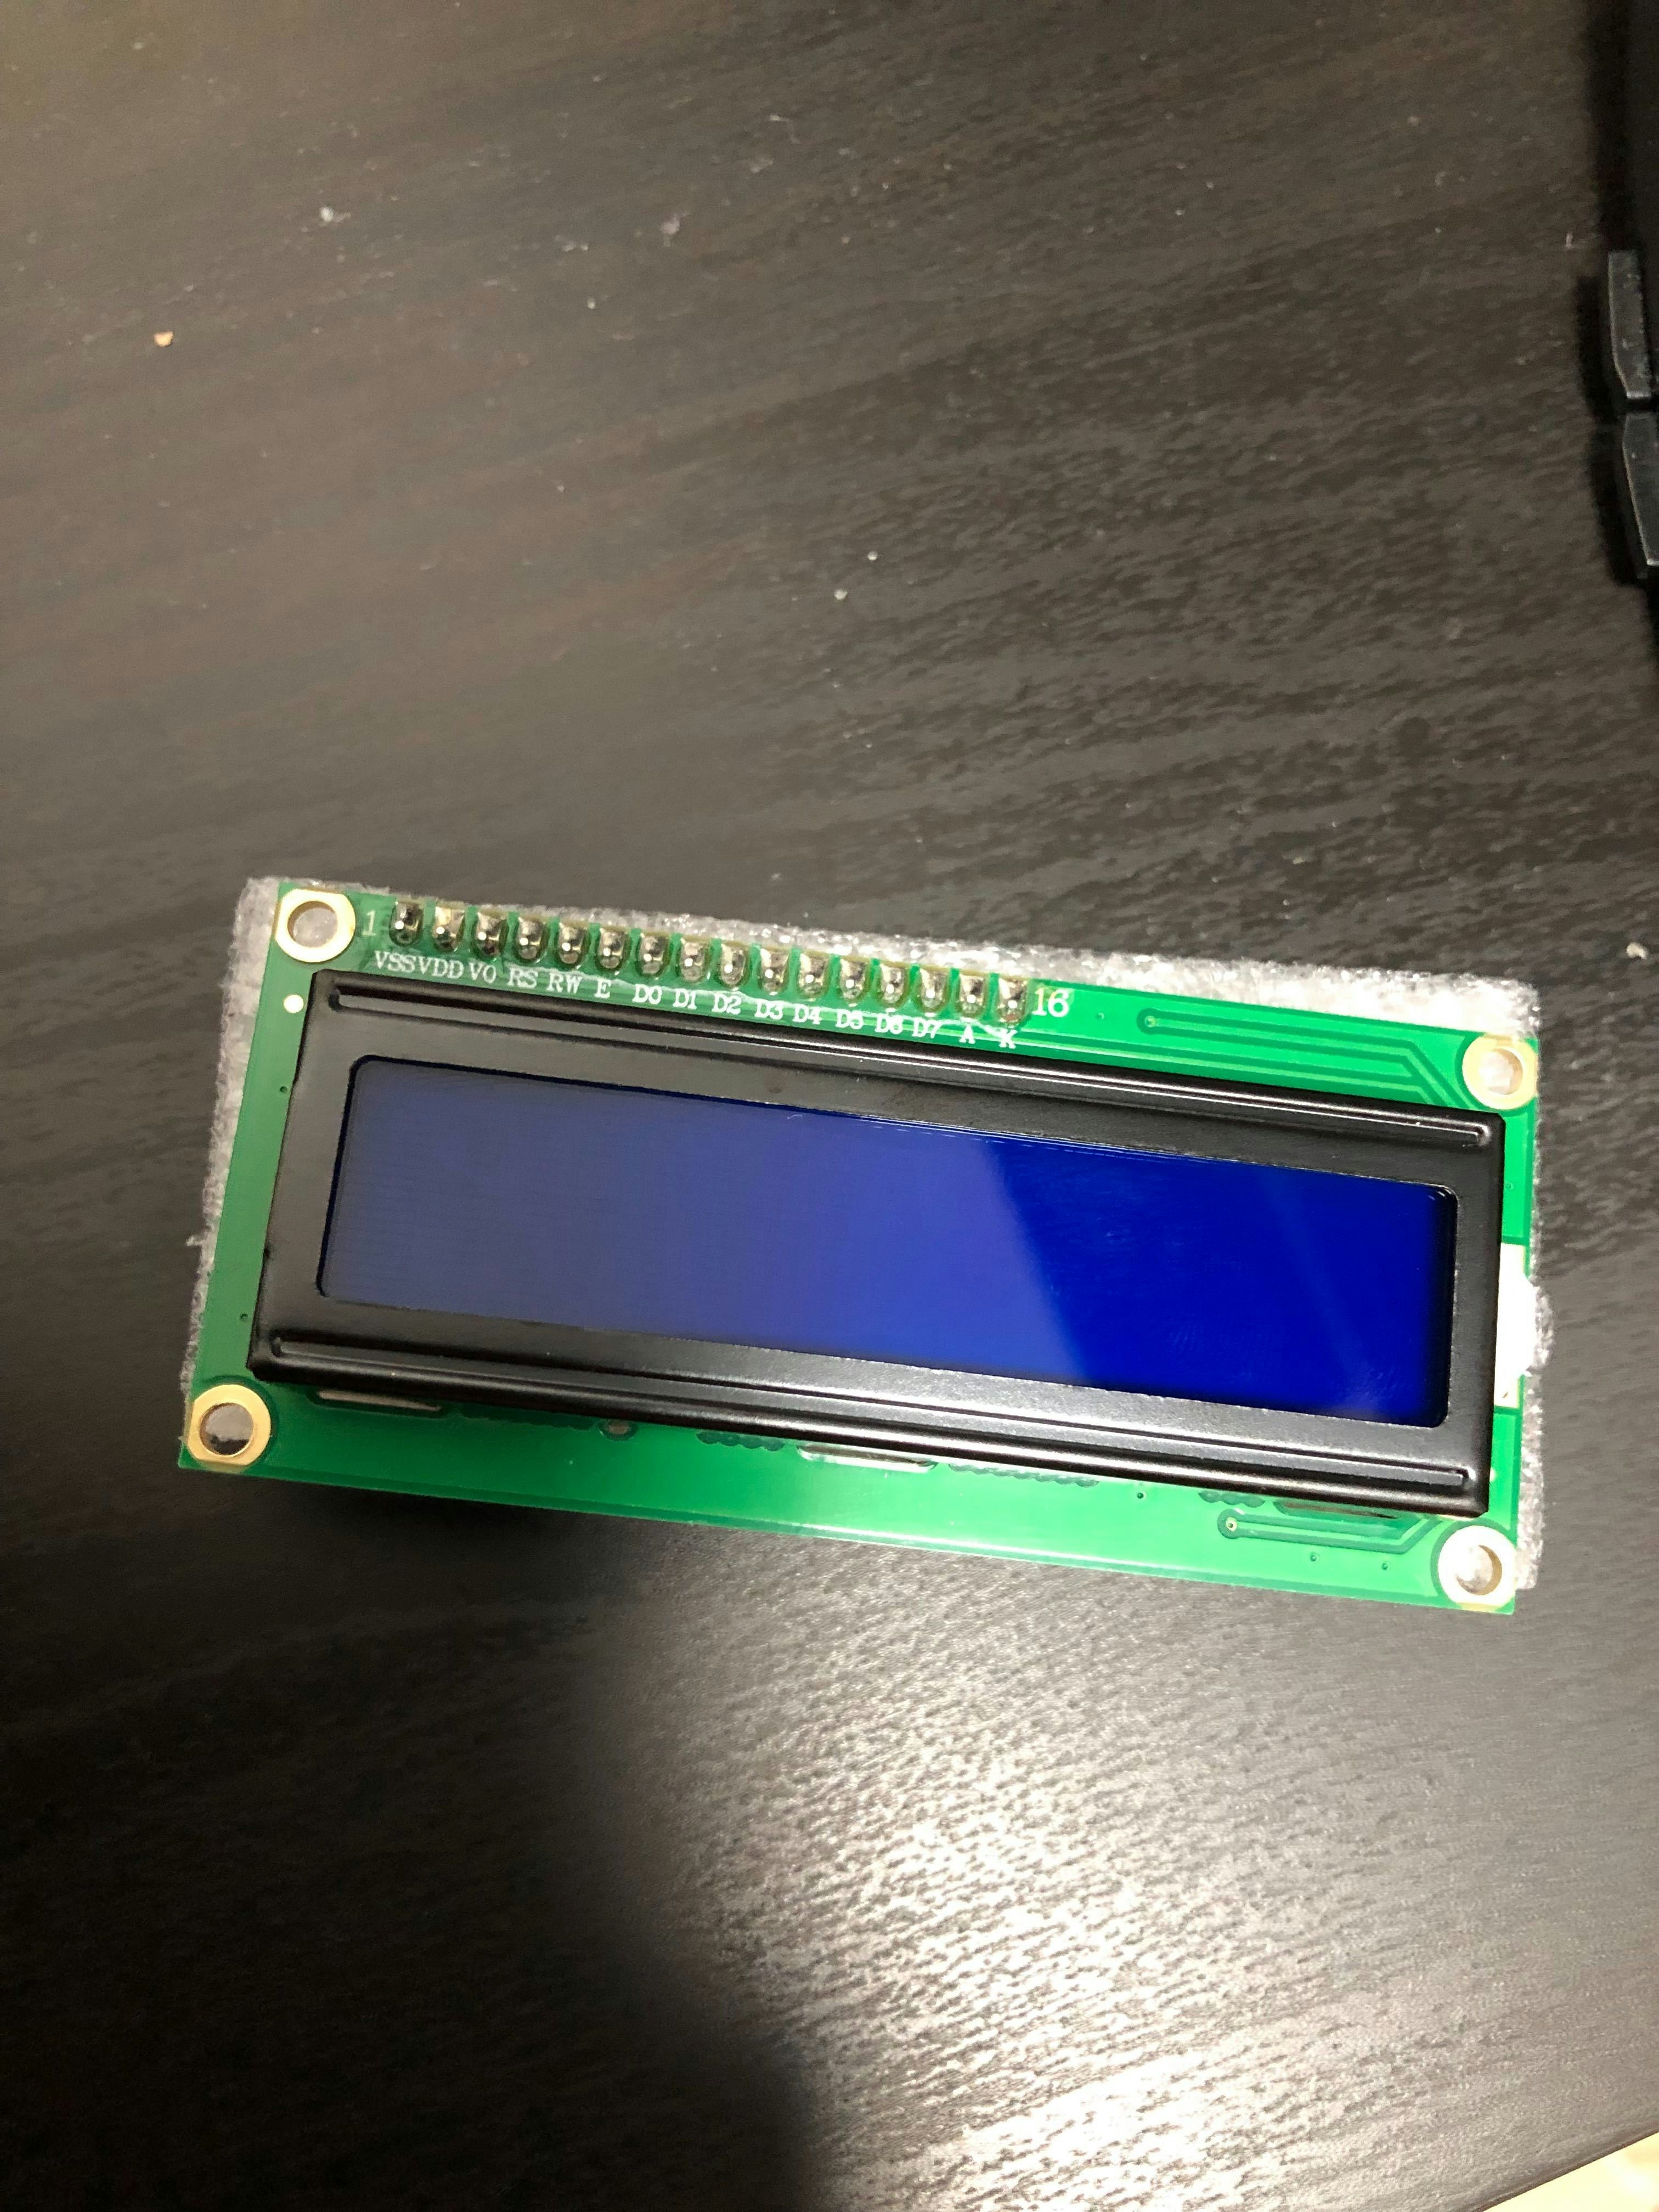
こちらが今回使用するLCDです。

裏側にジャンパーワイヤを刺していきます。

ジャンパーワイヤはこんな感じで先端がメス-オスになっているやつ。カラフル。
オス-オスのワイヤしか持ってない人はブレッドボードを使えば同じように回路が組めるはずです。
回路を作る
回路の見た目はこのような形になります。

まずは1ピン(VSS)をMEGA2560のGNDに、2ピン(Vdd)を5Vに接続します。
物によっては1ピンと2ピンが入れ替わってるものもあるようなので、LCDに書かれている文字をよく見て接続しましょう。
VSSとVddを逆に接続していると回路が成り立たず、MEGA2560のランプが点灯しません。
3ピンはコントラスト調整をしてくれるらしいです。これをMEGA2560側の9ピンに接続します。
その後は図のとおりに4ピンを1番、5ピンを2番、6ピンを3番に繋ぎ、7〜10ピンを開けて11ピンを4番、12ピンを5番、13ピンを6番、14ピンを7番に接続します。
これで回路が完成しました。
MEGA2560をパソコンに繋いで、ランプが問題なく点灯することを確認しましょう。
コードを書く
コードはスケッチ例にあるLiquidCrystalの中のHelloWorldを参考に書いていきます。
// include the library code:
# include <LiquidCrystal.h>

// initialize the library by associating any needed LCD interface pin
// with the arduino pin number it is connected to
const int rs = 12, en = 11, d4 = 5, d5 = 4, d6 = 3, d7 = 2;
LiquidCrystal lcd(rs, en, d4, d5, d6, d7);

void setup() {
  // set up the LCD's number of columns and rows:
  lcd.begin(16, 2);
  // Print a message to the LCD.
  lcd.print("hello, world!");
}

void loop() {
  // set the cursor to column 0, line 1
  // (note: line 1 is the second row, since counting begins with 0):
  lcd.setCursor(0, 1);
  // print the number of seconds since reset:
  lcd.print(millis() / 1000);
}
LiquidCrystal lcdの部分
const int rs = 12, en = 11, d4 = 5, d5 = 4, d6 = 3, d7 = 2; LiquidCrystal lcd(rs, en, d4, d5, d6, d7);
を以下のように変更します。
LiquidCrystal lcd(1, 2, 3, 4, 5, 6, 7);
コントラスト調整(3ピン)を今回は9番に接続しているので、void setup()に以下のコードを加えます。
analogWrite(9, 70);
この70という値を大きくしたり小さくしたりすることで画面のコントラストを変更できるらしいです。
最終的なコードはこのような形になりました。
// include the library code:
# include <LiquidCrystal.h>

// initialize the library by associating any needed LCD interface pin
// with the arduino pin number it is connected to
LiquidCrystal lcd(1, 2, 3, 4, 5, 6, 7);

void setup() {
  // set up the LCD's number of columns and rows:
  lcd.begin(16, 2);
  // Print a message to the LCD.
  lcd.print("hello, world!");

  analogWrite(9, 70);
}

void loop() {
  // set the cursor to column 0, line 1
  // (note: line 1 is the second row, since counting begins with 0):
  lcd.setCursor(0, 1);
  // print the number of seconds since reset:
  lcd.print(millis() / 1000);
}
完成!

無事lcd.printに記載されたhello, world!が出力されました!
画面が見えにくいなと言うときはコントラストを調節してみてください。
ちなみにカタカナも入力することができるようです。

カタカナを入力する場合は16進数で設定してあげる必要があります。
今回の「コンニチハ」を表示させるためには
lcd.print("hello, world!");
を
lcd.print("\xba\xdd\xc6\xc1\xca");
と書き換えましょう。