はじめに
数回Firebaseにホスティングしてますが、そのたび調べては、苦戦していたのでまとめることにしました。
GitHubActionsまでの設定を掲載しています。
Verや使用している環境によって多少異なります。
手順
1. Firebaseのサービスアカウントの作成
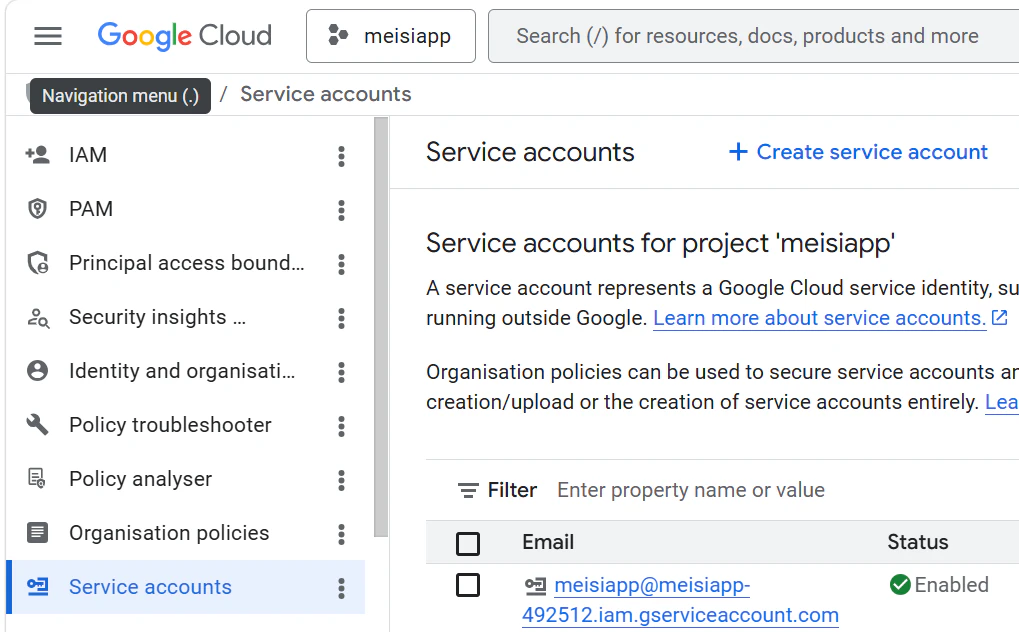
GCPを開きます。
IAM and admin / Service accountsを選択します。
Create service accountからサービスアカウント名を入力します。
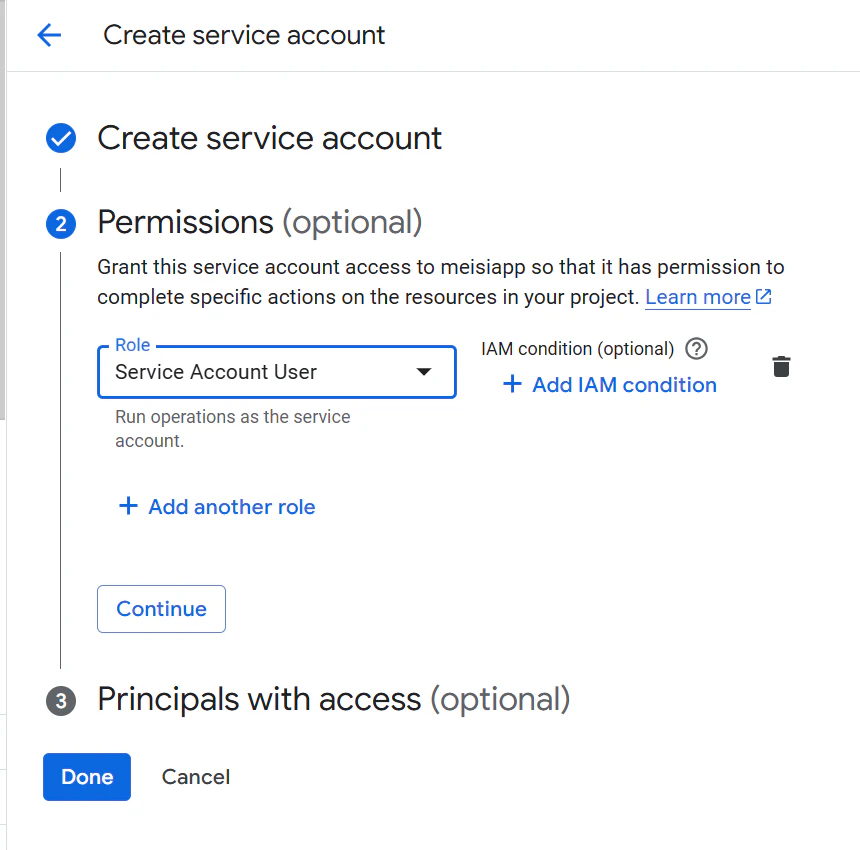
Service名はそのサービスごとにあわせて記載します。
Permissonsの設定もしておきます。
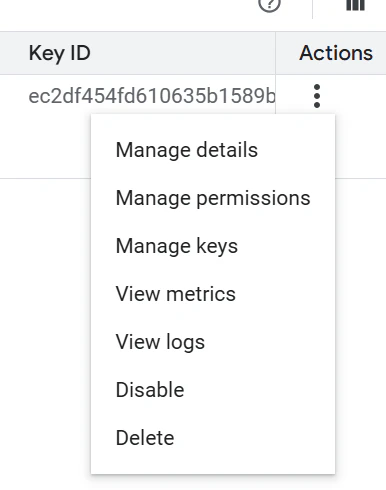
作ったサービスアカウントの三点をクリックして、「Manage Key」を選択します。
Add keyからCreate new keyを選択します。
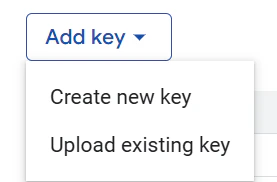
すると、json ファイルがダウンロードされます。
次に左メニューから「IAM」を選択します。
作成したサービスアカウントを選択して鉛筆マークをクリックします。
Add another roleを選択します。
Service Account Userを追加します。

2. GitHub Actionsの設定
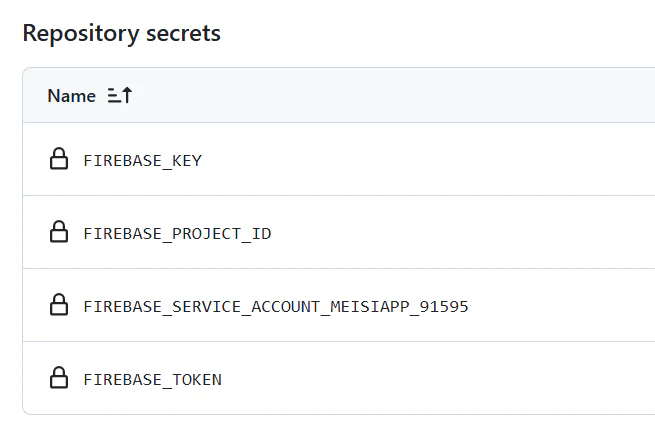
GitHubのSecurity and variables -> Actionsを選択します。
New repository secretを選択します。
Name にFIREBASE_KEYを入力します。
値は、先程ダウンロードした json ファイルを Base64 エンコードしたものを入力します。
各フォルダに移動し、以下のコマンドを実行します。
base64 ファイル名.json | xsel --clipboard --input
次に同じ要領で、
name: FIREBASE_PROJECT_ID
value: Firebase のプロジェクト ID
を設定します。
Firebase のコンソールからプロジェクト IDがわかります。
さいごに
name: FIREBASE_TOKEN
value: firebase login:ci で取得した値
を設定します。
以下の設定となります。
3. .gitignoreに追加したjsonファイルを追加する
これをしないと、push時にエラーとなります。
おわりに
実は3の.gitignoreに該当のjsonを記載せず、pushしていたことが何度もありました。
そのたびエラーしていたので、苦い記憶としてありました。
参考文献