はじめに
Pleasanterのレコード情報をPDFにして確認したい、PDFにする必要がある、そんな方々向けの記事です。
使用するライブラリ
今回は「pdfmake」と呼ばれるJavaScriptのライブラリを使用してPDFを生成します。
準備
pdfmake
GitHubからクローンします。
https://github.com/bpampuch/pdfmake
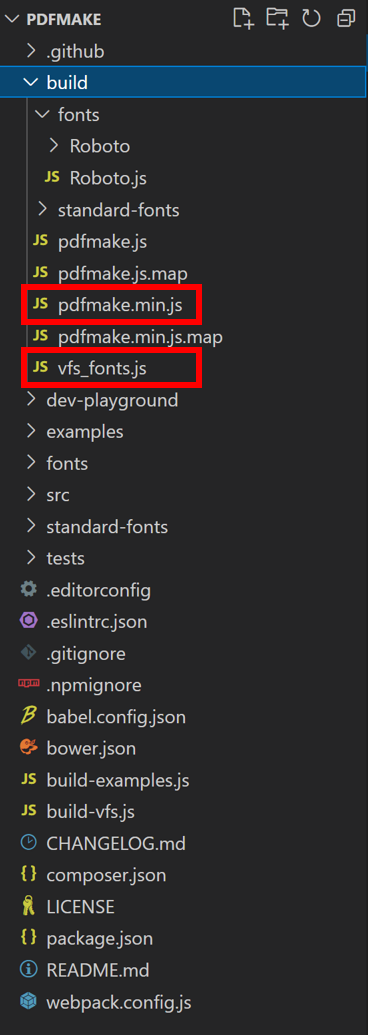
buildディレクトリ配下にある
・pdfmake.min.js
・vfs_fonts.js
を使用します。
カスタムフォント
デフォルトフォントがRobotoのため、日本語対応しておりません。
日本語を使用したい場合は別途フォント(○○.ttf)の準備が必要です。
example/fontディレクトリ配下にあるフォントを退避し、準備したフォントを配置します。
準備した日本語フォントを使用してjsに変換します。
クローンした中にpackage.jsonが入っているので、パッケージをインストールします。
npm install
gruntを使用して上記vfs_fonts.jsファイルを生成します。
※gruntについては各自の環境で用意をお願いいたします。
npm install -g grunt-cli
npm install grunt grunt-text-replace grunt-browserify grunt-contrib-uglify grunt-dump-dir grunt-contrib-concat
grunt dump_dir
※Gruntfile.jsは下記ページを参考になりそうです。
https://github.com/naoa/pdfmake/blob/master/Gruntfile.js
Pleasanter
なんといってもPleasanterがないと始まらないので、下記ページからダウンロードします。
https://github.com/Implem/Implem.Pleasanter.NetCore/releases
導入手順
お手元の環境に合わせてPleasanterをインスールします。
https://pleasanter.org/manual?category=0090_0105
PDF生成スクリプト
画像表示
下記ページを参考に表示させます。
https://pdfmake.github.io/docs/0.1/document-definition-object/images/
{
    image: 'data:image/jpeg;base64,...encodedContent...',
    width: 150
},
あらかじめ決まった画像を表示したい
別途Base64に変換したものを指定する必要があります。
//Base64変換サンプル
using Microsoft.Extensions.Configuration;
IConfiguration configuration = new ConfigurationBuilder()
    .SetBasePath(Directory.GetCurrentDirectory())
    .AddJsonFile("appsettings.json", true, true)
    .Build();
IConfigurationSection section = configuration.GetSection("PathInfo");
var outputFile = string.Format("{0}.txt", DateTime.Now.ToString("yyyyMMdd-HHmmss"));
var bytes = File.ReadAllBytes(section["TargetFile"]);
var base64String = Convert.ToBase64String(bytes);
File.WriteAllText(section["OutputFolder"] + outputFile, base64String);
{
    "PathInfo": {
        "TargetFile": "C:\\work\\base64\\input\\test.png",
        "OutputFolder": "C:\\work\\base64\\output\\"
    }
}
レコードに登録された添付画像を表示したい
Pleasanterの添付ファイル情報は下記APIで取得可能です。
https://pleasanter.org/manual/api-attachment-get
// 添付ファイル情報取得サンプル
let guid = $('#Results_DescriptionA').val().replace('.replace('/show)', '');
let requestData = {
ApiVersion: 1.1,
};
let url = `${location.origin}/api/binaries/${guid}/get`;
let base64;
$.ajax({
type: 'post',
url: url,
data: requestData,
async: false,
})
.done((res) => {
console.log(JSON.stringify(res));
base64 = res.Response.Base64;
})
.fail((res) => {
console.log(res);
});
サンプルスクリプト
$p.events.on_editor_load = () => {
if ($p.siteId() !== $p.id()) {
$('#MainCommands').append('<button id="PDFButton" class="button button-icon open-dialog ui-button ui-corner-all ui-widget" type="button"><span class="ui-button-icon ui-icon ui-icon-document"></span><span class="ui-button-icon-space"></span>印刷</button>');
}
};
$(document).on('click', '#PDFButton', () => {
pdfMake.createPdf(createContent()).open();
});
function createContent() {
pdfMake.fonts = {
IPAgothicP: {
normal: 'ipagp.ttf',
bold: 'ipagp.ttf',
italics: 'ipagp.ttf',
bolditalics: 'ipagp.ttf'
}
};
var defaultStyle = {
font: 'IPAgothicP'
};
let title = $('#Results_Title').val();
let base64 = getBase64($('#Results_DescriptionA').val().replace('.replace('/show)', ''));
return {
content: [
{
text: 'PDFサンプル',
style: {
fontSize: 18,
bold: true
}
},
{
text: title,
style: {
fontSize: 16,
bold: true
}
},
{
image: `data:image/jpeg;base64,${base64}`,
width: 300
}
],
defaultStyle: defaultStyle
};
}
function getBase64(guid) {
let requestData = {
ApiVersion: 1.1,
};
let url = `${location.origin}/api/binaries/${guid}/get`;
let base64;
$.ajax({
type: 'post',
url: url,
data: requestData,
async: false,
})
.done((res) => {
console.log(JSON.stringify(res));
base64 = res.Response.Base64;
})
.fail((res) => {
console.log(res);
});
return base64;
}
スクリプト設定
プリザンターの拡張スクリプト機能を使用してPDF出力をしてみます。
スクリプトはPleasanterのデータベース(Implem.Pleasanter)にあるExtensionsテーブルへ入れます。
・ExtensionType:拡張機能の種類(Script、Sql、Styleなど)
・ExtensionName:名前
・ExtensionSettings:拡張機能の設定(機能させるサイトIDの指定など)
・Body:ファイル内容

登録が完了したら、プリザンターを再起動します。
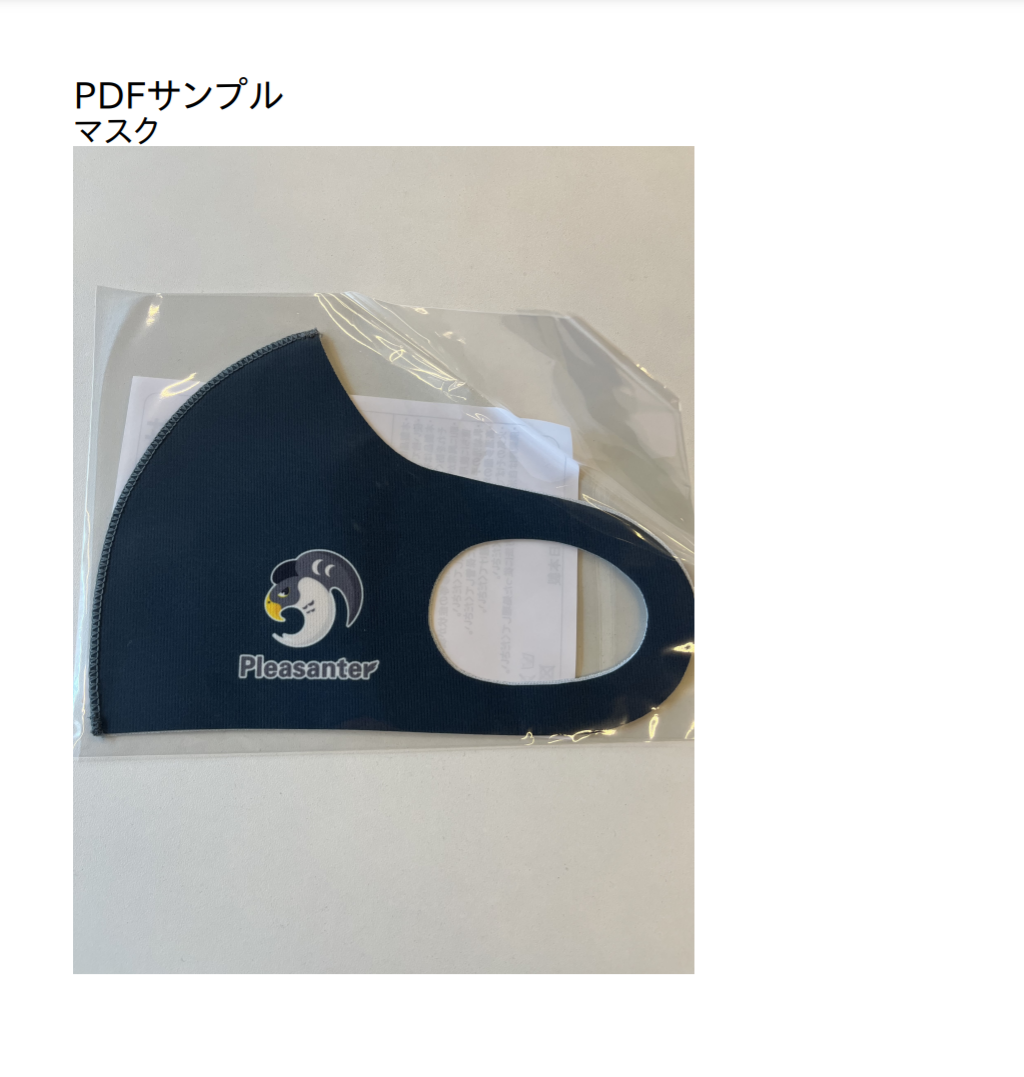
PDF出力
画面下部の「印刷」ボタンをクリックします。
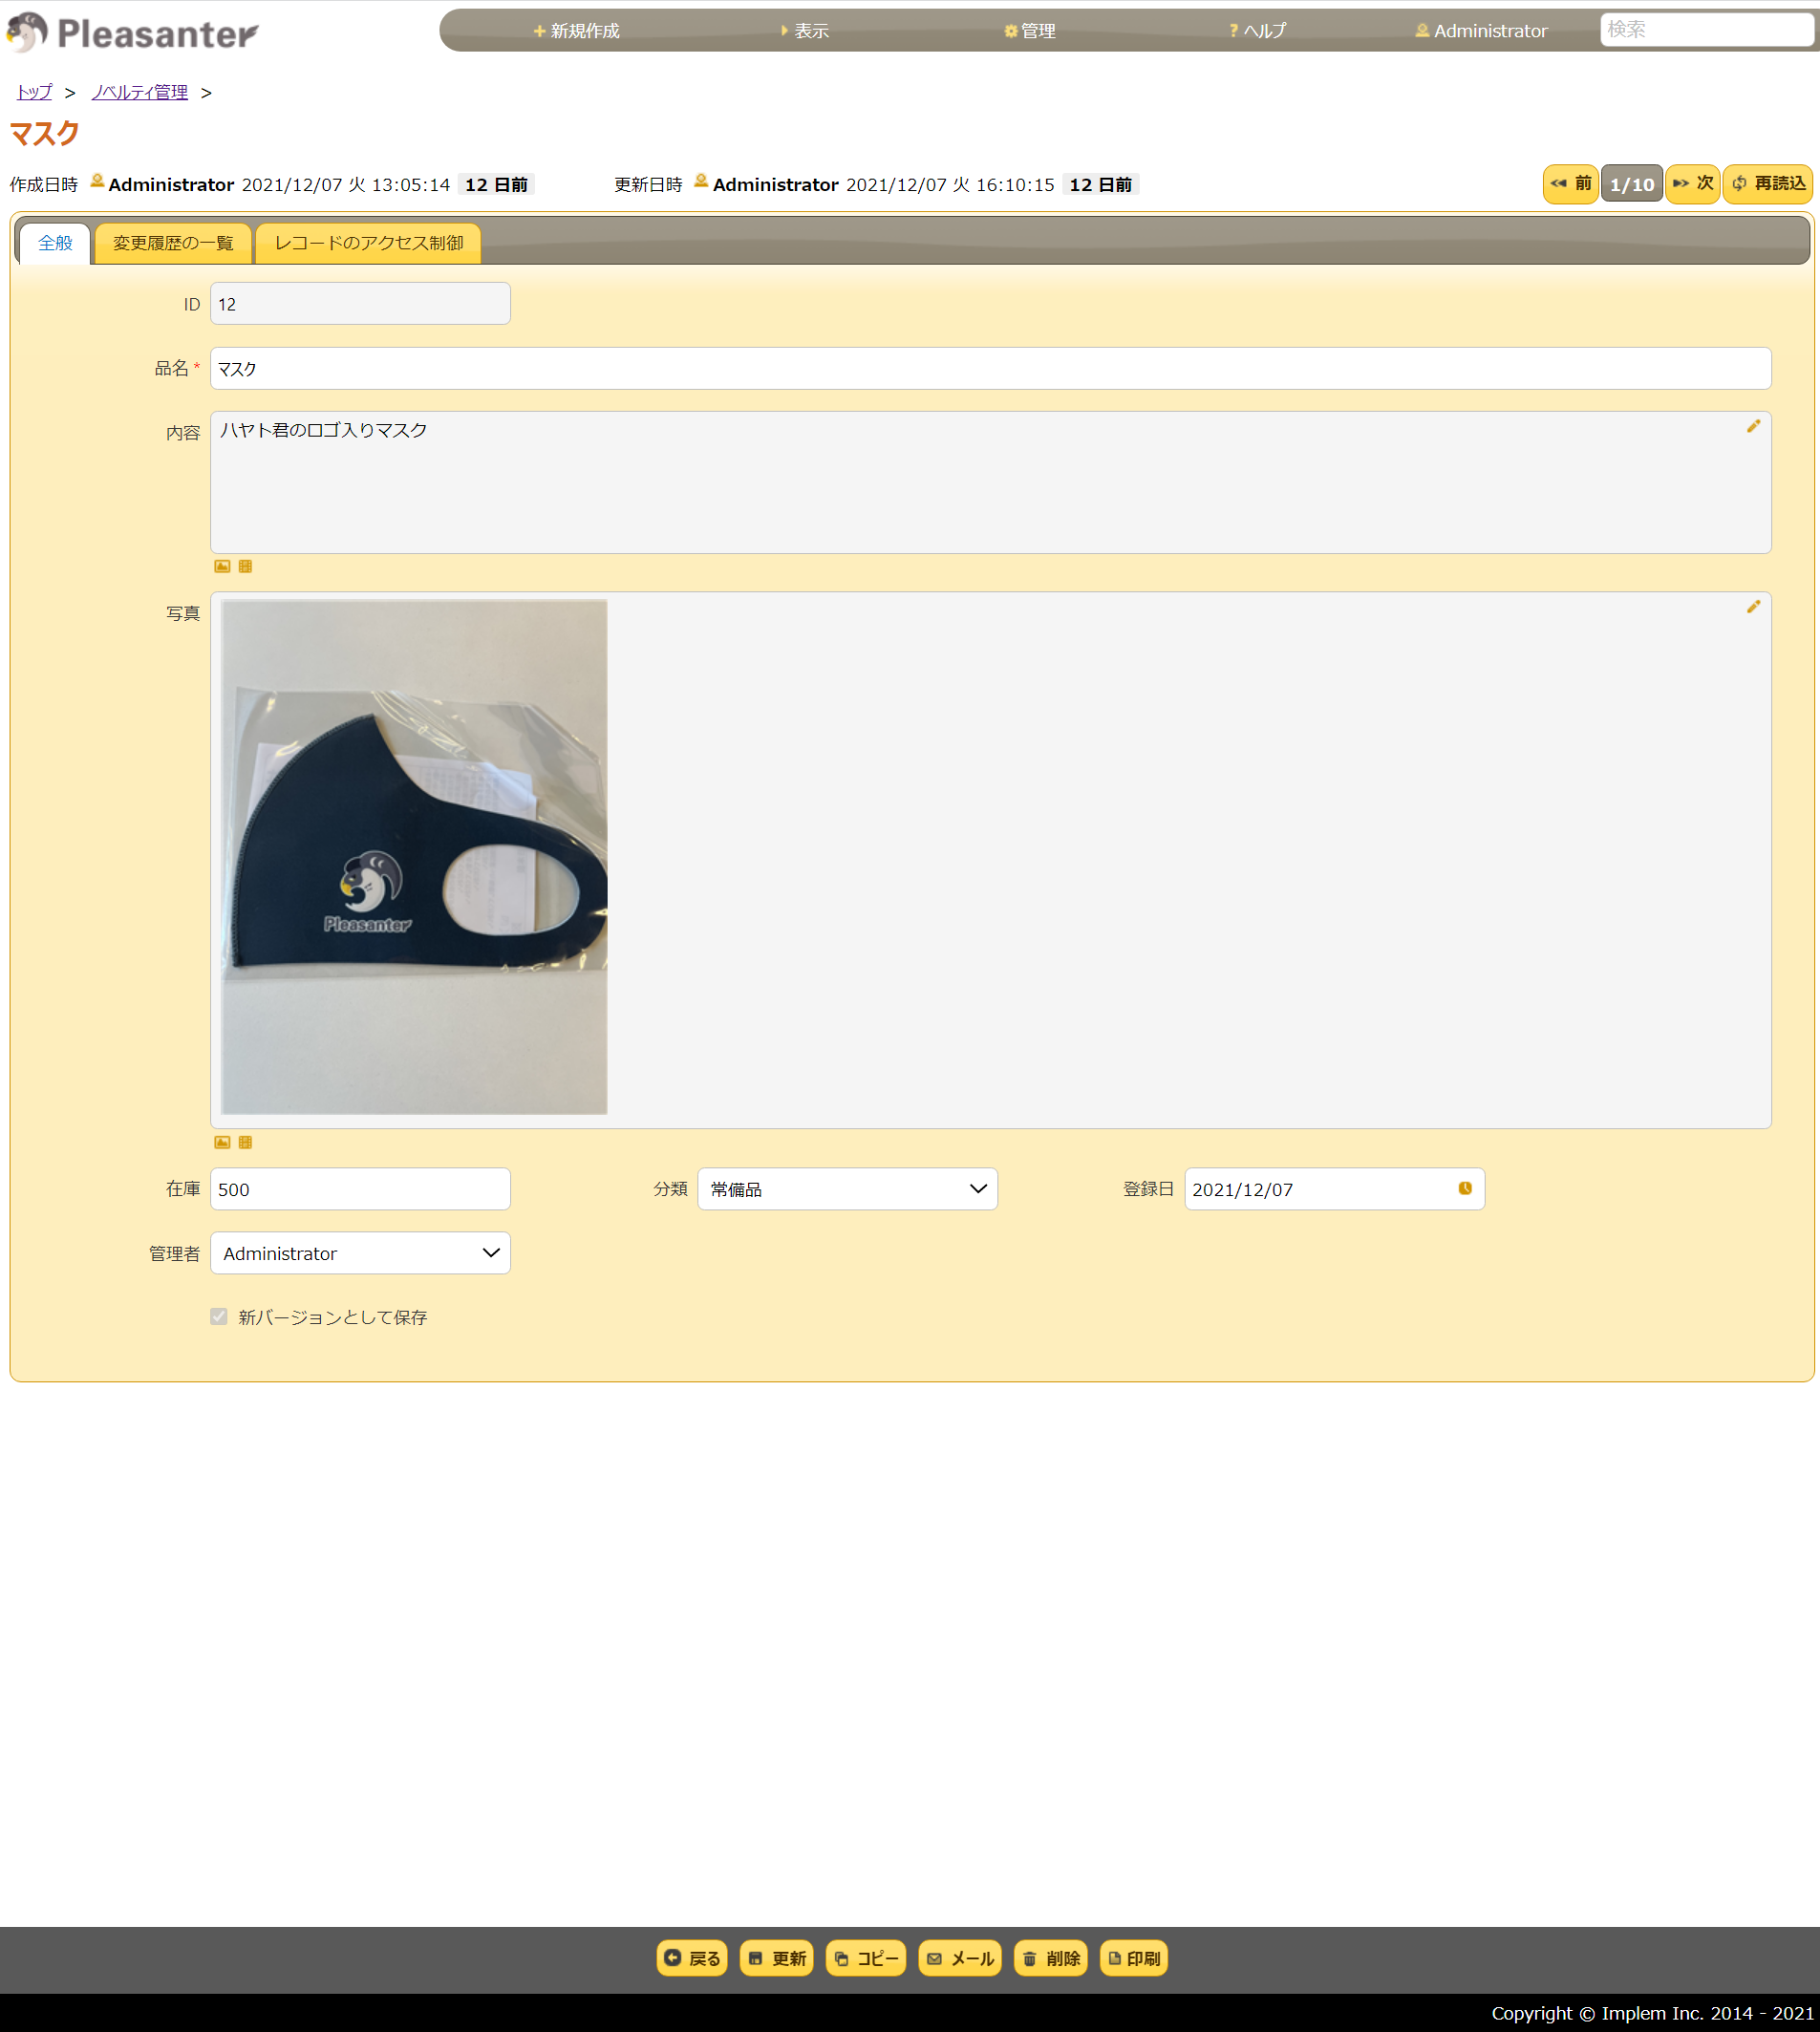
サンプルPDFの表示です。※すごくシンプルですが。。。
おわりに
今後、プリザンターのレコード情報をPDFで欲しいなと思う場面があった際、こんな感じでできたなと思いだして試してみていただけると嬉しいです。