【はじめに】
- Elixirの環境構築の記事は沢山あるけど、エラーがでたりしてすんなり起動できなかったので防備メモとして残したものです。
【前提条件】
◉ Xcodeをインストールして、以下のコマンドを実施しておくこと。
$ xcode-select --install
※ 実行して、以下のメッセージが出た場合はインストール済みなので次へ進んでください。
xcode-select: error: command line tools are already installed, use "Software Update" to install updates
◉ Homebrewのコマンドが使えること。
- 以下のコマンドでHomebrew環境に問題ないか確認しておいてください。
$ brew doctor
◉ Node.jsがインストールされていること。
$ node --version

v9.11.2
※ もしインストールされていない場合は、Node.jsのバージョン管理が簡単に行えるnodebrewをインストールして、Node.jsをインストールしてみてください。
【実行環境】
- MacOS Mojave 10.14.1
- Node.js v9.11.2
- PostgreSQL v10.5
- Elixir v1.7.4
- Phoenix v1.3.4
【いざ導入!!!!】
① PostgreSQLのインストール
(01) PostgreSQLのインストール
$ brew install postgresql
(02) PostgreSQLの起動
$ pg_ctl -D /usr/local/var/postgres -l /usr/local/var/log/postgres start
(03) PostgreSQLのユーザ「postgres」を作成。パスワードも「postgres」にします。
$ createuser -P -d postgres

Enter password for new role:
Enter it again:
② Elixirのインストール
(01) Elixirのインストール
$ brew install elixir
(02) パッケージ管理ツールHexのインストール
$ mix local.hex
③ Phoenixのインストール
(01) Phoenixのインストール
$ mix archive.install https://github.com/phoenixframework/archives/raw/master/phoenix_new.ez
(02) Phoenixのプロジェクト作成
カレントディレクトリにelixir-stuff/hello_phoenixのディレクトリが作成されます。
$ mix phoenix.new elixir-stuff/hello_phoenix
以下の質問はYを選択。
Fetch and install dependencies? [Yn]
(03) 作成したプロジェクトのディレクトリへ移動する。
$ cd elixir-stuff/hello_phoenix
(04) 依存しているライブラリを取得
$ mix deps.get
※ 以下のメッセージはとりあえず気にしなくて良さそう!
warning: found quoted keyword "test" but the quotes are not required. Note that keywords are always atoms, even when quoted, and quotes should only be used to introduce keywords with foreign characters in them
(05) データベースの作成とmigrateを実行します
$ mix ecto.create && mix ecto.migrate
(06) Node.jsの依存パッケージをインストールします
$ sudo npm install
(07) サーバーの起動
$ mix phoenix.server
※ 以下のメッセージが表示されたら、mix.exsファイルに「{:plug_cowboy, "~> 1.0"}」を追加し、mix deps.getを実施する。
# メッセージ
warning: please add the following dependency to your mix.exs:
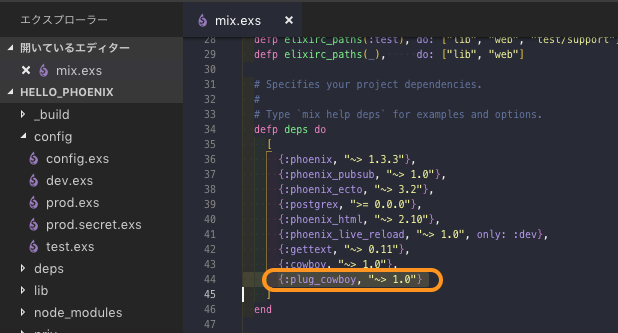
# ファイルへ記述後以下のコマンド実行
$ mix deps.get
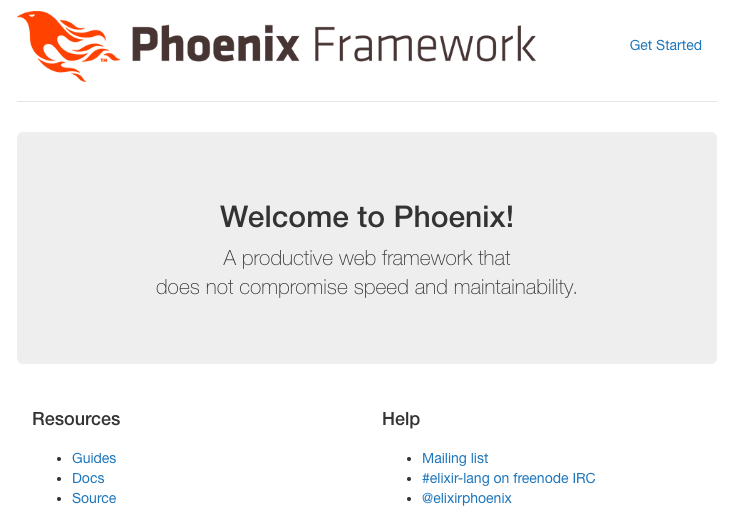
(08) サーバーの起動確認
(07)が正しく実行された後、以下のメッセージが表示されて、「http://localhost:4000」へアクセスして、以下のようなWelcome to Phoenix!が表示されたら成功です。
[info] Running HelloPhoenix.Endpoint with Cowboy using http://0.0.0.0:4000
18:33:02 - info: compiled 6 files into 2 files, copied 3 in 3.9 sec