背景
WPFの描画(主にスクロールパフォーマンス)めっちゃ遅い。
WPFは柔軟性が高い分、大量データの描画は不得手だったのですが、
許容できないレベルで遅延が発生していたので困り果てていました・・。
そんな時に何気なく「Clusterize.js」という大量データ描画JSを発見
このClusterize.js、描画が鬼のように速い。50万件のレコードもサクサク描画できる。
「あれ?このJSをASP.Net Coreで作成したページに埋め込んでElectronで動かしたら超高速じゃない?」
というわけでやってみました。
まずElectronの導入部分を、Electronの環境構築(for Windows) - Qiita を参考に実施、
その後Clusterize.jsの動作確認まで行った自分用忘備録です。
NodeJS - インストール
Nodejs.org - Downloads にアクセスして下記リンクからインストーラをダウンロード。
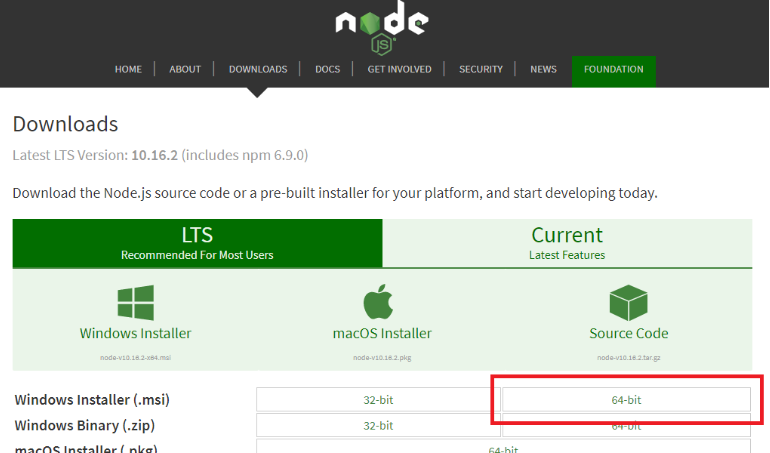
ダブルクリックで実行したら以下の画面が表示される。
しばらくボタンがDisabledだけど、少し待つと次のステップに進みます。
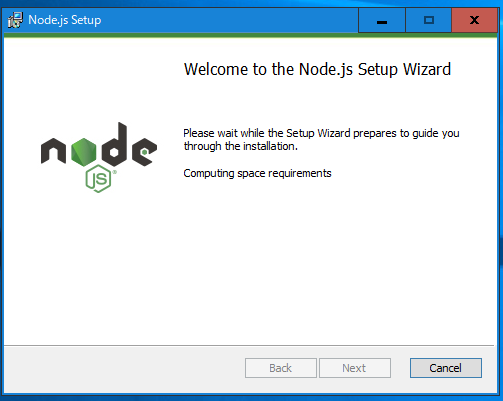
特に設定を変更する必要はないので、インストーラの誘導通り進めていってください。
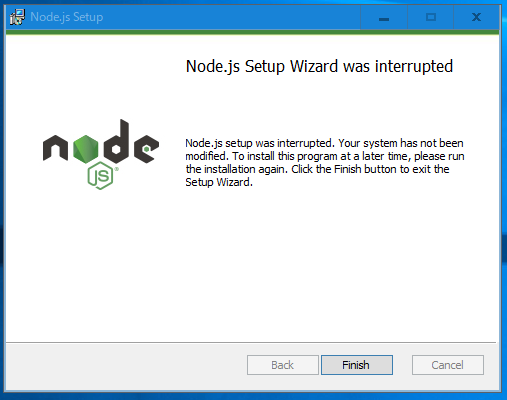
上記画面が表示されたらNodeJSのインストール完了。
念のために完了後は以下のコマンドでバージョン確認を行いましょう。
C:\>node -v
v10.16.0
プロジェクトの作成
てきとうなフォルダを作成します。
そのフォルダ内でGit Bashを開きます。ないならインストールしてね。
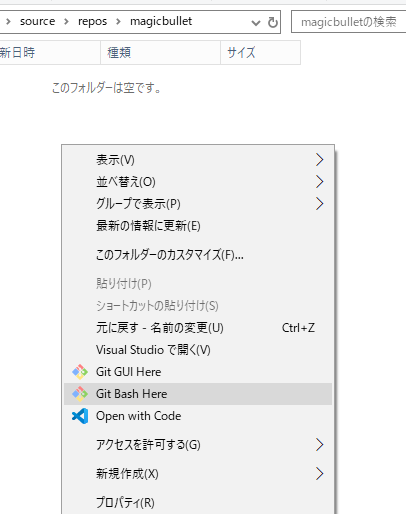
開いたら npm init でプロジェクトを初期化。
基本的にエンター連打で問題なし。
Is this OK? (yes) の確認が出たら yes を打ち込んで完了。
user_name@machine_name MINGW64 ~/source/repos/magicbullet
$ npm init
This utility will walk you through creating a package.json file.
It only covers the most common items, and tries to guess sensible defaults.

See `npm help json` for definitive documentation on these fields
and exactly what they do.

Use `npm install <pkg>` afterwards to install a package and
save it as a dependency in the package.json file.

Press ^C at any time to quit.
package name: (magicbullet)
version: (1.0.0)
description:
entry point: (index.js)
test command:
git repository:
keywords:
author:
license: (ISC)
About to write to C:\Users\user_name\source\repos\magicbullet\package.json:

{
  "name": "magicbullet",
  "version": "1.0.0",
  "description": "",
  "main": "index.js",
  "scripts": {
    "test": "echo \"Error: no test specified\" && exit 1"
  },
  "author": "",
  "license": "ISC"
}


Is this OK? (yes) yes
最終イメージ。
ll コマンドでpackage.json ができていることを確認してね。
user_name@machine_name MINGW64 ~/source/repos/magicbullet
$ ll
total 1
-rw-r--r-- 1 owner 1049089 207  8月  9 15:01 package.json
{
  "name": "magicbullet",
  "version": "1.0.0",
  "description": "",
  "main": "index.js",
  "scripts": {
    "test": "echo \"Error: no test specified\" && exit 1"
  },
  "author": "",
  "license": "ISC"
}
Electron - インストール
続いてElectronをインストールします。以下のコマンドを投入。
npm install electron -g

npm install --save-dev electron
バージョン確認を行ってインストールできていることを確認。
user_name@machine_name MINGW64 ~/source/repos/magicbullet
$ electron -v

v6.0.1
エントリーポイントの作成
package.jsonと同じパスに以下の二つのファイルを配置する。
"use strct";

// Electronのモジュール
const electron = require("electron");

// アプリケーションをコントロールするモジュール
const app = electron.app;

// ウィンドウを作成するモジュール
const BrowserWindow = electron.BrowserWindow;

// メインウィンドウはGCされないようにグローバル宣言
let mainWindow = null;

// 全てのウィンドウが閉じたら終了
app.on("window-all-closed", () => {
  if (process.platform != "darwin") {
    app.quit();
  }
});


// Electronの初期化完了後に実行
app.on("ready", () => {
  //ウィンドウサイズを1280*720(フレームサイズを含まない)に設定する
  mainWindow = new BrowserWindow({width: 1280, height: 720, useContentSize: true});
  //使用するhtmlファイルを指定する
  mainWindow.loadURL(`file://${__dirname}/index.html`);

  // ウィンドウが閉じられたらアプリも終了
  mainWindow.on("closed", () => {
    mainWindow = null;
  });
});
<!DOCTYPE html>
<html>
<head>
  <meta charset="UTF-8">
  <title>Sample</title>
</head>
<body>
  <p>Hello World</p>
</body>
</html>
Electron - コンパイル
以下のコマンドを投入します。
user_name@machine_name MINGW64 ~/source/repos/magicbullet
$ electron .
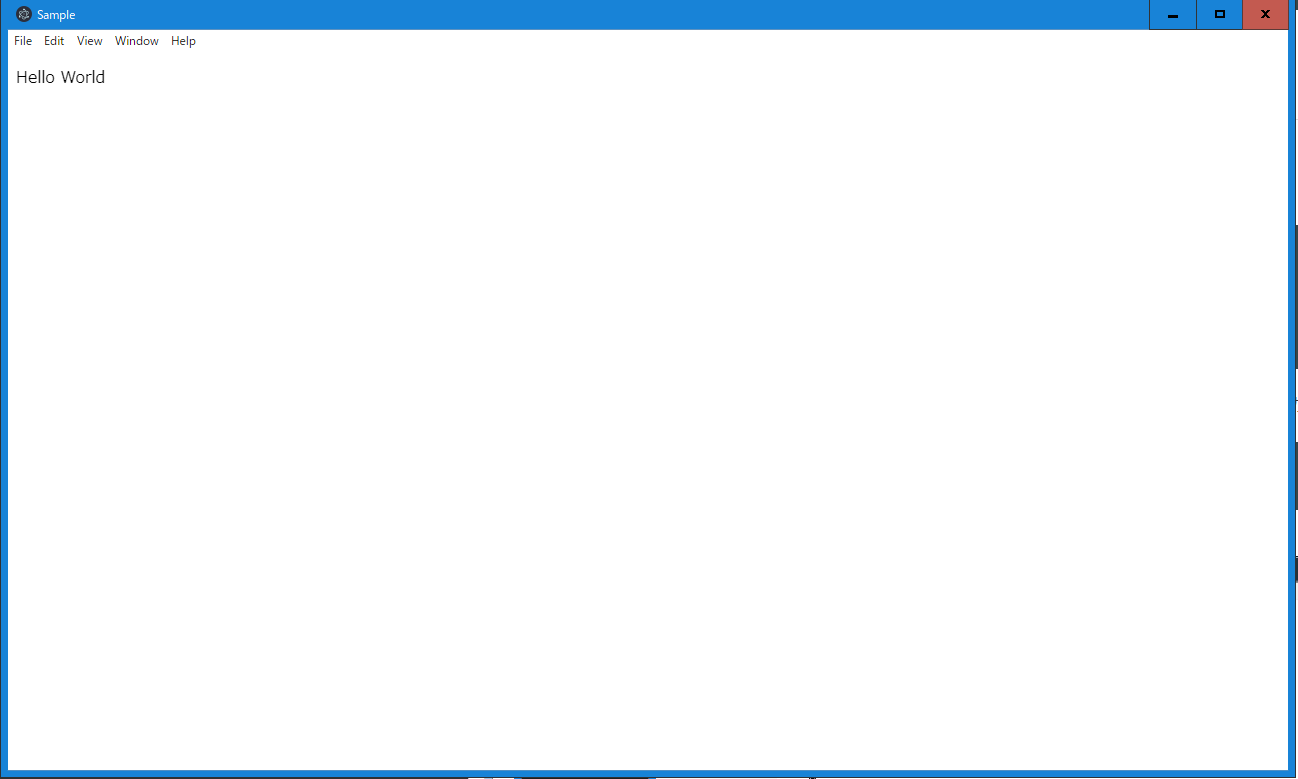
動いた!うれしい!!
Clusterize.js の導入
今回はClusterize.jsのデモページをElectronで試してみます。
まずはgitからデモページのソースを取得。
### 任意のディレクトリで実行
user_name@machine_name MINGW64 ~/source/repos
$ git clone https://github.com/NeXTs/Clusterize.js
Cloning into 'Clusterize.js'...
remote: Enumerating objects: 776, done.
remote: Total 776 (delta 0), reused 0 (delta 0), pack-reused 776
Receiving objects: 100% (776/776), 1.89 MiB | 2.01 MiB/s, done.
Resolving deltas: 100% (416/416), done.

user_name@machine_name MINGW64 ~/source/repos
$ cd Clusterize.js/

user_name@machine_name MINGW64 ~/source/repos
$ git checkout gh-pages
Switched to a new branch 'gh-pages'
Branch 'gh-pages' set up to track remote branch 'gh-pages' from 'origin'.
チェックアウトしたコードをElectron用ディレクトリにコピーします。
Electronを起動。
user_name@machine_name MINGW64 ~/source/repos/magicbullet
$ electron .
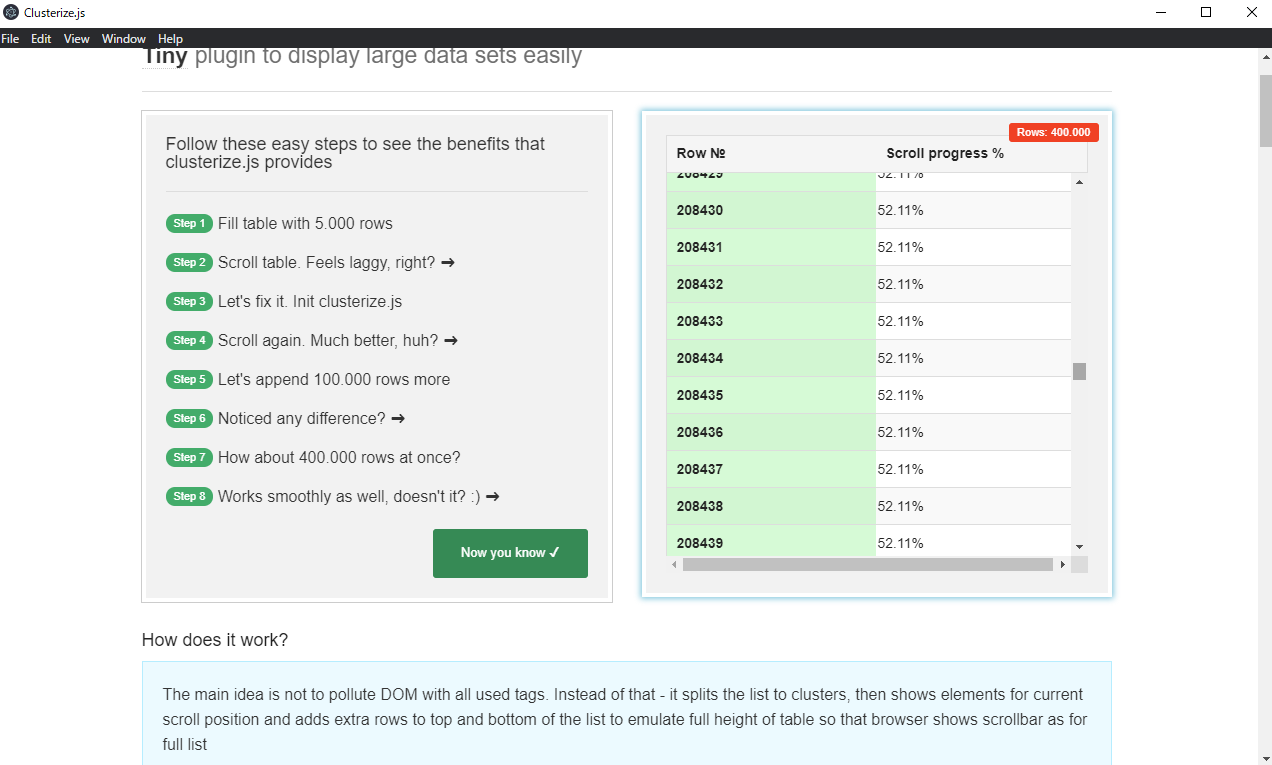
40万件のデータもサクサクスクロールできる!
いまクライアントアプリケーションでこれだけのデータをストレスなく描画するにはベストな選択なのではないでしょうか?(わかんない)
以降は、実際のシステムに組み込めるか試していきたいと思います。
追記:
