※今回は、前回作成したニャンコつぶやきフォームを一部修正してFlask-Bootstrapを導入した。 前回の記事は、コチラ
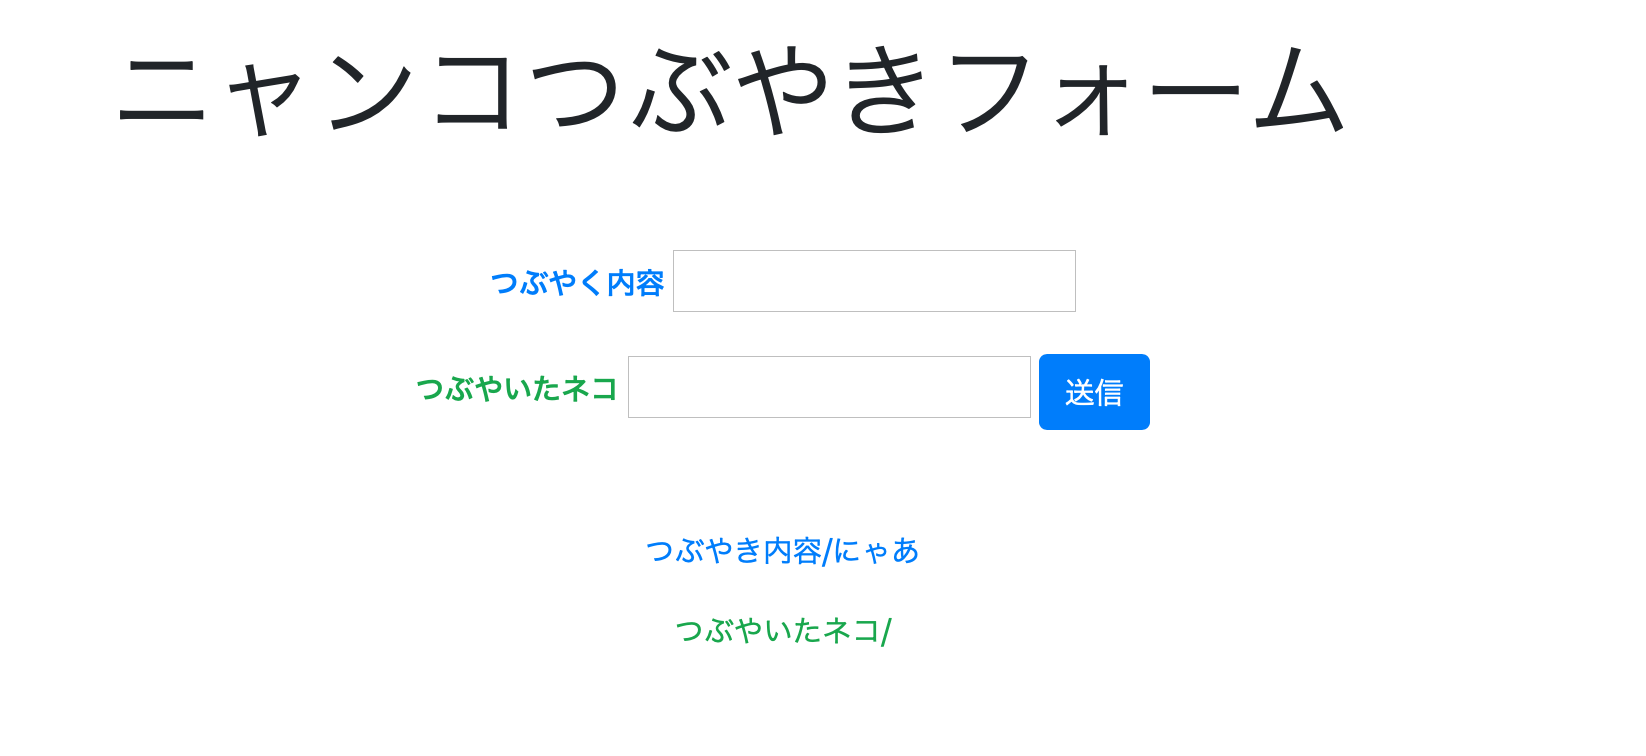
(1)アウトプットイメージ

以下が前回作成したニャンコつぶやきフォーム

(2)必要な環境を整える
仮想環境を作成して、flaskとgunicornをインストール。
my_formディレクトリを作成し、ディレクトリ内にform.pyを作成、
また、my_formディレクトリ内にtemplatesディレクトリと(templatesディレクトリ内に)index.html、layout.htmlを作成する。ここまで前回と同じ。
前回の記事はコチラ
なお、form.py、index.html、layout.htmlのコードは前回作成分を用意する。
今回は、追加でmy_formディレクトリ内にstaticというディレクトリを作成。
また、flask-bootstrap4もインストールする。
install flask-bootstrap4
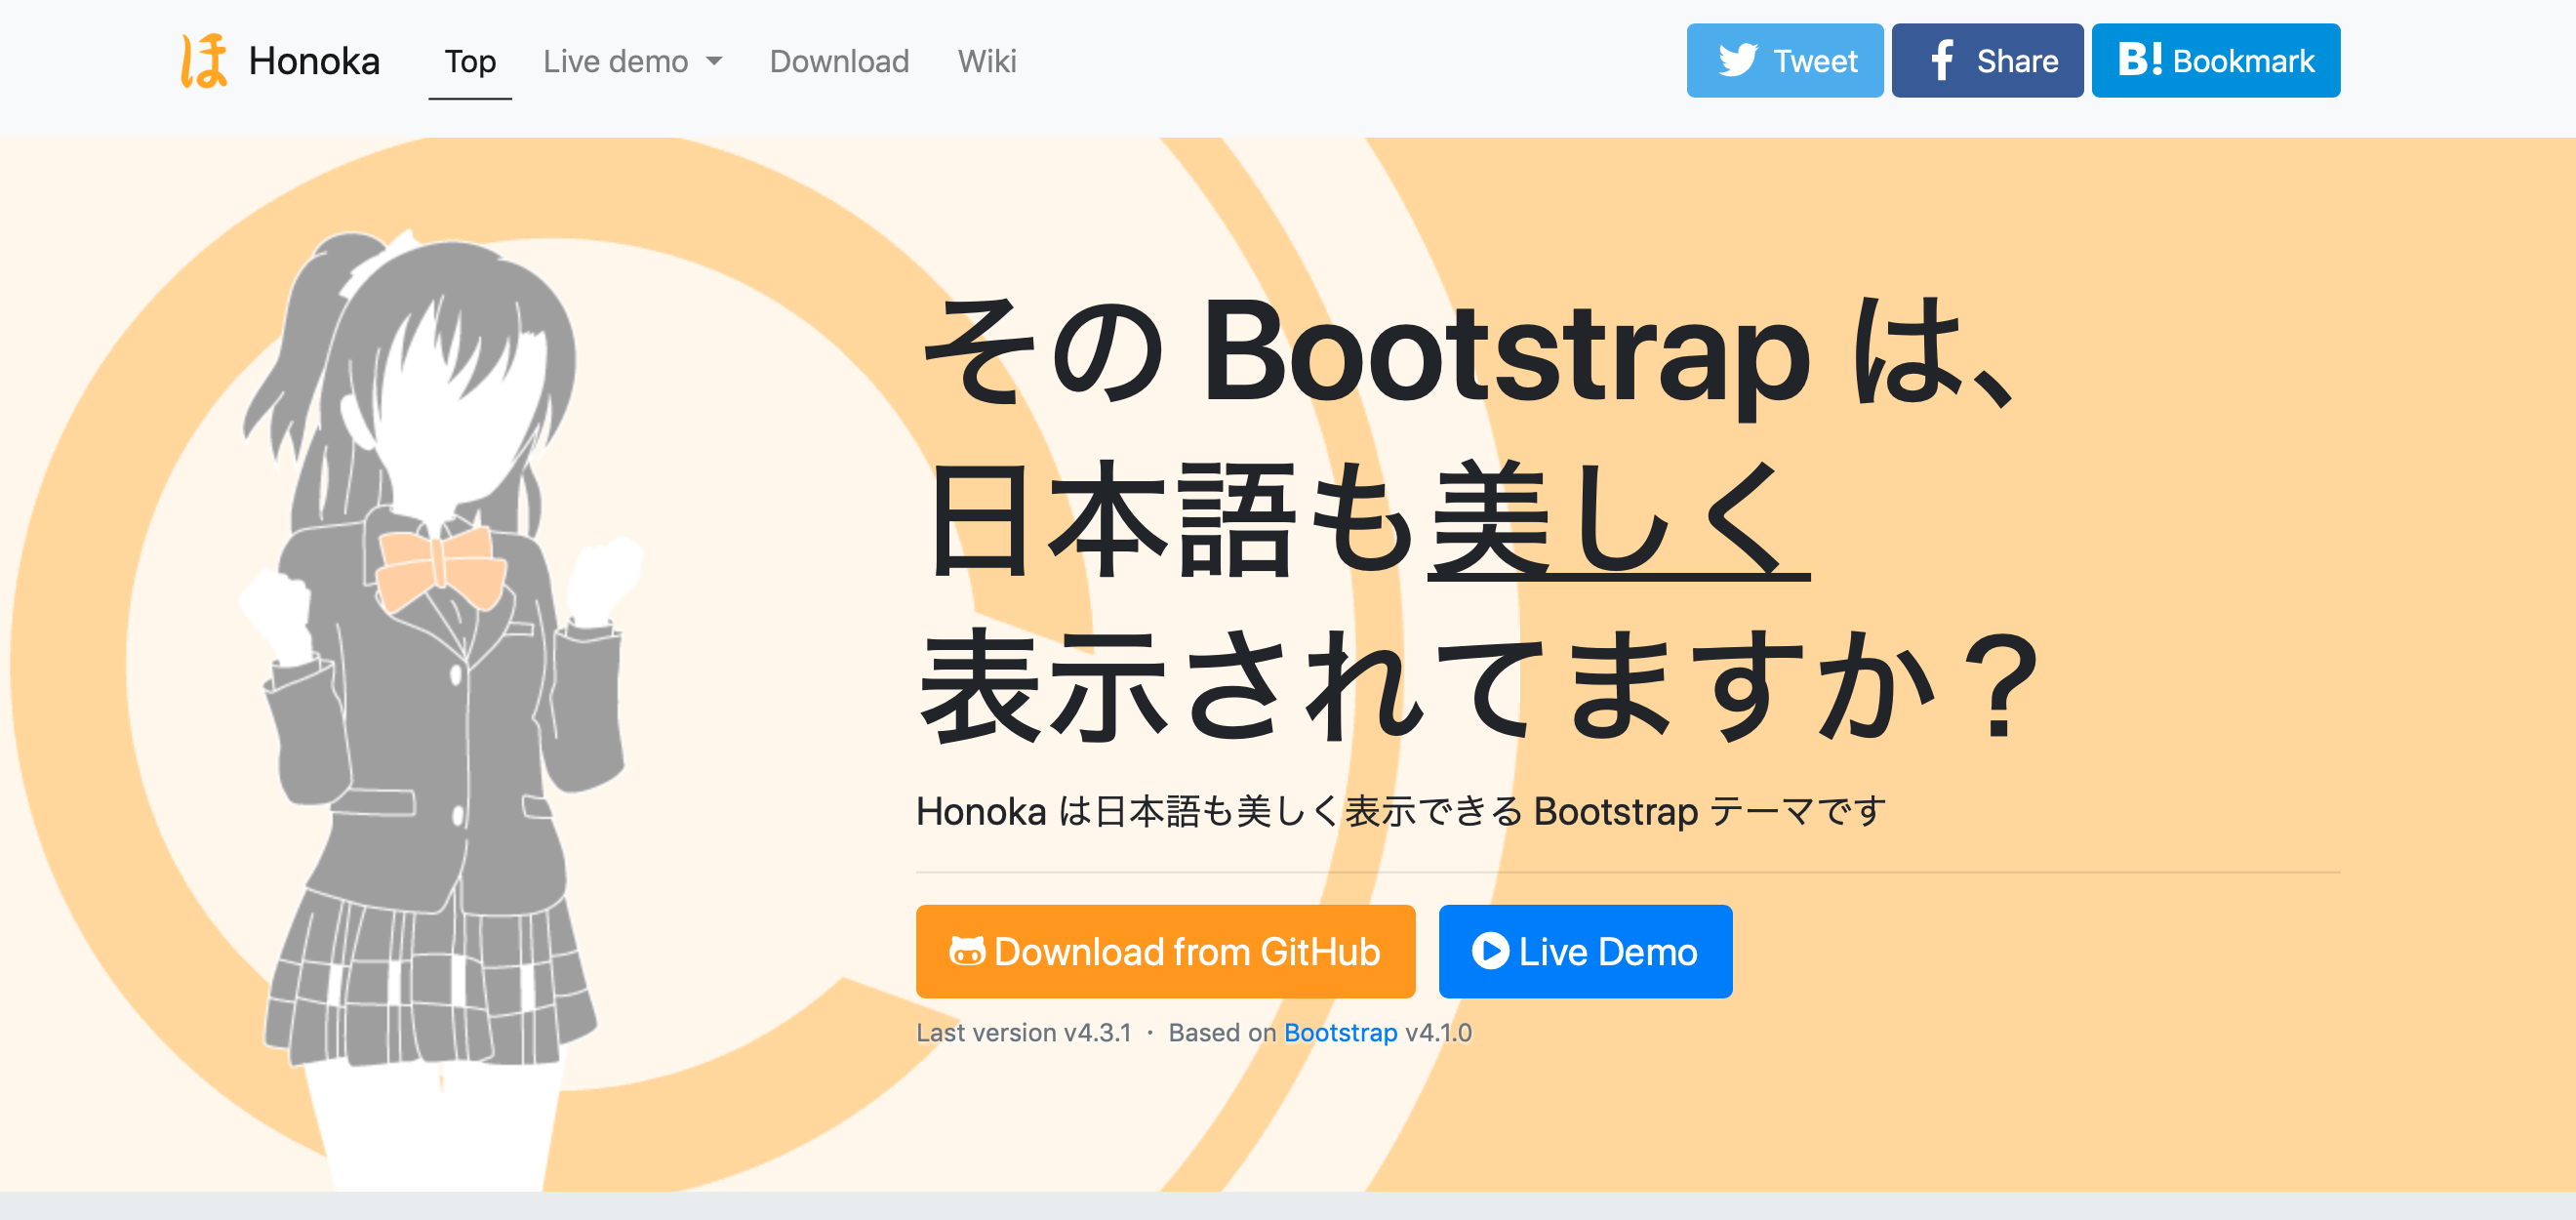
(3)Bootstrap4のテンプレートHonokaを使ってみる
Bootstrap というのは、CSSフレームワークと呼ばれているもので、デザイン等の知識がなくても簡単に Webサイトのデザインを作成することができる。
今回は、Bootstrapのひな形のHonokaを使ってみた。
Honoka
(4)コードを修正する
Honokaをダウンロードしたフォルダから、cssとjsフォルダについて、新たに作成したstaticディレクトリに移す。
①layout.htmlの修正
まず、layout.htmlのhead /headに以下を追加。
<link rel="stylesheet" type="text/css" href="/static/css/bootstrap.css">
次に、layout.htmlの/bodyの手前に以下を追加。
<script src="/static/./js/bootstrap.min.js"></script>
結果、layout.htmlは最終的に以下のようになる。
layout.html
<!DOCTYPE html>
<html lang="ja">
    <head>
        <meta charset="utf-8">
  <title>Nyanco Form</title>
        <style>body {padding: 10px;}</style>
        <!-- Bootstrap -->
        <link rel="stylesheet" type="text/css" href="/static/css/bootstrap.css">
    </head>
    <body>
        {% block content %}
        {% endblock %}
        <!-- Bootstrap -->
        <script src="/static/./js/bootstrap.min.js"></script>
    </body>
</html>
②index.htmlの修正
index.htmlは最終的に以下のように修正
index.html
{% extends "layout.html" %}
{% block content %}
<div class="container">

<h1 class="display-4 text-center mt-5"> ニャンコつぶやきフォーム </h1>


<form class="text-center mt-5" action="/result" method="post">
      <label class="text-primary font-weight-bold" for="article">つぶやく内容</label>
      <input type="text" name="article">


      <p></p>

      <label class="text-success font-weight-bold" for="name">つぶやいたネコ</label>
      <input type="text" name="name">
      <button class="btn btn-primary type="submit">送信</button>
</form>

<p></p>

<p class="text-center mt-5 text-primary">つぶやき内容/{{ article }}</p>
<p class="text-center text-success">つぶやいたネコ/{{ name }}</p>

</div>
{% endblock %}
③form.pyの修正
以下をform.pyに追加
from flask_bootstrap import Bootstrap
bootstrap = Bootstrap(app)
form.pyは最終的に以下のようになる。
form.py
from flask import Flask,request,render_template
from flask_bootstrap import Bootstrap

app = Flask(__name__)
bootstrap = Bootstrap(app)


@app.route("/")
def show():
    return render_template("index.html")


@app.route("/result",methods=["POST"])
def result():
    article = request.form["article"]
    name = request.form["name"]
    return render_template("index.html",article=article,name=name)
(5)Herokuにデプロイする
デプロイ方法について詳しくは、前回記事を参考。前回の記事はコチラ
無事デプロイできた。