FlaskとHerokuを使って、簡単な投稿フォームを作った。
(1)アウトプットイメージ
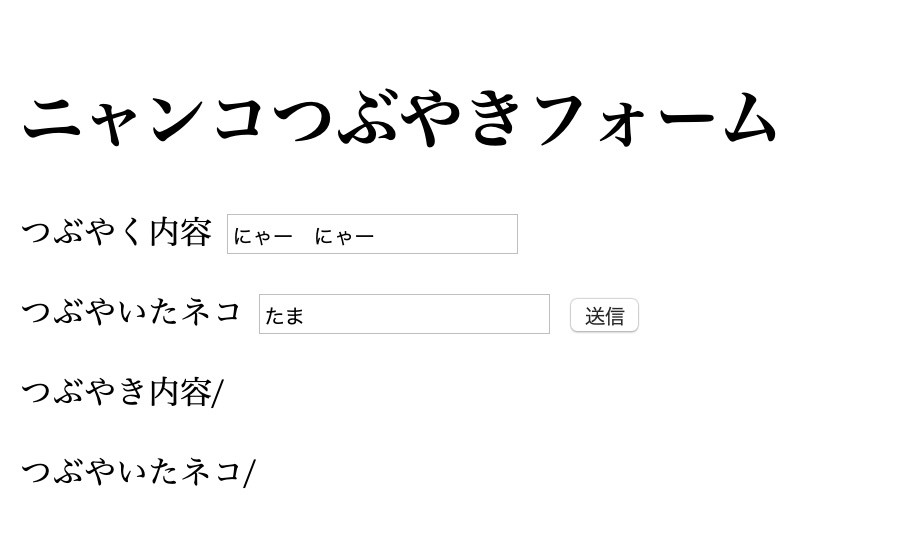
以下のような簡単な投稿フォームを作成することをゴールとした。

つぶやく内容に”にゃー にゃー”、つぶやいたネコに”たま”を入力し、送信ボタンを押すと、

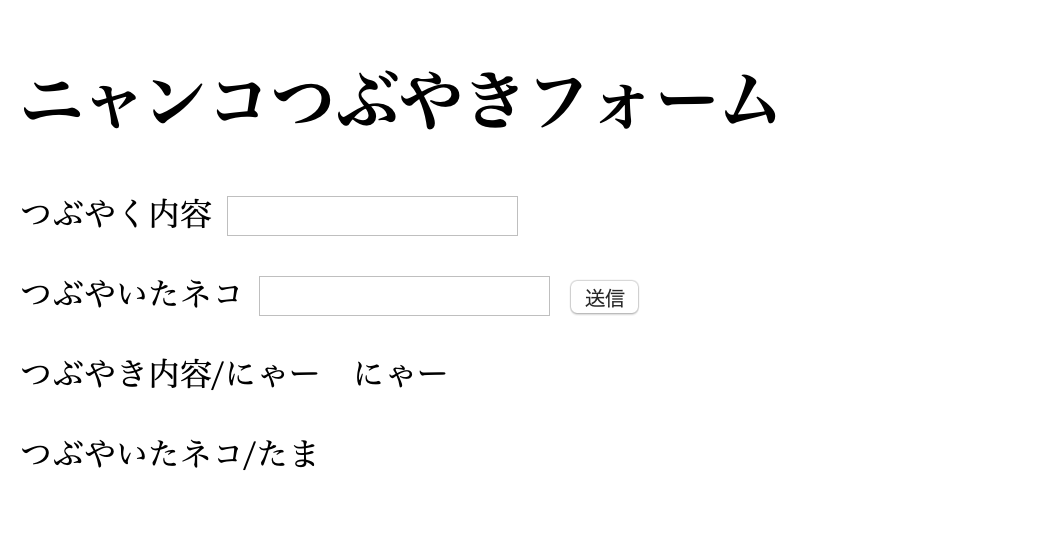
こんな感じで投稿される。
(2)仮想環境を設定
desktopに、my_formというディレクトリを作成、ディレクトリに移動して仮想環境を設定。仮想環境を起動する。
python3 -m venv .
source bin/activate
(3)必要なフレームワークと、WEBサーバーをインストール
flaskとgunicornをインストール。
pip install flask
pip install gunicorn
(4)必要なディレクトリとファイル(.py .html)を準備
my_formディレクトリ内にform.pyを作成、
また、my_formディレクトリ内にtemplatesディレクトリと(templatesディレクトリ内に)index.html、layout.htmlを作成する。
(4)form.pyを記述
以下を記述する。
from flask import Flask,request,render_template
app = Flask(__name__)


@app.route("/")
def show():
    return render_template("index.html")


@app.route("/result",methods=["POST"])
def result():
    article = request.form["article"]
    name = request.form["name"]
    return render_template("index.html",article=article,name=name)
render_templateをインポートすることで、Jinja2を使う環境を整えた。Jinja2テンプレートエンジンにより、htmlのテンプレートを呼び出す(ここでは、index.html)。
まず、@app.route("/")の処理であるが、Jinja2でindex.htmlを呼び出す。
具体的には、
return render_template("index.html" 〜)
とする。
次に、@app.route("/result",method=["POST"])の処理であるが、reuestをインポートすることで、呼び出したhtml側でフォームに入力したデータを取り出すことできる。
例えば、articleについては、article = request.form["article"]とすることで、index.html側でフォームに入力した内容を(index.html側のフォームname属性は、"article"を設定したものと想定)取り出すことができる。
なお、methodsは、index.html側のフォームをPOSTメソッドで今回は送信するので、[POST]とした。GETメソッドによる送信は後述する。
article = request.form["article"]
取り出したarticleと、nameの内容を再度return render_templateとして、index.htmlに返す。その際に、引数articleと、nameのそれぞれに値を代入。
return render_template("index.html",article=article,name=name)
methodsはPOSTとする
@app.route("/result",methods=["POST"])
(5)layout.htmlを記述
テンプレート部分が増えても共通部分のメンテナンスが容易になるよう共通のhtmlを作成しておく。
<!DOCTYPE html>
<html lang="ja">
    <head>
        <meta charset="utf-8">
        <title>Nyanco Form</title>
        <style>body {padding: 10px;}</style>
    </head>
    <body>
        {% block content %}
        {% endblock %}
    </body>
</html>
以下の部分に個別の内容(index.html)をはめ込むことができる。
{% block content %}
(6)index.htmlを記述
{% extends "layout.html" %}
{% block content %}
<h1> ニャンコつぶやきフォーム </h1>

<form action="/result" method="post">
      <label for="article">つぶやく内容</label>
      <input type="text" name="article">

      <p></p>

      <label for="name">つぶやいたネコ</label>
      <input type="text" name="name">
      <button type="submit">送信</button>
</form>

<p></p>

<p>つぶやき内容/{{ article }}</p>
<p>つぶやいたネコ/{{ name }}</p>
{% endblock %}
layout.htmlの部分位に{% block content %}から、{% endblock %}までの内容をはめ込む処理をしている。
inputのname属性は"article"とした。
<input type="text" name="article">
送信先アドレスは、/result、フォームに入力した内容はPOSTメソッドで送信する。
<form action="/result" method="post">
(7)ローカル環境で起動してみる
以下のようにflaskを起動してみる。
FLASK_APP=form.py flask run
* Running on http://127.0.0.1:5000/ (Press CTRL+C to quit)
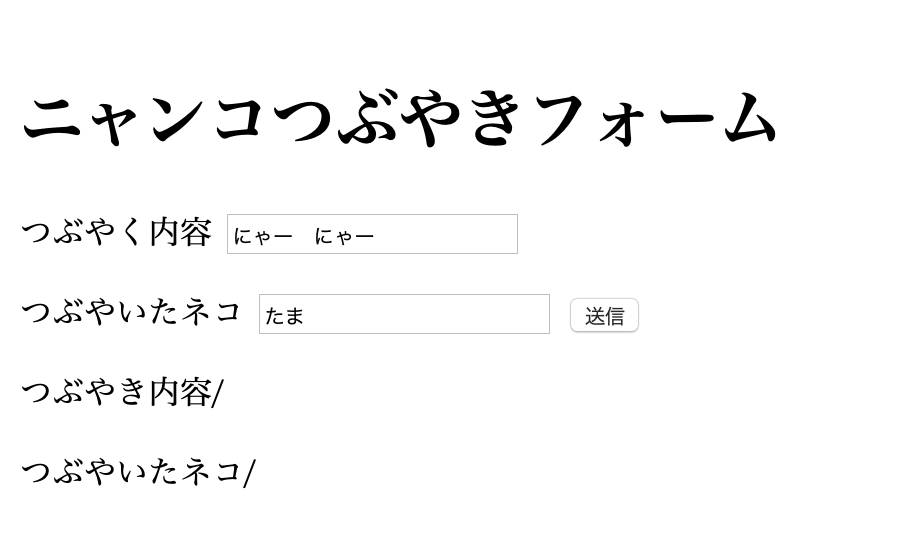
と出るので、ブラウザに http://〜の部分を貼り付けると、
 と出ていれば成功。
(8)POSTメソッド、GETメソッドの違いについて
なお、今回はPOSTメソッドを使用したが、GETメソッドの場合も備忘しておく。
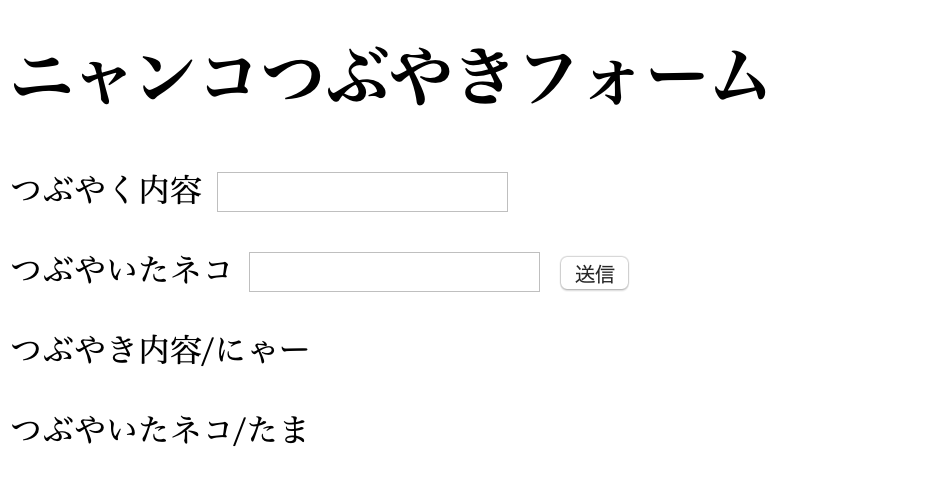
POSTメソッドの場合、フォームを送信すると、

となり、ブラウザのアドレスを見ると、

となっている。
一方で、GETメソッドによる方法をとるのであれば、form.pyと、index.htmlを以下のように修正し、
from flask import Flask,request,render_template
app = Flask(__name__)


@app.route("/")
def show():
    return render_template("index.html")


@app.route("/result",methods=["GET"])
def result():
    article = request.args.get("article")
    name = request.args.get("name")
    return render_template("index.html",article=article,name=name)
{% extends "layout.html" %}
{% block content %}
<h1> ニャンコつぶやきフォーム </h1>

<form action="/result" method="get">
      <label for="article">つぶやく内容</label>
      <input type="text" name="article">

      <p></p>

      <label for="name">つぶやいたネコ</label>
      <input type="text" name="name">
      <button type="submit">送信</button>
</form>

<p></p>

<p>つぶやき内容/{{ article }}</p>
<p>つぶやいたネコ/{{ name }}</p>
{% endblock %}
送信してブラウザのアドレスを見ると、

GETメソッドでは、送信するデータをアドレスの末尾に付け加える仕様となっている。したがって、どんなデータか他の人に見られてしまうので、例えば検索等のアプリに使われる。パスワード等を入力するようなフォームには使わないようにする必要がある。
(9)Herokuにデプロイ
Herokuへのデプロイ詳細は以下の記事に書いた通りなので、エッセンスのみとし、詳細説明を省く。
https://qiita.com/nooonchi/items/a7ea7c7a12c56ab8e901
Herokuにログインし、Heroku上にアプリを作成
heroku login
アプリ名はcat-formとした。
Heroku create cat-form
ディレクトリmy_formを初期化して、
git init
Herokuとローカル環境を紐つけて、
heroku git:remote -a cat-form
ディレクトリmy_formにrequirements.txtを作成して、
pip freeze > requirements.txt
ディレクトリmy_formにProckfileを作成し、以下を入力。
この時、gの前はブランク一つ必要、また、:appの前のformは、form.pyのformという意味なので注意が必要。
web: gunicorn form:app --log-file -
addして、
git add .
今回は、the-firstという名前でcommitして、
git commit -m'the-first'
Herokuにpushする。
git push heroku master
最後に、
heroku open
(10)おわりに
今後は、これを発展させ、掲示板にチャレンジしたい。
追記
- このフォームに、Flask-Bootstapを導入した(2020.3.2)
Python、FlaskとHerokuで、ニャンコつぶやきフォームを作った + Flask-Bootstrap導入
