最近のUbuntuを触ってみよう、ということで、触ってみます。
(Ubuntu触るの、十数年ぶり)
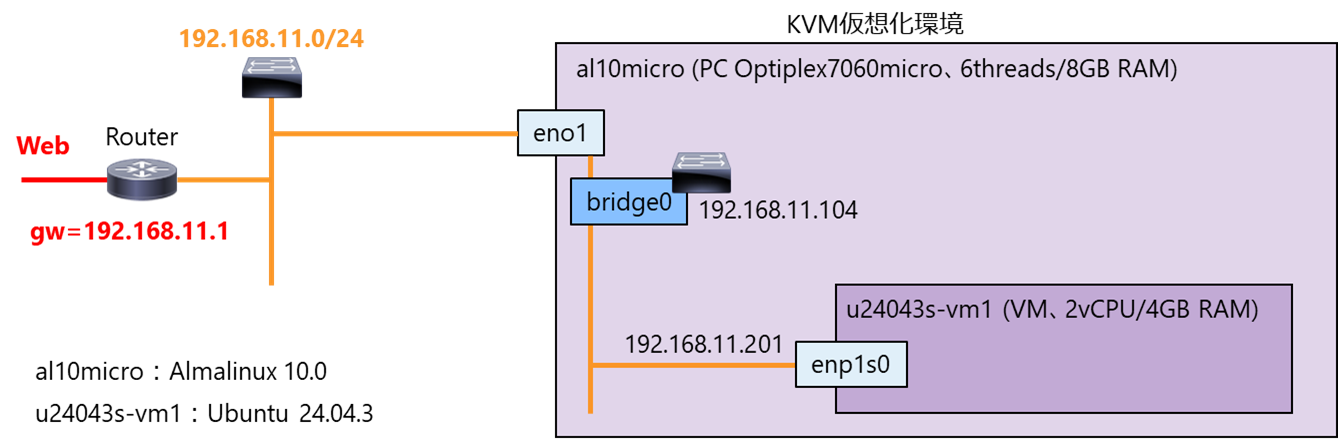
AlmaLinux10.0のホストに、VMとして作ります。
Copilotさんに聞きながら進めます。
図を描くまでもないですが、書くとこう。
1. UbuntuのVMを作成
以下から、UbuntuのLTSのServerのISOを入手。
→ ubuntu-24.04.3-live-server-amd64.iso
KVMホストの、/var/lib/libvirt/images/isos/にコピー。
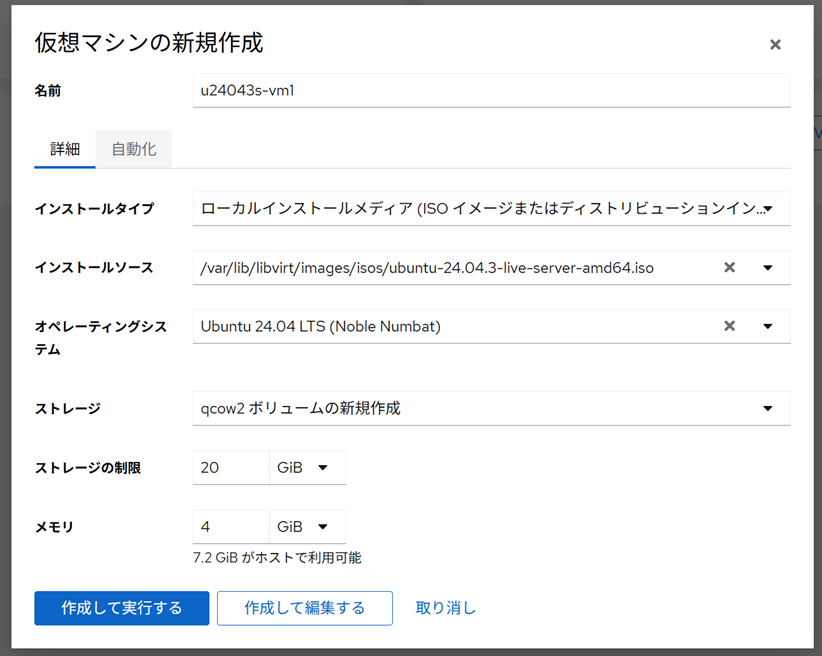
Cockpitの、「仮想マシンの作成」からVM作成。
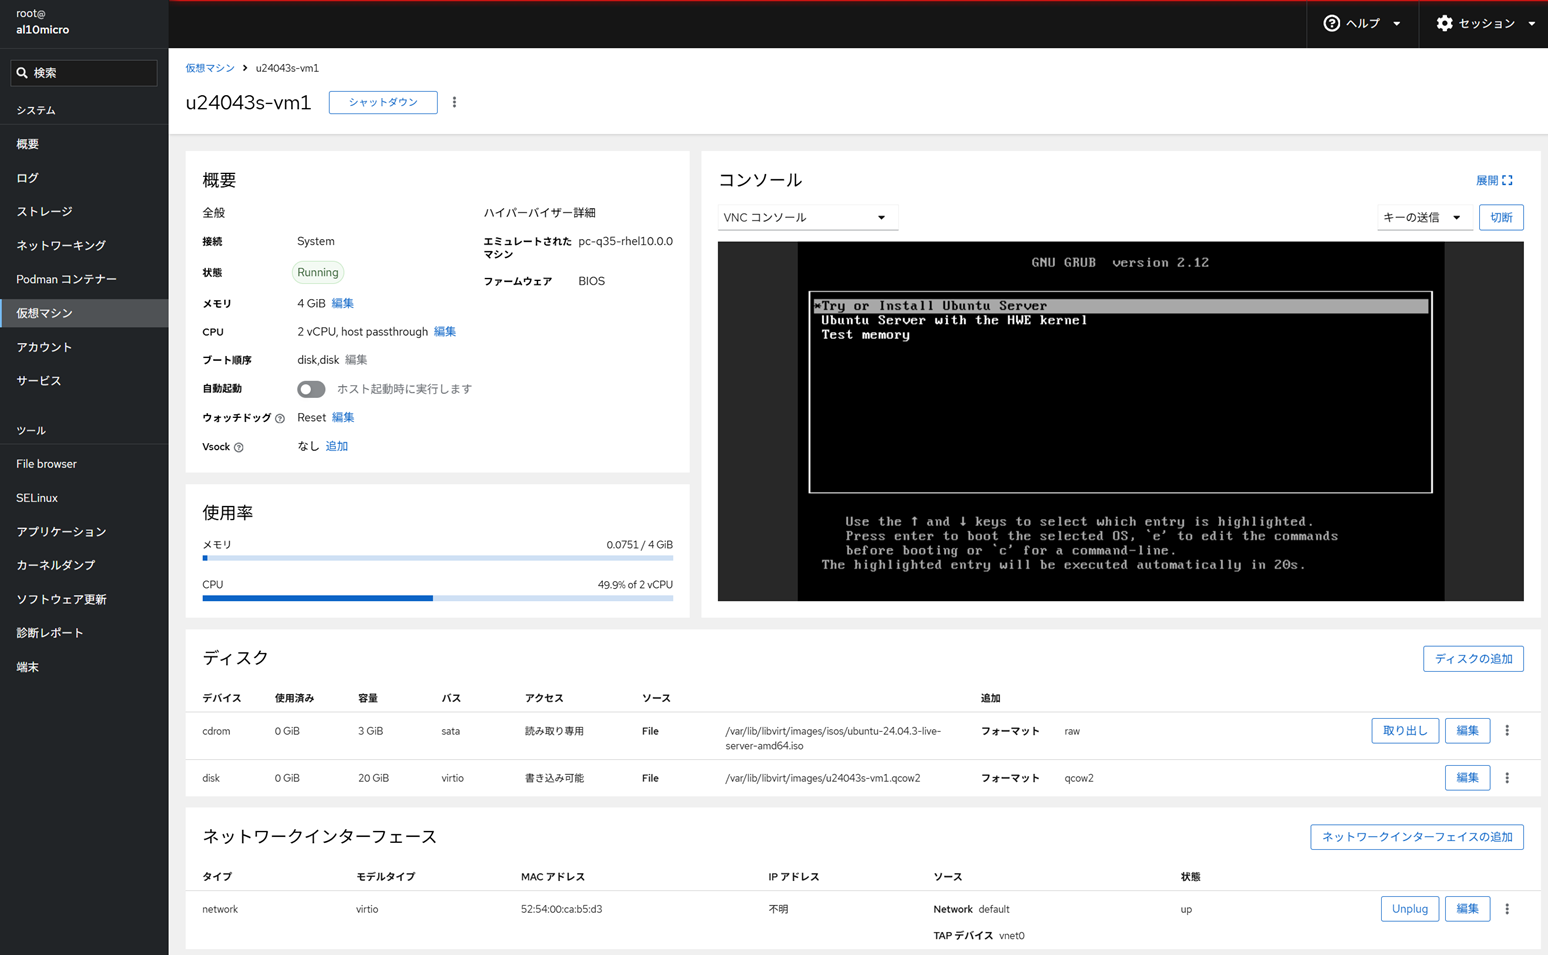
デフォルトはdefaultネットワークに接続されるので、後で、bridge0に変えます。
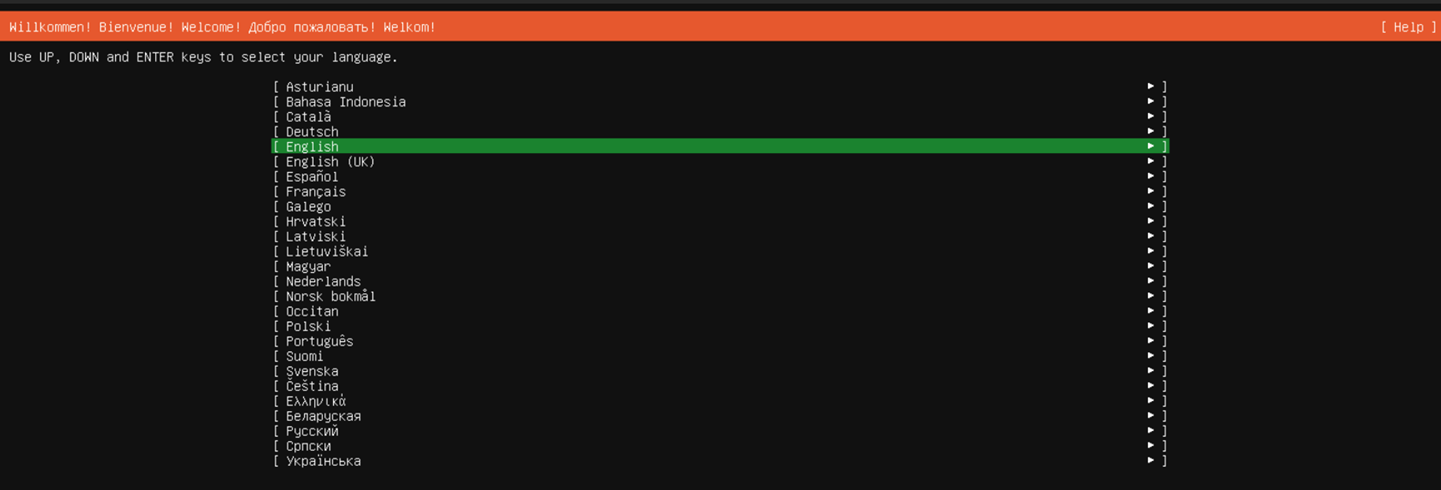
以下、画面表示と、選択したものです。「Done」「Back」表示は、適宜省略。

言語選択。日本語は選択肢にありません。(Server版だし)
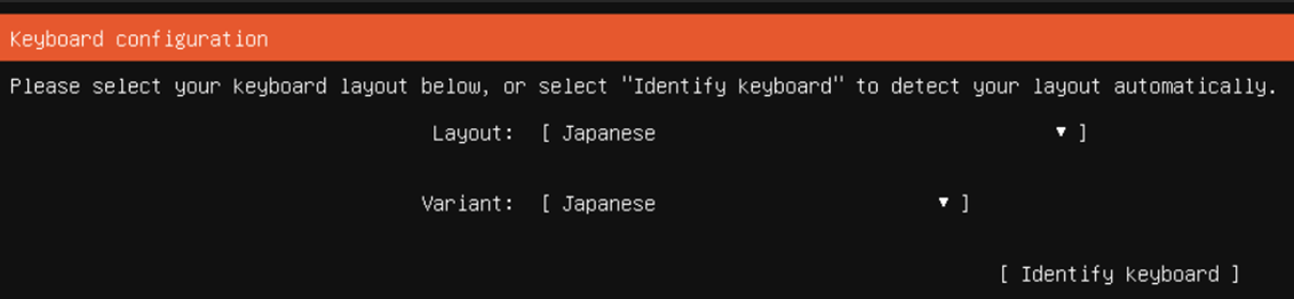
続いて、キーボード配列選択。こちらは、Japaneseがあります。
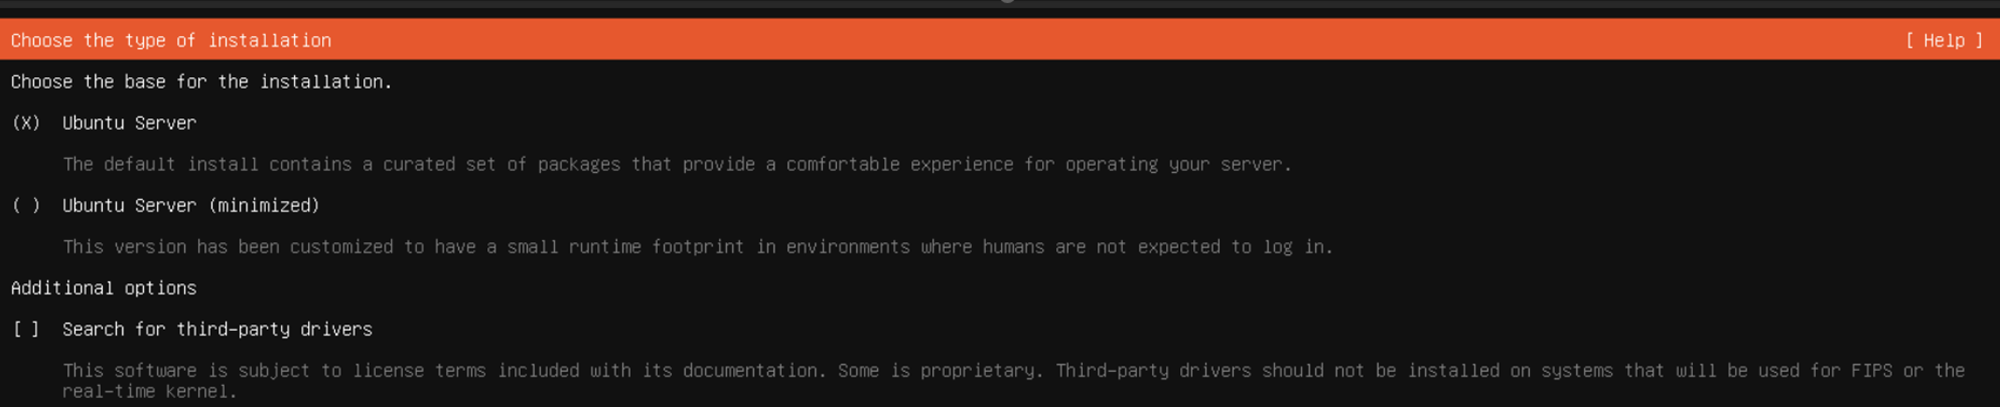
ここから、適宜、「Done」で進みます。

KVMのdefaultネットワークにつながっているので、適当なIPがついてます。

プロキシは使いません。

ミラーサーバのチェック。問題なし。

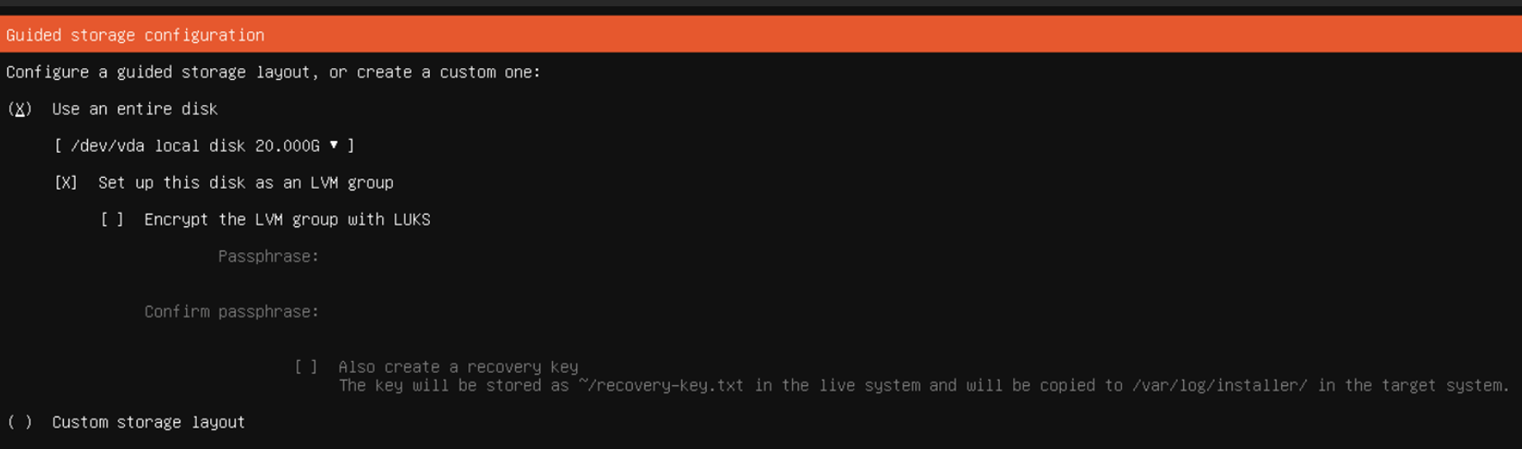
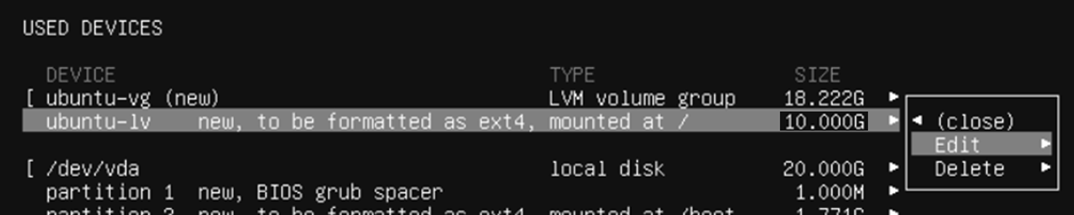
ディスク構成。とりあえず進めると、
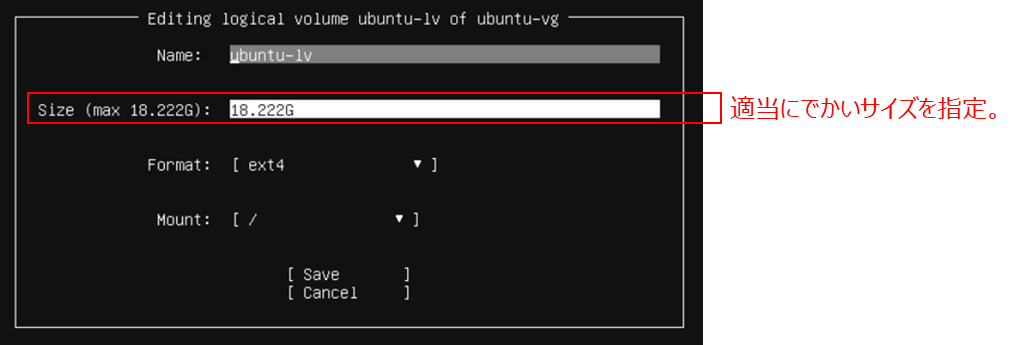
なぜか、VG18GBに対し、ubuntu-lvが10GBで、8.2GBをfree spaceとして残そうとしていたので、ubuntu-lvを最大サイズに設定。
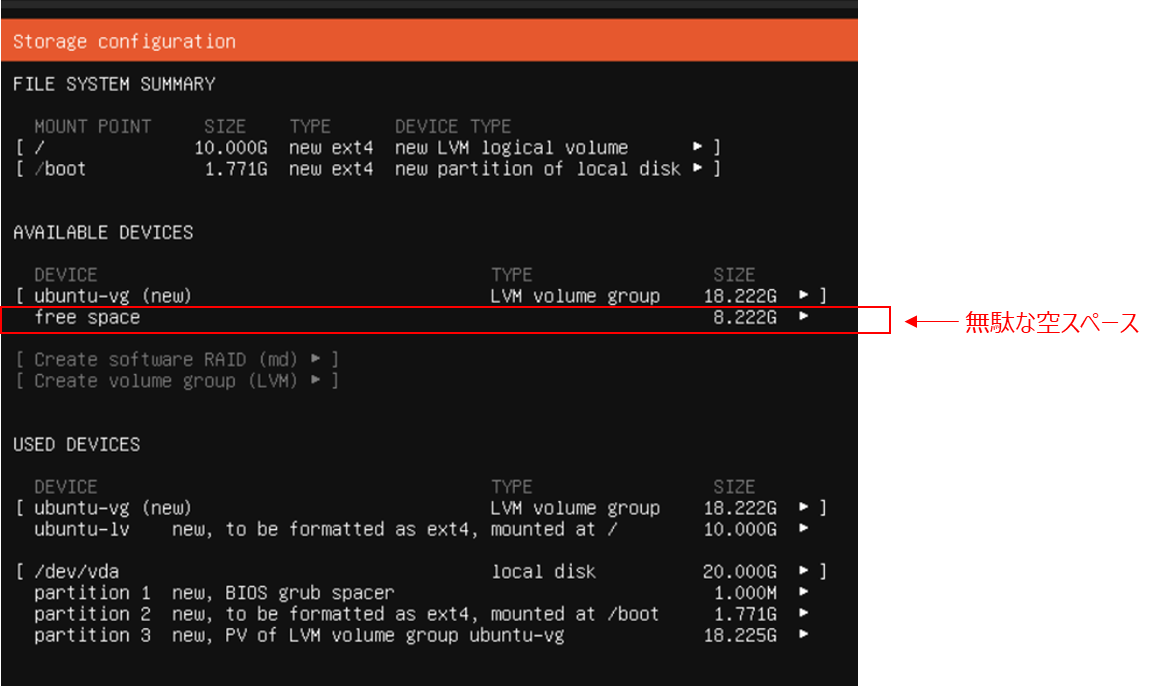
適当にでかい数字(100Gとか)を入れると、「Save」を押すと、最大サイズにしてくれます。
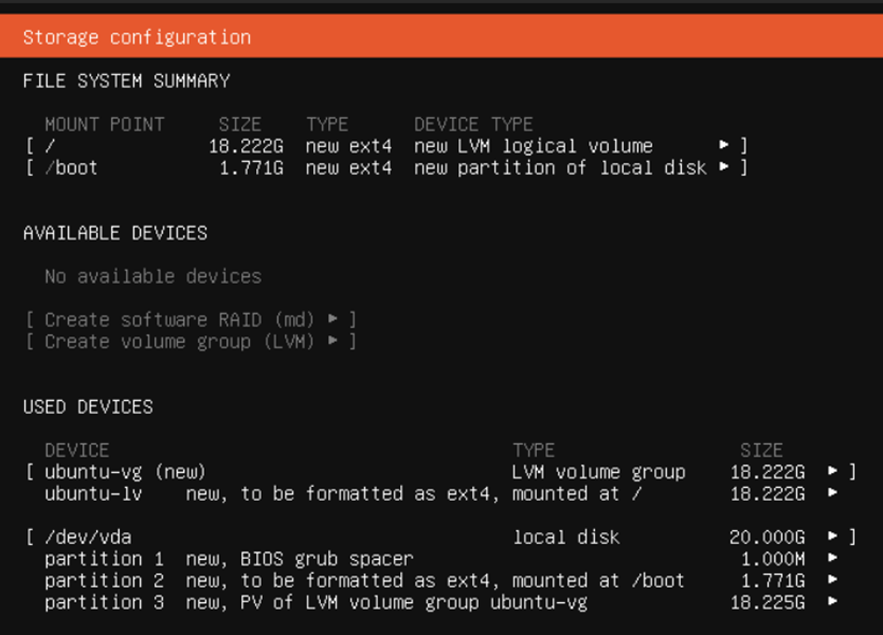
ということで、この設定で進めます。

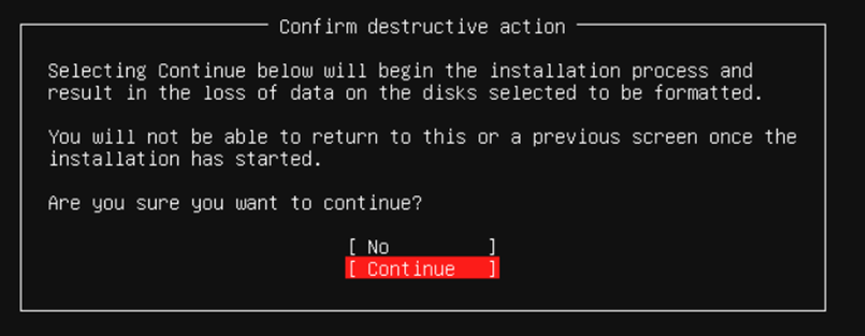
この先進むと、戻れないよ、の表示。
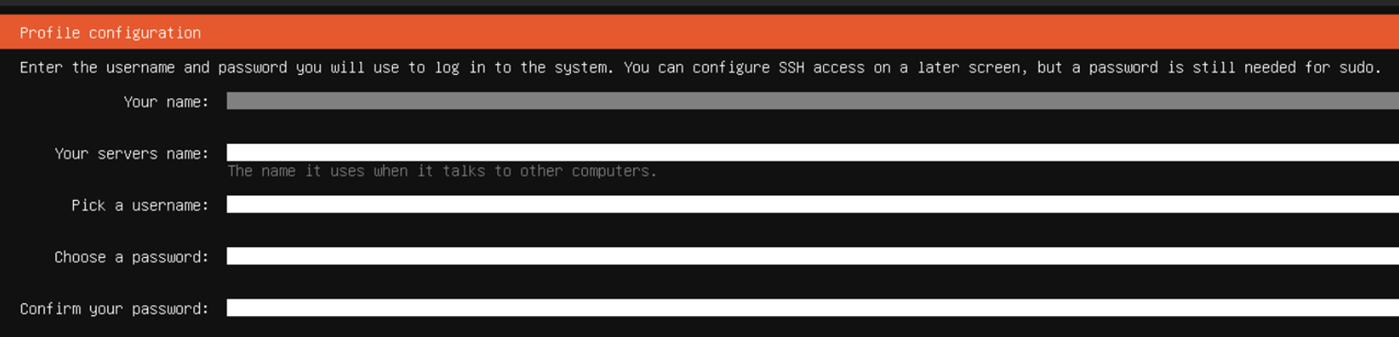
ユーザ名、ホスト名、パスワードの設定。
Ubuntu Proの宣伝。


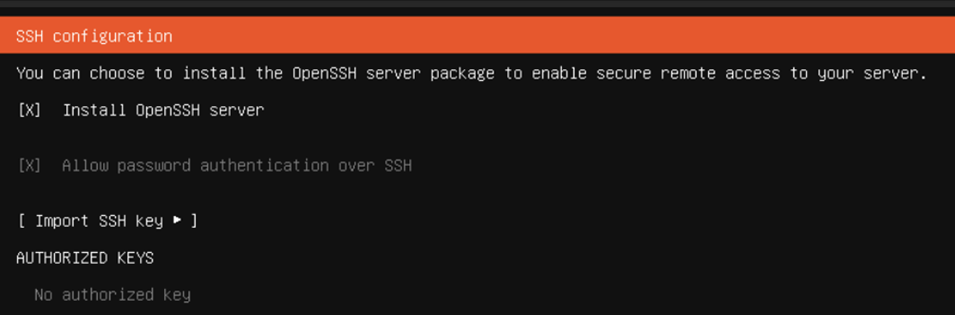
sshdは有効化しておきます。(「Install OpenSSH server」を[ ]->[X])
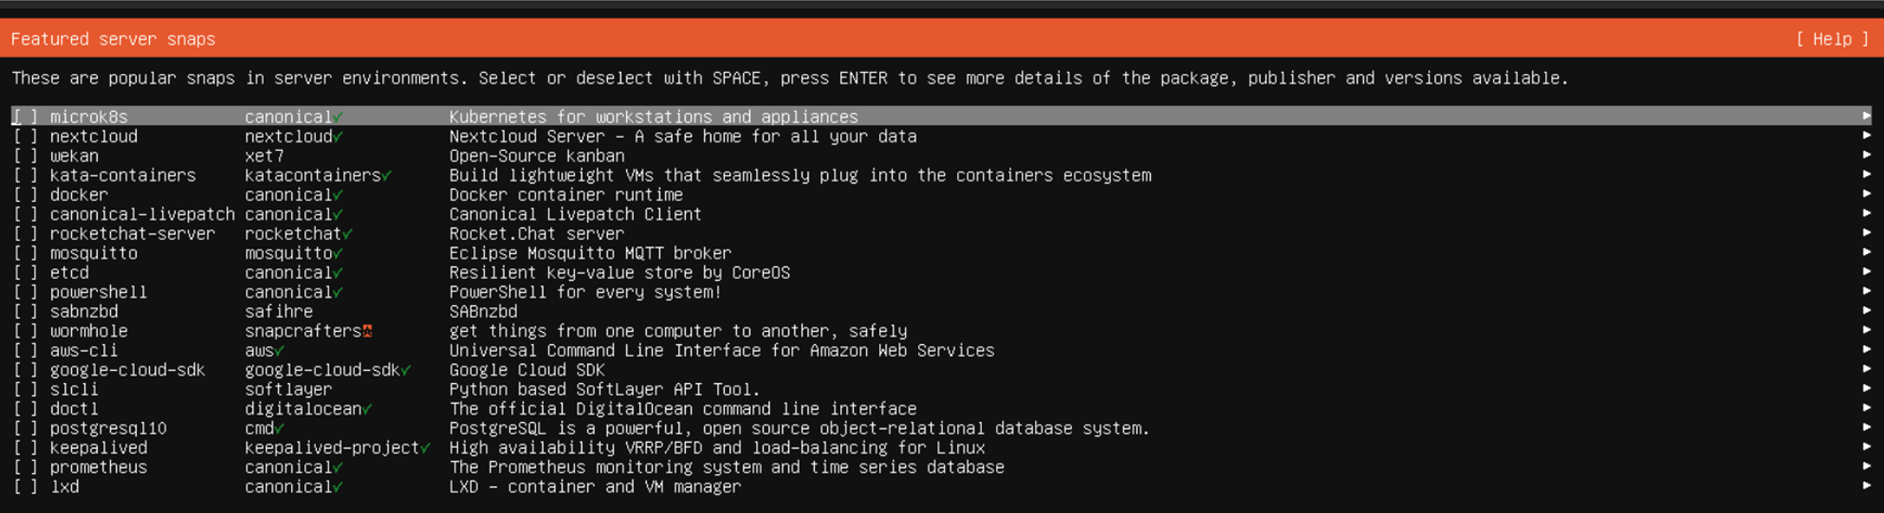
ポピュラーなソフトウェアの追加。必要になるとしても後で入れることとします。
この画面で、[Done]すると、インストールが開始します。

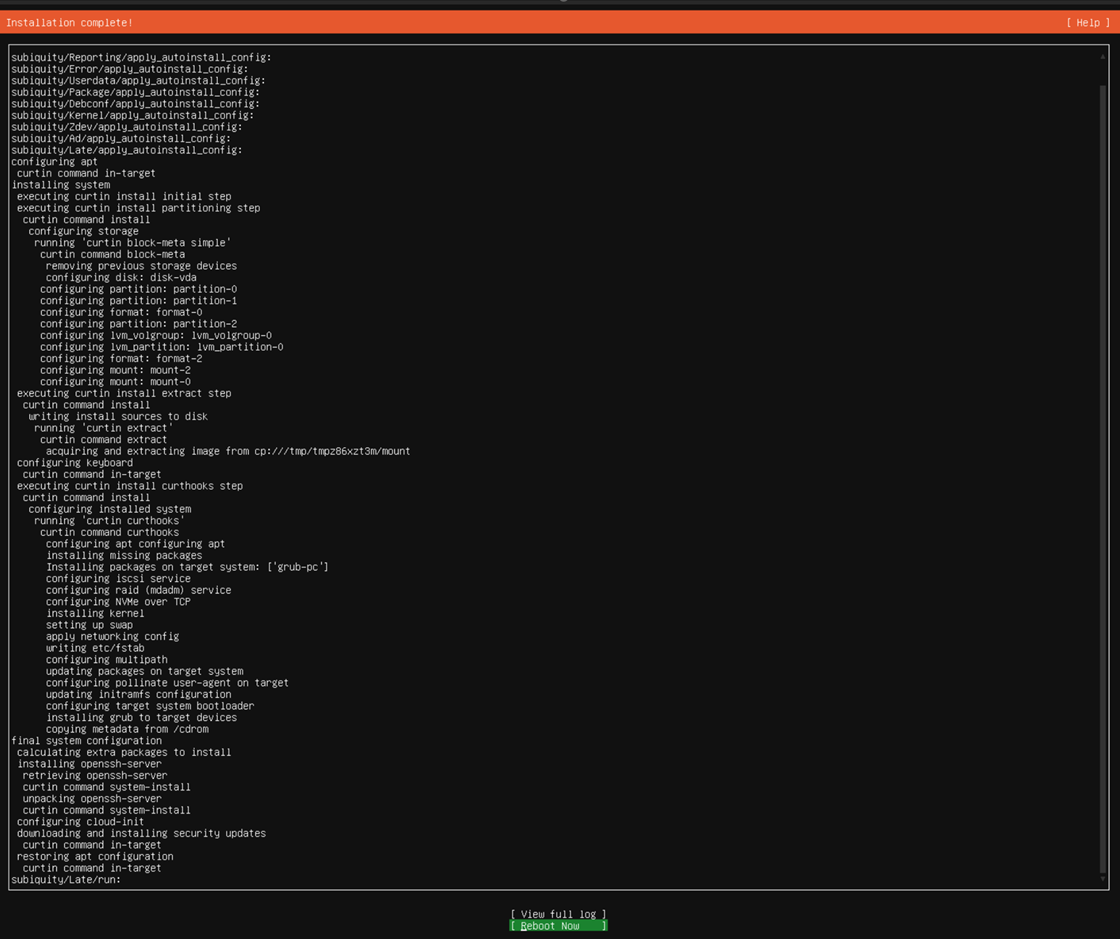
終わったら、「Reboot Now」を選択。
メディア排出の促しが出るので、KVMのVMの場合は、そのままEnterすればOKでした。

再起動され、最初のログイン画面が表示されます。
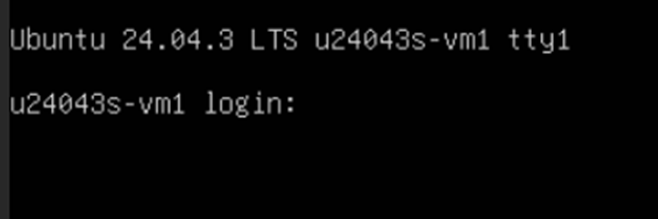
設定したユーザ名とパスワードを入れ、ログインします。
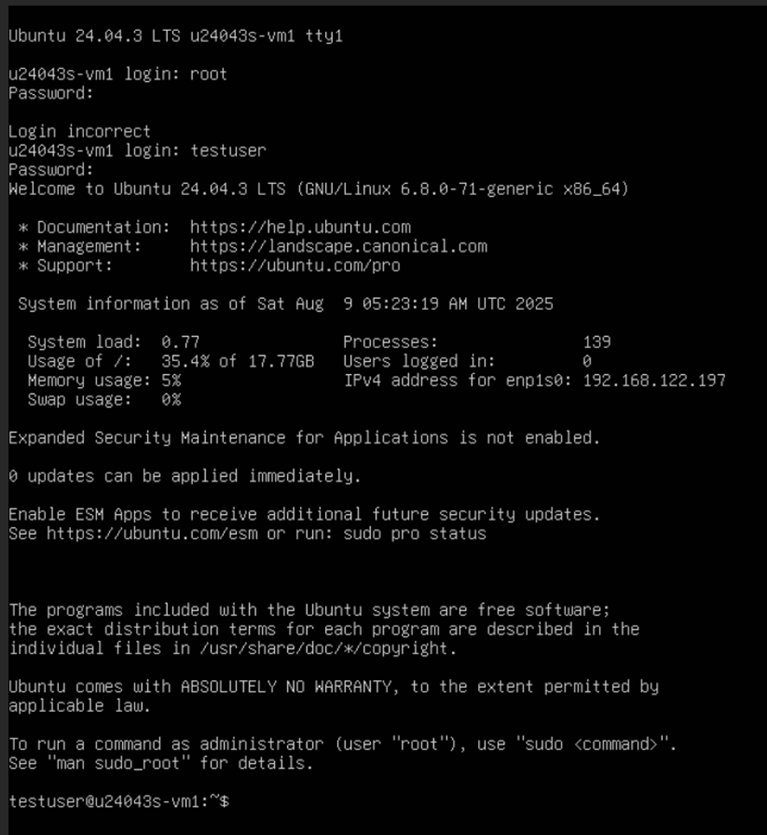
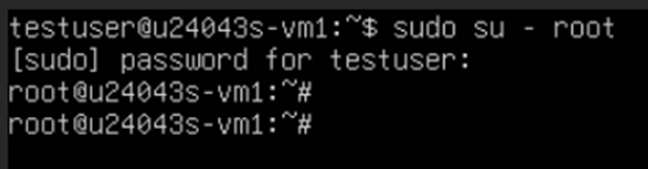
sudoすれば、rootになれます。
2. 必要最低限な設定
VMを止め、VMの接続先を、virbr0から、bridge0に変えて起動すると、192.168.11.0/24のIPアドレスが、dhcpで付きました。
testuser@u24043s-vm1:~$ ip addr
1: lo: <LOOPBACK,UP,LOWER_UP> mtu 65536 qdisc noqueue state UNKNOWN group default qlen 1000
    link/loopback 00:00:00:00:00:00 brd 00:00:00:00:00:00
    inet 127.0.0.1/8 scope host lo
       valid_lft forever preferred_lft forever
    inet6 ::1/128 scope host noprefixroute
       valid_lft forever preferred_lft forever
2: enp1s0: <BROADCAST,MULTICAST,UP,LOWER_UP> mtu 1500 qdisc fq_codel state UP group default qlen 1000
    link/ether 52:54:00:ca:b5:d3 brd ff:ff:ff:ff:ff:ff
    inet 192.168.11.134/24 metric 100 brd 192.168.11.255 scope global dynamic enp1s0
       valid_lft 85697sec preferred_lft 85697sec
    inet6 2401:4d40:88a0:0:5054:ff:feca:b5d3/64 scope global dynamic mngtmpaddr noprefixroute
       valid_lft 274sec preferred_lft 274sec
    inet6 fe80::5054:ff:feca:b5d3/64 scope link
       valid_lft forever preferred_lft forever
testuser@u24043s-vm1:~$
静的IPを付けたいと思います。
RHELにおけるNetworkManagerに相当するものは、Ubuntuはnetplan(ネットプラン)、とのこと。
デフォルト設定として、/etc/netplan/50-cloud-init.yamlがあります。dhcpを使う、という設定があります。削除します。
root@u24043s-vm1:~# ls -l /etc/netplan/
total 4
-rw------- 1 root root 65 Aug  9 05:22 50-cloud-init.yaml
root@u24043s-vm1:~#
root@u24043s-vm1:~# cat /etc/netplan/50-cloud-init.yaml
network:
  version: 2
  ethernets:
    enp1s0:
      dhcp4: true
root@u24043s-vm1:~#
root@u24043s-vm1:~# rm /etc/netplan/50-cloud-init.yaml
root@u24043s-vm1:~#
なお、cloud-init.disabled、のファイルが既存のため、消しても、自動で作り直されることはない、とのこと。
root@u24043s-vm1:~# ls -l /etc/cloud/cloud-init.disabled
-rw-r--r-- 1 root root 132 Aug  9 05:22 /etc/cloud/cloud-init.disabled
root@u24043s-vm1:~#
設定ファイルを作成します。
root@u24043s-vm1:~# vim /etc/netplan/01-netcfg.yaml
root@u24043s-vm1:~#
root@u24043s-vm1:~# cat /etc/netplan/01-netcfg.yaml
network:
  version: 2
  ethernets:
    enp1s0:
      dhcp4: false
      addresses:
        - 192.168.11.201/24
      gateway4: 192.168.11.1
      nameservers:
        addresses:
          - 192.168.11.1
          - 8.8.8.8
root@u24043s-vm1:~#
sshで入ってる状態でやると切れてしまうので、CockpitのVM画面にて、以下の反映を実施。
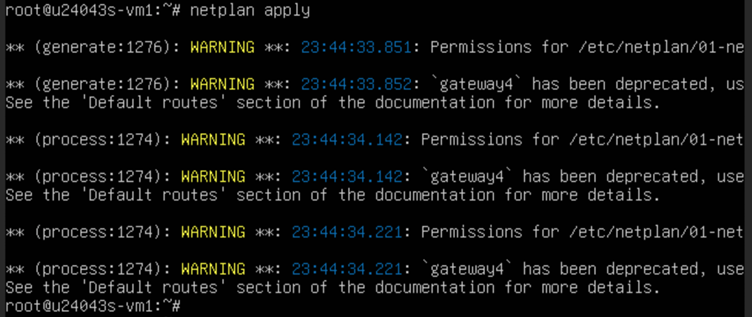
警告が色々と出ましたが、IPアドレスが付きました。
root@u24043s-vm1:~# ip addr
1: lo: <LOOPBACK,UP,LOWER_UP> mtu 65536 qdisc noqueue state UNKNOWN group default qlen 1000
    link/loopback 00:00:00:00:00:00 brd 00:00:00:00:00:00
    inet 127.0.0.1/8 scope host lo
       valid_lft forever preferred_lft forever
    inet6 ::1/128 scope host noprefixroute
       valid_lft forever preferred_lft forever
2: enp1s0: <BROADCAST,MULTICAST,UP,LOWER_UP> mtu 1500 qdisc fq_codel state UP group default qlen 1000
    link/ether 52:54:00:ca:b5:d3 brd ff:ff:ff:ff:ff:ff
    inet 192.168.11.201/24 brd 192.168.11.255 scope global enp1s0
       valid_lft forever preferred_lft forever
    inet6 2401:4d40:88a0:0:5054:ff:feca:b5d3/64 scope global dynamic mngtmpaddr noprefixroute
       valid_lft 288sec preferred_lft 288sec
    inet6 fe80::5054:ff:feca:b5d3/64 scope link
       valid_lft forever preferred_lft forever
root@u24043s-vm1:~#
あとは、sshでrootで入れるようにします。
rootユーザに、パスワードを設定します。
root@u24043s-vm1:~# passwd root
New password:
Retype new password:
passwd: password updated successfully
root@u24043s-vm1:~#
sshdが、rootのパスワードログインを、デフォルトで無効化しているので、これを有効化します。
「PermitRootLogin yes」の設定を追加します。
root@u24043s-vm1:~# grep Root /etc/ssh/sshd_config
#PermitRootLogin prohibit-password
# the setting of "PermitRootLogin prohibit-password".
root@u24043s-vm1:~#
root@u24043s-vm1:~# vim /etc/ssh/sshd_config
root@u24043s-vm1:~#
root@u24043s-vm1:~# grep Root /etc/ssh/sshd_config
#PermitRootLogin prohibit-password
PermitRootLogin yes
# the setting of "PermitRootLogin prohibit-password".
root@u24043s-vm1:~#
「PasswordAuthentication yes」の設定を追加します。
root@u24043s-vm1:~# grep Password /etc/ssh/sshd_config
#PasswordAuthentication yes
#PermitEmptyPasswords no
# PasswordAuthentication.  Depending on your PAM configuration,
# PAM authentication, then enable this but set PasswordAuthentication
root@u24043s-vm1:~#
root@u24043s-vm1:~# vim /etc/ssh/sshd_config
root@u24043s-vm1:~#
root@u24043s-vm1:~# grep Password /etc/ssh/sshd_config
#PasswordAuthentication yes
PasswordAuthentication yes
#PermitEmptyPasswords no
# PasswordAuthentication.  Depending on your PAM configuration,
# PAM authentication, then enable this but set PasswordAuthentication
root@u24043s-vm1:~#
反映します。
root@u24043s-vm1:~# systemctl restart ssh
root@u24043s-vm1:~#
これで、rootでsshできるようになりました。
[root@al10micro ~]# ssh root@192.168.11.201
root@192.168.11.201's password:
Welcome to Ubuntu 24.04.3 LTS (GNU/Linux 6.8.0-71-generic x86_64)

 * Documentation:  https://help.ubuntu.com
~
See https://ubuntu.com/esm or run: sudo pro status


root@u24043s-vm1:~#
時間が日本時間から9hずれてて、ログ確認などがしにくいので、調整します。
root@u24043s-vm1:~# date
Sat Aug  9 11:50:15 PM UTC 2025
root@u24043s-vm1:~#
タイムゾーンをAsia/Tokyoにします。
root@u24043s-vm1:~# timedatectl
               Local time: Sat 2025-08-09 23:50:46 UTC
           Universal time: Sat 2025-08-09 23:50:46 UTC
                 RTC time: Sat 2025-08-09 23:50:46
                Time zone: Etc/UTC (UTC, +0000)
System clock synchronized: yes
              NTP service: active
          RTC in local TZ: no
root@u24043s-vm1:~#
root@u24043s-vm1:~# timedatectl set-timezone Asia/Tokyo
root@u24043s-vm1:~#
root@u24043s-vm1:~# timedatectl
               Local time: Sun 2025-08-10 08:50:59 JST
           Universal time: Sat 2025-08-09 23:50:59 UTC
                 RTC time: Sat 2025-08-09 23:50:59
                Time zone: Asia/Tokyo (JST, +0900)
System clock synchronized: yes
              NTP service: active
          RTC in local TZ: no
root@u24043s-vm1:~#
ずれなくなりました。
root@u24043s-vm1:~# date
Sun Aug 10 08:51:02 AM JST 2025
root@u24043s-vm1:~#
まとめ
Ubuntu 24.04.3のOSを作成し、最低限の設定をしました。