はじめに
Selenide、Selenoid、Gaugeを利用したE2Eテスト環境の構築について紹介します。
テストコード編はSelenide+Selenoid+GaugeでE2Eテストを自動化する【テストコード編】を参照してください。
Selenideとは
Selenium WebDriverを利用した自動テストフレームワークです。
内部的にはSeleniumをラップしており、SeleniumAPIをよりシンプルに使いやすくしているのが特徴です。以下の公式サイトでもSeleniumとの比較が紹介されていますが、記述がかなり単純になることが分かります。
Selenide vs Selenium
Selenoidとは
Dockerコンテナを使用して、Seleniumの実⾏とブラウザ環境を提供します。
これにより、SeleniumとWebDriverの相性の問題などから解放され、テストコードのみに集中することができます。
その他にも
・テストごとにセッションを割り当てるため、簡単に並列実行を行うことができる
・オプションで簡単にテスト実行中のブラウザ画面の閲覧や録画ができる
といったテスト実行の効率化やデバッグに役立つ機能も備えています。
Gaugeとは
テストシナリオとテストコードを分離するテストフレームワークで、Markdownでテストシナリオを定義します。
Markdownで書くため可読性が高く、動的パラメータのCSVファイル読み込みや一時データを保持するためのデータストア、HTML形式のレポートなど、テストに必要な機能も充実しています。
また、specファイル指定、タグ指定、フラグ指定(失敗したシナリオの再実行など)、並列実行指定といった多彩な実行オプションも備えています。
事前準備
事前準備として、Docker、Gauge、javaのビルドツールであるGradleまたはMavenをインストールします。
ディレクトリ構成
本サンプルは、以下の構成でファイルを準備します。
.
├── env                    # プロパティファイル
│   ├── browsers           # ブラウザプロパティ
│   │   ├── chrome
│   │   │   └── browser.properties
│   │   └── firefox
│   │       └── browser.properties
│   └── default            # デフォルトプロパティ
│       └── default.properties
├── gauge                  # Gauge:ログ、レポート出力先
│   ├── logs
│   └── reports/html-report
├── selenoid               # Selenoid:設定、ログ、録画ファイル出力先
│   ├── config
│   │   └── browsers.json
│   ├── log
│   └── video
├── spec
│   └── sample.spec        # specファイル
├── src/test/java
│   ├── java               # テストコード
│   │   ├── pageobject     # ページオブジェクト
│   │   │   ├── GoogleSearchPage.java
│   │   │   └── GoogleSearchResultPage.java
│   │   ├── verification   # 検証オブジェクト
│   │   │   └── VerifyTitle.java
│   │   ├── Setup.java     # テスト前処理
│   │   └── Teardown.java  # テスト後処理
│   └── resources/csv      # リソース
│       └── sample.csv     # Gauge:動的パラメータファイル
├── manifest.json          # Gauge:マニフェストファイル
├── build.gradle           # Gradleビルドファイル
├── pom.xml                # Mavenビルドファイル
└── docker-compose.yml
ビルドファイルの準備
利用するSelenideやGaugeの情報をビルドファイルに追加します。
Gaugeでは、Gradle用とMaven用のカスタムプラグインが公開されているため、それぞれのビルドファイルの記述について紹介します。
https://docs.gauge.org/plugin.html#other-plugins
Gradleを利用する場合
plugins {
    id 'java'
    id 'org.gauge' version '1.8.0'
}

group = 'sample'
version = '1.0-SNAPSHOT'

description = "e2e"

repositories {
    mavenCentral()
}

dependencies {
    testImplementation 'com.codeborne:selenide:5.22.0'
    testImplementation 'com.thoughtworks.gauge:gauge-java:0.7.15'
    testImplementation 'org.slf4j:slf4j-api:1.7.31'
    testImplementation 'org.slf4j:slf4j-simple:1.7.31'
}
Mavenを利用する場合
<project xmlns="http://maven.apache.org/POM/4.0.0"
         xmlns:xsi="http://www.w3.org/2001/XMLSchema-instance"
         xsi:schemaLocation="http://maven.apache.org/POM/4.0.0
                             http://maven.apache.org/xsd/maven-4.0.0.xsd">
  <modelVersion>4.0.0</modelVersion>

  <groupId>sample</groupId>
  <artifactId>e2e</artifactId>
  <version>1.0-SNAPSHOT</version>
  <packaging>jar</packaging>

  <repositories>
    <repository>
      <id>mvnrepository</id>
      <name>mvnrepository</name>
      <url>https://mvnrepository.com/</url>
    </repository>
  </repositories>

  <dependencies>
    <dependency>
      <groupId>com.codeborne</groupId>
      <artifactId>selenide</artifactId>
      <version>5.22.0</version>
      <scope>test</scope>
    </dependency>
    <dependency>
      <groupId>com.thoughtworks.gauge</groupId>
      <artifactId>gauge-java</artifactId>
      <version>0.7.15</version>
      <scope>test</scope>
    </dependency>
    <dependency>
      <groupId>org.slf4j</groupId>
      <artifactId>slf4j-api</artifactId>
      <version>1.7.31</version>
      <scope>test</scope>
    </dependency>
    <dependency>
      <groupId>org.slf4j</groupId>
      <artifactId>slf4j-simple</artifactId>
      <version>1.7.31</version>
      <scope>test</scope>
    </dependency>
  </dependencies>

  <properties>
    <project.build.sourceEncoding>UTF-8</project.build.sourceEncoding>
  </properties>

  <build>
    <plugins>
      <plugin>
        <groupId>org.apache.maven.plugins</groupId>
        <artifactId>maven-compiler-plugin</artifactId>
        <version>3.8.1</version>
        <configuration>
          <source>1.8</source>
          <target>1.8</target>
        </configuration>
      </plugin>
      <plugin>
        <groupId>com.thoughtworks.gauge.maven</groupId>
        <artifactId>gauge-maven-plugin</artifactId>
        <version>1.4.3</version>
      </plugin>
      <plugin>
        <artifactId>maven-antrun-plugin</artifactId>
        <executions>
          <execution>
            <?m2e execute onConfiguration?>
            <id>make-directory-classes</id>
            <phase>generate-sources</phase>
            <configuration>
              <tasks>
                <mkdir dir="target/classes"/>
              </tasks>
            </configuration>
            <goals>
              <goal>run</goal>
            </goals>
          </execution>
        </executions>
      </plugin>
    </plugins>
  </build>
</project>
Gaugeの準備
Gaugeプロパティファイルの準備
Gaugeのデフォルトプロパティファイルを準備します。ログやレポートの出力先などの初期設定を行います。
https://docs.gauge.org/configuration.html
# default.properties
# properties set here will be available to the test execution as environment variables

# sample_key = sample_value

# The path to the gauge reports directory. Should be either relative to the project directory or an absolute path
gauge_reports_dir = gauge/reports

# Set as false if gauge reports should not be overwritten on each execution. A new time-stamped directory will be created on each execution.
overwrite_reports = true

# Set to false to disable screenshots on failure in reports.
screenshot_on_failure = true

# The path to the gauge logs directory. Should be either relative to the project directory or an absolute path
logs_directory = gauge/logs

# Set to true to use multithreading for parallel execution
enable_multithreading = false

# The path the gauge specifications directory. Takes a comma separated list of specification files/directories.
gauge_specs_dir = specs

# The default delimiter used read csv files.
csv_delimiter = ,

# Allows steps to be written in multiline
allow_multiline_step = false
Gaugeマニフェストファイルの準備
Gaugeで利用する言語とプラグインをマニフェストファイルに定義します。
本サンプルではjava言語を使用し、html-reportプラグインを利用します。
{
  "Language": "java",
  "Plugins": [
    "html-report"
  ]
}
Selenoidの準備
docker-compose.ymlの準備
configやログの出力先をディレクトリ構成に合わせて指定します。
また、コンテナの同時起動数など、Selenoidの起動オプションをcommandオプションにて指定します。
https://aerokube.com/selenoid/latest/#_selenoid_cli_flags
version: '3'
services:
  selenoid:
    container_name: selenoid
    image: "aerokube/selenoid:latest"
    networks:
      - selenoid-network
    volumes:
      - "./selenoid/config:/etc/selenoid"
      - "/var/run/docker.sock:/var/run/docker.sock"
      - "./selenoid/logs:/opt/selenoid/logs"
      - "./selenoid/video:/opt/selenoid/video"
    environment:
      - "OVERRIDE_VIDEO_OUTPUT_DIR=$PWD/selenoid/video"
    command: ["-conf", "/etc/selenoid/browsers.json", "-video-output-dir", "/opt/selenoid/video", "-log-output-dir", "/opt/selenoid/logs", "-container-network", "selenoid-network", "-limit", "10"]
    ports:
      - "4445:4444"
  selenoid-ui:
    container_name: selenoid-ui
    image: "aerokube/selenoid-ui:latest"
    links:
      - selenoid
    networks:
      - selenoid-network
    command: ["--selenoid-uri", "http://selenoid:4444"]
    ports:
      - "8081:8080"
networks:
  selenoid-network:
    external:
      name: selenoid-network
ブラウザイメージの取得
以下のコマンドでブラウザイメージを取得します。
https://aerokube.com/selenoid/latest/#_browser_images
https://aerokube.com/images/latest/#_chrome
https://aerokube.com/images/latest/#_firefox
# chrome browser image
$ docker pull selenoid/vnc_chrome:90.0
# firefox browser image
$ docker pull selenoid/vnc_firefox:89.0
browsers.jsonの準備
取得したブラウザイメージの情報をbrowsers.jsonに追加します。
別バージョンのブラウザでテストを行う場合は、同様の手順でブラウザイメージの取得とbrowsers.jsonの追加を行います。
{
  "chrome": {
    "default": "90.0",
    "versions": {
      "90.0": {
        "image": "selenoid/vnc_chrome:90.0",
        "port": "4444",
        "tmpfs": {"/tmp": "size=512m", "/var": "size=128m"},
        "path": "/"
      }
    }
  },
  "firefox": {
    "default": "89.0",
    "versions": {
      "89.0": {
        "image": "selenoid/vnc_firefox:89.0",
        "port": "4444",
        "tmpfs": {"/tmp": "size=512m", "/var": "size=128m"},
        "path": "/wd/hub"
      }
    }
  }
}
VideoRecorderイメージの取得
MPEG-4形式で実行結果を記録する場合は、VideoRecorderイメージも取得しておきます。
$ docker pull selenoid/video-recorder:latest-release
Selenoidの起動
$ docker-compose up -d
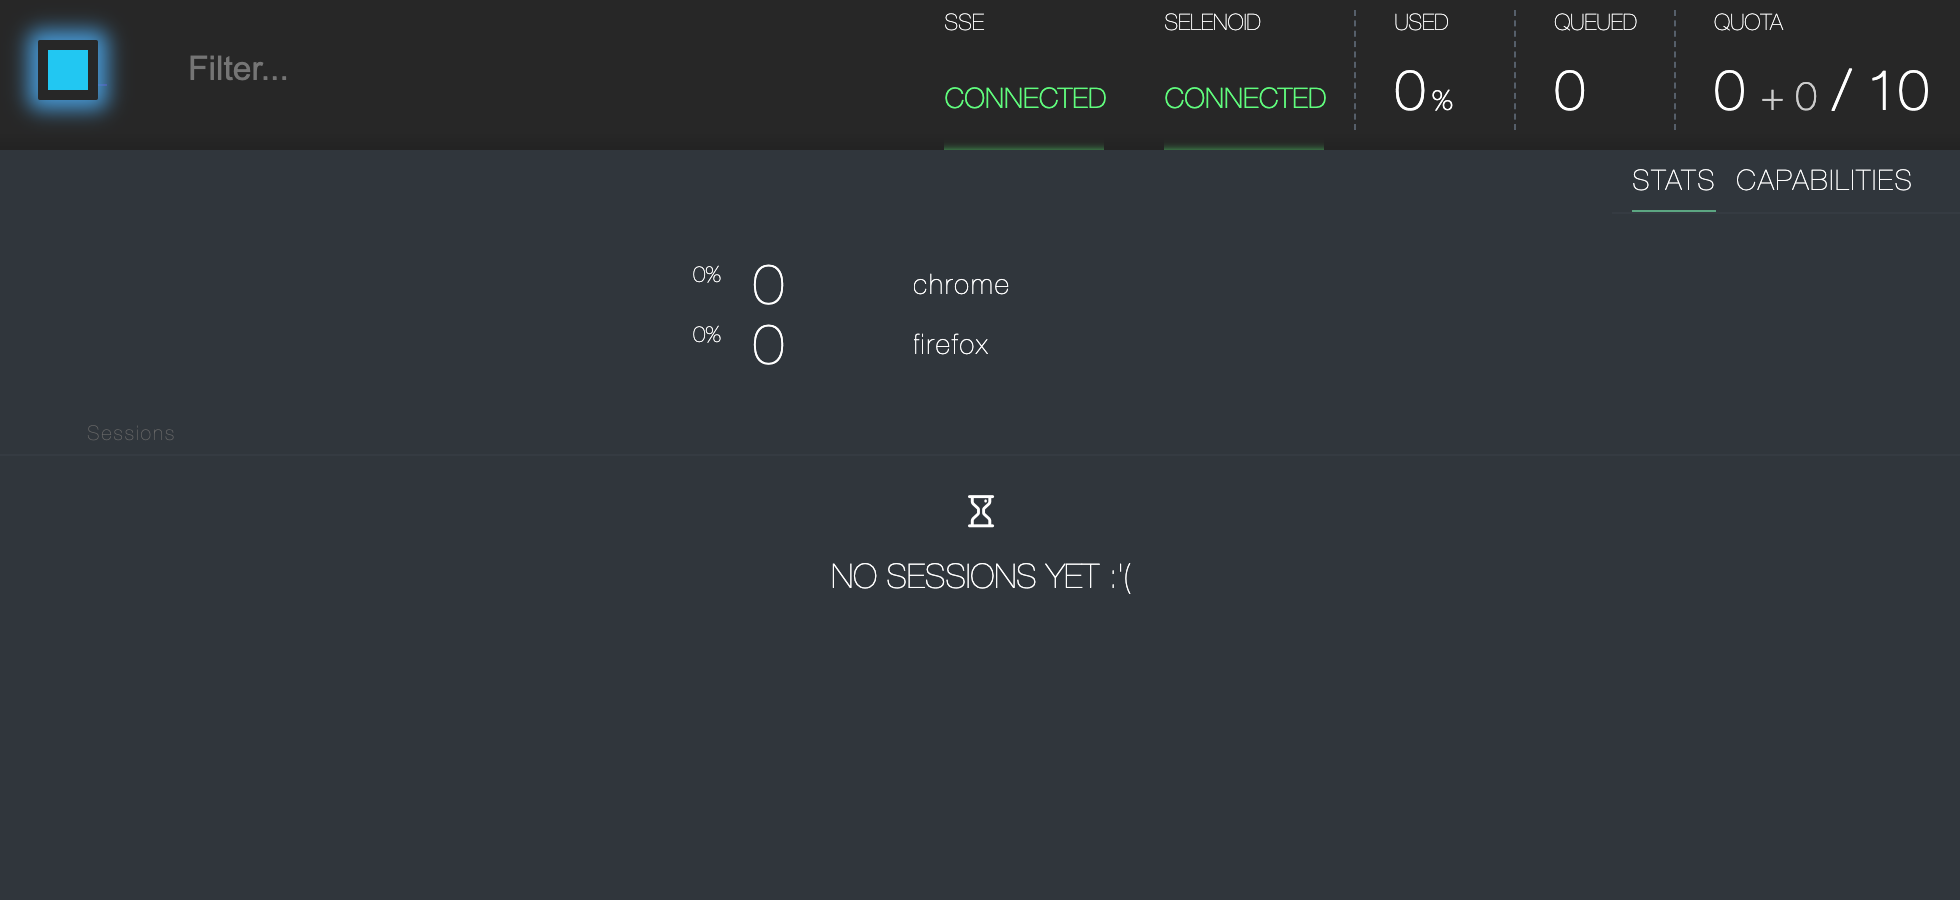
起動後にブラウザで下記にアクセスすると、Selenoidにアクセスすることができます。
http://localhost:8081/#/
Selenoidの停止
$ docker-compose down
以上で環境構築編は終了になります。
テストコード編はSelenide+Selenoid+GaugeでE2Eテストを自動化する【テストコード編】を参照してください。