はじめに
Firebaseをアプリに実装していてDeployGateなどでテストをしているとRelease環境のAnalyticsが反応してしまって実際の生の完全なデータが取得できないので GoogleService-Info.plist を2つ取得してそれぞれの環境にわけてあげようという話です。
プロジェクト準備
- Xcodeでプロジェクトを新しく作る
- Firebaseでプロジェクトを作る
- 普通にFirebaseとiOSアプリの設定をする
- スキームの設定 Xcode7 でスキームの設定をするこの記事を見るとわかります!
上記のところまでは省略します。
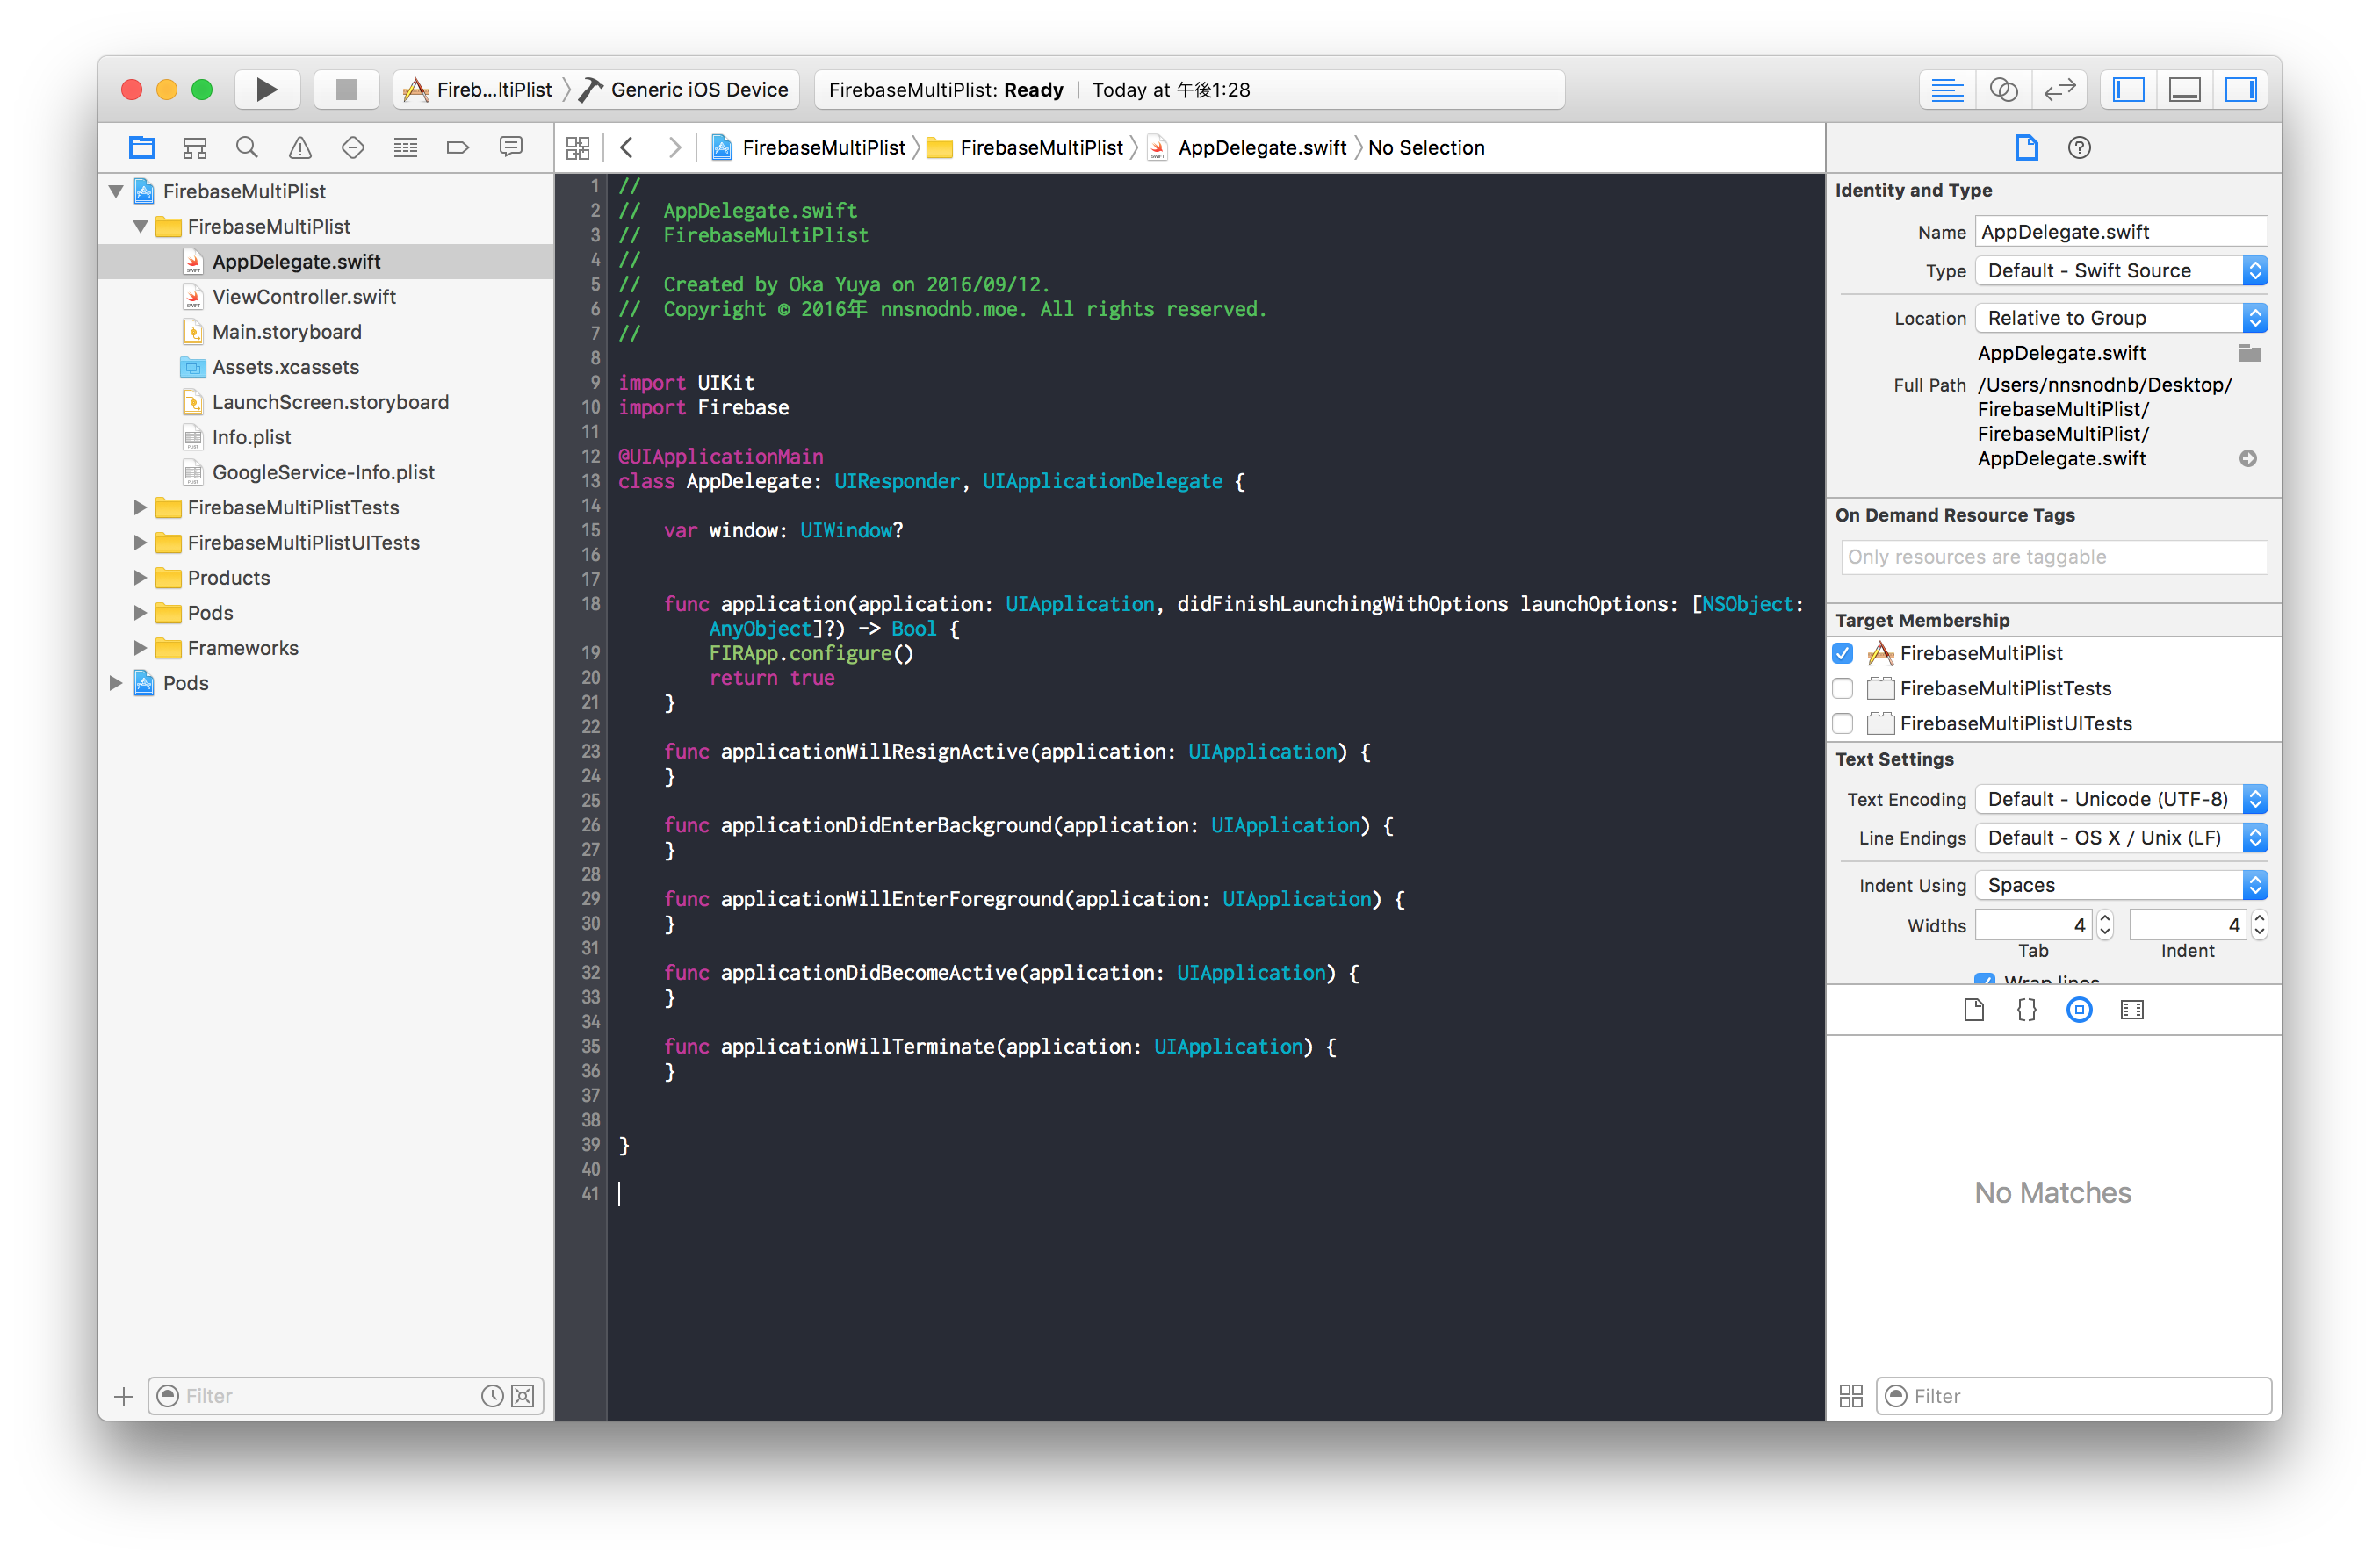
こんな状態まではセットアップしておく
FirebaseにStaging用のプロジェクトを作る(必要ならDebug用も)
Release環境と同じようにプロジェクトを作成し、 GoogleService-Info.plist をダウンロードする。
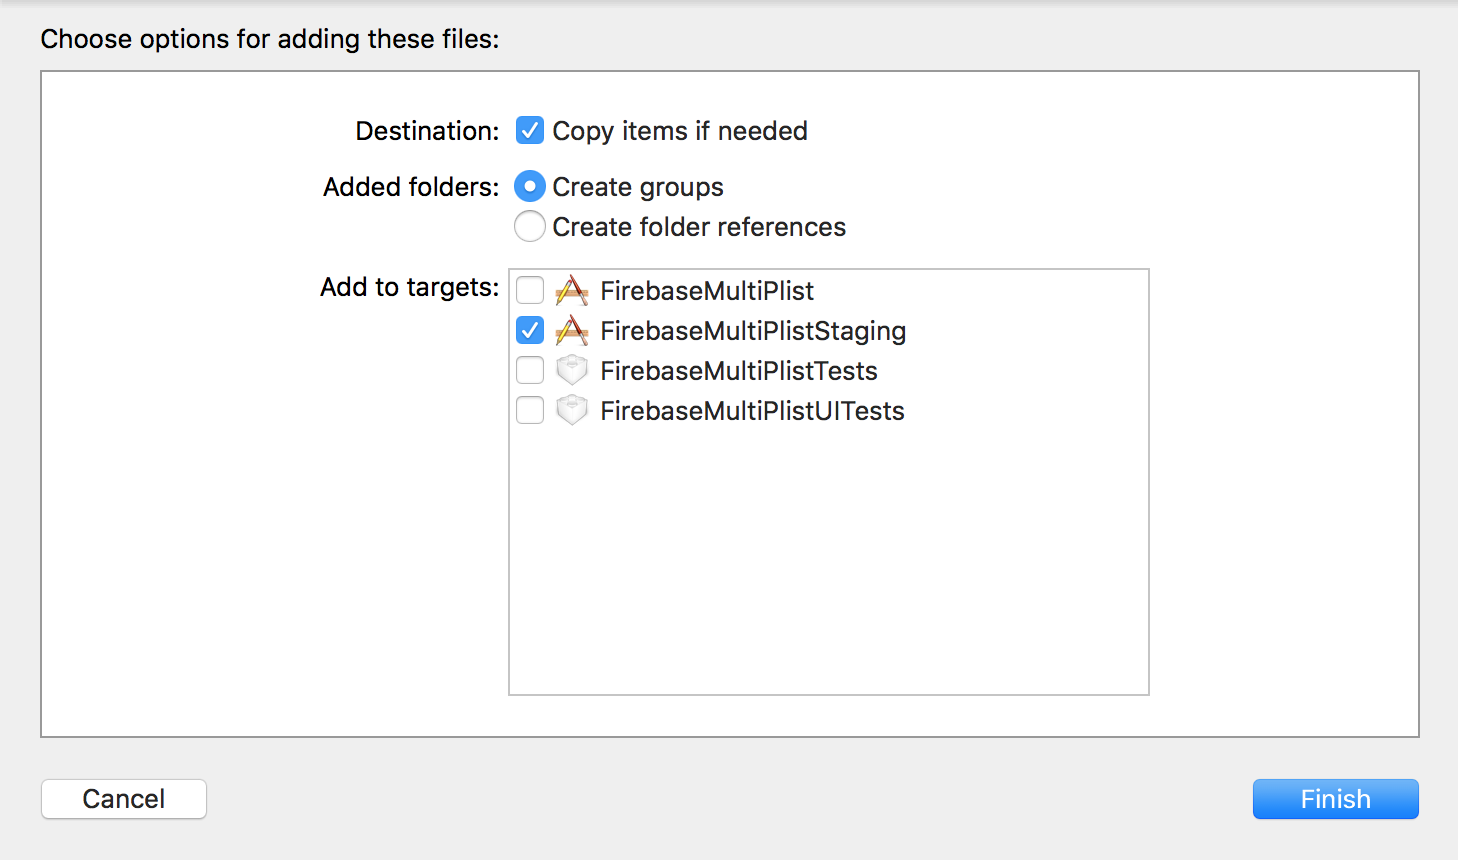
ダウンロードした GoogleService-Info.plist を GoogleService-Info-Staging.plist とリネームして、プロジェクトに追加する。
追加する際にStaging環境にtargetが選択されていることを確認する。
AppDelegate.swift
import UIKit
import Firebase

# if STAGING
    let firebasePlistName = "GoogleService-Info-Staging"
# else
    let firebasePlistName = "GoogleService-Info"
# endif

@UIApplicationMain
class AppDelegate: UIResponder, UIApplicationDelegate {

    var window: UIWindow?


    func application(application: UIApplication, didFinishLaunchingWithOptions launchOptions: [NSObject: AnyObject]?) -> Bool {
        let firbaseOptions = FIROptions(contentsOfFile: NSBundle.mainBundle().pathForResource(firebasePlistName, ofType: "plist"))
        FIRApp.configureWithOptions(firbaseOptions)
        return true
    }
    ・・・
}
これでRelease環境とDebug環境のFirebaseを切り替えることができました!

