このページ / About this page
このページはMini Pupperを動かそうの6/6ページです。
This is page 6 of How to get Mini Pupper walking.
工具 / Tools
キットに同梱されている工具の他に、組み立てには以下の物が必要です。
In addition to the tools included in the kit, the following items are required for assembly
- プラスドライバー / Screwdriver
使用するボルト
(更新情報: Kickstarter版に合わせました)
| ボルト | 本数 | 使用箇所 |
|---|---|---|
| M1.4x3mm | 4x2=8 | 脇のパネル |
| M2x5mm | 2x4=8 | 肩 |
| M2x10mm | 1x4+4=8 | すね,トップカバー |
外装の組み立て / Assemble covers
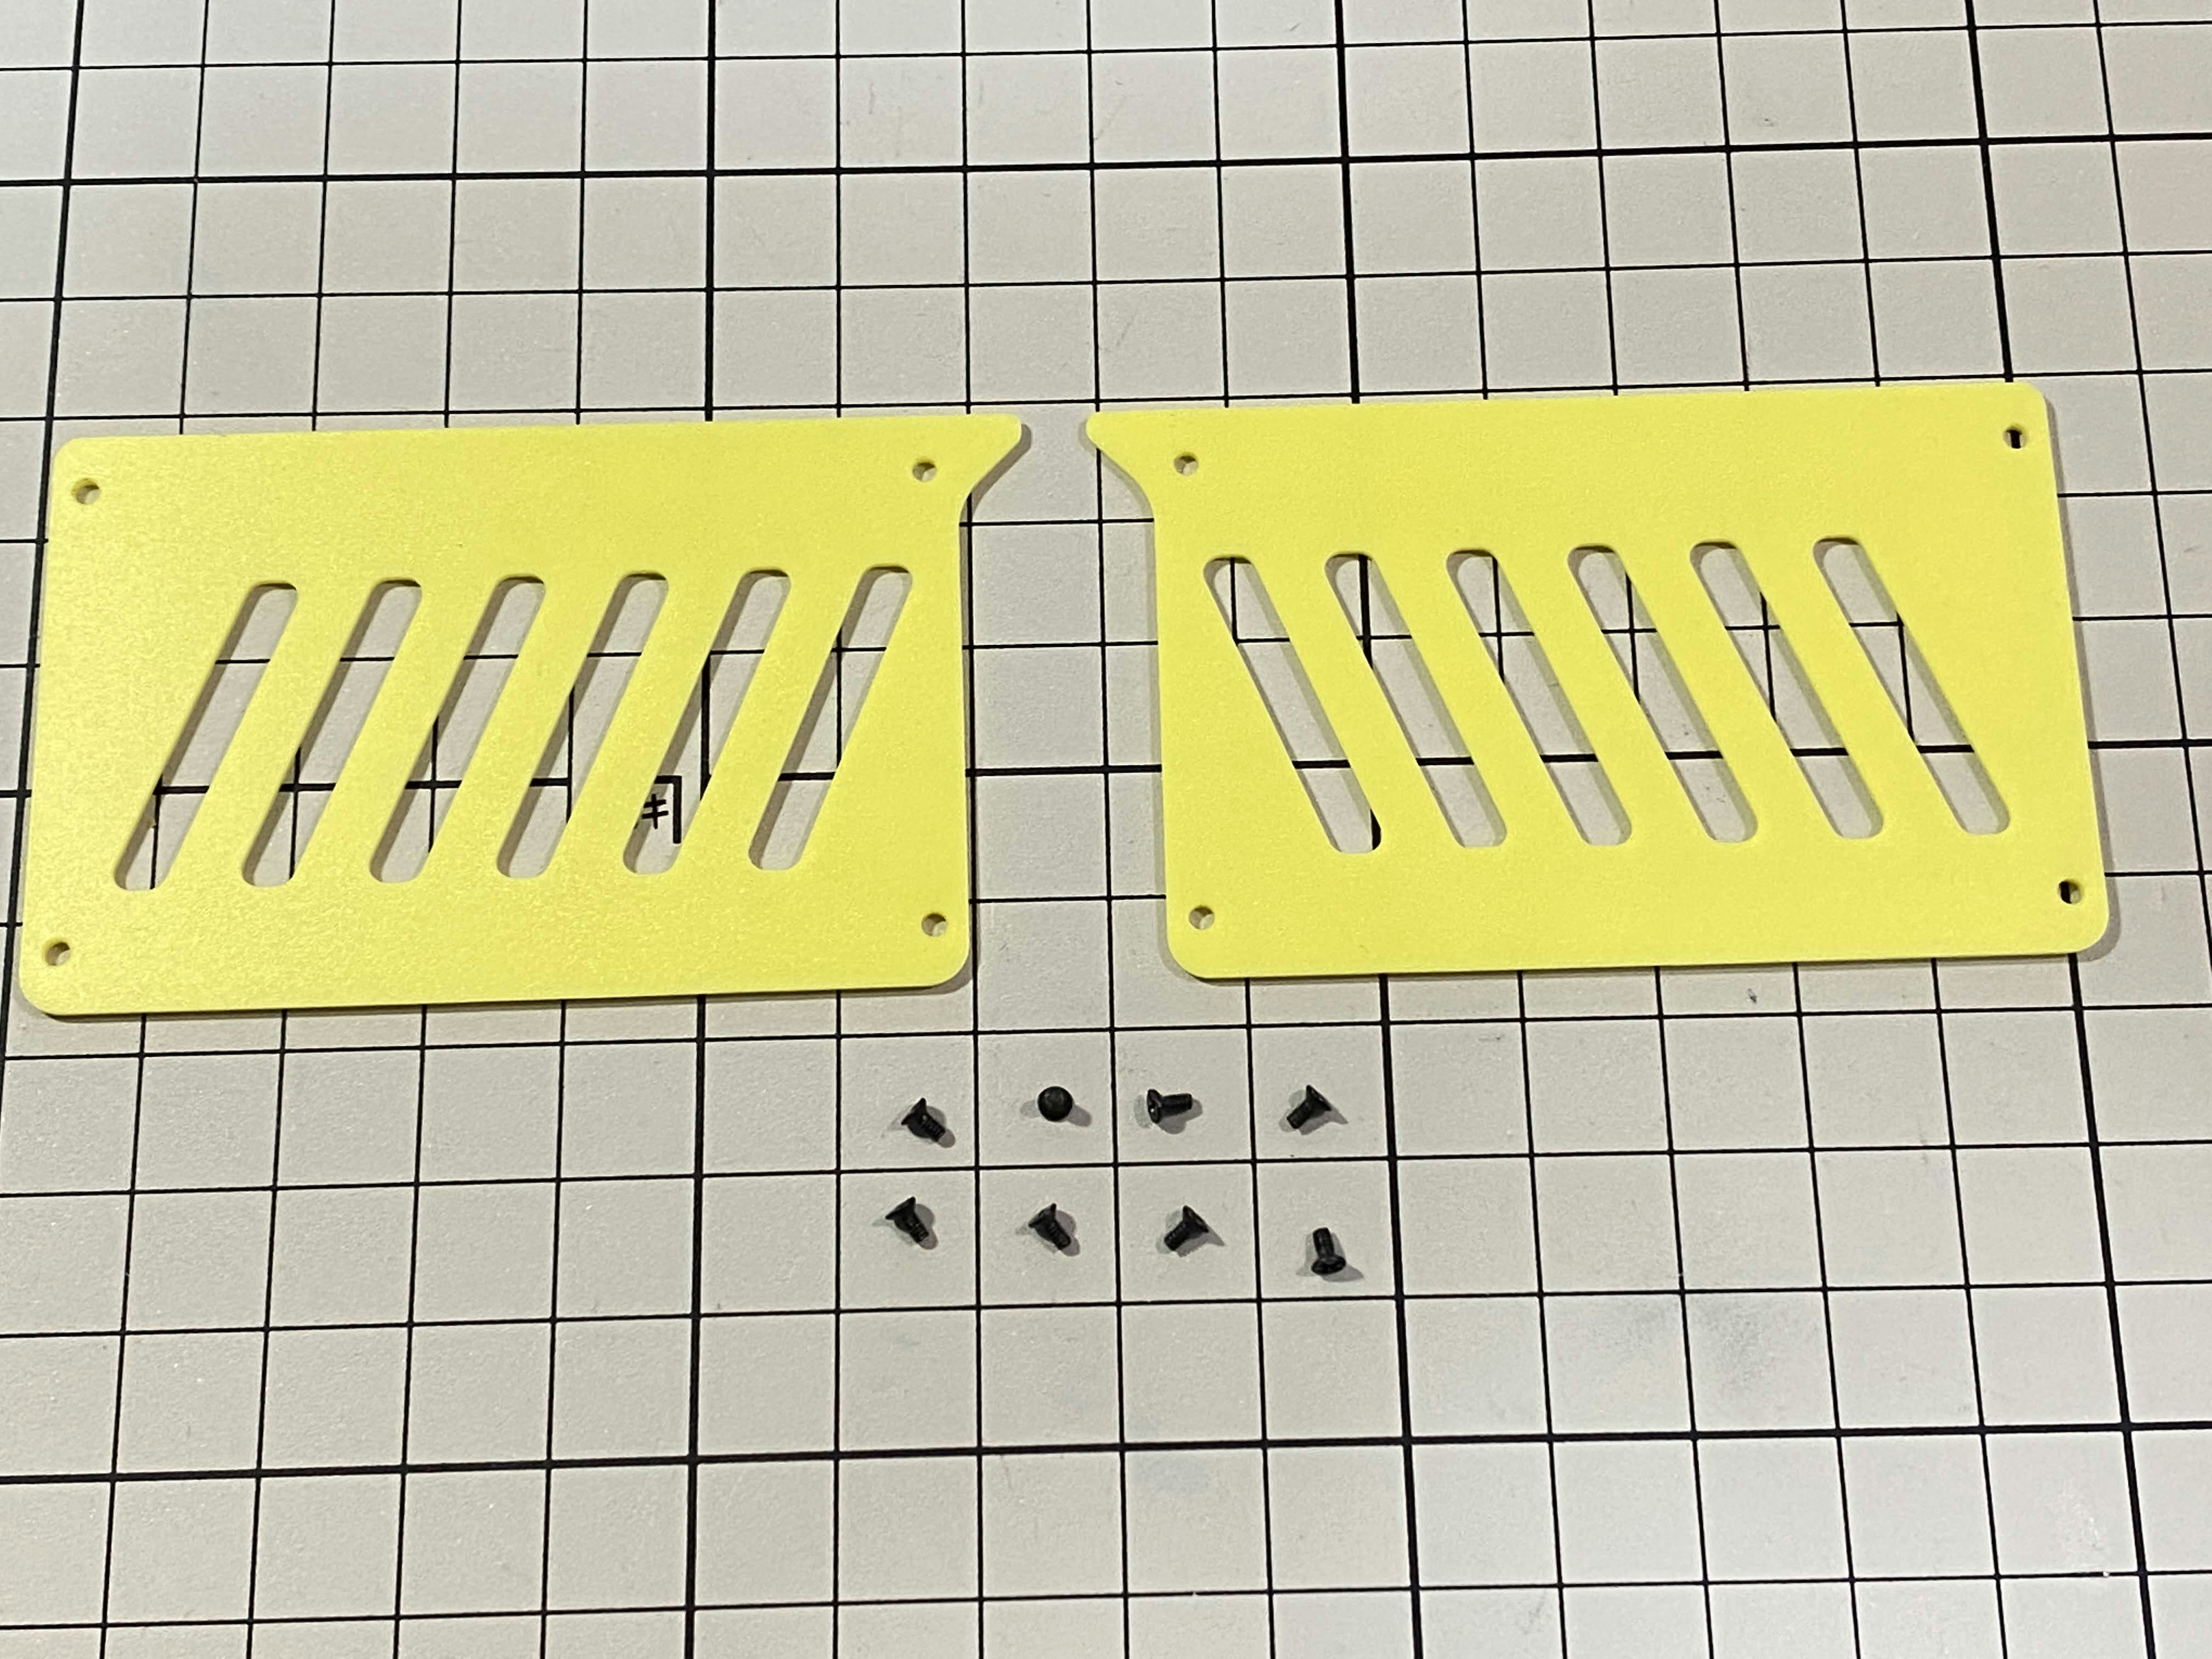
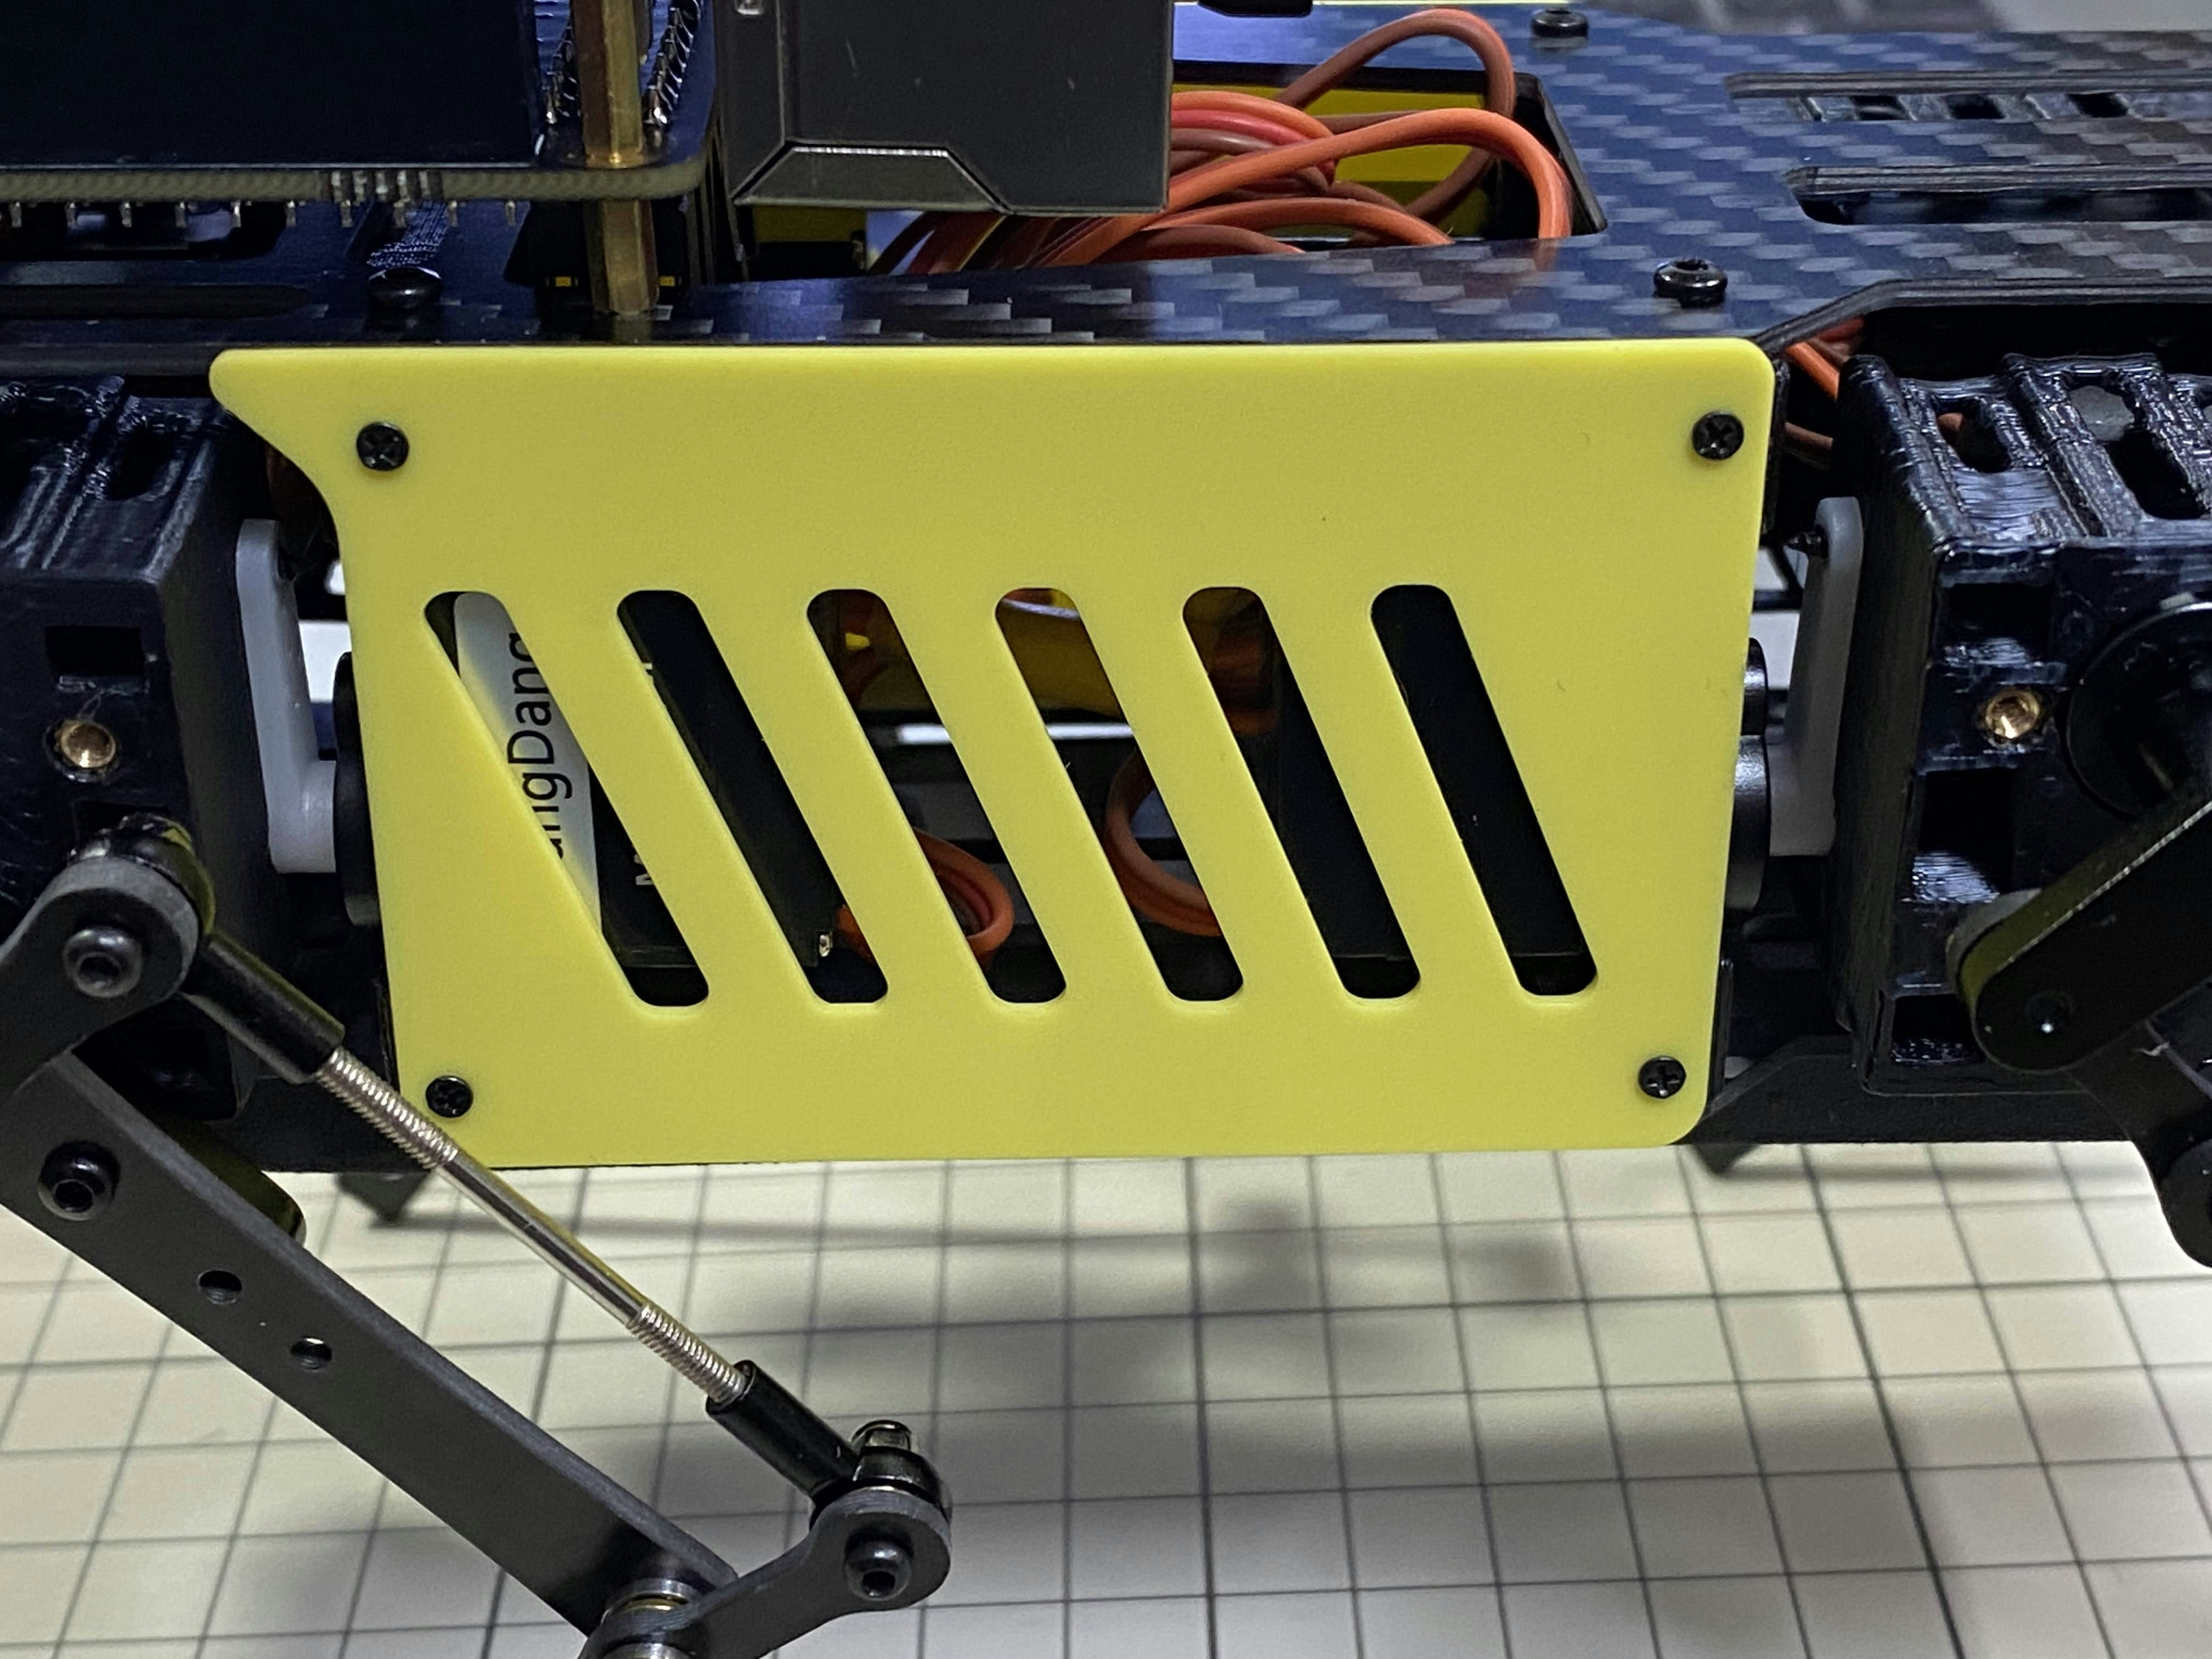
脇のパネル / Side panels
M1.4x3mmの皿ネジを8本使用します。
Use eight M1.4x3mm countersunk screws.
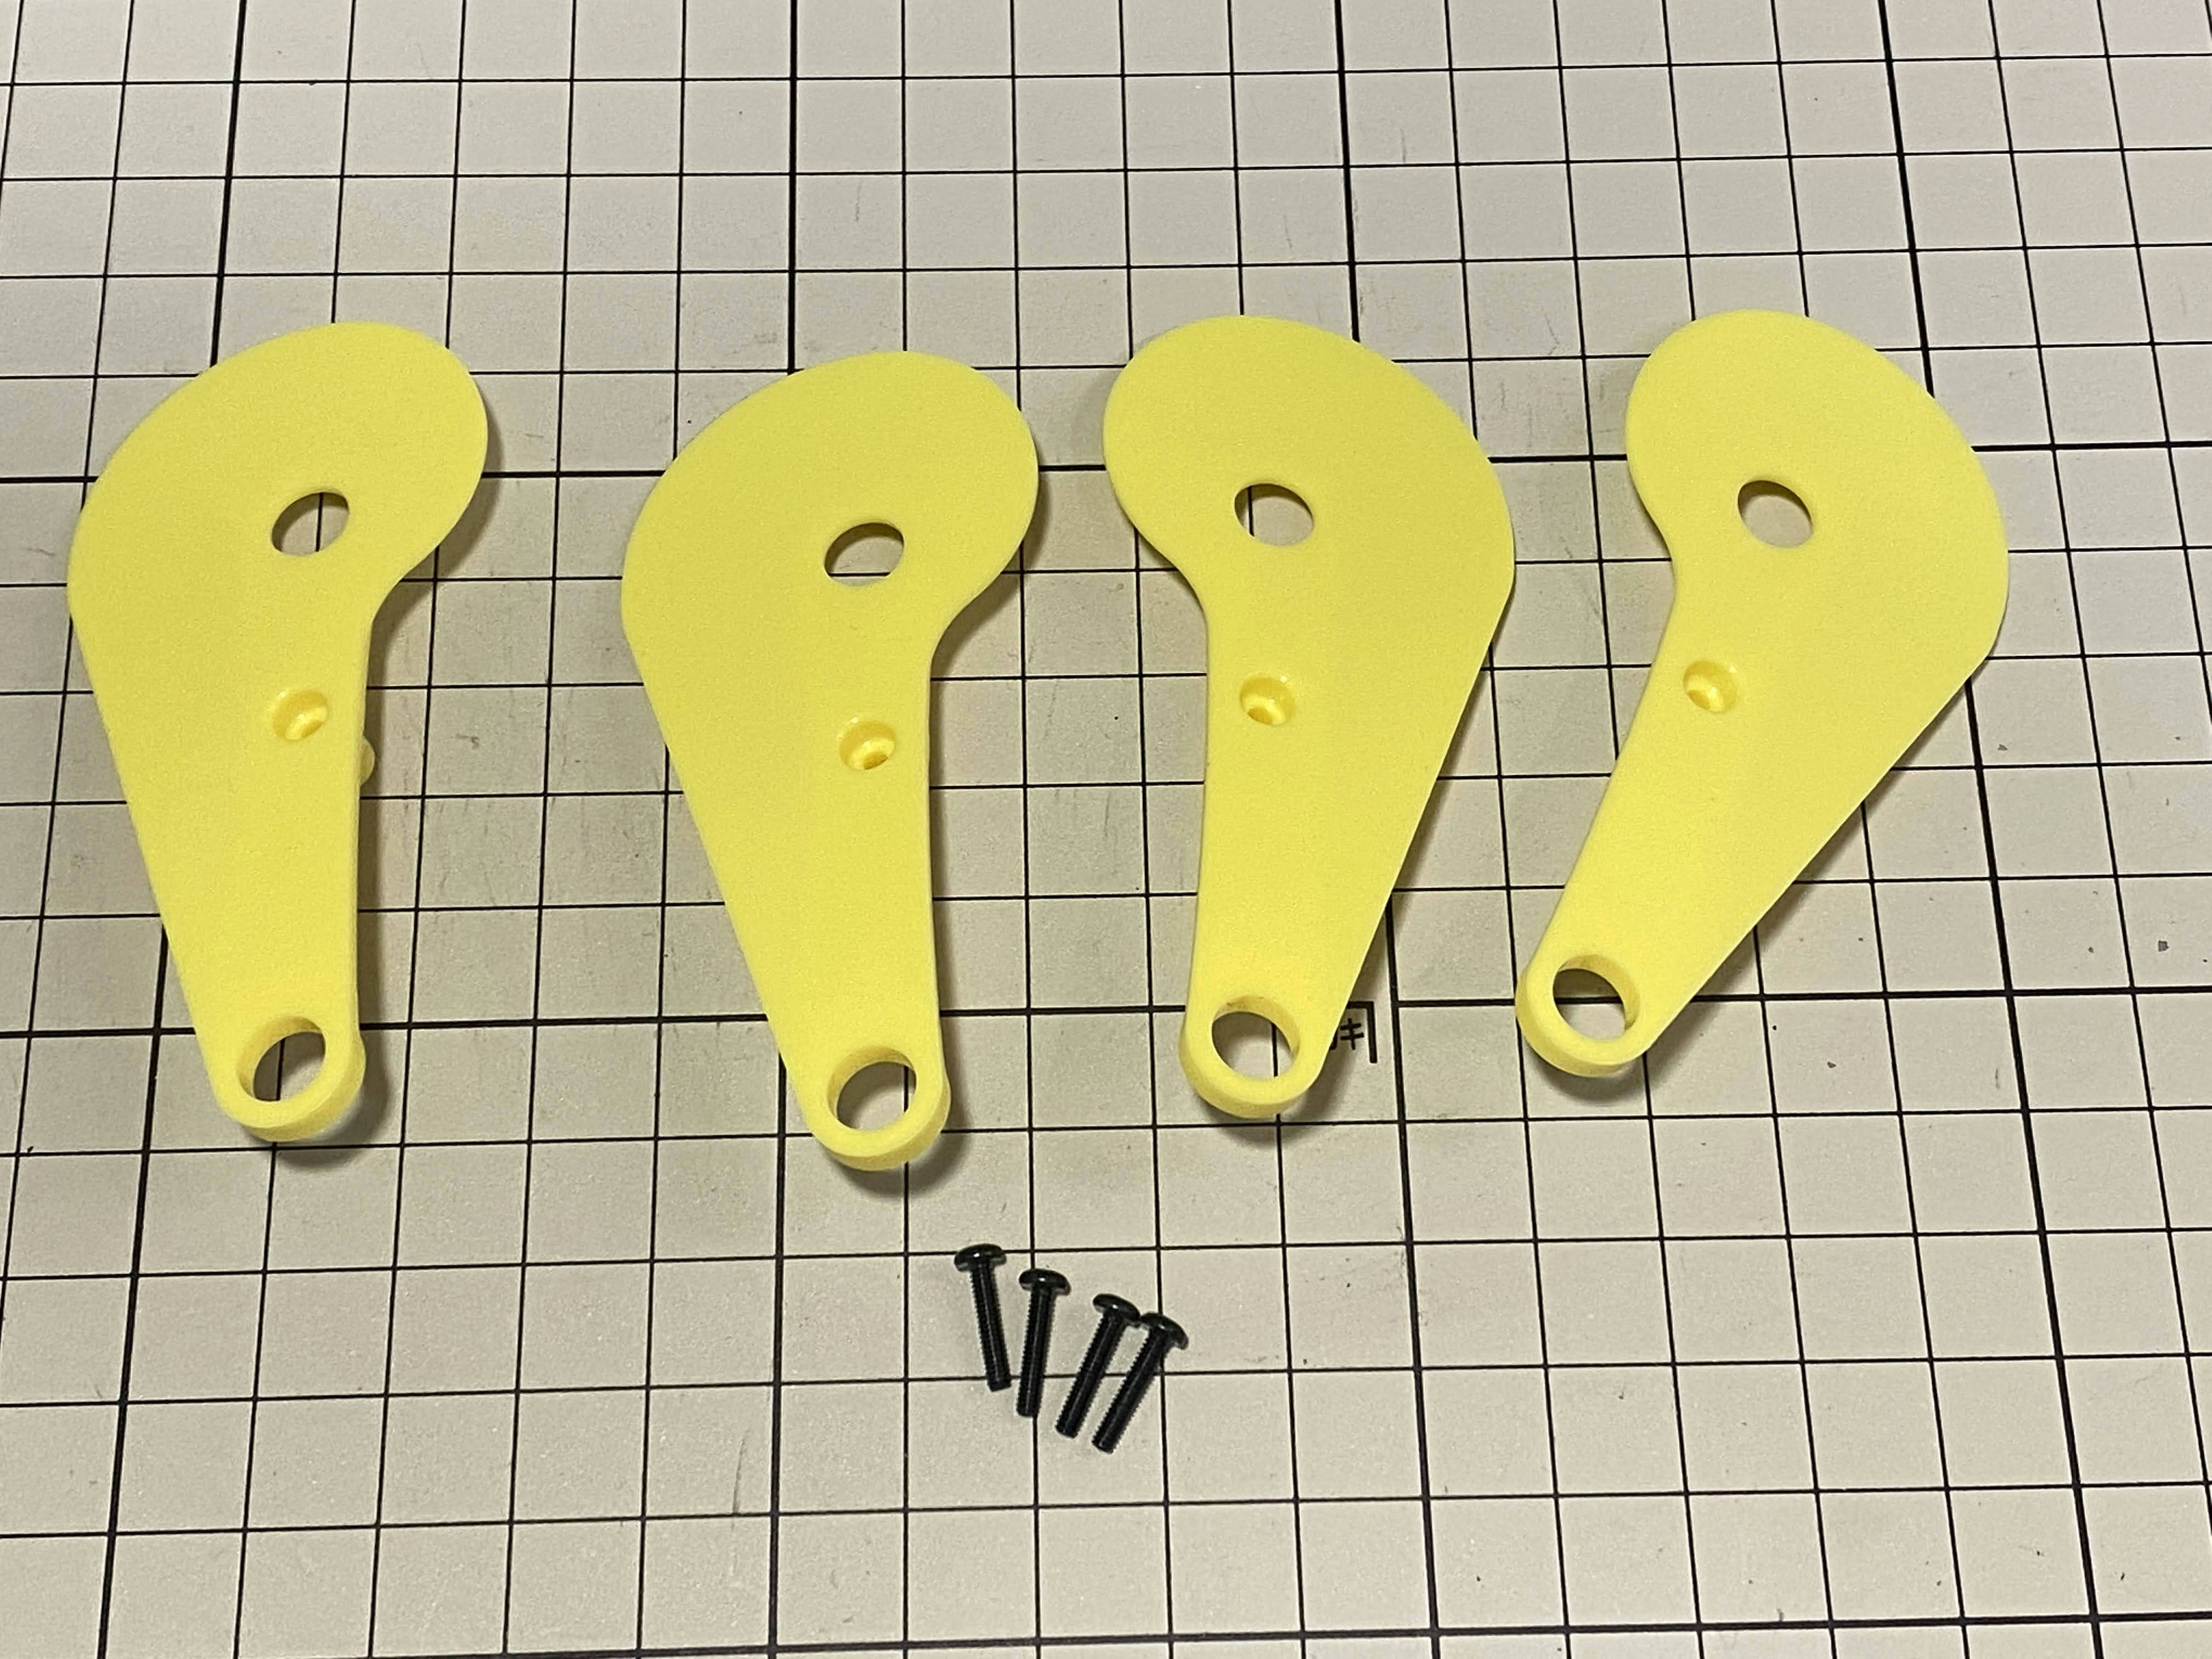
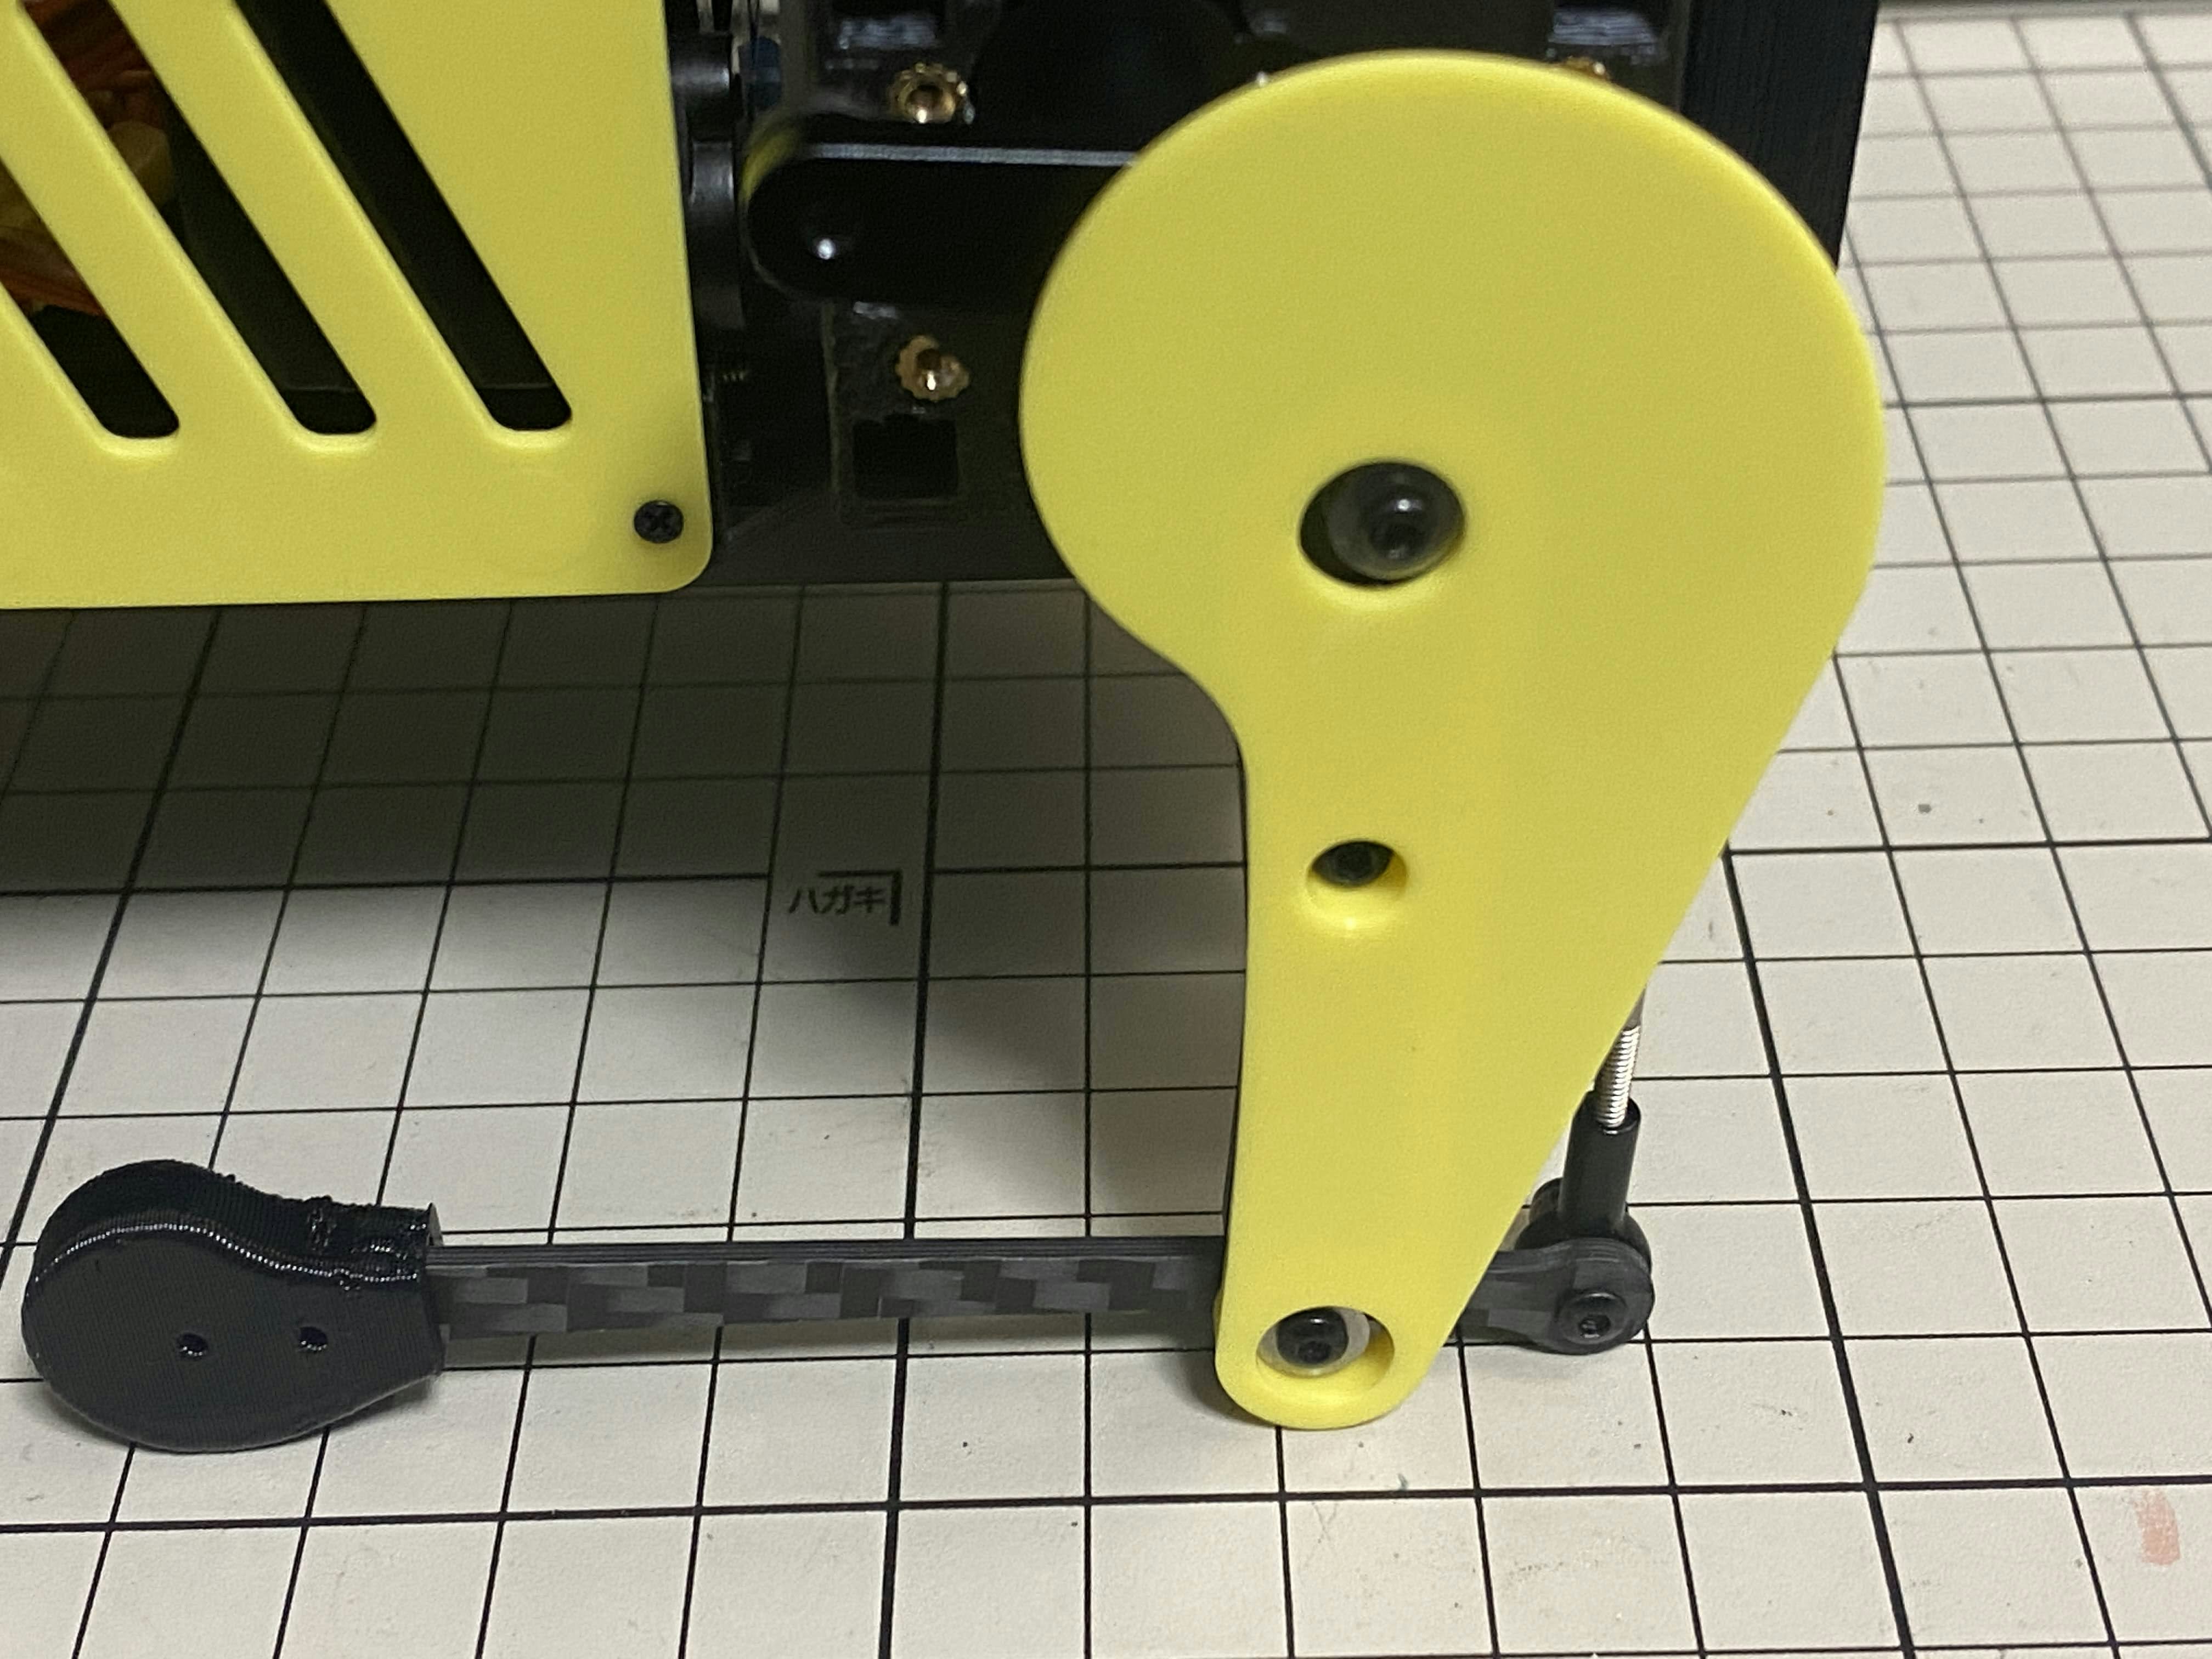
すね / Shin guards
M2x10mmのボルトを4本します。
You will need four M2x10mm screws.
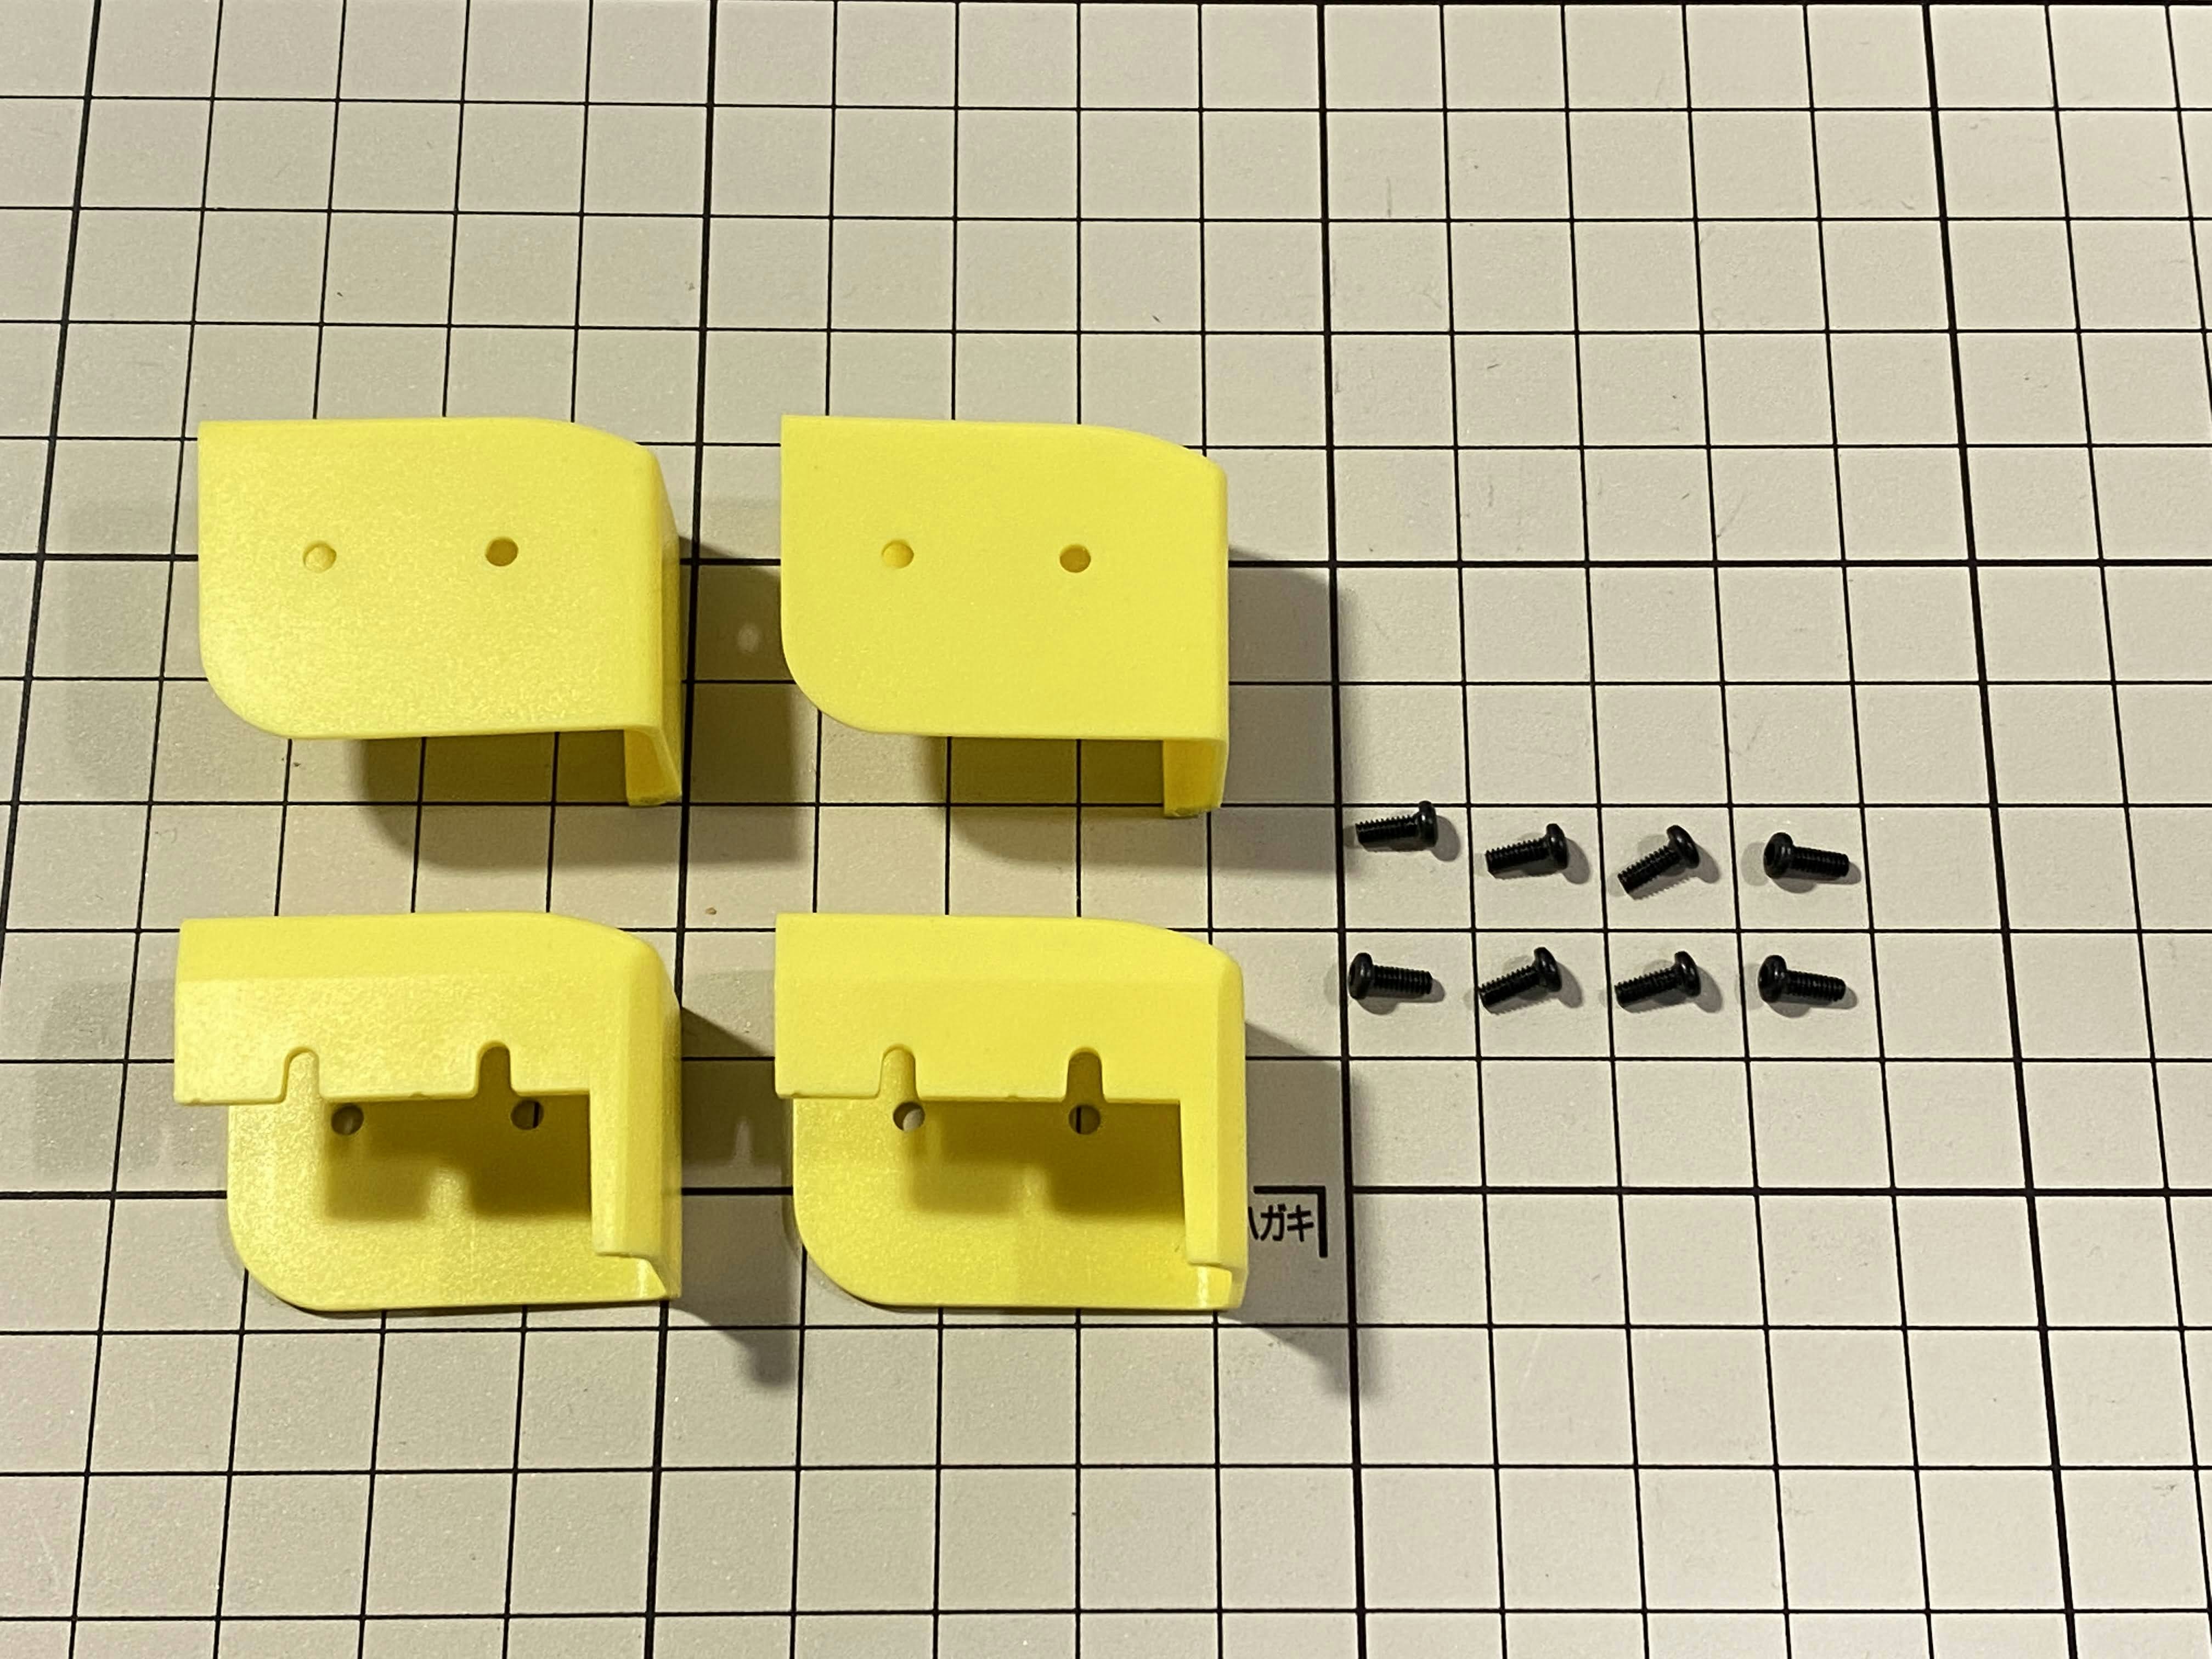
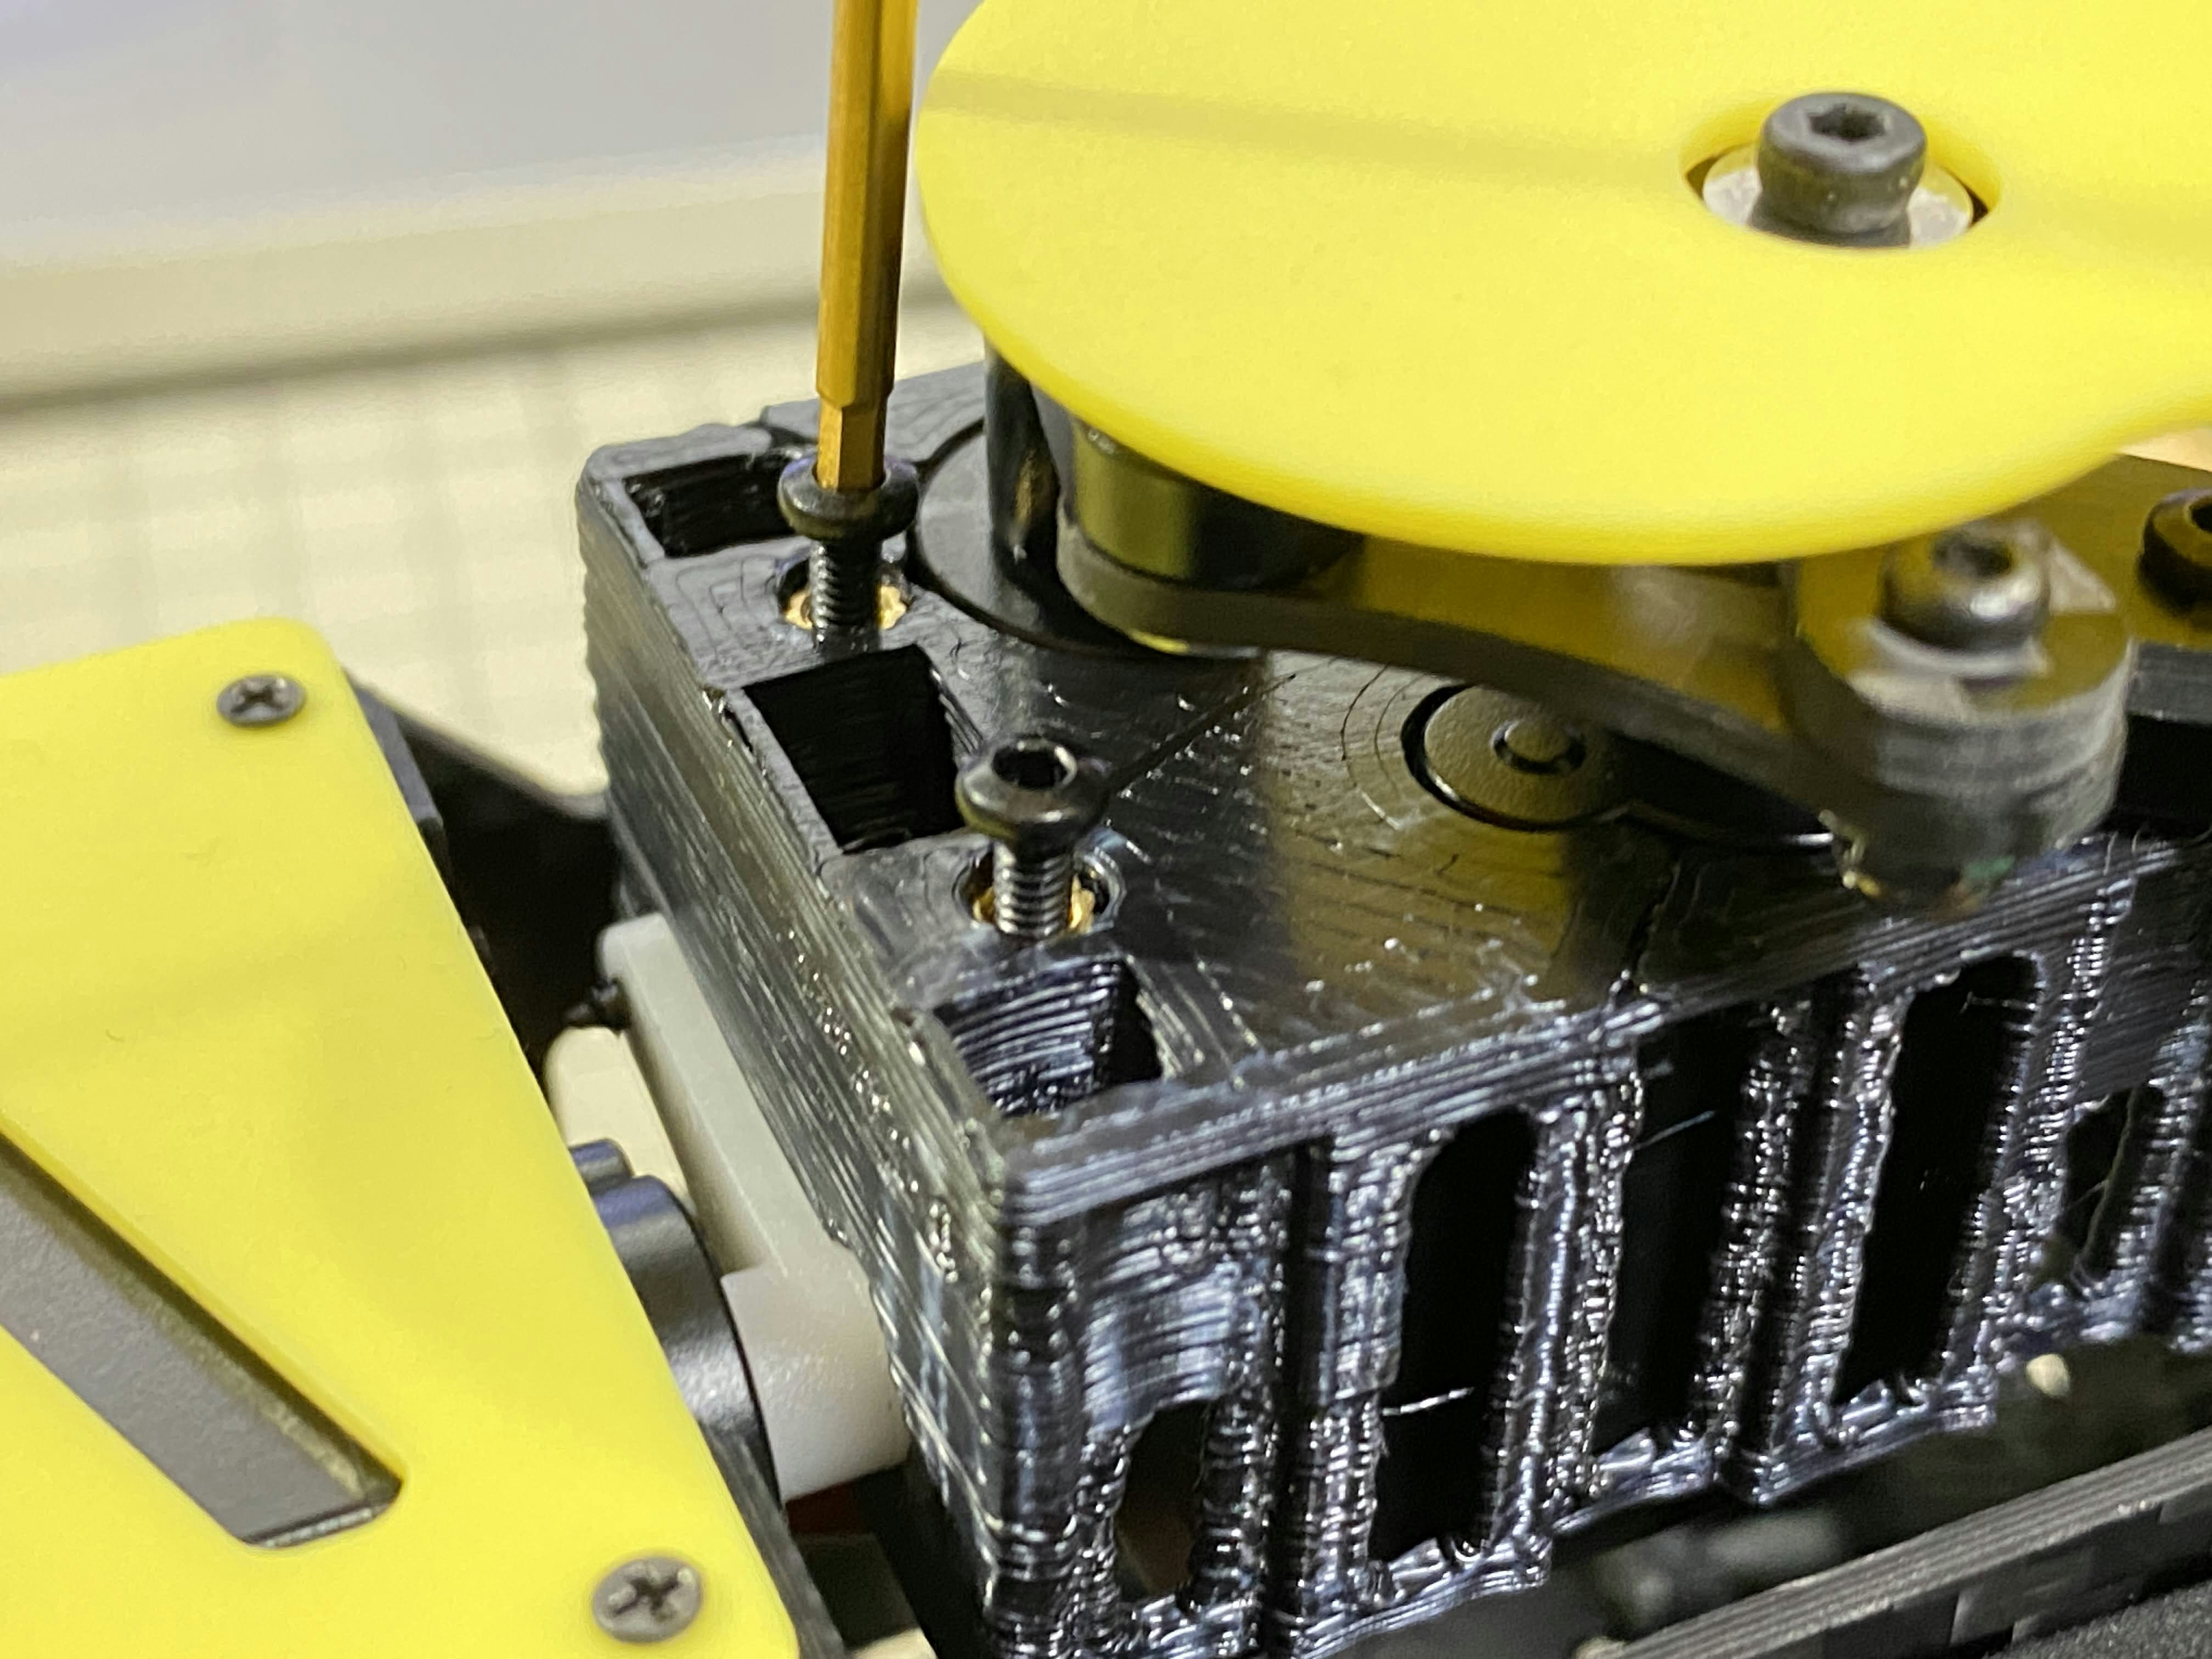
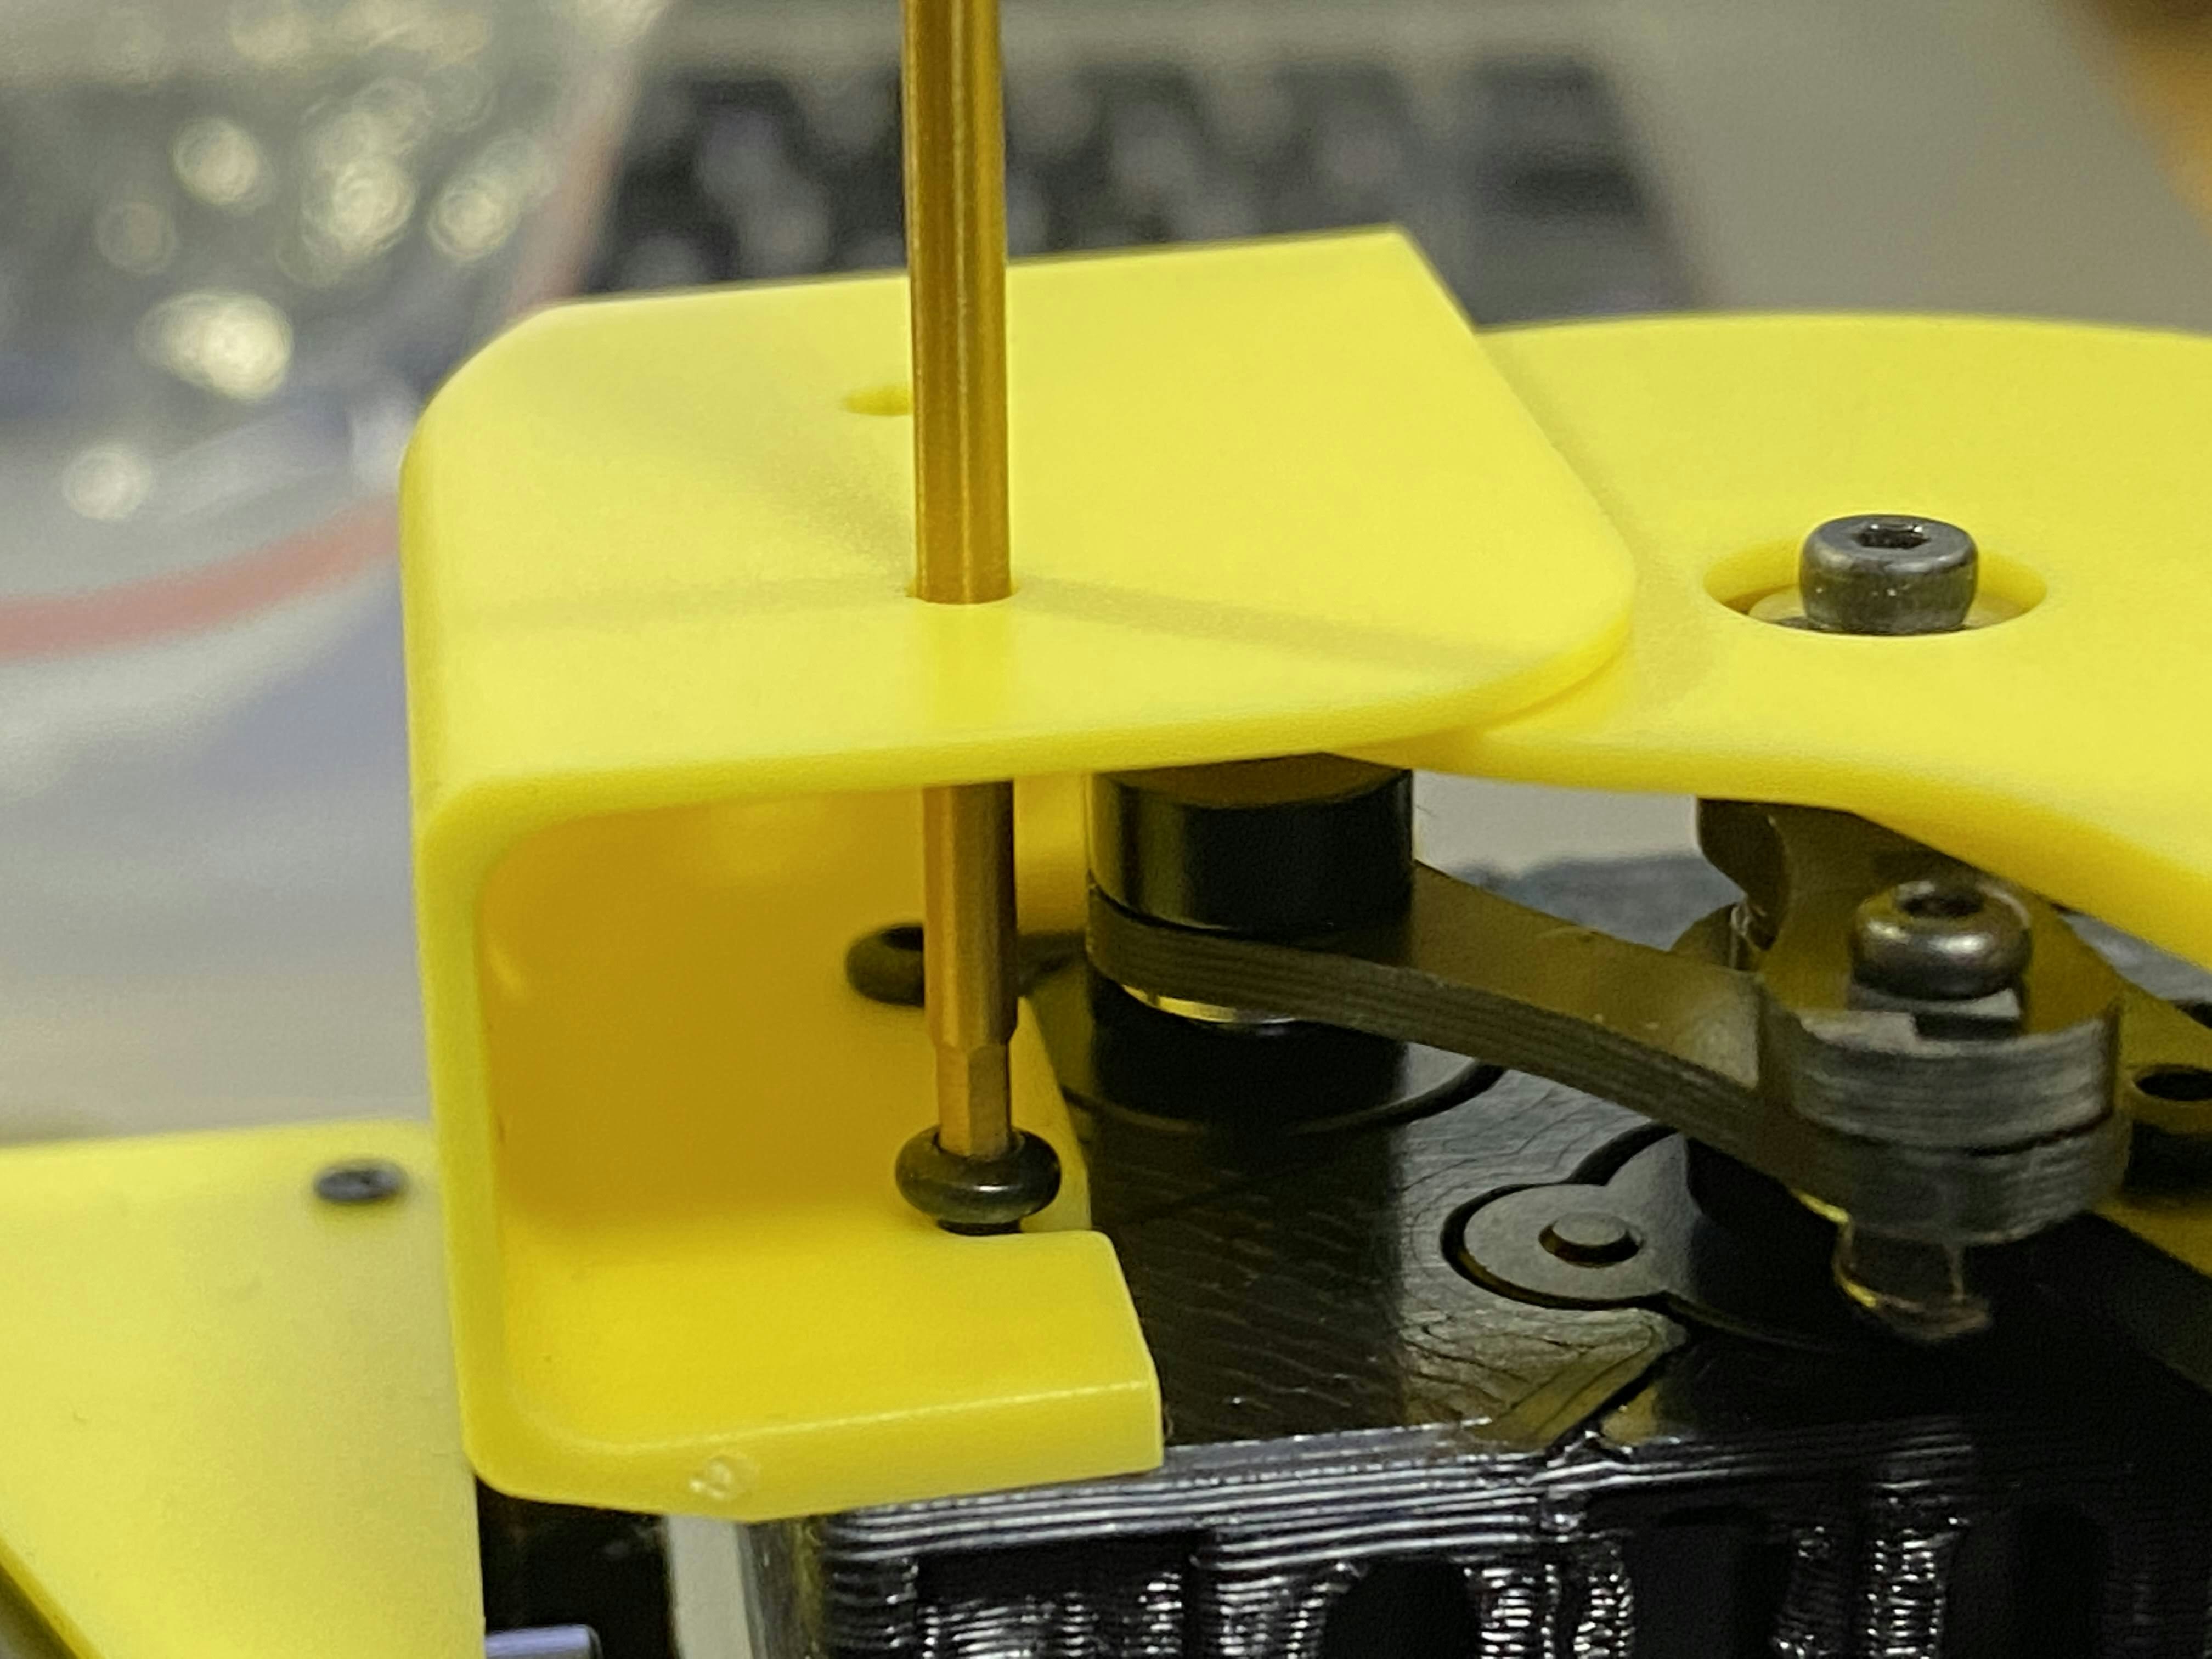
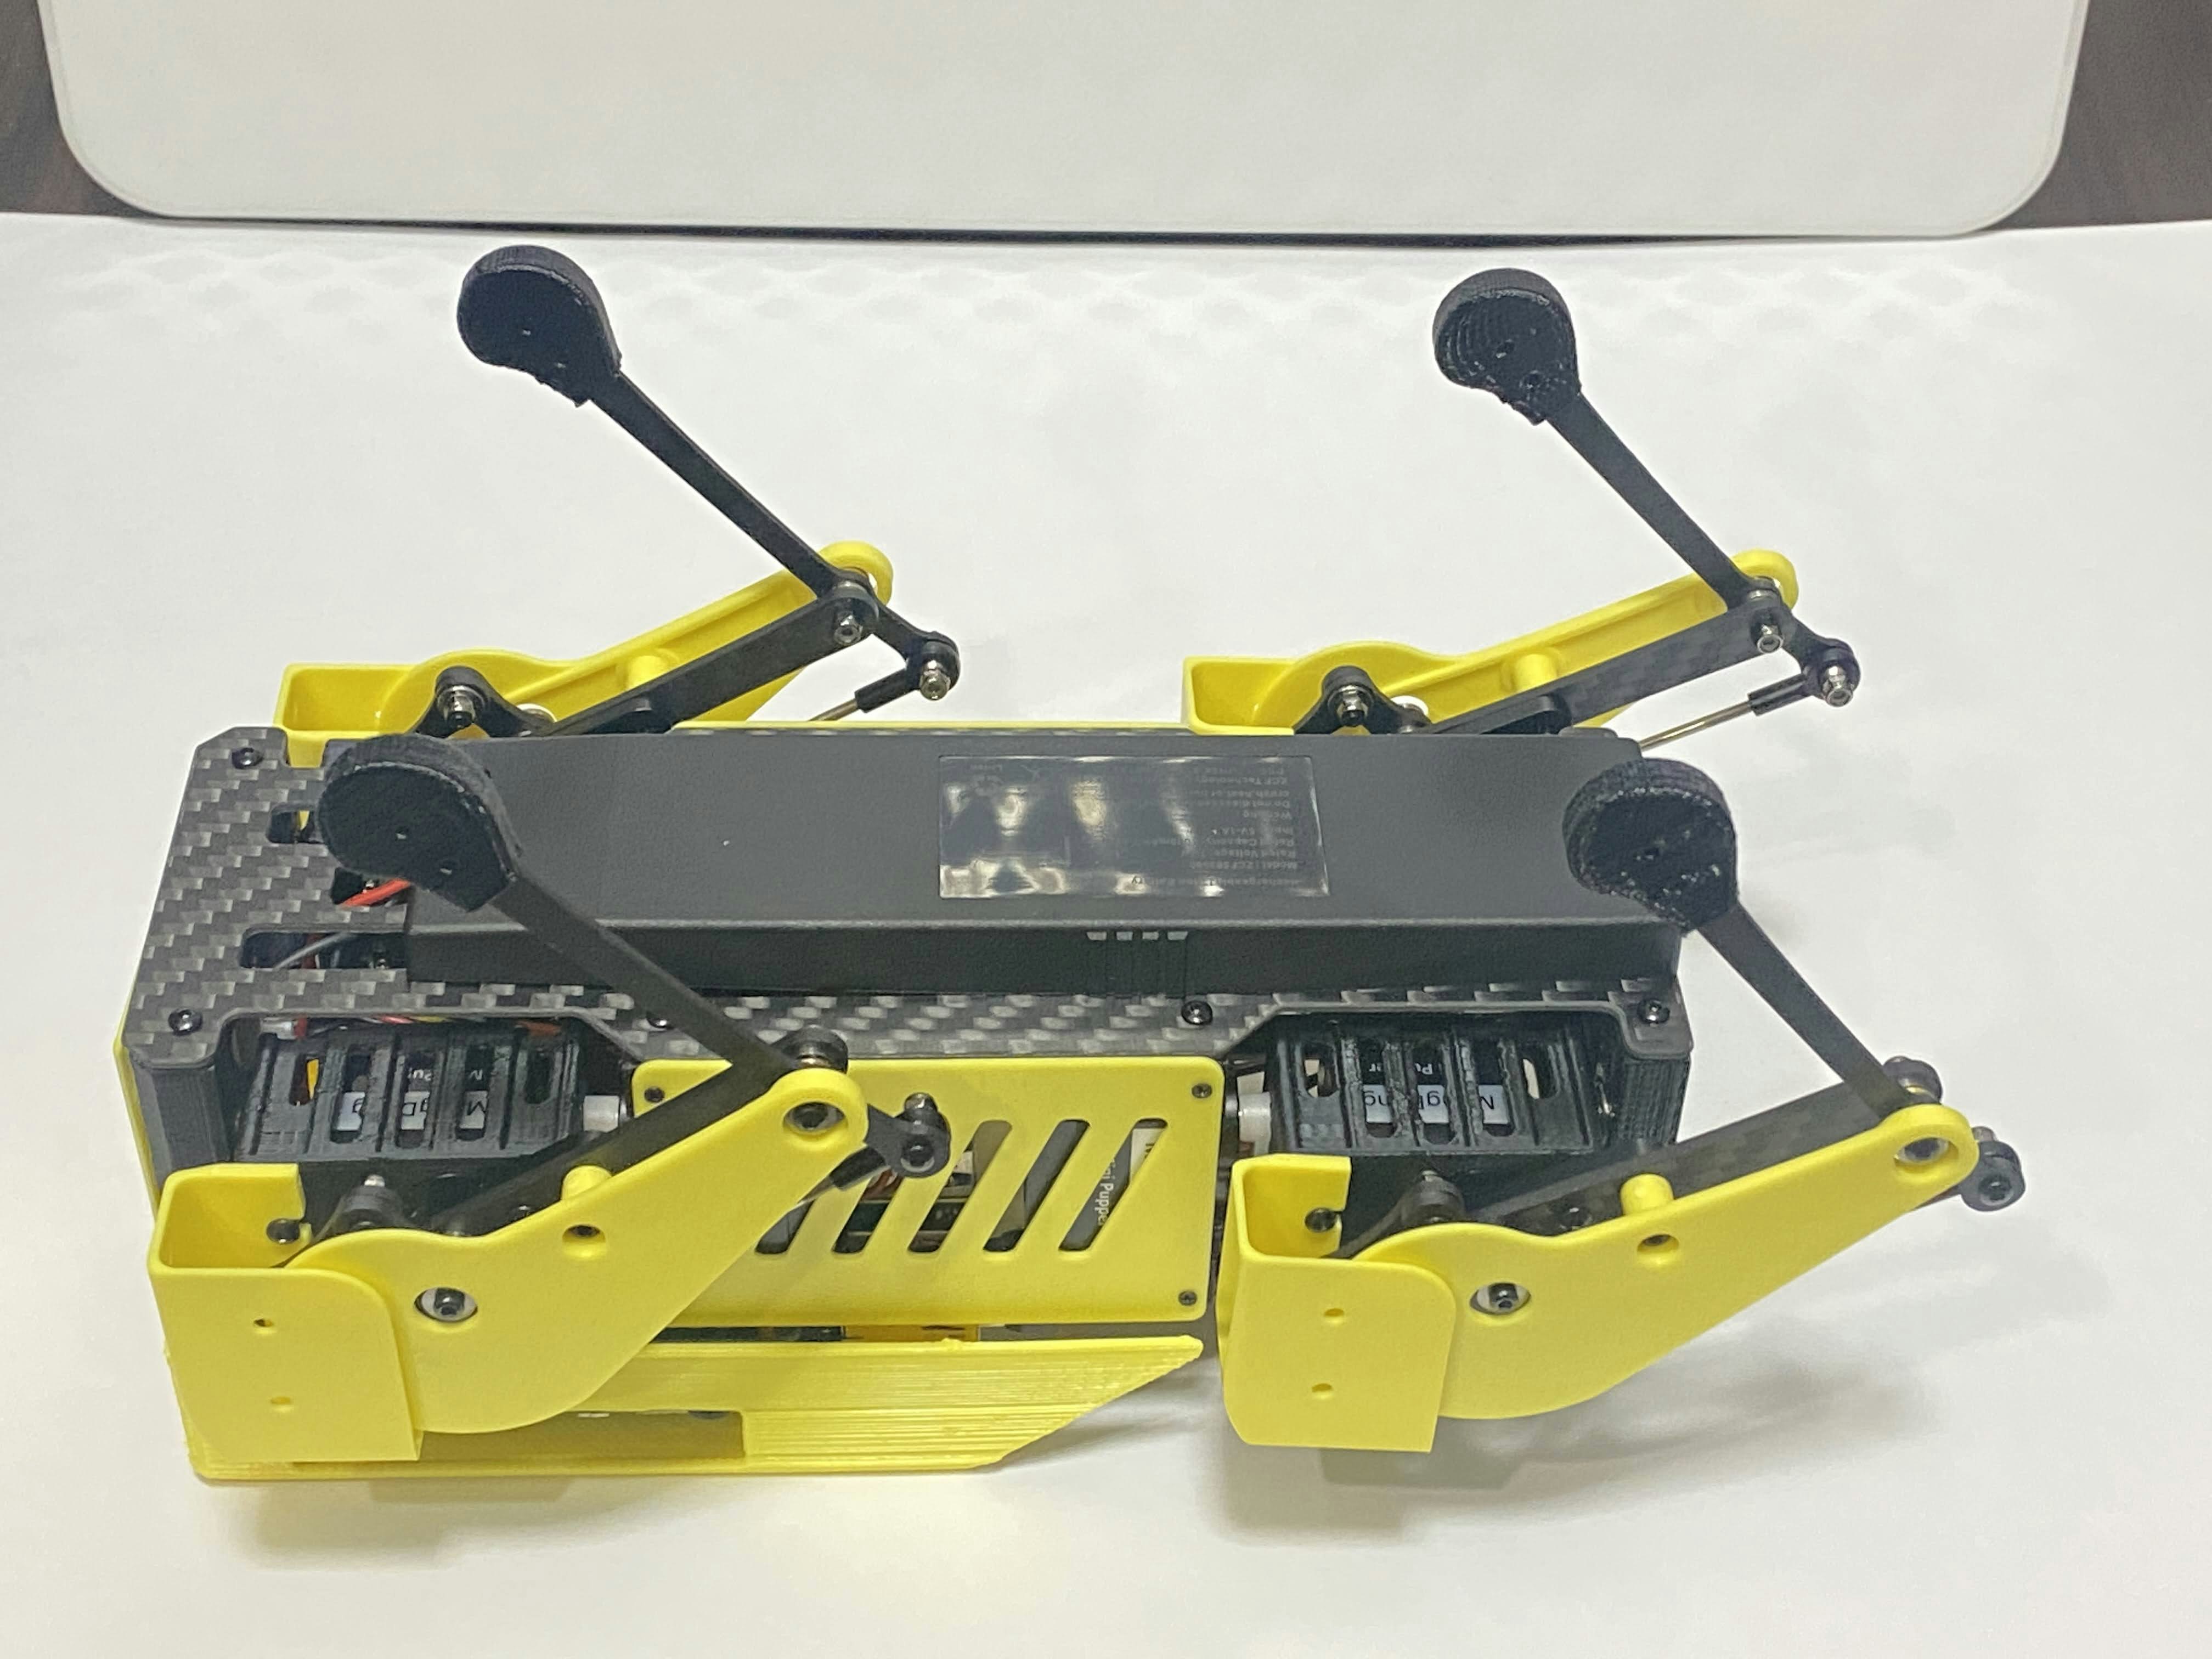
肩 / Shoulders
M2x5mmボルトを8本使用します。先にボルトだけ挿し、その隙間に肩パーツを差し込みます。肩パーツの穴に2mm六角レンチを入れてボルトを締めます。
Use 8 x M2x5mm screws. Insert only the screws first and then insert the shoulder parts into the gap. Insert the 2 mm hex driver into the hole in the shoulder part and tighten the screws.
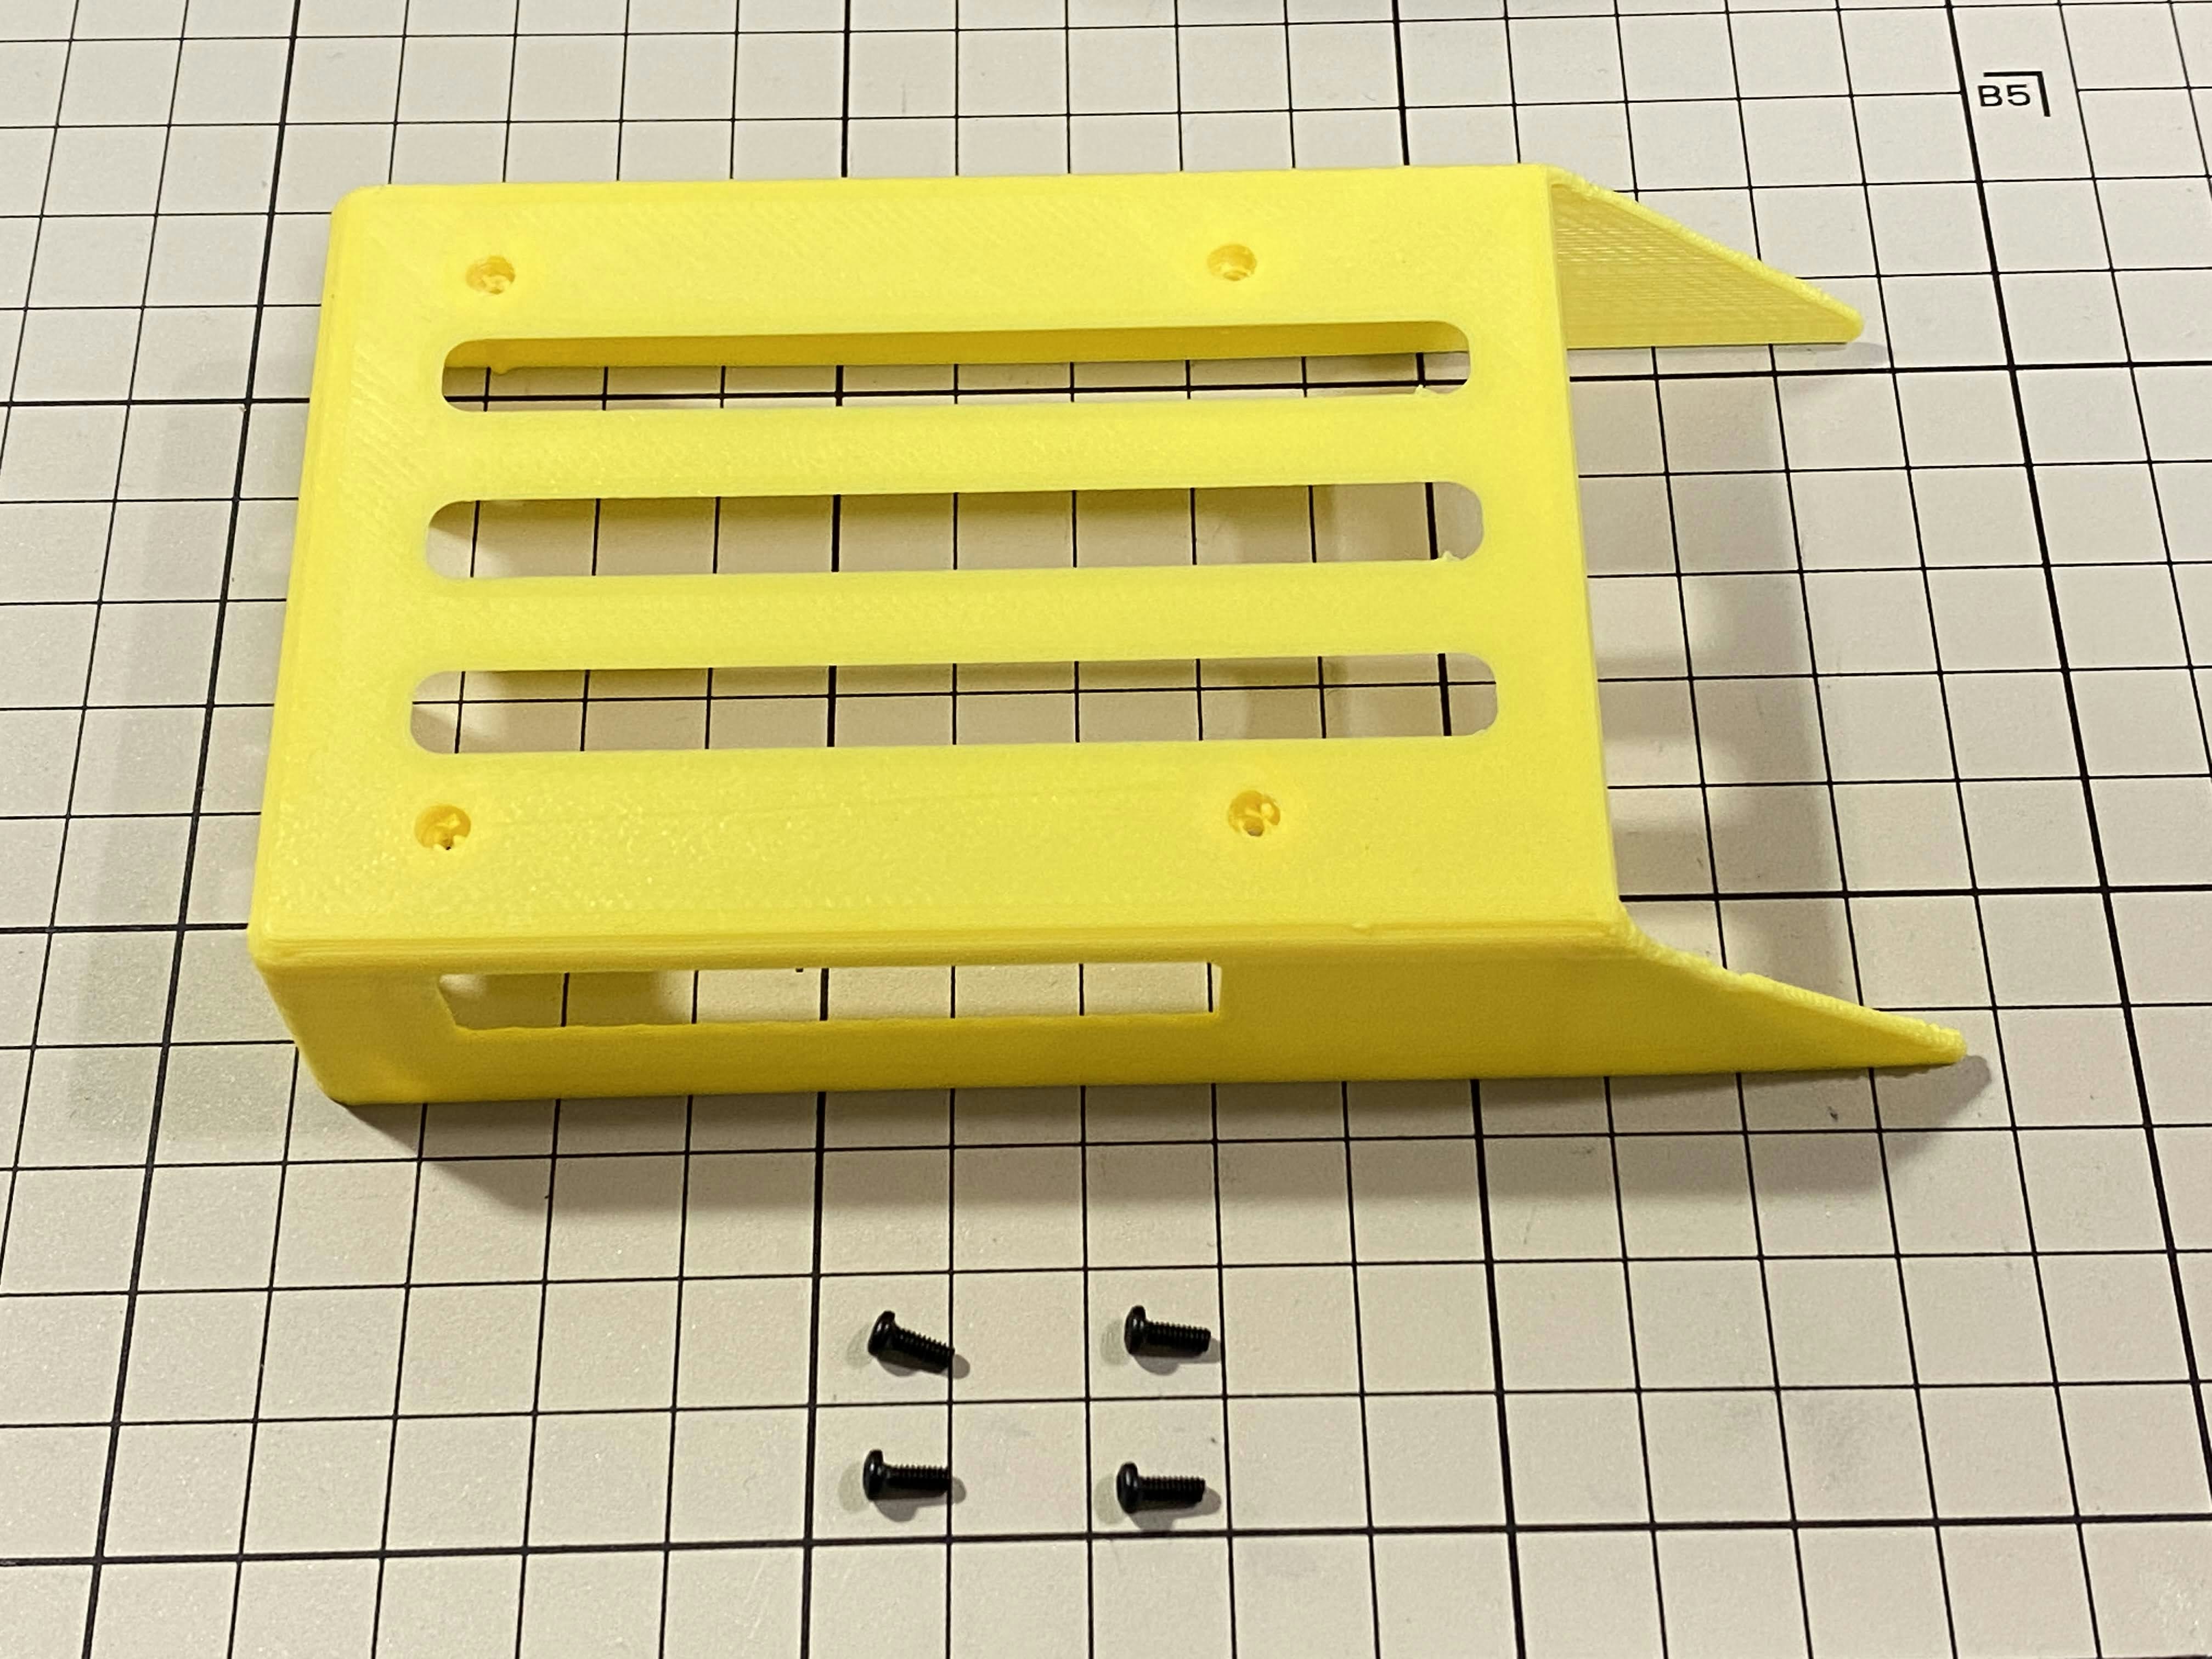
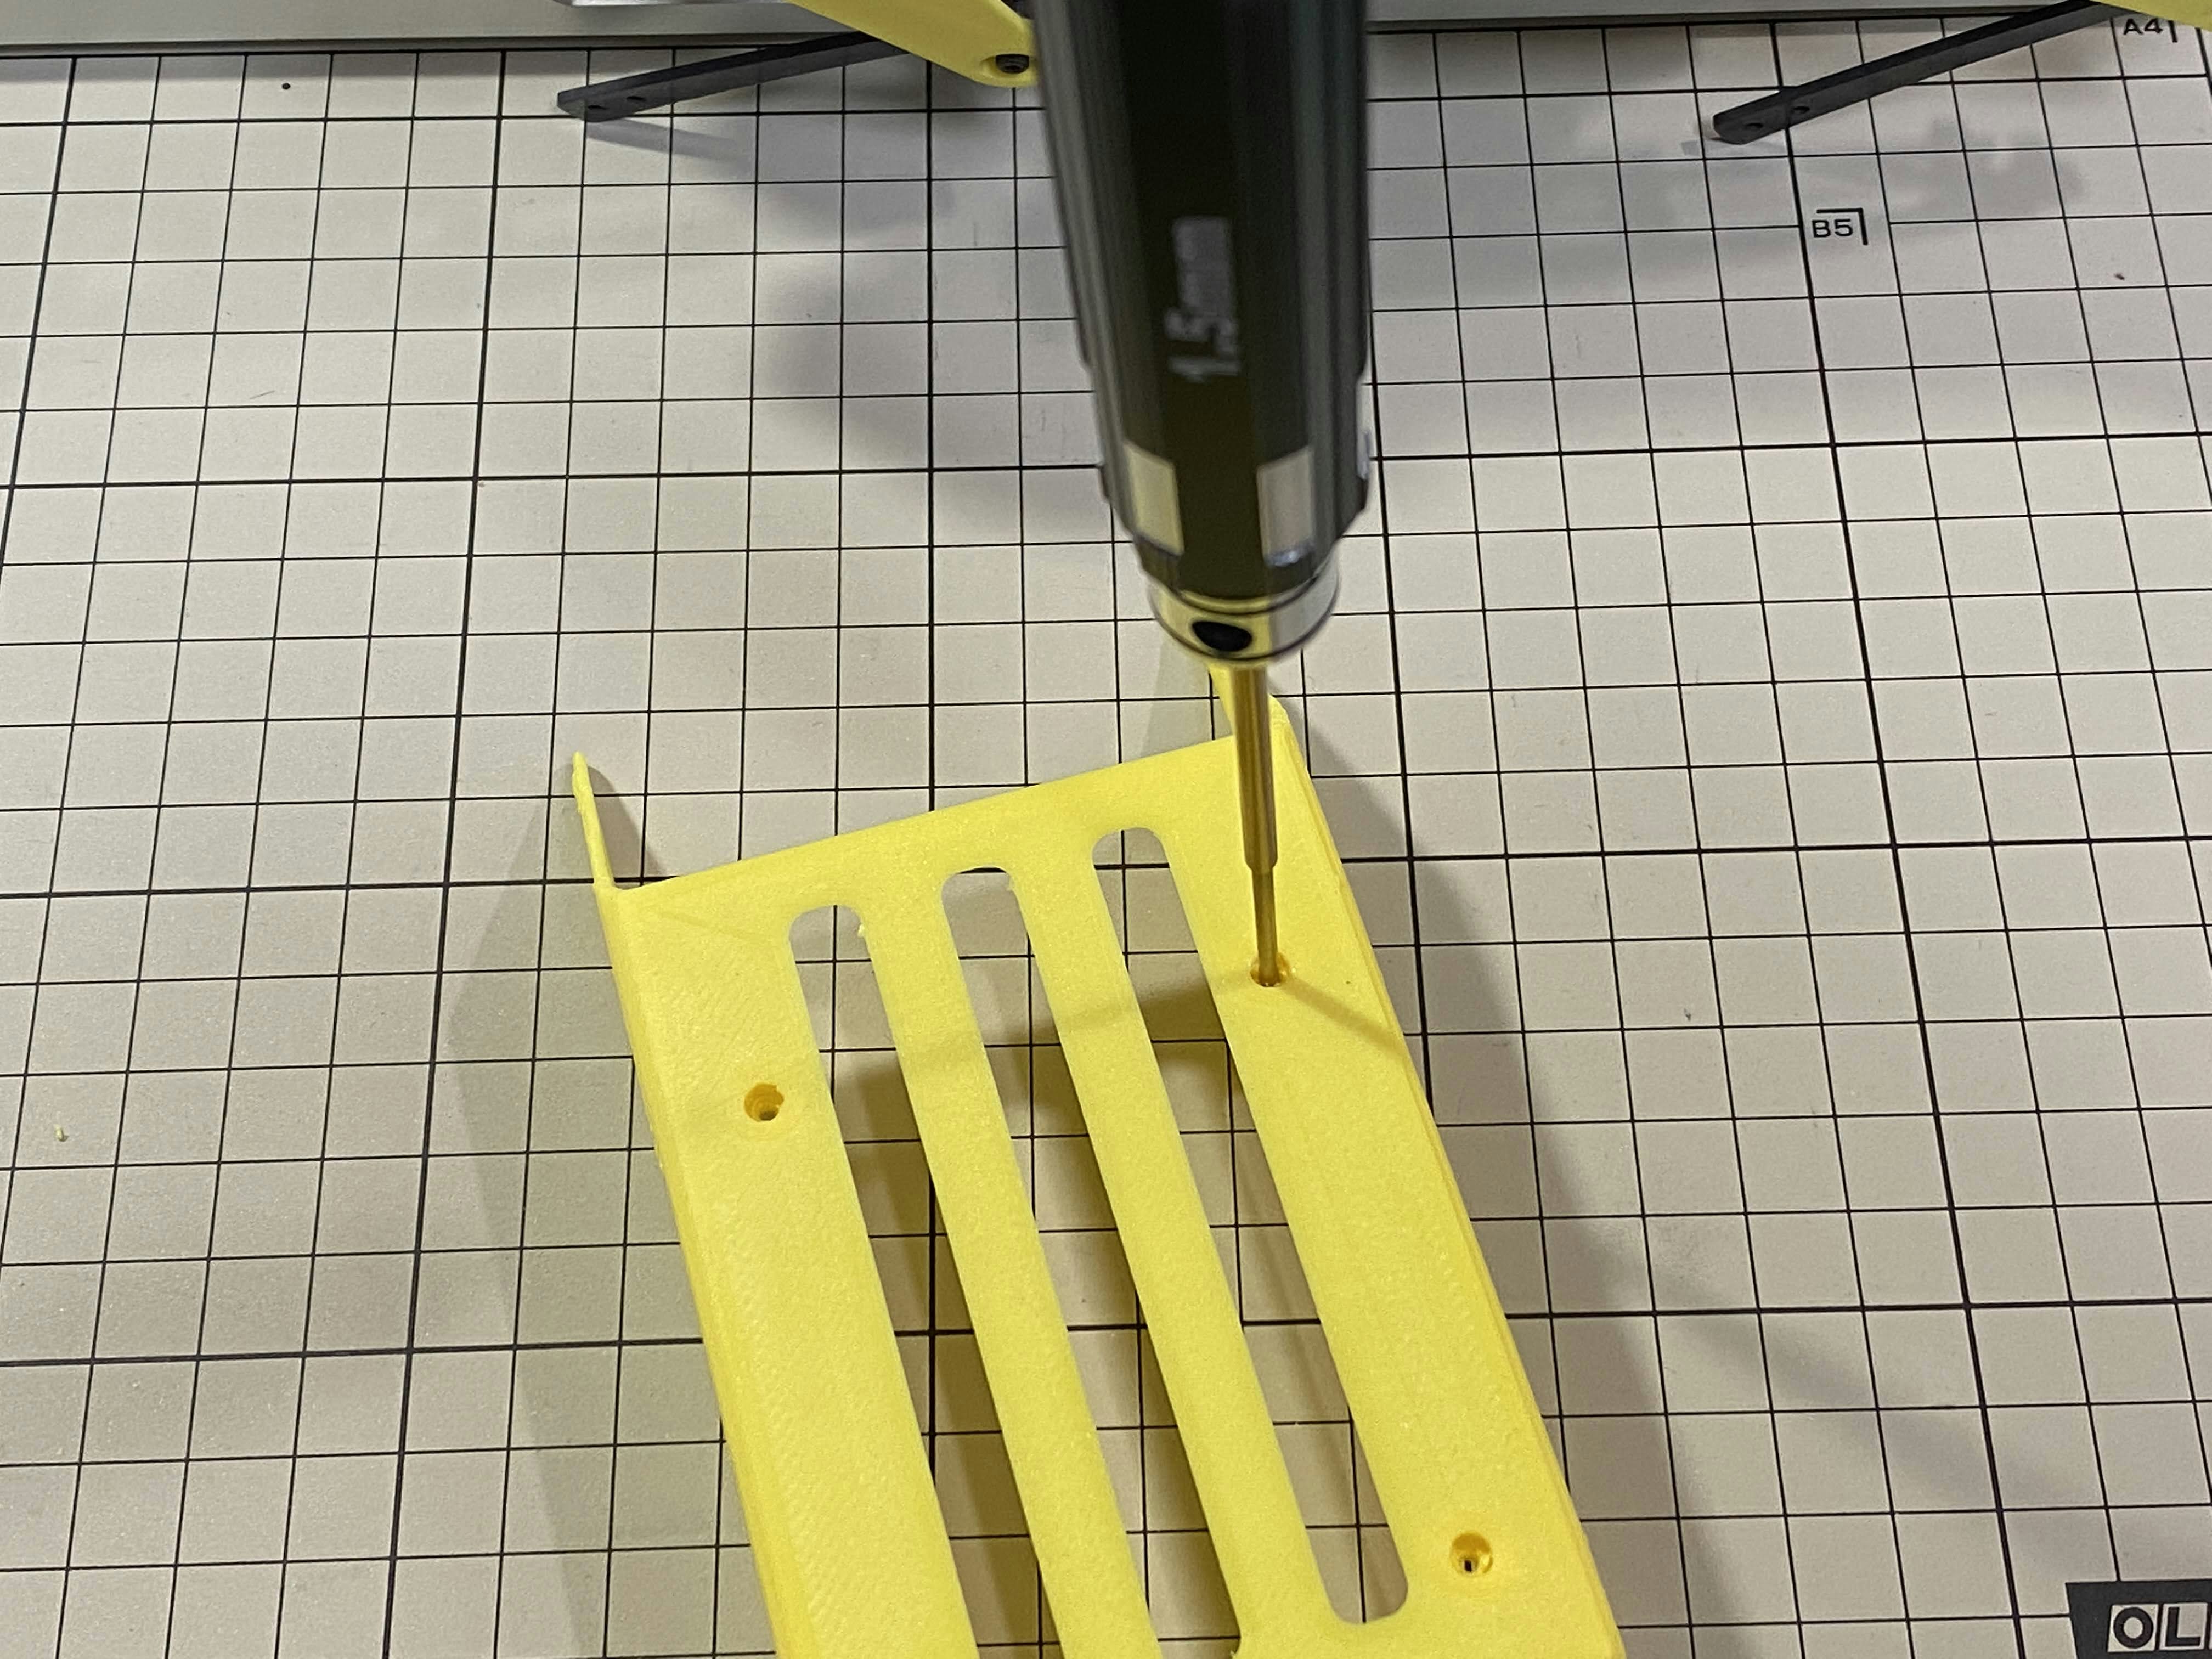
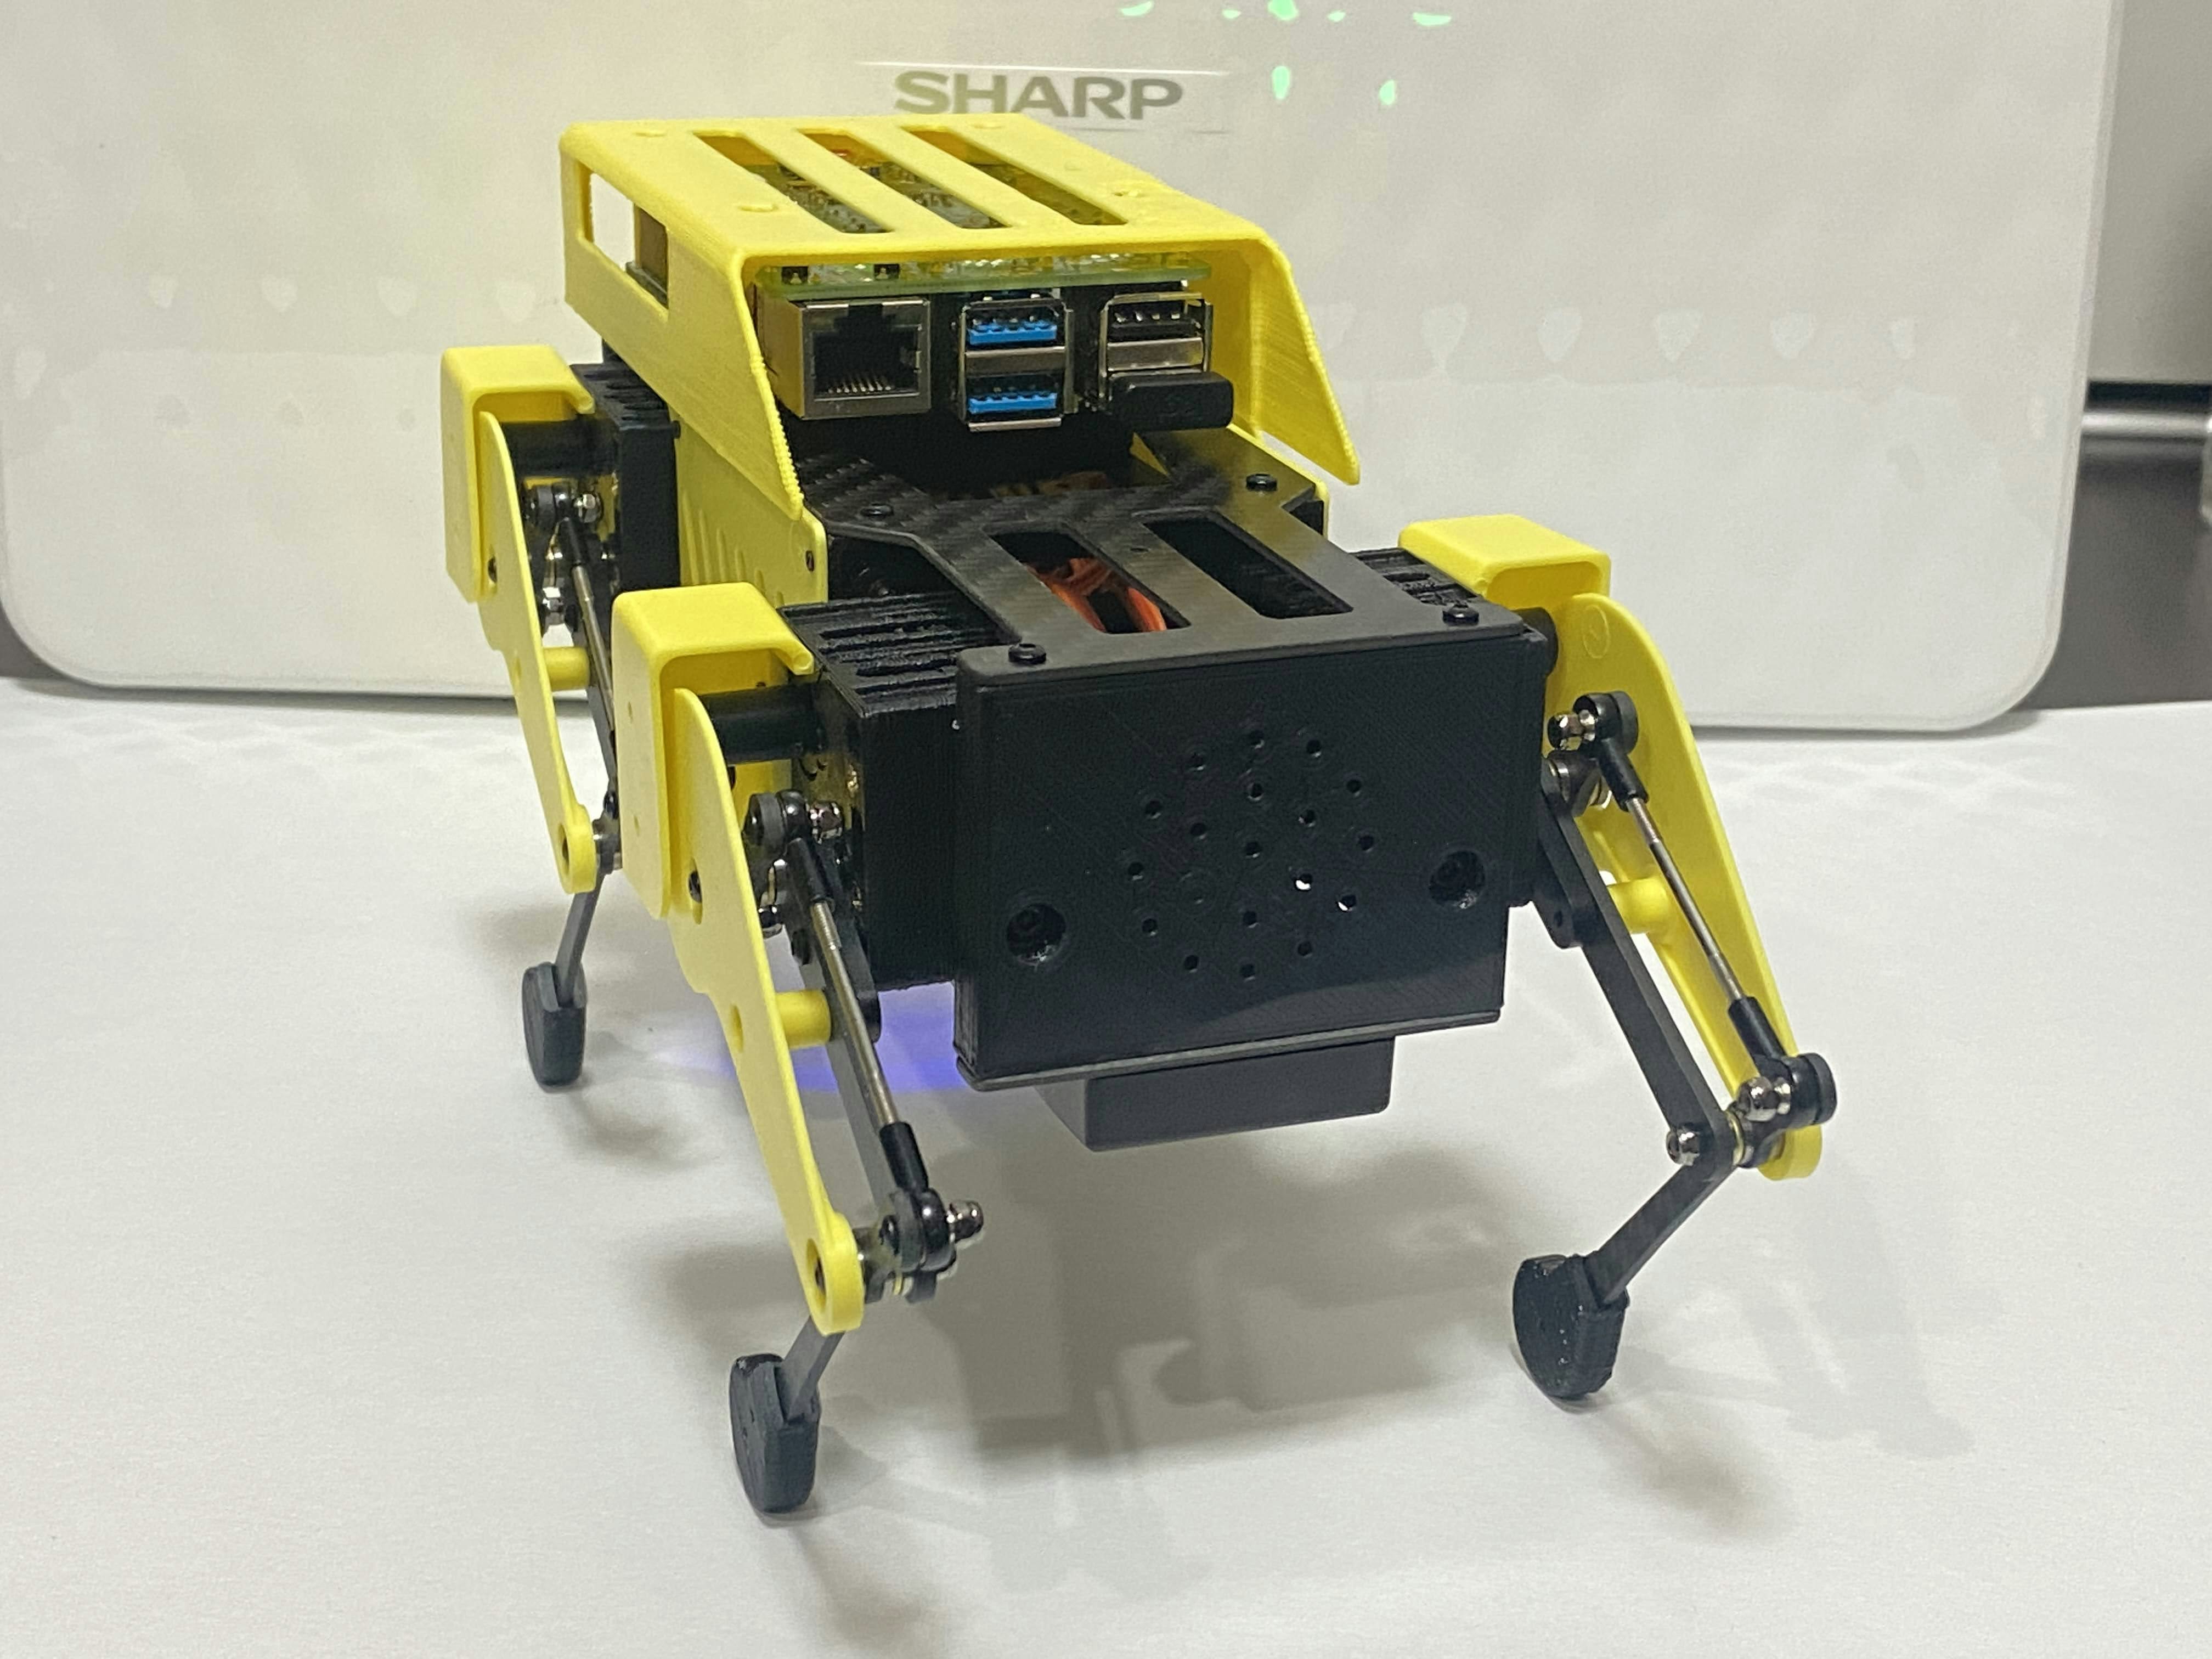
トップカバー / Top cover
M2x10mmボルトを4本使用します。3Dプリンタで作られたパーツなので、穴が小さくボルトが入らない場合は、付属の2mm六角ドライバでグリグリと回して穴を大きくしましょう。
Use four M2x10mm screws; if the holes are too small to fit the screws, as the part is made with a 3D printer, you can enlarge the holes by turning them with the supplied 2mm hexagonal screwdriver.
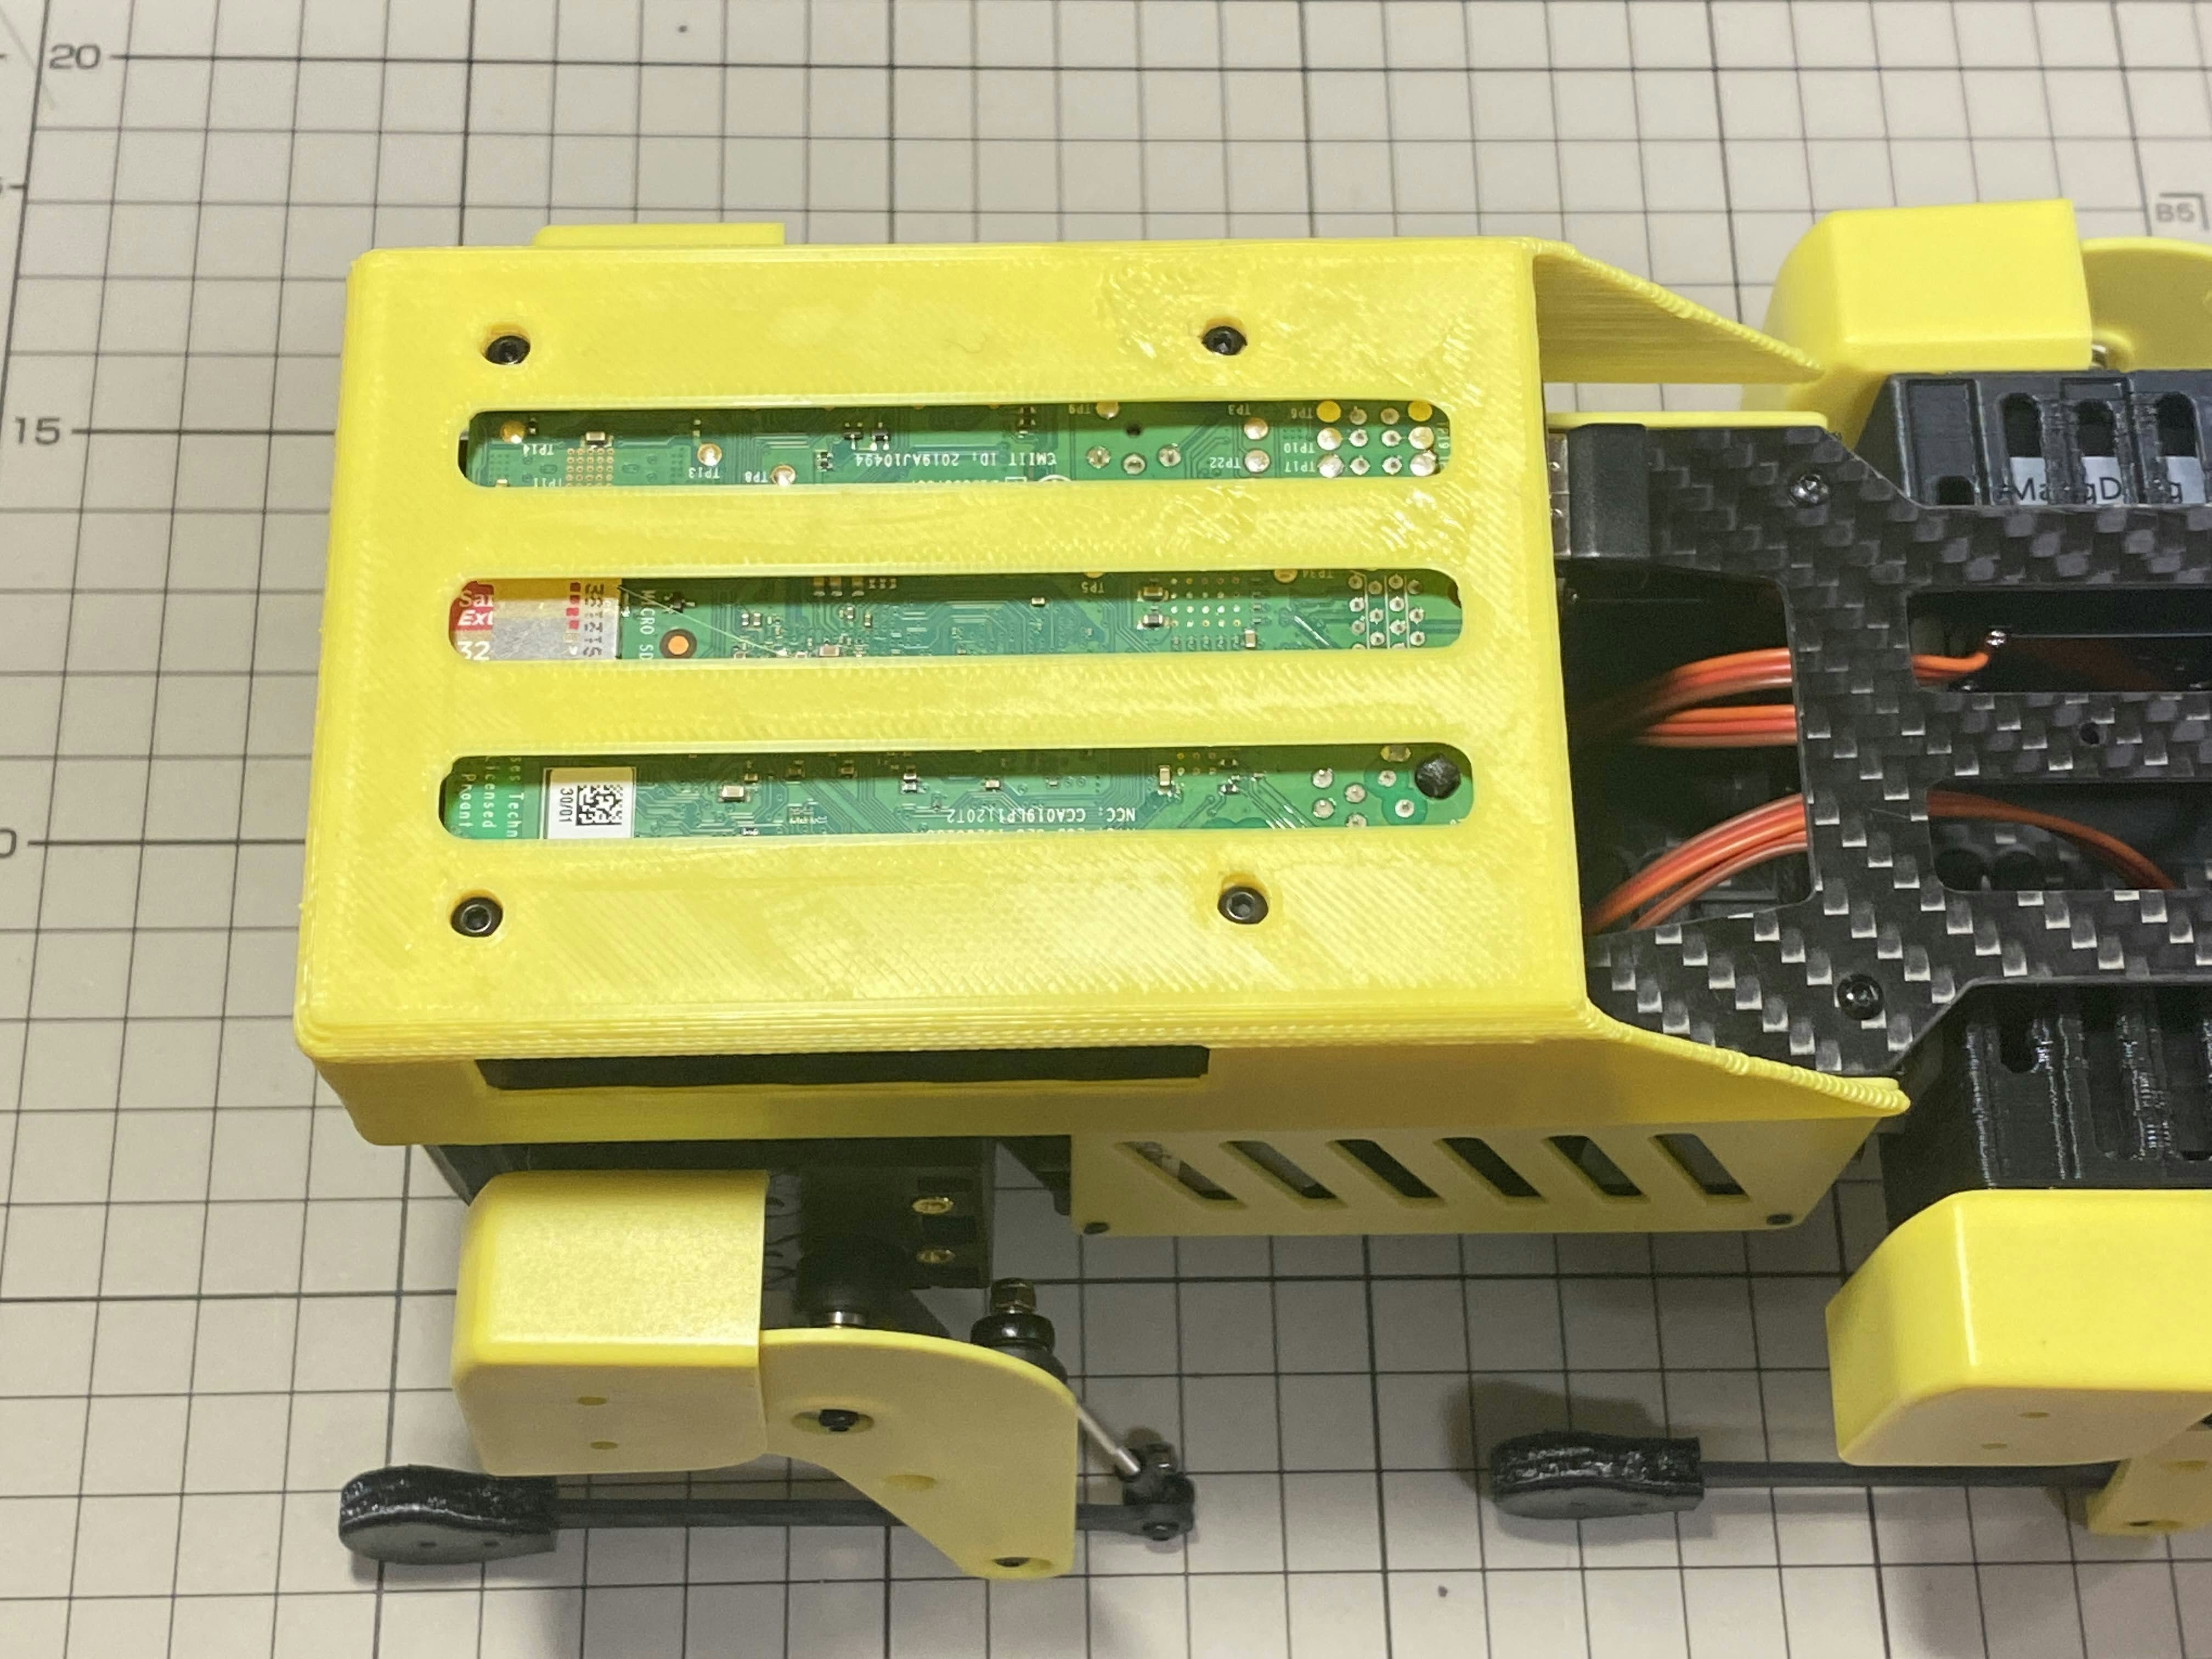
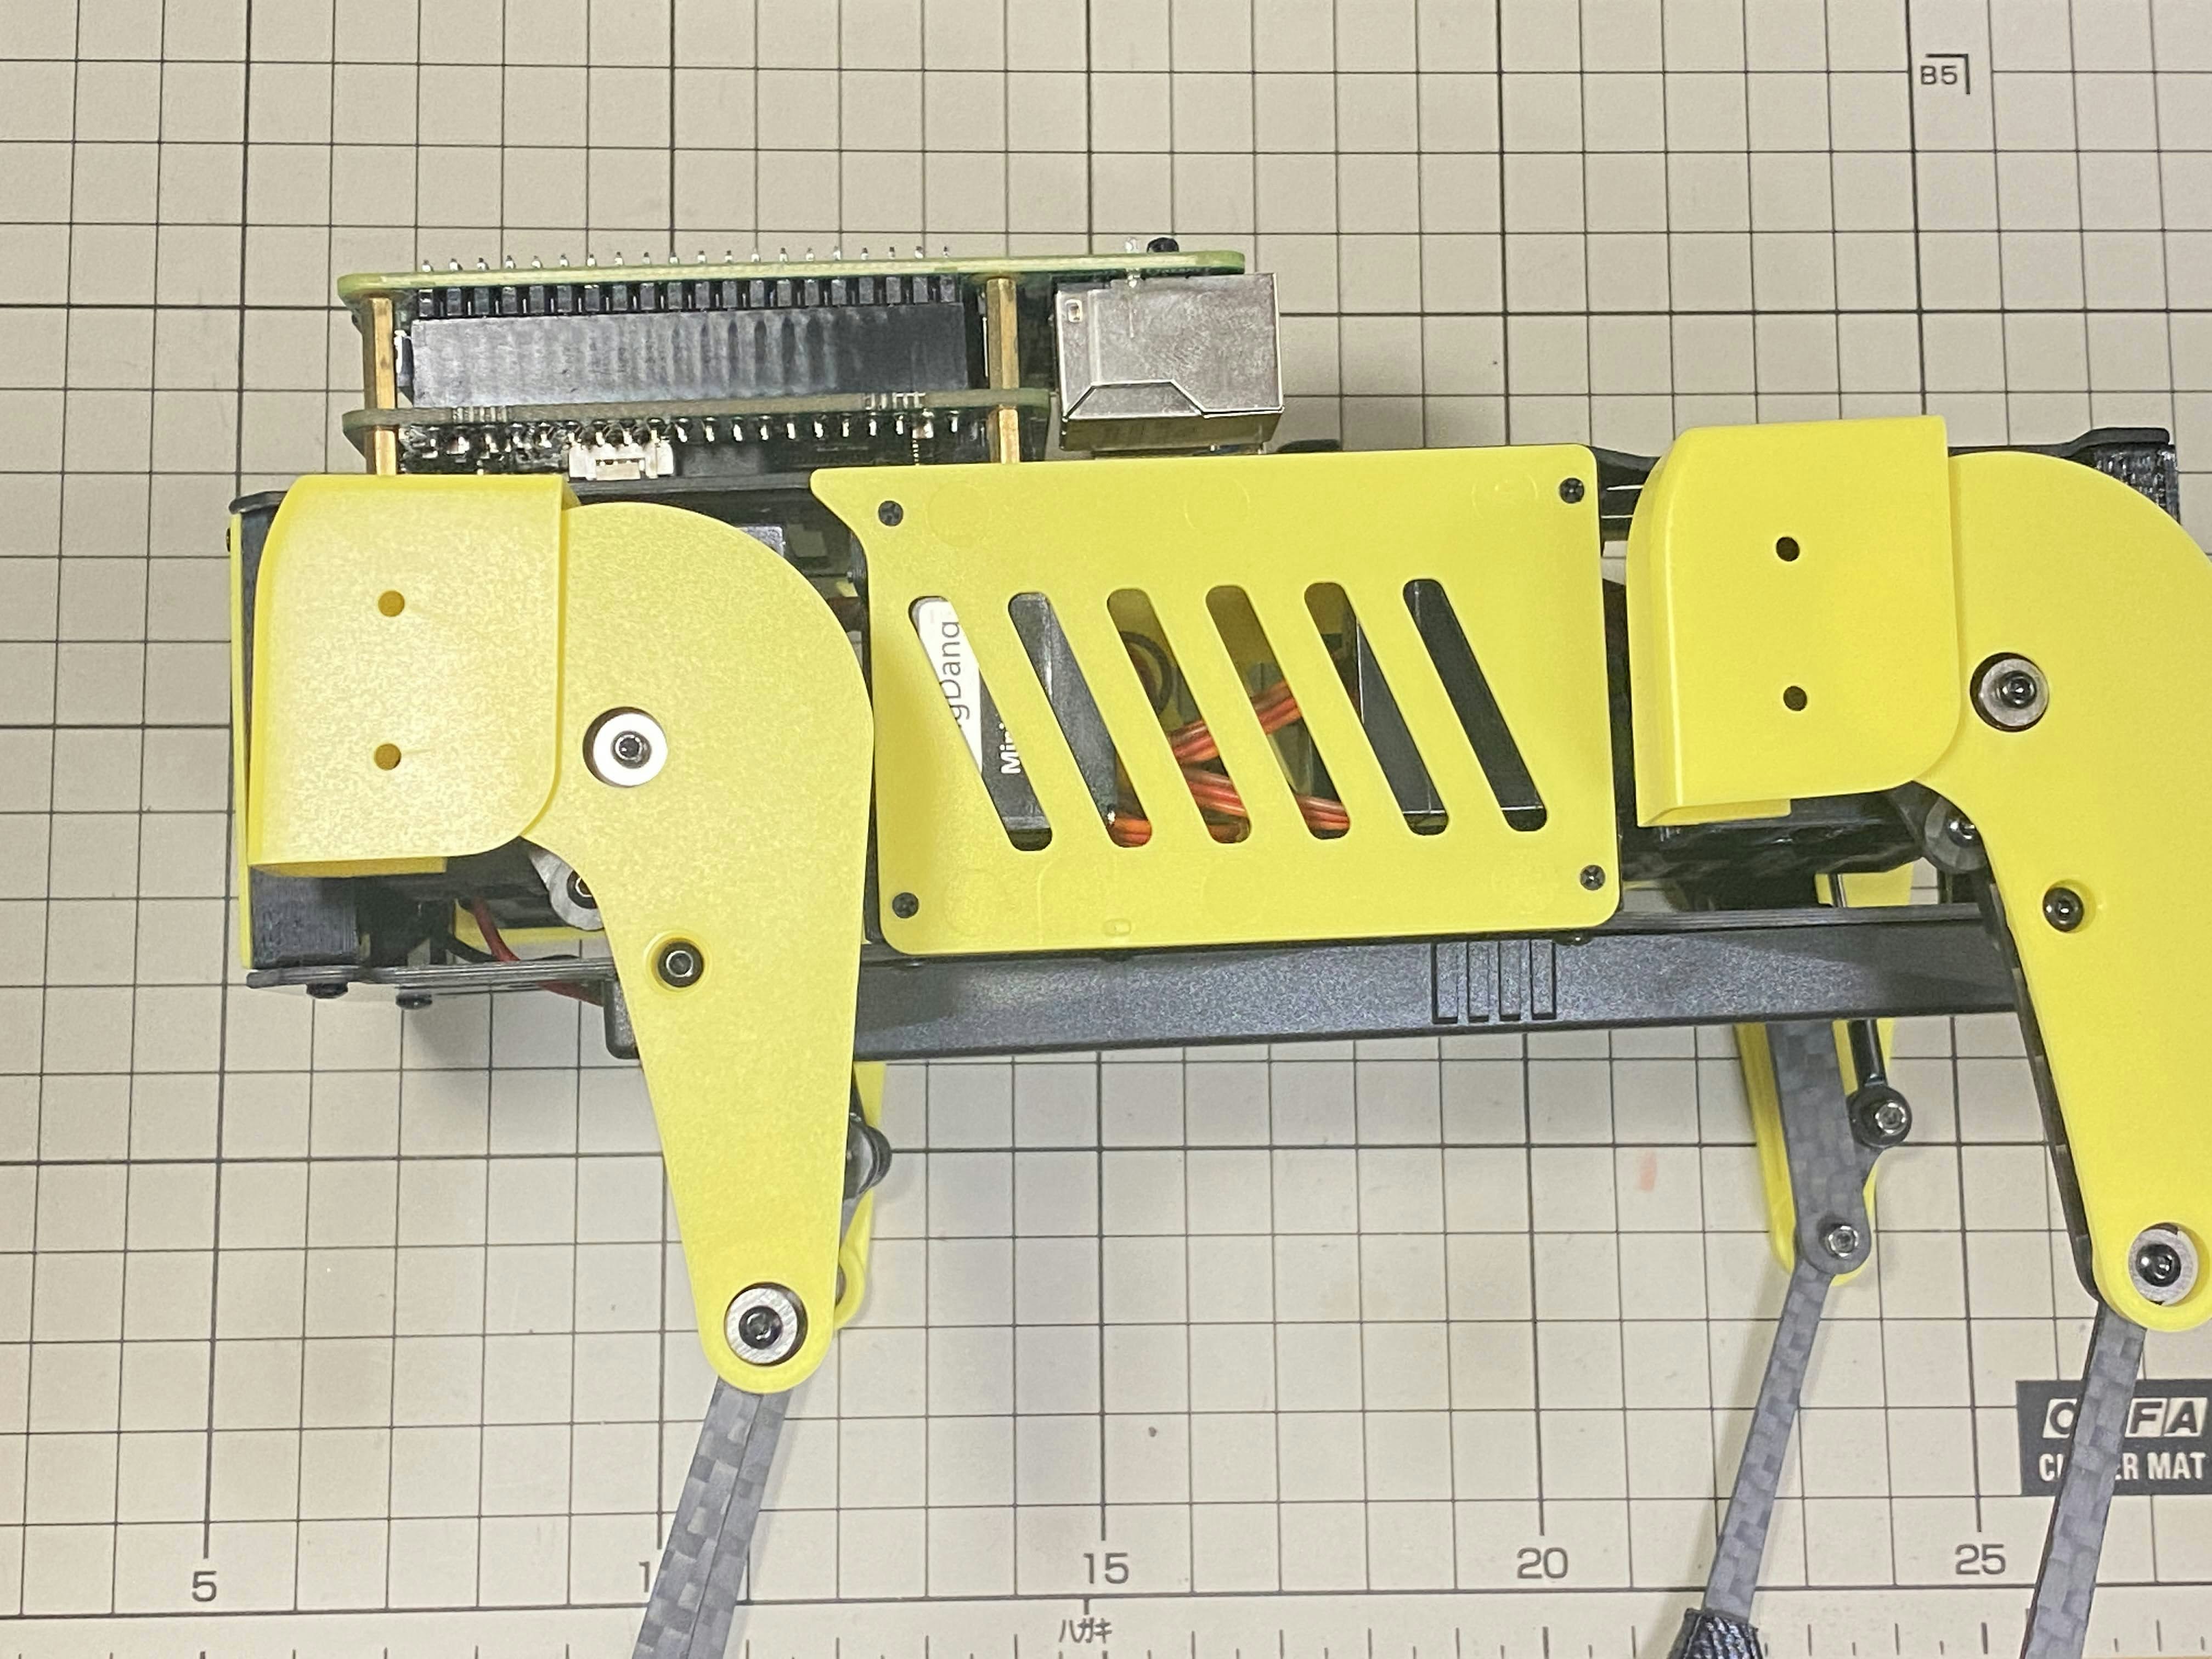
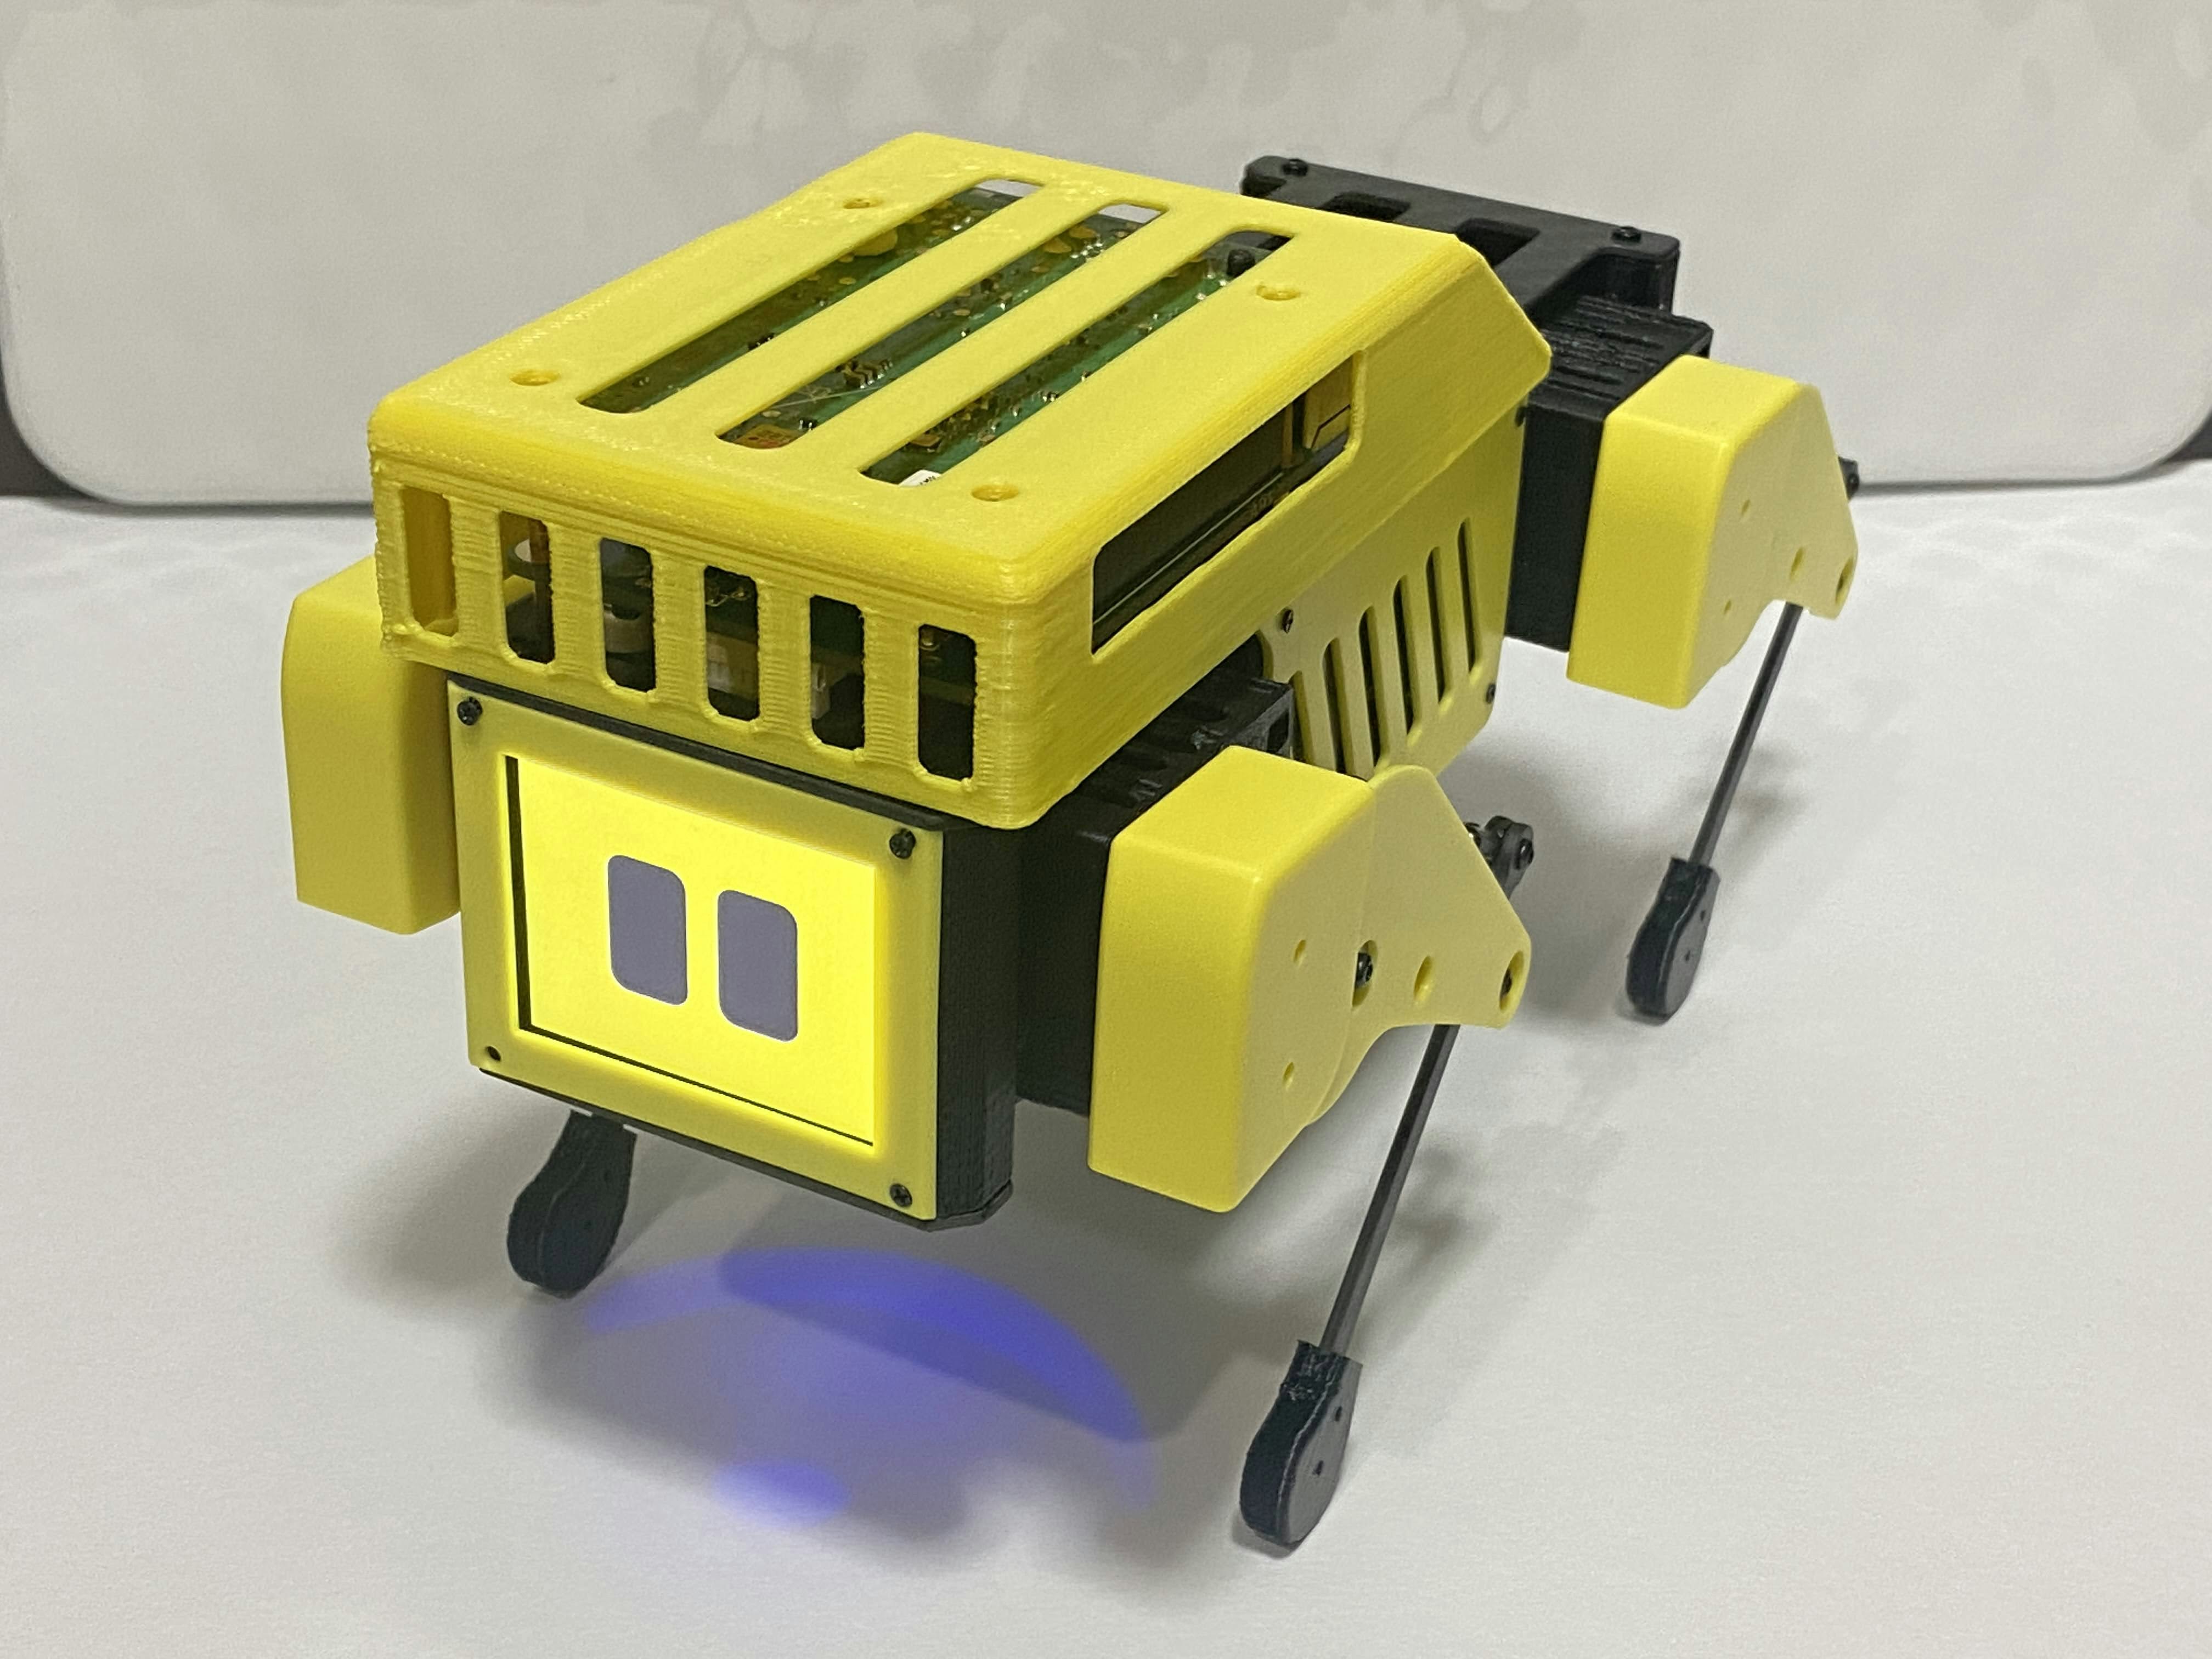
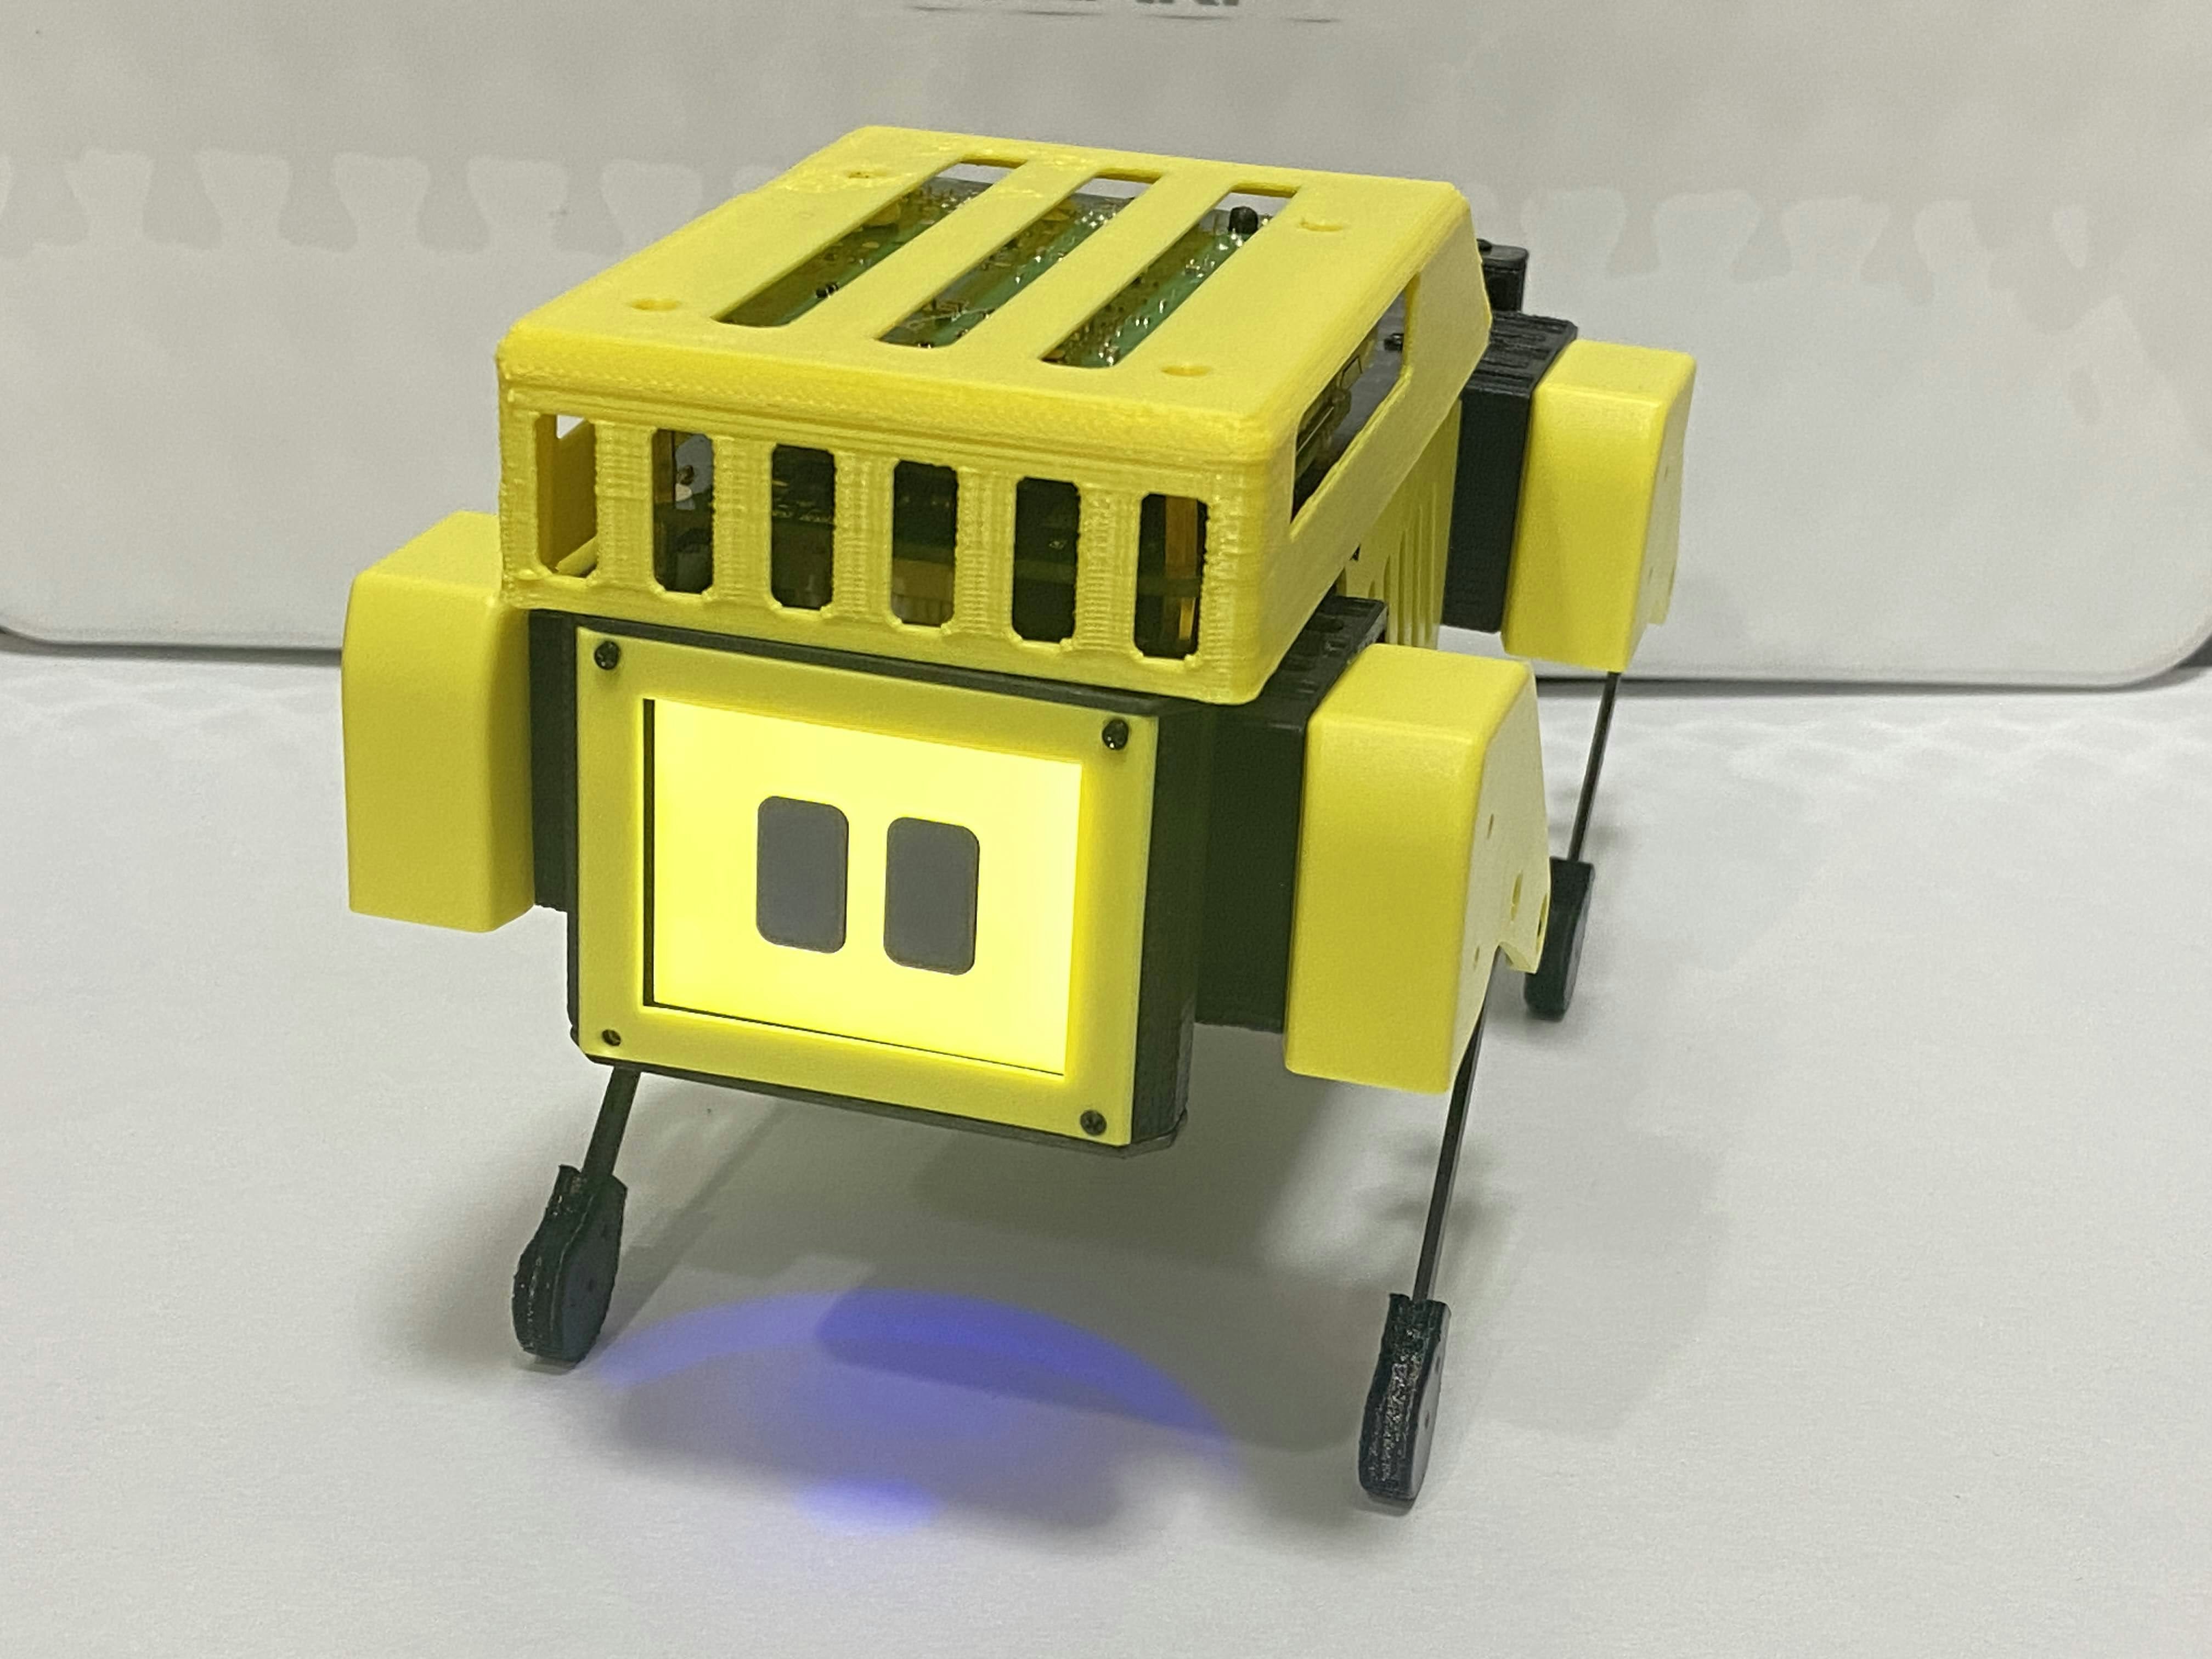
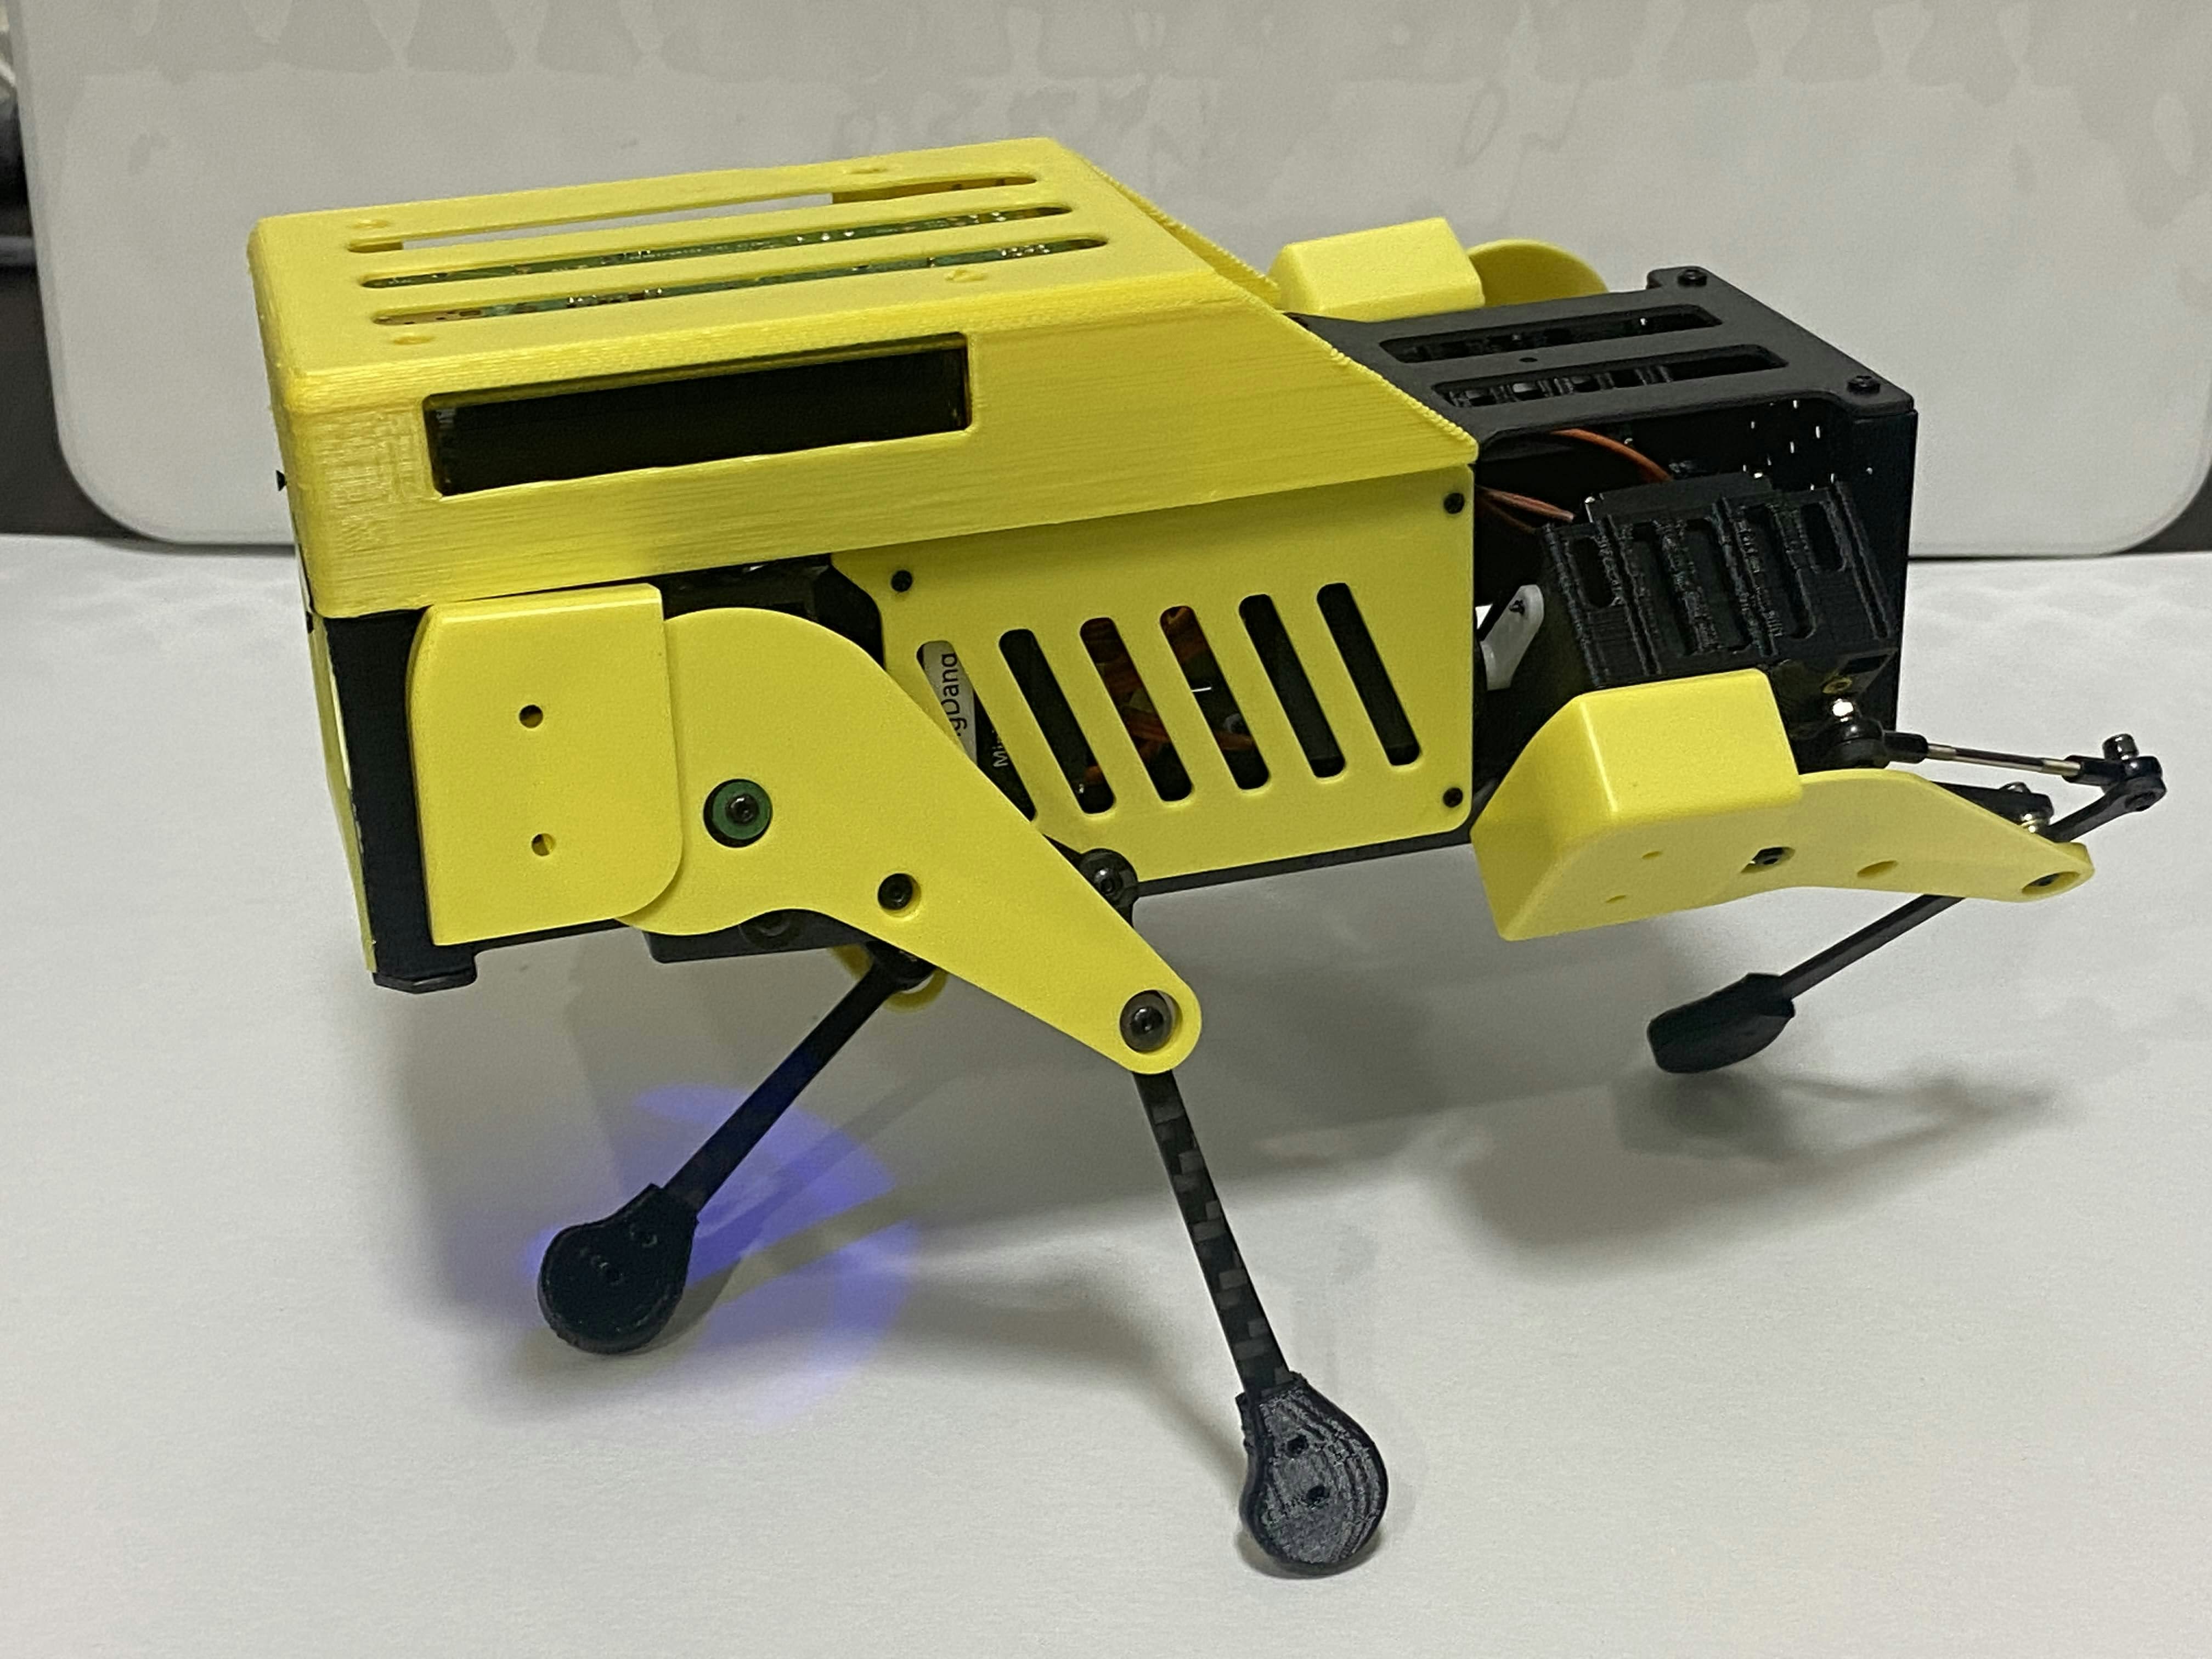
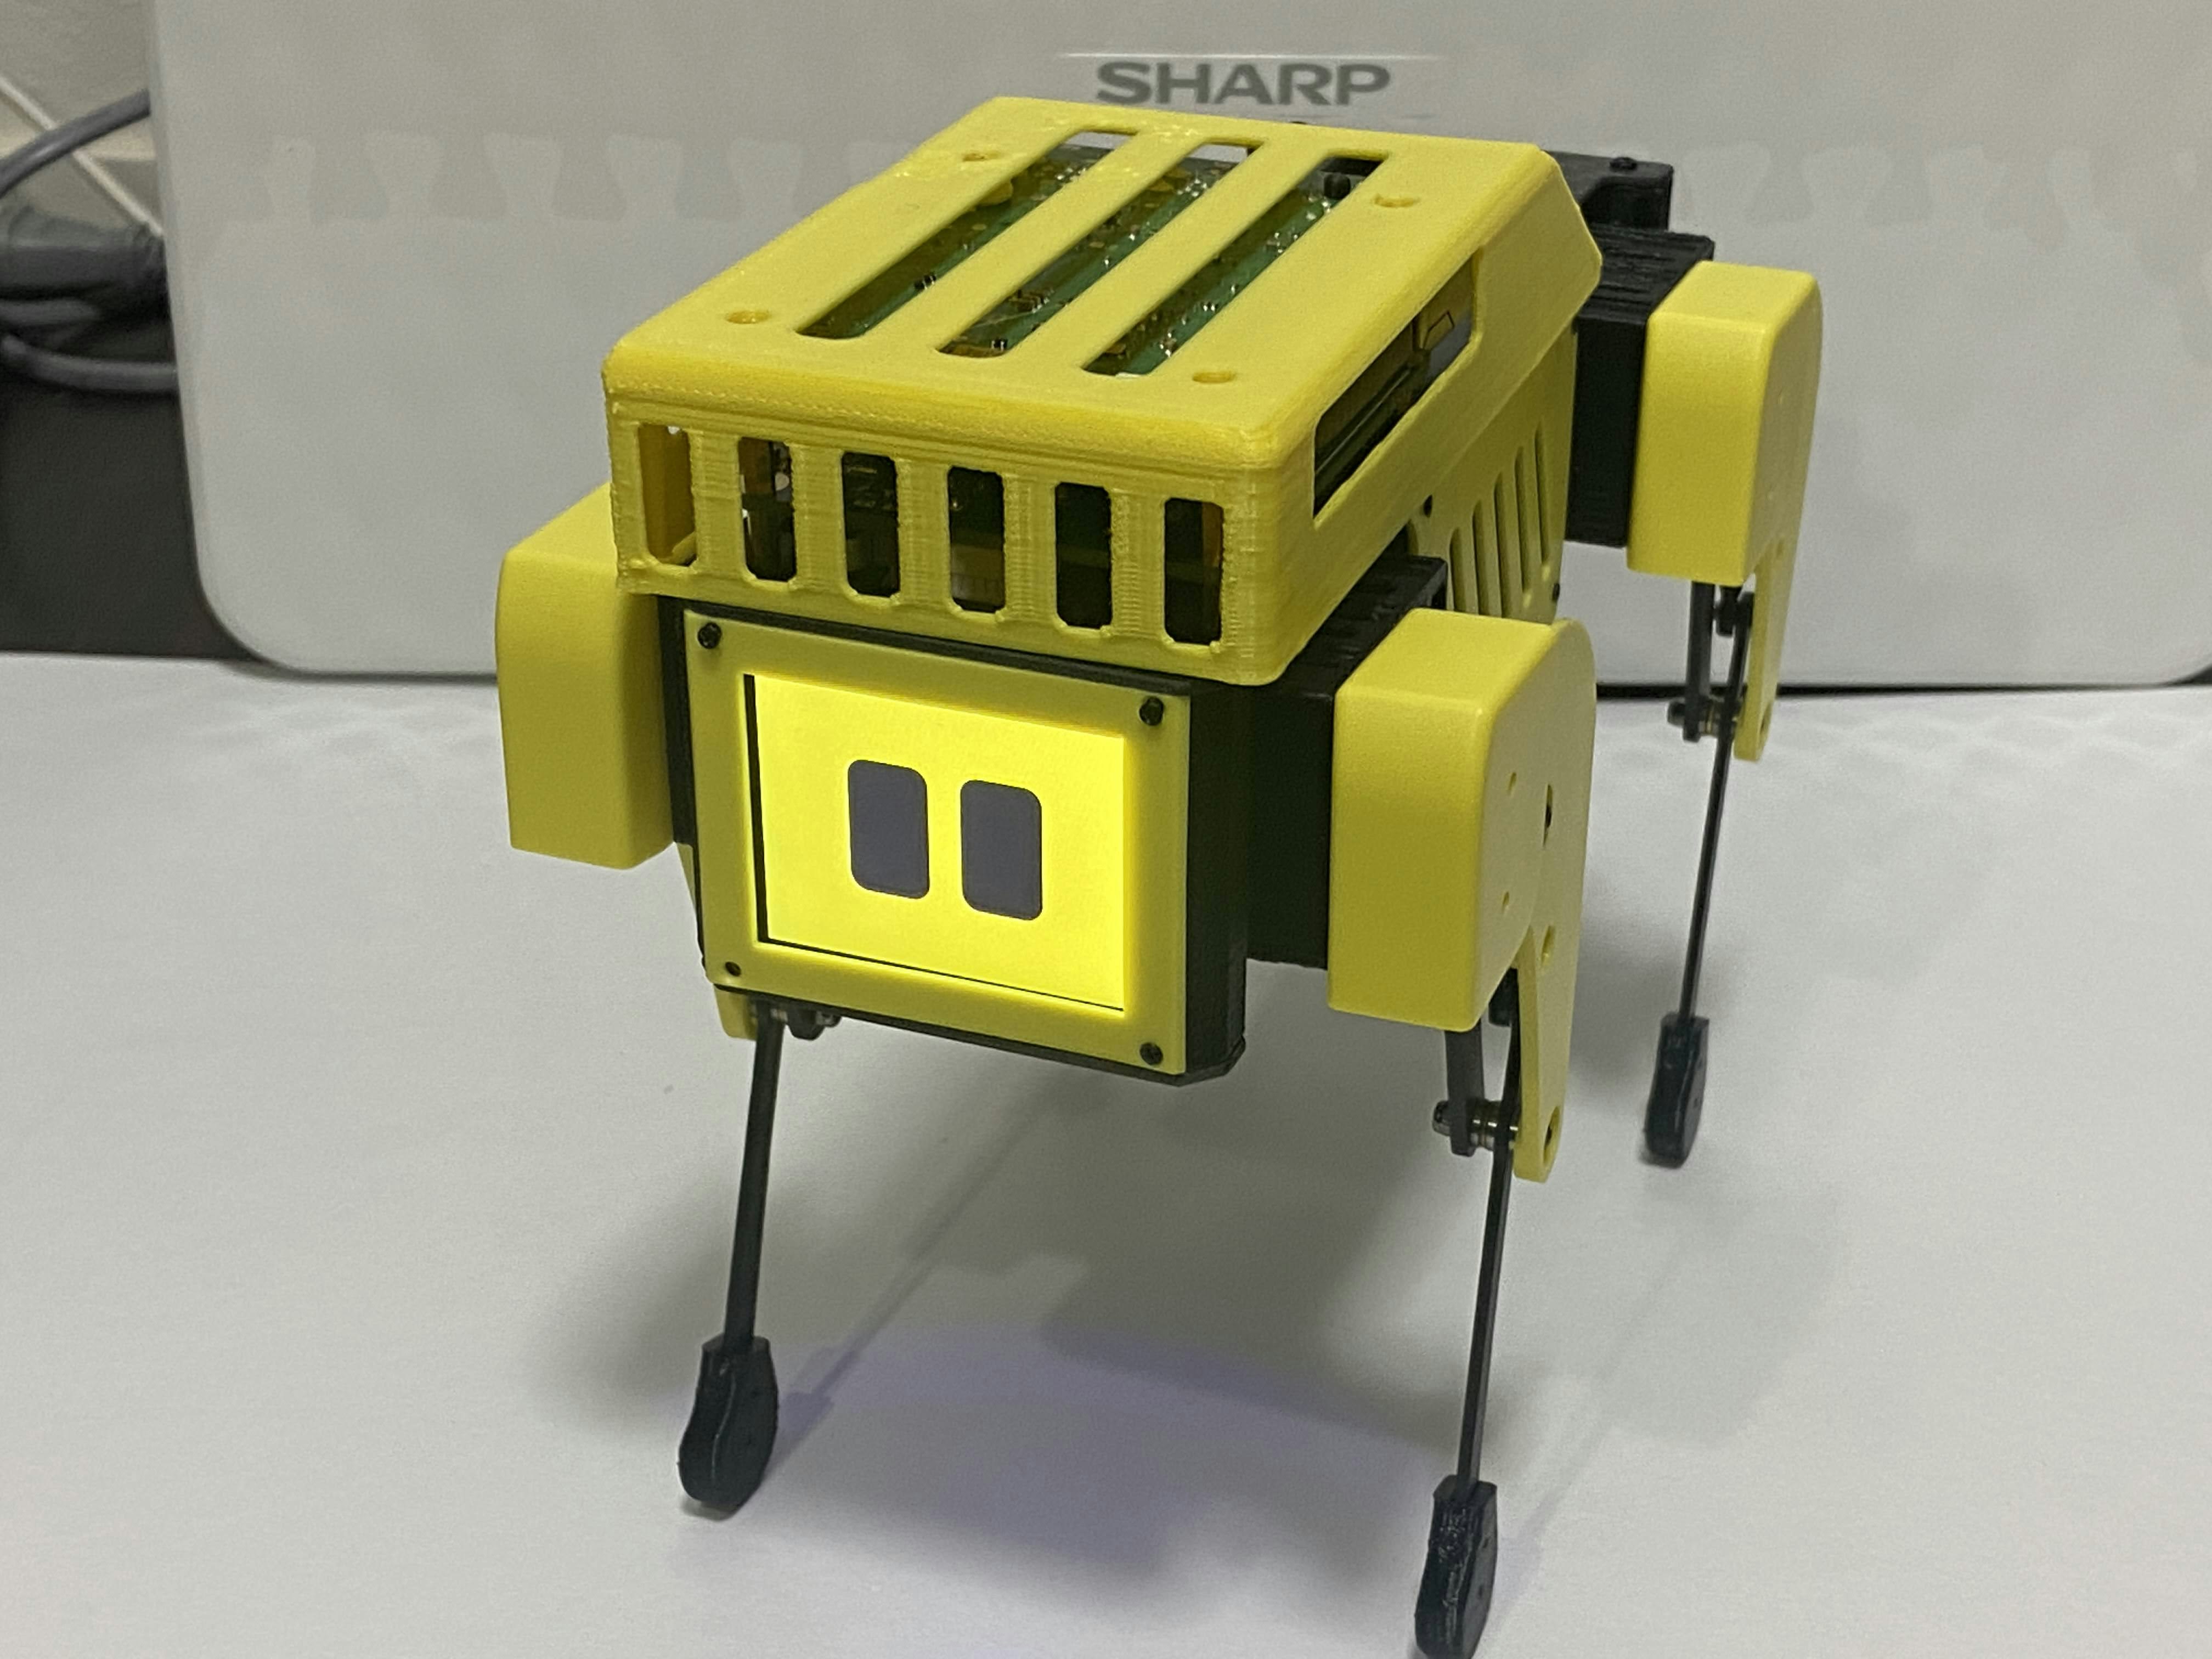
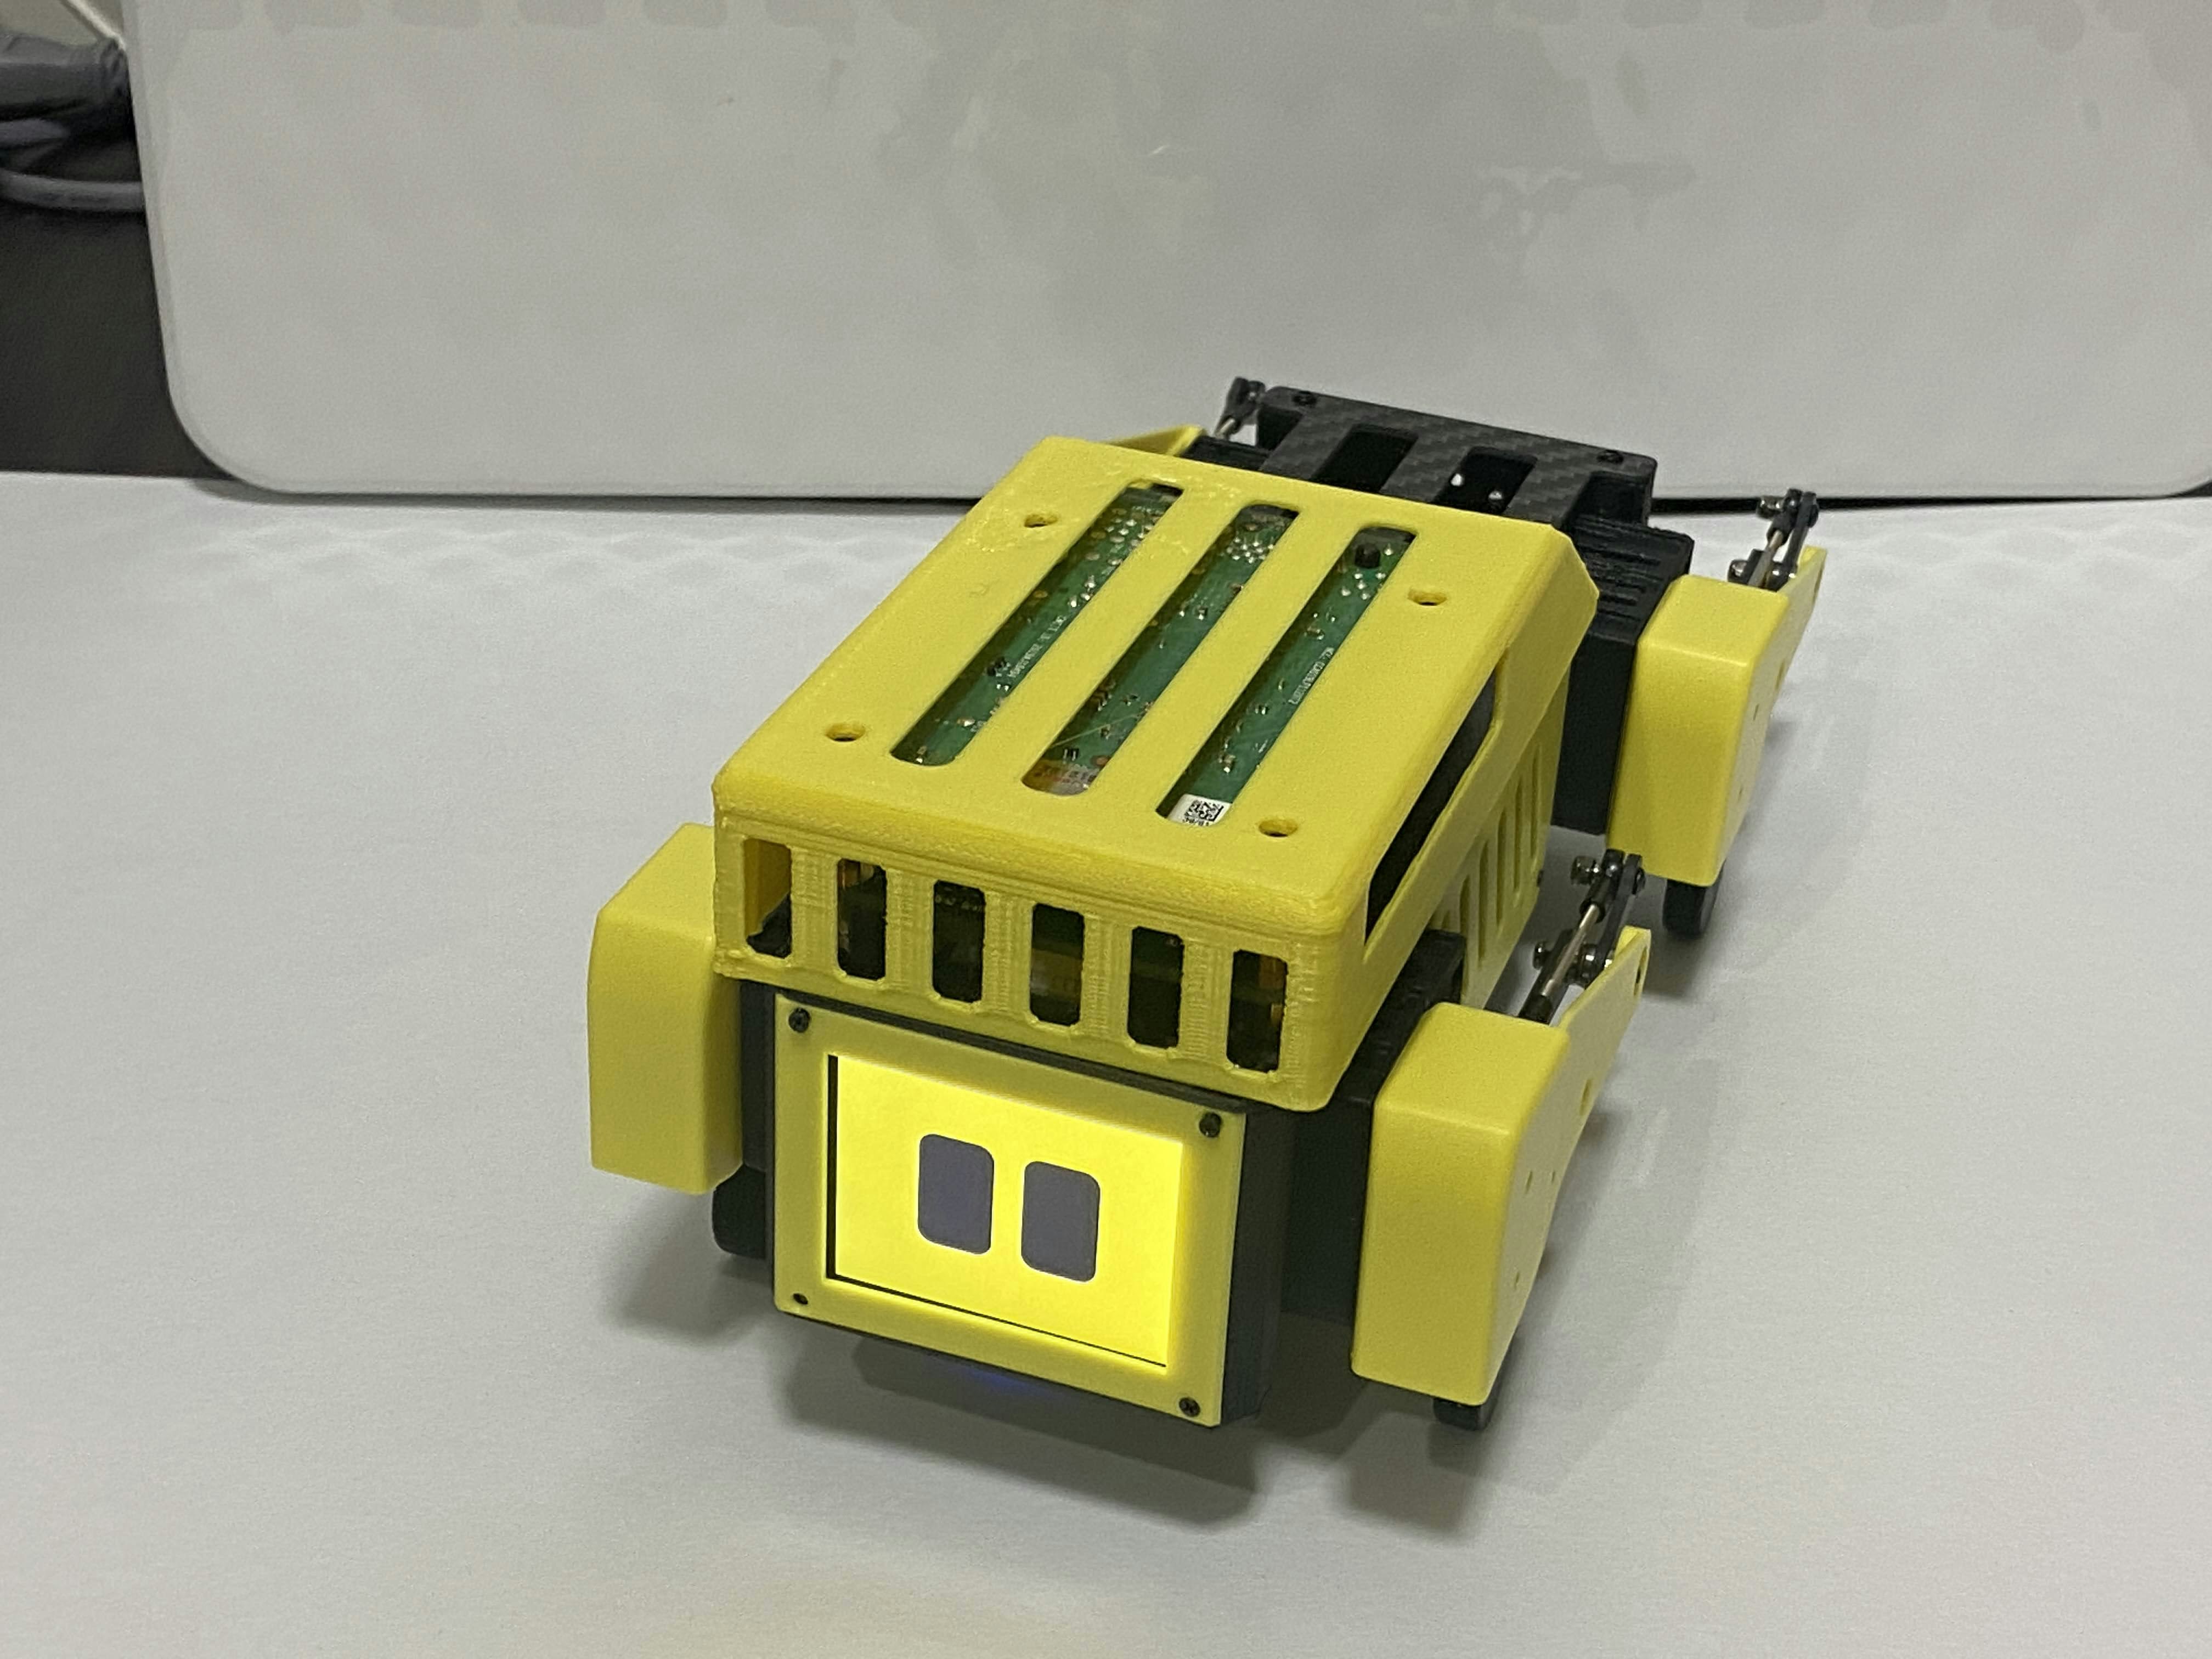
完成! / Completion!
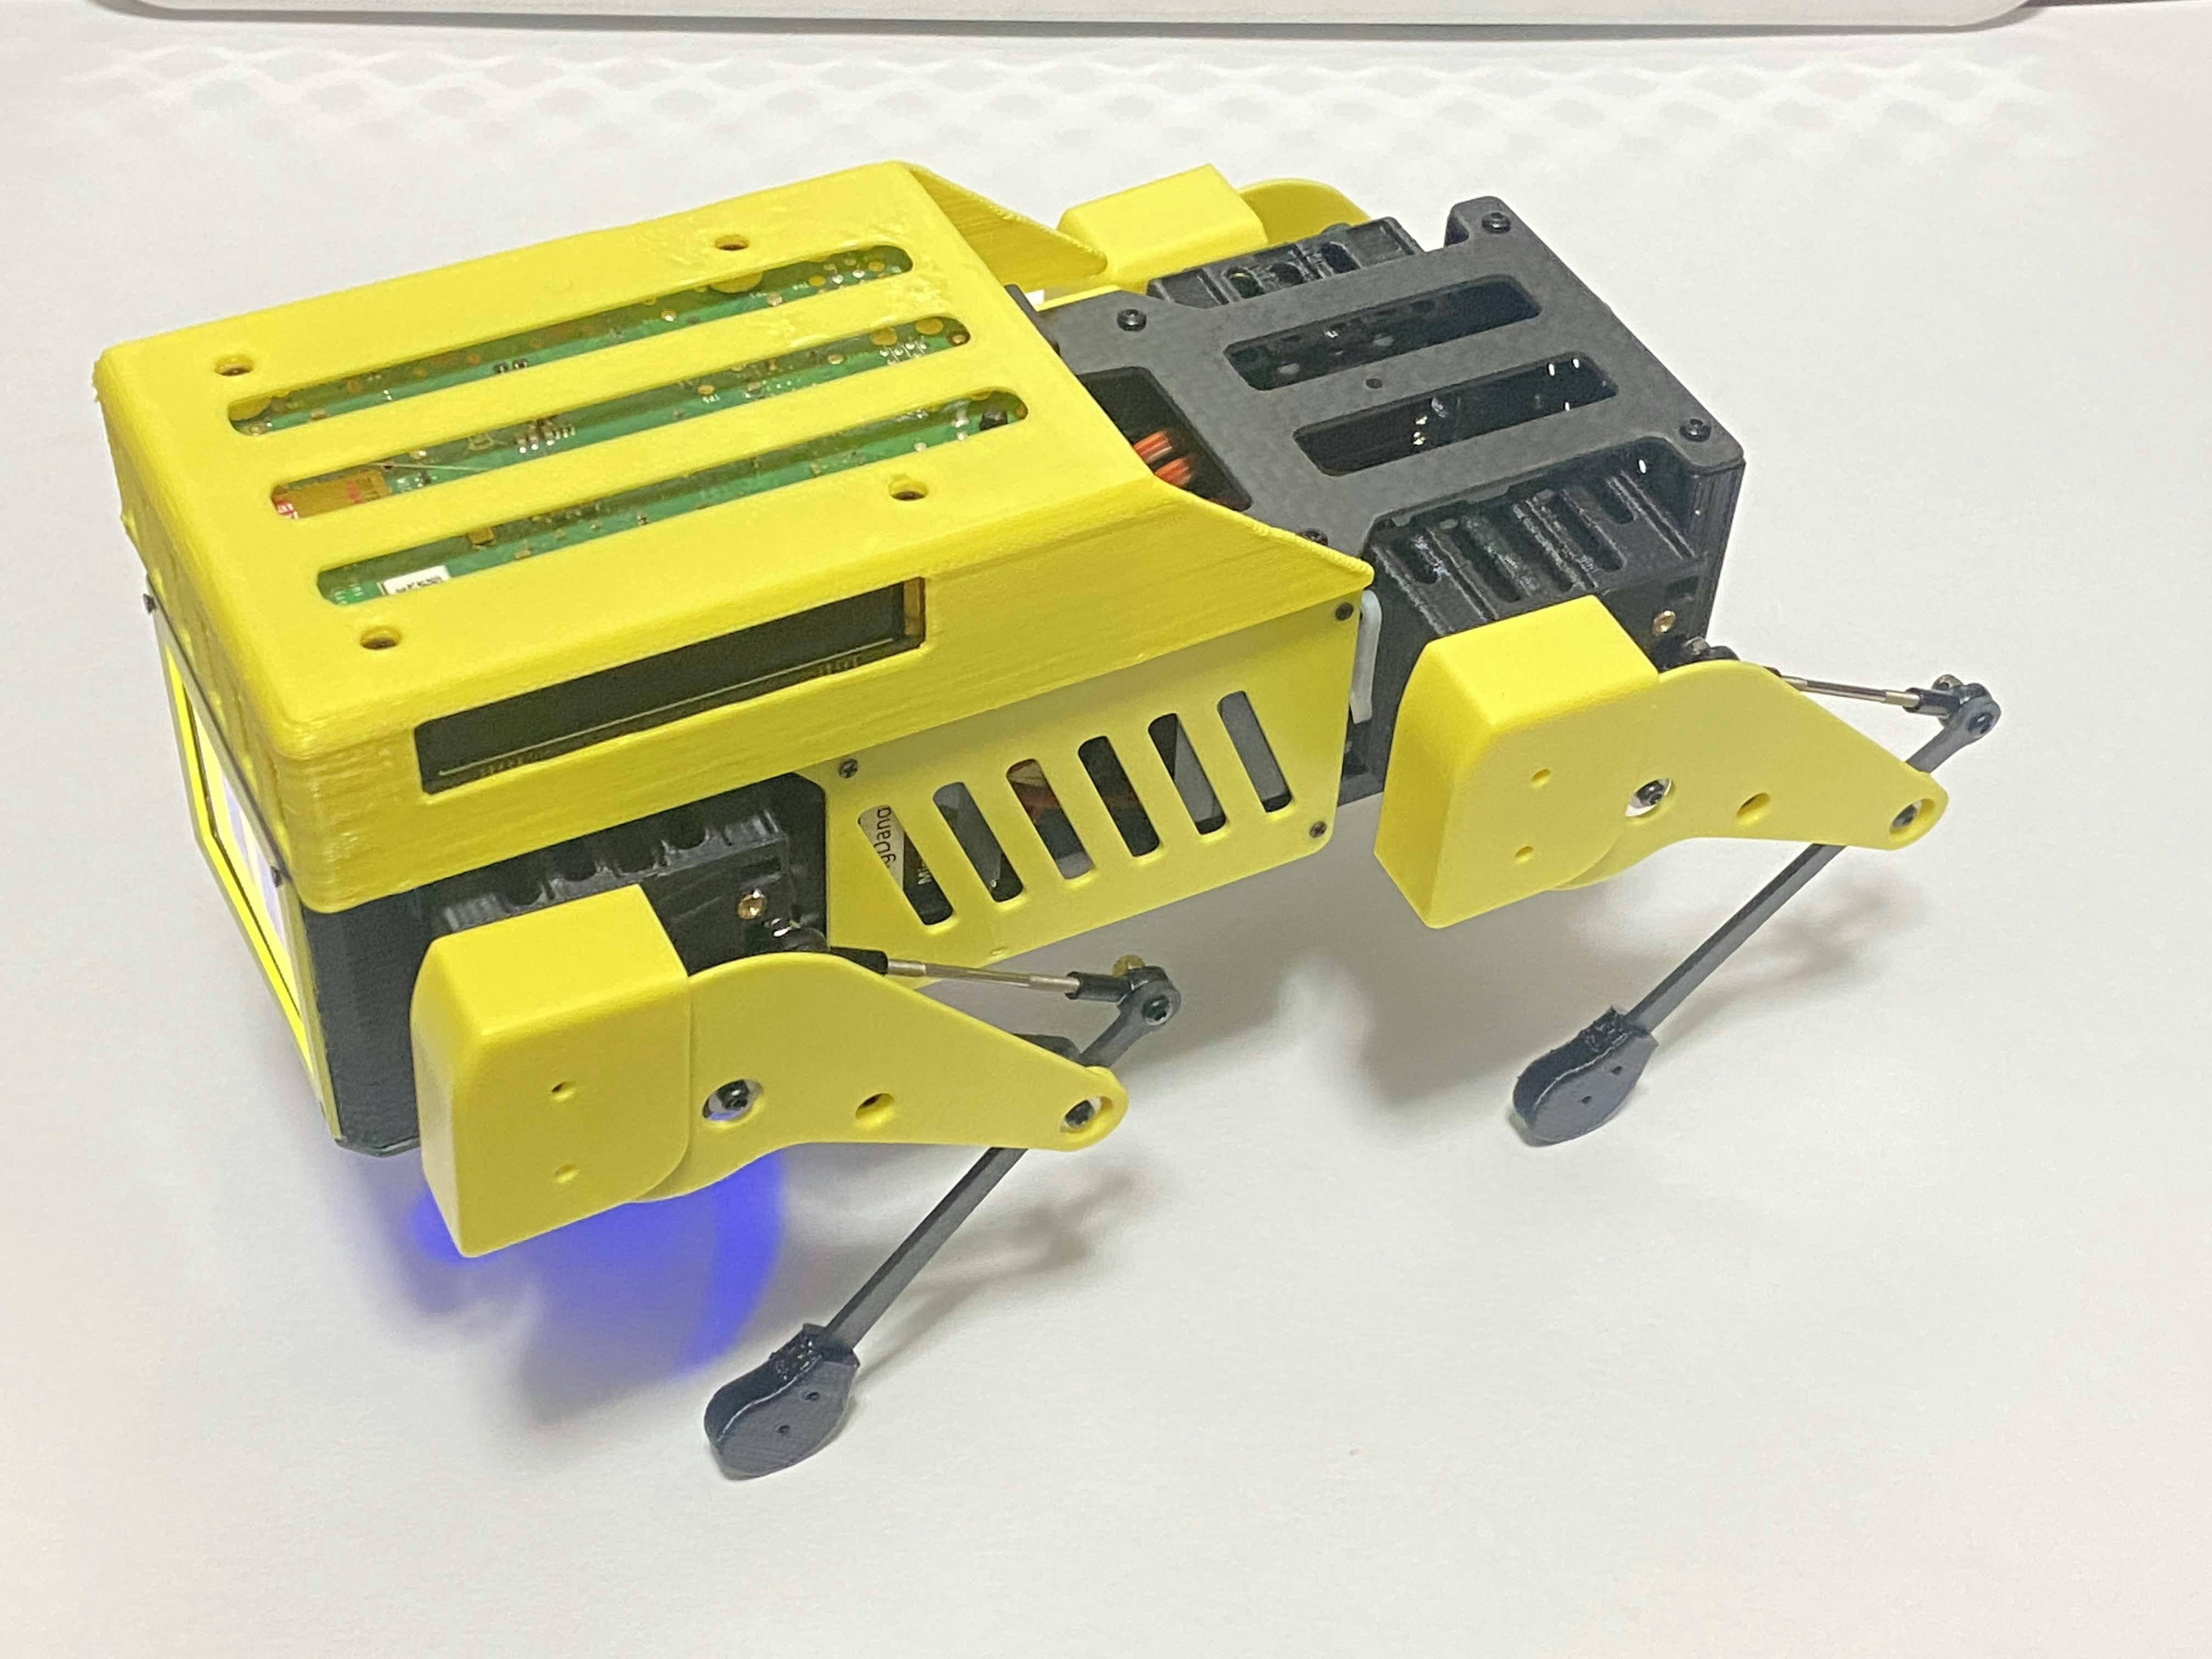
分からないことがあったらここにコメントを書くか、 #minipupper #ミニぷぱ を付けてツイートすれば、優しい人が教えてくれますよ。
If you have any questions, write a comment here or tweet it with #minipupper #minipupa and tech friends will be happy to help.
参考 / Reference
- でべさん の 「Mini Pupper」がやってきた!(1: make 編)
- でべさんの 組み立てツイート