FCMにてWeb Pushを送付する機能について
送信側の設定について記事を書かせて頂きます。
受信時に必要なFireBaseへのプロジェクト、アプリの登録などは
以前の記事「FCMからWeb Pushを受信する」を参照してください。
※FCMのPush送信のAPIについて
記事作成時点で新しいHTTP v1 APIというものが出ているようですが、
送信の手順が大きく違っているようなので別の記事で記載しています。
この記事ではFCM HTTP APIでの送信で説明させて頂きます。
Web Pushの送信
登録トークンの取得
FCMにてPushを受信する設定をした際に
登録トークンが取得できます。
こちらを利用すると特定のユーザーにWeb Pushを送信できます。
const messaging = firebase.messaging();
Notification.requestPermission().then((permission) => {
  if (permission === 'granted') {
    // 通知を許可した場合
    console.log('Notification permission granted.');

    messaging.getToken().then((currentToken) => {
      if (currentToken) {
        // トークン取得成功
        console.log("currentToken:");
        console.log(currentToken);
      } else {
        // トークン取得失敗
      }
    });
  } else {
    // 通知を拒否した場合
    console.log('Unable to get permission to notify.');
  }
});
ブラウザの開発ツールのコンソールを確認すると登録トークンが確認できます。
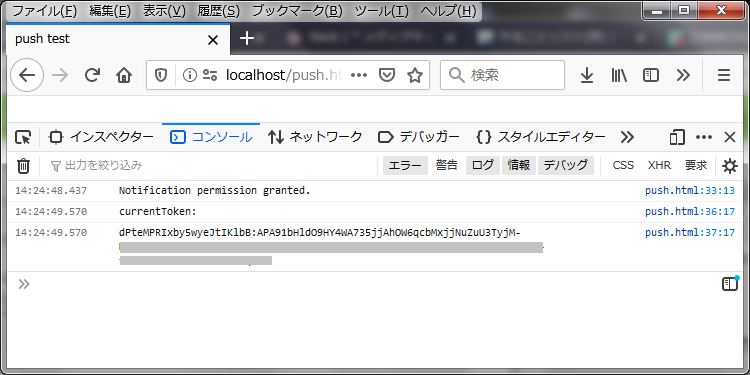
取得された登録トークンは宛先として使います。
サーバーキーの確認
FCMにてPushを送信する場合にはサーバーキーが必要となります。
そちらを確認します。
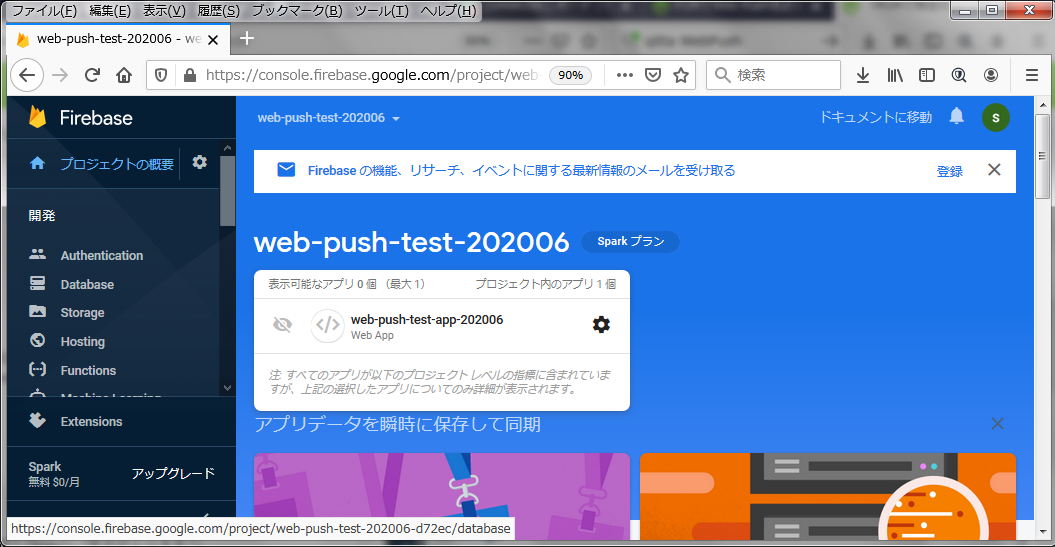
Firebaseコンソールにてアプリの設定を確認(歯車マークを選択)すると設定画面に遷移します。
アプリの設定画面が開き、クラウドメッセージングのタブにサーバーキーがあります。
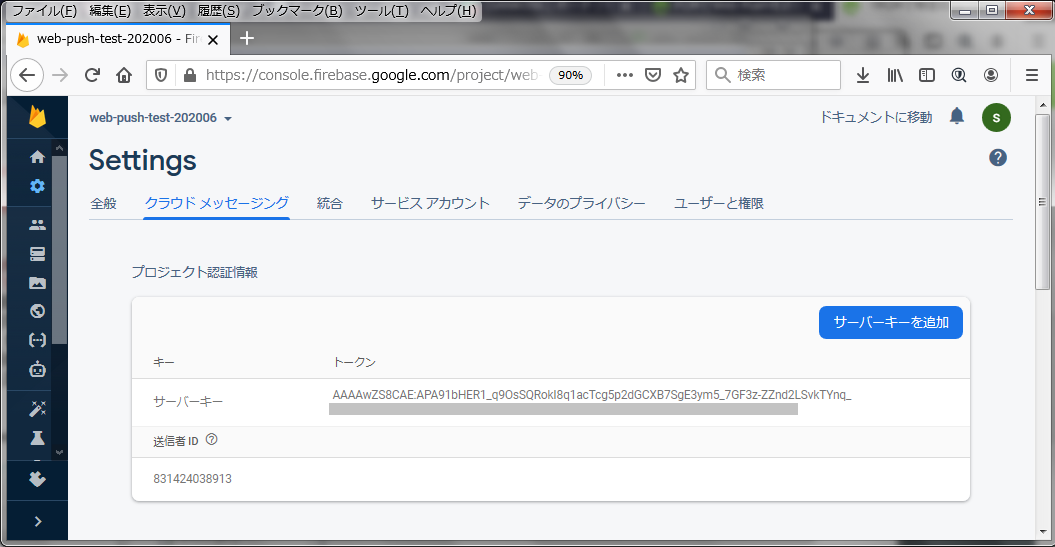
サーバーからWeb Push送信時に必要な情報になります。
CURLにてFCMに送信
今回はCURLにてFCMにメッセージ送信依頼を作ります。
取得したサーバーキーをヘッダー情報のAuthorizationに設定し
https://fcm.googleapis.com/fcm/sendにPOSTでアクセスすると
Pushを発行してくれるようです。
<?php
$json = '{
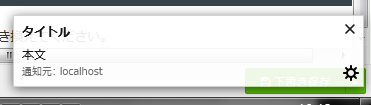
"notification":{"title": "タイトル","body": "本文"},
"to": "[登録トークン]"
}';
$ch = curl_init();
$headers = array(
'Content-Type: application/json',
'Authorization: key=[サーバーキー]'
);
curl_setopt_array($ch, array(
CURLOPT_URL => 'https://fcm.googleapis.com/fcm/send',
CURLOPT_HTTPHEADER => $headers,
CURLOPT_SSL_VERIFYPEER => false,
CURLOPT_POST => true,
CURLOPT_RETURNTRANSFER => true,
CURLOPT_POSTFIELDS => $json
));
$response = curl_exec($ch);
curl_close($ch);
※[登録トークン]、[サーバーキー]の部分は取得された値と置き換えてください。
作成したpush.phpにアクセスするとFCMに送信依頼が飛び、pushが受信されます。
また、$jsonのtoをregistration_idsとして複数デバイスの指定も可能のようです。
$json = '{
"notification":{"title": "タイトル","body": "本文"},
"registration_ids": ["[登録トークン1]","[登録トークン2]"]
}';