

Reactテスト実践 React Hook Form + TanStack Query のテストを書いてみた Part 3
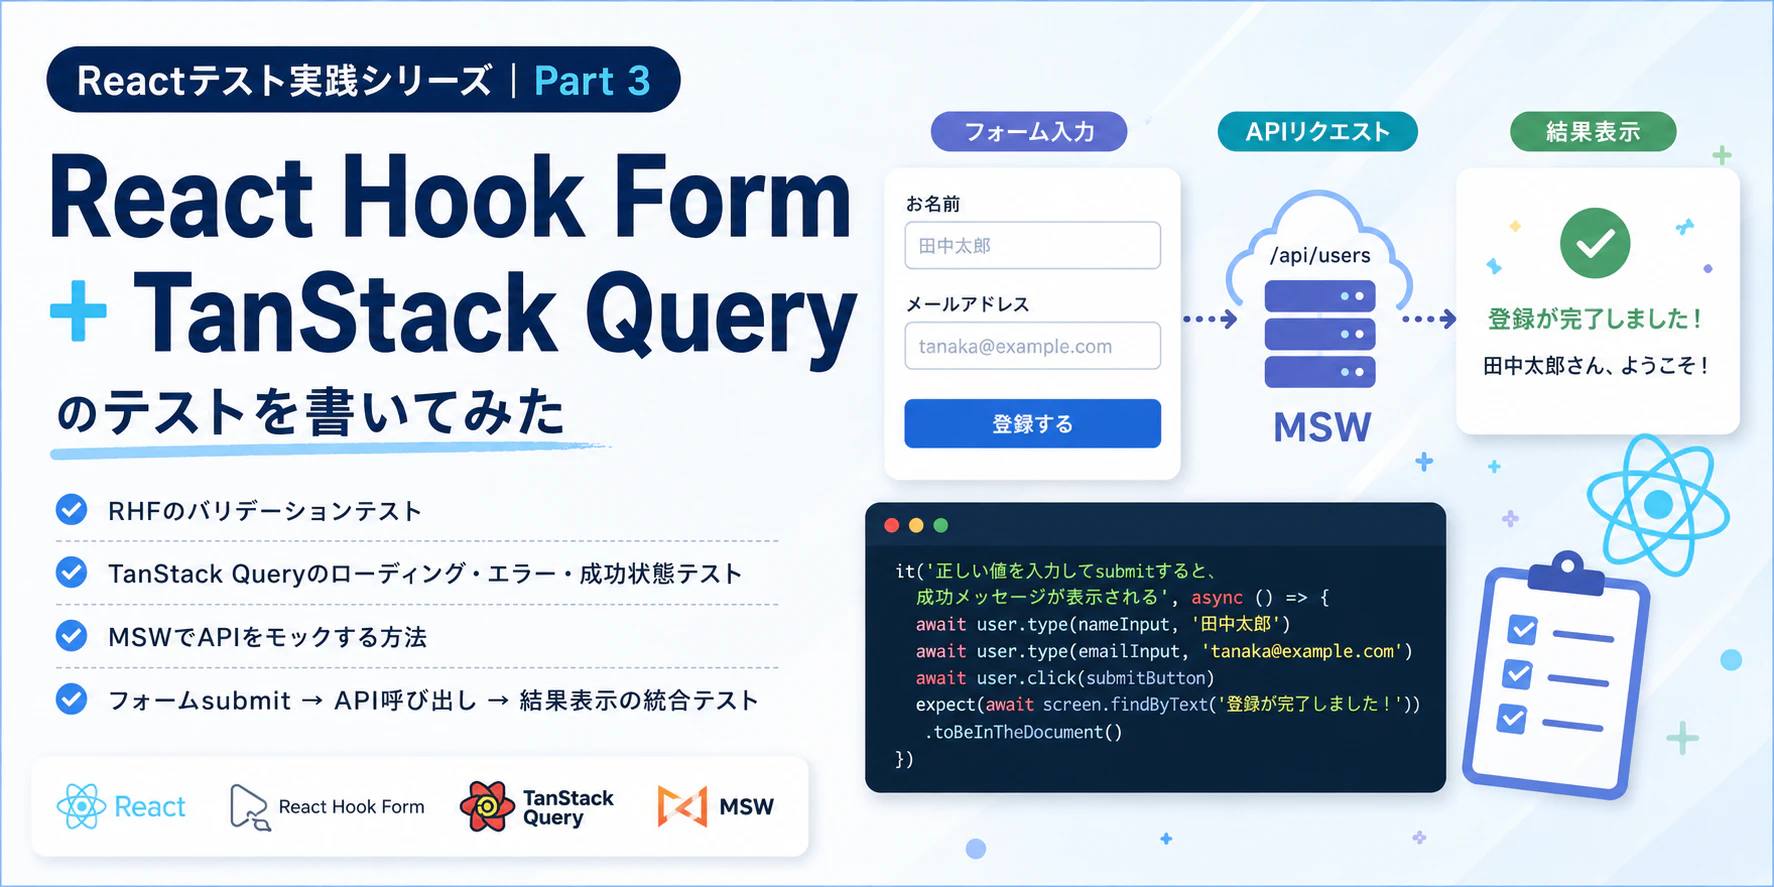
このシリーズはフレッシャーFEがテストをゼロから学ぶ記録です。
はじめに
今回はいよいよ実務に直結するテストを書いていきます。でも実務のコードはシンプルなコンポーネントより複雑です。
- フォームにはバリデーションがある
- データはAPIから非同期で取得する
- ローディング中・エラー時・成功時でUIが変わる
今回はそういった実務に直結する場面のテストを、React Hook Form(RHF)とTanStack Queryを使いながら書いていきます。
正直に言うと、この2つのテストは最初かなり詰まりました。「どうモックすればいいかわからない」「非同期の待ち方がわからない」という壁にぶつかりました。この記事ではその詰まりポイントも含めて丁寧に解説します。
この記事を読み終えると:
- RHFを使ったフォームのバリデーションテストが書ける
-
vi.mockでAPIをモックする方法がわかる - TanStack Queryのローディング・エラー・成功状態をテストできる
- フォームsubmit → API呼び出し → 結果表示の一連の流れをテストできる
追加パッケージのインストール
npm install react-hook-form @tanstack/react-query
npm install -D msw@latest
今回新しく登場するのが MSW(Mock Service Worker) です。
MSWとは? なぜvi.mockより優れているのか
APIのモックには大きく2つのアプローチがあります。
アプローチ1:vi.mock でfetchをモックする
// fetchそのものをモックする方法
vi.mock('node-fetch')
global.fetch = vi.fn().mockResolvedValue({
  json: () => Promise.resolve({ id: 1, name: '田中' })
})
これでも動きますが、問題があります。fetch の実装の詳細に依存しているため、実際のHTTPリクエストとは動作が微妙に異なります。
アプローチ2:MSWでネットワーク層をモックする
// MSWはネットワーク層でリクエストを傍受する
http.get('/api/users', () => {
  return HttpResponse.json({ id: 1, name: '田中' })
})
MSWはブラウザやNode.jsのネットワーク層でリクエストを傍受します。コードは本物のfetchを使い、レスポンスだけを差し替えます。これにより実際の動作により近いテストが書けます。
MSWのセットアップ
src/test/server.ts を作成:
import { setupServer } from 'msw/node'

// テスト用のサーバーを作成(ハンドラーは各テストで追加する)
export const server = setupServer()
src/test/setup.ts を更新:
import '@testing-library/jest-dom'
import { server } from './server'

// 全テストの前にサーバーを起動
beforeAll(() => server.listen())

// 各テストの後にハンドラーをリセット(テスト間の干渉を防ぐ)
afterEach(() => server.resetHandlers())

// 全テストの後にサーバーを終了
afterAll(() => server.close())
React Hook Form のテスト
テストするフォームを作る
ログインフォームを例に使います。実務でよく見る構成です。
src/components/LoginForm.tsx
import { useForm } from 'react-hook-form'

type FormValues = {
  email: string
  password: string
}

type Props = {
  onSubmit: (data: FormValues) => void
}

export const LoginForm = ({ onSubmit }: Props) => {
  const {
    register,
    handleSubmit,
    formState: { errors, isSubmitting },
  } = useForm<FormValues>()

  return (
    <form onSubmit={handleSubmit(onSubmit)}>
      <div>
        <label htmlFor="email">メールアドレス</label>
        <input
          id="email"
          type="email"
          {...register('email', {
            required: 'メールアドレスを入力してください',
            pattern: {
              value: /^[^\s@]+@[^\s@]+\.[^\s@]+$/,
              message: '正しいメールアドレスを入力してください',
            },
          })}
        />
        {errors.email && (
          <span role="alert">{errors.email.message}</span>
        )}
      </div>

      <div>
        <label htmlFor="password">パスワード</label>
        <input
          id="password"
          type="password"
          {...register('password', {
            required: 'パスワードを入力してください',
            minLength: {
              value: 8,
              message: 'パスワードは8文字以上で入力してください',
            },
          })}
        />
        {errors.password && (
          <span role="alert">{errors.password.message}</span>
        )}
      </div>

      <button type="submit" disabled={isSubmitting}>
        {isSubmitting ? 'ログイン中...' : 'ログイン'}
      </button>
    </form>
  )
}
テストを書く
src/components/LoginForm.test.tsx
import { render, screen, waitFor } from '@testing-library/react'
import userEvent from '@testing-library/user-event'
import { LoginForm } from './LoginForm'

describe('LoginForm', () => {

  const mockOnSubmit = vi.fn()

  // 各テストの前にモック関数をリセット
  beforeEach(() => {
    mockOnSubmit.mockClear()
  })

  describe('初期表示', () => {

    it('メールアドレスとパスワードの入力欄が表示される', () => {
      render(<LoginForm onSubmit={mockOnSubmit} />)

      expect(screen.getByLabelText('メールアドレス')).toBeInTheDocument()
      expect(screen.getByLabelText('パスワード')).toBeInTheDocument()
    })

    it('ログインボタンが表示される', () => {
      render(<LoginForm onSubmit={mockOnSubmit} />)

      expect(screen.getByRole('button', { name: 'ログイン' })).toBeInTheDocument()
    })

    it('初期状態ではエラーメッセージが表示されない', () => {
      render(<LoginForm onSubmit={mockOnSubmit} />)

      expect(screen.queryByRole('alert')).not.toBeInTheDocument()
    })

  })

  describe('バリデーション — 未入力', () => {

    it('何も入力せずsubmitすると、メールアドレスのエラーが表示される', async () => {
      const user = userEvent.setup()
      render(<LoginForm onSubmit={mockOnSubmit} />)

      await user.click(screen.getByRole('button', { name: 'ログイン' }))

      expect(await screen.findByText('メールアドレスを入力してください')).toBeInTheDocument()
    })

    it('何も入力せずsubmitすると、パスワードのエラーが表示される', async () => {
      const user = userEvent.setup()
      render(<LoginForm onSubmit={mockOnSubmit} />)

      await user.click(screen.getByRole('button', { name: 'ログイン' }))

      expect(await screen.findByText('パスワードを入力してください')).toBeInTheDocument()
    })

    it('バリデーションエラーがある場合、onSubmitは呼ばれない', async () => {
      const user = userEvent.setup()
      render(<LoginForm onSubmit={mockOnSubmit} />)

      await user.click(screen.getByRole('button', { name: 'ログイン' }))

      await waitFor(() => {
        expect(mockOnSubmit).not.toHaveBeenCalled()
      })
    })

  })

  describe('バリデーション — 不正な値', () => {

    it('不正なメールアドレスを入力するとエラーが表示される', async () => {
      const user = userEvent.setup()
      render(<LoginForm onSubmit={mockOnSubmit} />)

      await user.type(screen.getByLabelText('メールアドレス'), 'invalid-email')
      await user.click(screen.getByRole('button', { name: 'ログイン' }))

      expect(await screen.findByText('正しいメールアドレスを入力してください')).toBeInTheDocument()
    })

    it('8文字未満のパスワードを入力するとエラーが表示される', async () => {
      const user = userEvent.setup()
      render(<LoginForm onSubmit={mockOnSubmit} />)

      await user.type(screen.getByLabelText('パスワード'), 'short')
      await user.click(screen.getByRole('button', { name: 'ログイン' }))

      expect(await screen.findByText('パスワードは8文字以上で入力してください')).toBeInTheDocument()
    })

  })

  describe('正常系 — 正しい値を入力してsubmit', () => {

    it('正しい値を入力してsubmitすると、onSubmitが正しい値で呼ばれる', async () => {
      const user = userEvent.setup()
      render(<LoginForm onSubmit={mockOnSubmit} />)

      await user.type(screen.getByLabelText('メールアドレス'), 'test@example.com')
      await user.type(screen.getByLabelText('パスワード'), 'password123')
      await user.click(screen.getByRole('button', { name: 'ログイン' }))

      await waitFor(() => {
        expect(mockOnSubmit).toHaveBeenCalledWith({
          email: 'test@example.com',
          password: 'password123',
        })
      })
    })

    it('正しい値を入力してsubmitすると、エラーメッセージが表示されない', async () => {
      const user = userEvent.setup()
      render(<LoginForm onSubmit={mockOnSubmit} />)

      await user.type(screen.getByLabelText('メールアドレス'), 'test@example.com')
      await user.type(screen.getByLabelText('パスワード'), 'password123')
      await user.click(screen.getByRole('button', { name: 'ログイン' }))

      await waitFor(() => {
        expect(screen.queryByRole('alert')).not.toBeInTheDocument()
      })
    })

  })

})
RHFテストで詰まったポイント
ポイント1:findByText を使う
RHFのバリデーションは非同期で実行されます。getByText ではエラーメッセージが表示される前に検索してしまい、テストが失敗します。
// ❌ バリデーション結果が反映される前に検索してしまう
expect(screen.getByText('メールアドレスを入力してください')).toBeInTheDocument()

// ✅ DOMに現れるまで待ってから検索する
expect(await screen.findByText('メールアドレスを入力してください')).toBeInTheDocument()
findByText は要素が現れるまで最大1000ms待ちます。RHFのバリデーションテストでは基本的に findByText を使うと覚えておきましょう。
ポイント2:getByLabelText でフォーム要素を取得する
// ❌ placeholderで取得(ラベルがないとアクセシブルでない)
screen.getByPlaceholderText('メールアドレスを入力')

// ✅ labelのhtmlForとinputのidを紐付けてgetByLabelTextで取得
screen.getByLabelText('メールアドレス')
getByLabelText を使うためには、<label htmlFor="email"> と <input id="email"> が対応している必要があります。これはアクセシビリティ的にも正しい書き方です。テストを書くことで自然とアクセシブルなコードが書けるようになる、という好循環が生まれます。
ポイント3:beforeEach でモック関数をリセットする
beforeEach(() => {
  mockOnSubmit.mockClear()  // 呼び出し記録をリセット
})
mockClear() を忘れると、前のテストで mockOnSubmit が呼ばれた記録が残り、次のテストで「呼ばれていないはず」の確認が失敗します。
TanStack Query のテスト
テストするコンポーネントを作る
ユーザー一覧を取得・表示するコンポーネントです。
src/components/UserList.tsx
import { useQuery } from '@tanstack/react-query'

type User = {
  id: number
  name: string
  email: string
}

const fetchUsers = async (): Promise<User[]> => {
  const response = await fetch('/api/users')
  if (!response.ok) {
    throw new Error('ユーザーの取得に失敗しました')
  }
  return response.json()
}

export const UserList = () => {
  const { data, isLoading, isError, error } = useQuery({
    queryKey: ['users'],
    queryFn: fetchUsers,
  })

  if (isLoading) {
    return <p>読み込み中...</p>
  }

  if (isError) {
    return <p role="alert">{(error as Error).message}</p>
  }

  return (
    <ul>
      {data?.map((user) => (
        <li key={user.id}>
          <span>{user.name}</span>
          <span>{user.email}</span>
        </li>
      ))}
    </ul>
  )
}
TanStack Queryのテスト用ラッパーを作る
TanStack Queryを使うコンポーネントは、QueryClientProvider でラップされていないとエラーになります。テストでも同じです。毎回ラッパーを書くのは面倒なので、共通のユーティリティを作っておきましょう。
src/test/utils.tsx
import { QueryClient, QueryClientProvider } from '@tanstack/react-query'
import { render, type RenderOptions } from '@testing-library/react'
import type { ReactElement } from 'react'

// テストごとに新しいQueryClientを作る(キャッシュが残らないようにするため)
const createTestQueryClient = () =>
  new QueryClient({
    defaultOptions: {
      queries: {
        retry: false,       // テスト中はリトライしない
        gcTime: Infinity,   // テスト中はキャッシュを消さない
      },
    },
  })

// カスタムrenderラッパー
export const renderWithQueryClient = (
  ui: ReactElement,
  options?: Omit<RenderOptions, 'wrapper'>
) => {
  const queryClient = createTestQueryClient()

  const Wrapper = ({ children }: { children: React.ReactNode }) => (
    <QueryClientProvider client={queryClient}>
      {children}
    </QueryClientProvider>
  )

  return render(ui, { wrapper: Wrapper, ...options })
}
retry: false は特に重要です。デフォルトでは TanStack Query はリクエストが失敗すると3回リトライします。テスト中にリトライが走ると、テストが遅くなったり意図しない挙動になったりします。
テストを書く
src/components/UserList.test.tsx
import { screen, waitFor } from '@testing-library/react'
import { http, HttpResponse } from 'msw'
import { server } from '../test/server'
import { renderWithQueryClient } from '../test/utils'
import { UserList } from './UserList'

// テスト用のダミーデータ
const mockUsers = [
  { id: 1, name: '田中太郎', email: 'tanaka@example.com' },
  { id: 2, name: '鈴木花子', email: 'suzuki@example.com' },
]

describe('UserList', () => {

  describe('ローディング状態', () => {

    it('データ取得中は「読み込み中...」を表示する', async () => {
      // レスポンスを遅延させてローディング状態を作る
      server.use(
        http.get('/api/users', async () => {
          await new Promise((resolve) => setTimeout(resolve, 100))
          return HttpResponse.json(mockUsers)
        })
      )

      renderWithQueryClient(<UserList />)

      expect(screen.getByText('読み込み中...')).toBeInTheDocument()

      // テストが終わるまでデータ取得を待つ(クリーンアップのため)
      await waitFor(() => {
        expect(screen.queryByText('読み込み中...')).not.toBeInTheDocument()
      })
    })

  })

  describe('エラー状態', () => {

    it('APIがエラーを返したとき、エラーメッセージを表示する', async () => {
      server.use(
        http.get('/api/users', () => {
          return HttpResponse.json(
            { message: 'Internal Server Error' },
            { status: 500 }
          )
        })
      )

      renderWithQueryClient(<UserList />)

      expect(await screen.findByRole('alert')).toHaveTextContent(
        'ユーザーの取得に失敗しました'
      )
    })

    it('ネットワークエラーのとき、エラーメッセージを表示する', async () => {
      server.use(
        http.get('/api/users', () => {
          return HttpResponse.error()
        })
      )

      renderWithQueryClient(<UserList />)

      expect(await screen.findByRole('alert')).toBeInTheDocument()
    })

  })

  describe('成功状態', () => {

    it('データ取得成功後、ユーザー一覧を表示する', async () => {
      server.use(
        http.get('/api/users', () => {
          return HttpResponse.json(mockUsers)
        })
      )

      renderWithQueryClient(<UserList />)

      expect(await screen.findByText('田中太郎')).toBeInTheDocument()
      expect(await screen.findByText('鈴木花子')).toBeInTheDocument()
    })

    it('データ取得成功後、メールアドレスも表示する', async () => {
      server.use(
        http.get('/api/users', () => {
          return HttpResponse.json(mockUsers)
        })
      )

      renderWithQueryClient(<UserList />)

      expect(await screen.findByText('tanaka@example.com')).toBeInTheDocument()
      expect(await screen.findByText('suzuki@example.com')).toBeInTheDocument()
    })

    it('ユーザーが0人のとき、リストが空になる', async () => {
      server.use(
        http.get('/api/users', () => {
          return HttpResponse.json([])
        })
      )

      renderWithQueryClient(<UserList />)

      await waitFor(() => {
        expect(screen.queryByText('読み込み中...')).not.toBeInTheDocument()
      })

      expect(screen.queryByRole('listitem')).not.toBeInTheDocument()
    })

  })

})
TanStack Queryテストで詰まったポイント
ポイント1:テストごとに QueryClient を新しく作る
// ❌ テスト間でQueryClientを共有する(キャッシュが残って干渉する)
const queryClient = new QueryClient()

// ✅ テストごとに新しく作る
const createTestQueryClient = () => new QueryClient({ ... })
TanStack Queryはキャッシュを持つのが特徴です。テスト間でキャッシュが残ると、「APIがエラーを返すテスト」の後に「成功するテスト」を実行したとき、キャッシュのせいでAPIを呼ばずに古いデータを返してしまいます。
ポイント2:server.use() でテストごとにハンドラーを上書きする
// setup.tsのafterEach(() => server.resetHandlers())と組み合わせることで
// 各テストで独立したAPIレスポンスを設定できる
server.use(
  http.get('/api/users', () => {
    return HttpResponse.json(mockUsers)
  })
)
server.resetHandlers() を afterEach で呼んでいるので、テストが終わると server.use() で追加したハンドラーは自動的に消えます。テスト間の干渉がなくなります。
ポイント3:findByText で非同期データの表示を待つ
// ❌ データがまだ来ていないのにgetByTextで探す
expect(screen.getByText('田中太郎')).toBeInTheDocument()

// ✅ データが表示されるまで待つ
expect(await screen.findByText('田中太郎')).toBeInTheDocument()
APIのレスポンスは非同期です。getByText では要素がDOMに現れる前に探してしまいます。必ず findByText か waitFor を使いましょう。
Part 3:フォームsubmit → API呼び出し → 結果表示の統合テスト
最後に、RHFとTanStack Queryを組み合わせたコンポーネントの統合テストを書きます。これが一番実務に近い内容です。
テストするコンポーネントを作る
ユーザー登録フォームです。submitするとAPIを叩いて、成功・失敗でUIが変わります。
src/components/RegisterForm.tsx
import { useMutation } from '@tanstack/react-query'
import { useForm } from 'react-hook-form'

type FormValues = {
  name: string
  email: string
}

type RegisterResponse = {
  id: number
  name: string
  email: string
}

const registerUser = async (data: FormValues): Promise<RegisterResponse> => {
  const response = await fetch('/api/users', {
    method: 'POST',
    headers: { 'Content-Type': 'application/json' },
    body: JSON.stringify(data),
  })

  if (!response.ok) {
    const error = await response.json()
    throw new Error(error.message || '登録に失敗しました')
  }

  return response.json()
}

export const RegisterForm = () => {
  const {
    register,
    handleSubmit,
    formState: { errors },
  } = useForm<FormValues>()

  const { mutate, isPending, isSuccess, isError, error, data } = useMutation({
    mutationFn: registerUser,
  })

  const onSubmit = (formData: FormValues) => {
    mutate(formData)
  }

  if (isSuccess) {
    return (
      <div role="status">
        <p>登録が完了しました!</p>
        <p>{data.name}さん、ようこそ!</p>
      </div>
    )
  }

  return (
    <form onSubmit={handleSubmit(onSubmit)}>
      <div>
        <label htmlFor="name">お名前</label>
        <input
          id="name"
          {...register('name', { required: 'お名前を入力してください' })}
        />
        {errors.name && <span role="alert">{errors.name.message}</span>}
      </div>

      <div>
        <label htmlFor="email">メールアドレス</label>
        <input
          id="email"
          type="email"
          {...register('email', { required: 'メールアドレスを入力してください' })}
        />
        {errors.email && <span role="alert">{errors.email.message}</span>}
      </div>

      {isError && (
        <p role="alert">{(error as Error).message}</p>
      )}

      <button type="submit" disabled={isPending}>
        {isPending ? '登録中...' : '登録する'}
      </button>
    </form>
  )
}
統合テストを書く
src/components/RegisterForm.test.tsx
import { screen, waitFor } from '@testing-library/react'
import userEvent from '@testing-library/user-event'
import { http, HttpResponse } from 'msw'
import { server } from '../test/server'
import { renderWithQueryClient } from '../test/utils'
import { RegisterForm } from './RegisterForm'

describe('RegisterForm', () => {

  describe('正常系 — 登録成功', () => {

    it('正しい値を入力してsubmitすると、成功メッセージが表示される', async () => {
      server.use(
        http.post('/api/users', () => {
          return HttpResponse.json({
            id: 1,
            name: '田中太郎',
            email: 'tanaka@example.com',
          })
        })
      )

      const user = userEvent.setup()
      renderWithQueryClient(<RegisterForm />)

      await user.type(screen.getByLabelText('お名前'), '田中太郎')
      await user.type(screen.getByLabelText('メールアドレス'), 'tanaka@example.com')
      await user.click(screen.getByRole('button', { name: '登録する' }))

      expect(await screen.findByText('登録が完了しました!')).toBeInTheDocument()
      expect(await screen.findByText('田中太郎さん、ようこそ!')).toBeInTheDocument()
    })

    it('登録成功後、フォームが非表示になる', async () => {
      server.use(
        http.post('/api/users', () => {
          return HttpResponse.json({
            id: 1,
            name: '田中太郎',
            email: 'tanaka@example.com',
          })
        })
      )

      const user = userEvent.setup()
      renderWithQueryClient(<RegisterForm />)

      await user.type(screen.getByLabelText('お名前'), '田中太郎')
      await user.type(screen.getByLabelText('メールアドレス'), 'tanaka@example.com')
      await user.click(screen.getByRole('button', { name: '登録する' }))

      await waitFor(() => {
        expect(screen.queryByRole('button', { name: '登録する' })).not.toBeInTheDocument()
      })
    })

  })

  describe('送信中の状態', () => {

    it('submitボタンをクリックすると「登録中...」に変わる', async () => {
      // レスポンスを遅延させてisPending状態を作る
      server.use(
        http.post('/api/users', async () => {
          await new Promise((resolve) => setTimeout(resolve, 200))
          return HttpResponse.json({ id: 1, name: '田中太郎', email: 'tanaka@example.com' })
        })
      )

      const user = userEvent.setup()
      renderWithQueryClient(<RegisterForm />)

      await user.type(screen.getByLabelText('お名前'), '田中太郎')
      await user.type(screen.getByLabelText('メールアドレス'), 'tanaka@example.com')
      await user.click(screen.getByRole('button', { name: '登録する' }))

      expect(screen.getByRole('button', { name: '登録中...' })).toBeDisabled()

      // 後処理
      await waitFor(() => {
        expect(screen.queryByRole('button', { name: '登録中...' })).not.toBeInTheDocument()
      })
    })

  })

  describe('異常系 — APIエラー', () => {

    it('APIが409を返したとき、エラーメッセージを表示する', async () => {
      server.use(
        http.post('/api/users', () => {
          return HttpResponse.json(
            { message: 'このメールアドレスはすでに登録されています' },
            { status: 409 }
          )
        })
      )

      const user = userEvent.setup()
      renderWithQueryClient(<RegisterForm />)

      await user.type(screen.getByLabelText('お名前'), '田中太郎')
      await user.type(screen.getByLabelText('メールアドレス'), 'tanaka@example.com')
      await user.click(screen.getByRole('button', { name: '登録する' }))

      expect(await screen.findByText('このメールアドレスはすでに登録されています')).toBeInTheDocument()
    })

    it('APIエラー後もフォームは表示されたまま', async () => {
      server.use(
        http.post('/api/users', () => {
          return HttpResponse.json(
            { message: 'サーバーエラー' },
            { status: 500 }
          )
        })
      )

      const user = userEvent.setup()
      renderWithQueryClient(<RegisterForm />)

      await user.type(screen.getByLabelText('お名前'), '田中太郎')
      await user.type(screen.getByLabelText('メールアドレス'), 'tanaka@example.com')
      await user.click(screen.getByRole('button', { name: '登録する' }))

      await waitFor(() => {
        expect(screen.getByRole('button', { name: '登録する' })).toBeInTheDocument()
      })
    })

  })

  describe('バリデーション', () => {

    it('未入力でsubmitするとAPIは呼ばれない', async () => {
      const requestSpy = vi.fn()

      server.use(
        http.post('/api/users', () => {
          requestSpy()
          return HttpResponse.json({ id: 1, name: '田中太郎', email: 'tanaka@example.com' })
        })
      )

      const user = userEvent.setup()
      renderWithQueryClient(<RegisterForm />)

      await user.click(screen.getByRole('button', { name: '登録する' }))

      await waitFor(() => {
        expect(requestSpy).not.toHaveBeenCalled()
      })
    })

  })

})
テスト設計で意識したこと
このシリーズを通じて学んだ、テストを書くときに意識すると良い考え方をまとめます。
「何をテストするか」を明確にする
テストは仕様書でもあります。it('...') の説明を読めば、そのコンポーネントが何をするべきかがわかるように書きましょう。
// ❌ 何をテストしているのかわかりにくい
it('正常に動作する', () => { ... })

// ✅ 「どんな状態のとき、何が起きるか」が明確
it('APIが409を返したとき、エラーメッセージを表示する', () => { ... })
ユーザーの行動に沿ってテストを書く
RTLの哲学通り、「ユーザーが実際にどう操作するか」を意識します。
1. フォームを開く
2. 名前を入力する
3. メールアドレスを入力する
4. 登録ボタンをクリックする
5. 成功メッセージが表示される
このフローがそのままテストコードになっています。テストコードを読めばユーザーストーリーがわかる、という状態が理想です。
正常系・異常系・境界値を網羅する
| テストの種類 | 例 |
|---|---|
| 正常系 | 正しい値を入力してsubmit → 成功する |
| 異常系(入力) | 未入力・不正な値 → バリデーションエラー |
| 異常系(API) | 409・500エラー → エラーメッセージ |
| 境界値 | パスワード8文字でOK・7文字でNG |
| 空データ | ユーザー0人 → リストが空 |
まとめ
この記事で学んだことを振り返ります。
RHFフォームのテスト・MSWによるAPIモック・TanStack Queryのテスト・統合テストと、実務に直結する内容をカバーしました。
フレッシャーのときにここまで学べると、かなり強みになります。特に「フォームとAPIのテストが書ける」というのは、実務経験のある人でも苦手にしている人が多い領域です。
テストを書き続けることで気づいたことがあります。テストが書きにくいコードは、設計が良くないコードでもあるということです。テストを書こうとして「書きにくいな」と思ったら、それはコンポーネントを分割したり、責任を明確にするサインです。テストはコードの品質を鏡のように映します。
参考リンク
3部作最後まで読んでいただきありがとうございます。いいねやコメントいただけると励みになります!