Deno の Web フレームワーク Fresh から、 Oauth2 で Google Photos にアクセスしてみます。
以前から Deno には興味を持っていたのですが、なかなか忙しくこれまで触れられていませんでした。しかし先日 npm への対応が発表され、良い頃合いだろうと考え今回ちょっとしたアプリを作ってみました。この記事では作っている際に感じたことも書いたので、 Deno や Fresh を様子見している方の参考となれば幸いです。
Deno のバージョンは 1.28.3 、 Freshのバージョンは 1.1.2 を使っています。Deno や Fresh は現在活発に開発が行われているため、今後ここに記載した情報は変更される可能性があります。
何を作った?
Google でログインし、Twitter の URL を打ち込むと該当ツイートの画像を Google Photos に保存されるアプリです。

ソースコードは下記リンクに乗せておきます。リポジトリにリンクも付いていますが、 Google Photos の API がテストモードになっているので動作はしません。
Deno の環境構築は済んでいるものとします。また Twitter や Google の API のアクセスキーの取得方法などはここでは解説しません。
まずはセットアップ
> deno run -A -r https://fresh.deno.dev project-name

Fresh has built in support for styling using Tailwind CSS. Do you want to use this? [y/N] y
Do you use VS Code? [y/N] y
僕は Tailwind があんまり好きじゃないんですが、 Github で Deno with Fresh のプロジェクトを軽く漁ったところ MUI や Chakra UI を使ったものが見当たりませんでした。自分でも試してみたのですが何故か上手くいかなかったため、今回は大人しく Tailwind を使いました。
cd project-name
deno task start
ここまで実行し、 http://localhost:8000 アクセスすると、以下のような画面になると思います。
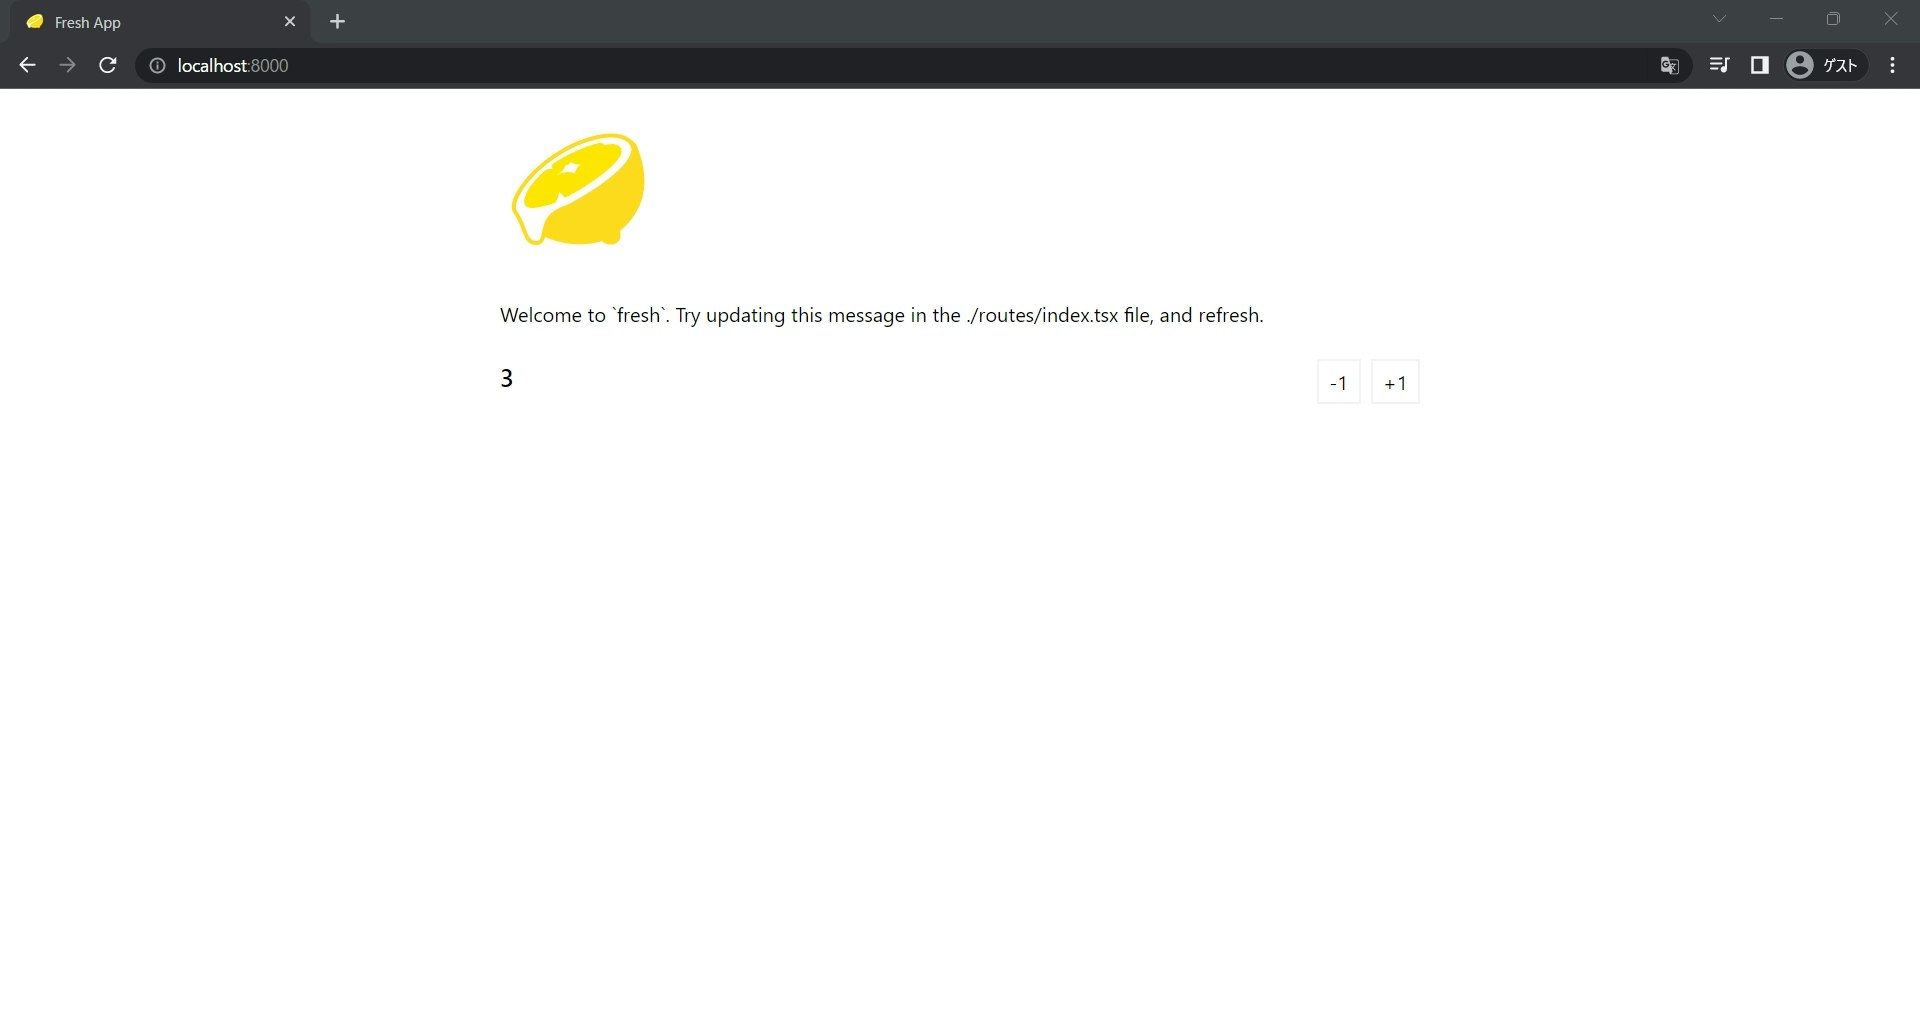
VSCode で該当のフォルダを開きます。
│   deno.json
│   deno.lock
│   dev.ts
│   fresh.gen.ts
│   import_map.json
│   main.ts
│   README.md
│   twind.config.ts
│
├───.vscode
│       extensions.json
│       settings.json
│
├───components
│       Button.tsx
│
├───islands
│       Counter.tsx
│
├───routes
│   │   index.tsx
│   │   [name].tsx
│   │
│   └───api
│           joke.ts
│
└───static
        favicon.ico
        logo.svg
routes/ 配下にファイルを配置すると配置したパスどおりにルーティングされます。 api/ フォルダがありますが、 Fresh の場合 Mixed handler and component route という仕組みがあり、 Next.js と同じように handler 関数でサーバーサイドの処理を実行した後ページコンポーネントをレンダリングしてあげる、といったこともできるようです。
islands/ 配下のコンポーネントはクライアント側でレンダリングされます。ユーザーからの入力を受け付けるような部分は基本ここで書きます(自分は routes/ 配下のコンポーネントで onClick が効かない!!ってしばらく詰まっていました...... 1)。
OAuth2 を導入
OAuth2 がどんな仕組みなのかについては以下の記事が分かり易かったです。
ライブラリ選定
OAuth2 の認証処理を自分で実装するのはそれなりに面倒です。なので Google なんかは以下のようにクライアントライブラリを用意してくれています。
しかしこれ、実は Google Photos 用のクライアントだけ存在しないんです。一応 Issue は立っていましたが、実装予定も示されることなくクローズされています。
仕方がないので自力で実装します。Deno で OAuth2 認証ができるライブラリを探したところ、以下を見つけました。今回はこれを使っていこうと思います。
ログイン画面
まずはクライアントを用意します。 util/auth.ts に以下のようなファイルを作ります。
import { OAuth2Client } from "https://deno.land/x/oauth2_client@v1.0.0/mod.ts";
import "https://deno.land/std@0.133.0/dotenv/load.ts";

const oauth2Client = new OAuth2Client({
  clientId: Deno.env.get("GOOGLE_CLIENT_ID")!,
  clientSecret: Deno.env.get("GOOGLE_CLIENT_SECRET")!,
  authorizationEndpointUri: "https://accounts.google.com/o/oauth2/v2/auth",
  tokenUri: "https://accounts.google.com/o/oauth2/token",
  redirectUri: Deno.env.get("REDIRECT_URL")!,
  defaults: {
    scope: "https://www.googleapis.com/auth/photoslibrary",
  },
});

export default oauth2Client;
環境変数は予め .env に書いておいてください。
次に routes/index.tsx を以下のように編集します。
import { Handlers, PageProps } from "https://deno.land/x/fresh@1.1.2/server.ts";
import oauth2Client from "../util/auth.ts";
import { setCookie } from "$std/http/cookie.ts";

export const handler: Handlers = {
  async GET(req, ctx) {
    const { uri, codeVerifier } = await oauth2Client.code.getAuthorizationUri();
    const response = await ctx.render({ uri });
    setCookie(response.headers, {
      name: "code_verifier",
      value: codeVerifier,
      maxAge: 60 * 60 * 24 * 7,
      httpOnly: true,
    });
    return response;
  },
};

export default function Home({ url, data }: PageProps<{ uri: string }>) {
  return (
    <>
      <a href={data.uri}>Sign in with Google</a>
    </>
  );
}
localStorage が使えなかったので Cookie で codeVerifier を管理します。これでトップページのリンクをクリックすると、おなじみの「 Google でログイン」画面が出てくると思います。
リダイレクト後
次にリダイレクト後の画面を作ります。ここは設定したリダイレクト URL によって変わってくると思いますが、今回は http://localhost:8000/redirect にリダイレクトするよう設定していたとします。
routes/redirect.tsx を以下のように編集します。
import { getCookies, setCookie } from "$std/http/cookie.ts";
import { Handlers, PageProps } from "https://deno.land/x/fresh@1.1.2/server.ts";
import oauth2Client from "../util/auth.ts";

export const handler: Handlers = {
  async GET(req, ctx) {
    const codeVerifier = getCookies(req.headers)["code_verifier"];
    if (!codeVerifier) {
      throw Error("error!");
    }
    try {
      const tokens = await oauth2Client.code.getToken(req.url, {
        codeVerifier,
      });
      const response = await ctx.render({ auth: true });
      setCookie(response.headers, {
        name: "access_token",
        value: tokens.accessToken,
        maxAge: 60 * 60 * 24 * 7,
        httpOnly: true,
      });
      return response;
    } catch (e) {
      console.log(e);
      return await ctx.render({ auth: false });
    }
  },
};

export default function Redirect({ url, data }: PageProps<{ auth: boolean }>) {
  return (
    <>
      <h2>{data.auth ? "login success!" : "login failed..."}</h2>
    </>
  );
}
リダイレクトされたときの URL と codeVerifier を渡してあげるだけでトークンを取得してきてくれます。便利!
画像のアップロード
アクセストークンが手に入ったらもうこっちのもんです。実際に Google Photos からデータを取ってくるのはそこまで難しくないのでここでは書きません。ただ、画像のアップロードは結構苦労したので簡単に書いておきます。
import { Handlers } from "https://deno.land/x/fresh@1.1.2/server.ts";
import { getCookies } from "$std/http/cookie.ts";

export const handler: Handlers = {
  async POST(req, _ctx) {
    const accessToken = getCookies(req.headers)["access_token"];

    const params: UploadToGooglePhotoRequest = await req.json();
    const tweet = params.tweet;
    const mediaItems: MediaItemProps[] = [];

    for (const image of tweet.includes.media) {
      const imageRes = await fetch(image.url);
      const contentType = imageRes.headers.get("Content-Type");
      if (contentType && imageRes.body) {
        const res = await fetch(
          "https://photoslibrary.googleapis.com/v1/uploads",
          {
            method: "POST",
            headers: {
              "Content-type": "application/octet-stream",
              Authorization: `Bearer ${accessToken}`,
              "X-Goog-Upload-Content-Type": contentType,
              "X-Goog-Upload-Protocol": "raw",
              "Access-Control-Allow-Origin": "*",
            },
            body: imageRes.body,
          },
        );
        const token = await res.text();
        mediaItems.push({
          description:
            `${tweet.data.text}\n\n${tweet.data.created_at}\nhttps://twitter.com/${
              tweet.includes.users[0].username
            }/status/${tweet.data.id}`,
          simpleMediaItem: {
            fileName: image.media_key,
            uploadToken: token,
          },
        });
      }
    }
    const uploadRes = await fetch(
      `https://photoslibrary.googleapis.com/v1/mediaItems:batchCreate`,
      {
        method: "POST",
        headers: {
          "Content-type": "application/json",
          Authorization: `Bearer ${accessToken}`,
          "Access-Control-Allow-Origin": "*",
        },
        body: JSON.stringify({
          "albumId": params.album_id,
          "newMediaItems": mediaItems,
        }),
      },
    );

    const gphoto: UploadToGooglePhotoSuccessResponse = await uploadRes
      .json();
    const googlePhotoUrlList = gphoto.newMediaItemResults.map((result) =>
      result.mediaItem.productUrl
    );
    return new Response(JSON.stringify(googlePhotoUrlList));
  },
};
型定義は長くなるので分けました
export interface Tweet {
  data: Data;
  includes: Includes;
}

interface Data {
  attachments: Attachments;
  id: string;
  edit_history_tweet_ids: string[];
  created_at: string;
  text: string;
}

interface Attachments {
  media_keys: string[];
}

interface Includes {
  media: Medum[];
  users: User[];
}

interface Medum {
  type: string;
  height: number;
  width: number;
  url: string;
  media_key: string;
}

interface User {
  id: string;
  name: string;
  username: string;
}


UploadToGooglePhotoRequest {
  album_id: string;
  tweet: Tweet;
}

UploadToGooglePhotoSuccessResponse {
  newMediaItemResults: NewMediaItemResult[];
}

interface NewMediaItemResult {
  uploadToken: string;
  status: Status;
  mediaItem: MediaItem;
}

interface Status {
  message: string;
}

interface MediaItem {
  id: string;
  description: string;
  productUrl: string;
  mimeType: string;
  mediaMetaData: MediaMetadata;
  filename: string;
}

interface MediaMetaData {
  creationTime: string;
  width: string;
  height: string;
}

interface MediaItemProps {
  description: string;
  simpleMediaItem: {
    fileName: string;
    uploadToken: string;
  };
}
これで islands/SavePhoto.tsx などに以下のような関数を書いてあげれば完成です。
  const saveToGooglePhoto = async () => {
    if (tweet) {
      const url = `./api/google/upload`;
      const res = await fetch(url, {
        method: "POST",
        body: JSON.stringify({
          album_id: currentAlbumId,
          tweet, // 別途取得
        }),
      });
      const data = await res.json();
      setGooglePhotos(data);
    }
  };
その他詰まったところ
islands/ では npm 非対応!
どうやら Fresh の islands/ ではトランスパイラが npm:~~~ という記法に対応していないらしく、まだ npm のパッケージが使えないようです。ええ...。
条件付きレンダリングも使えない!
islands/ では以下のような条件付きレンダリングも使えないようです。
    {show && (
        <div>I'm not rendered</div>
    )}
一応回避策として、三項演算子を使って記述すれば動きます。
    {show ? (
        <div>I'm not rendered</div>
    ) : <div></div>}
CSS ファイルのインポート方法
Next.js と同じように <Head> コンポーネントが用意されているので、コンポーネントか <link> タグを使って呼び出します。 routes/_app.tsx を使うと全てのページに適用させることが出来ます。
import { AppProps } from "$fresh/server.ts";
import { asset, Head } from "$fresh/runtime.ts";

export default function ({ Component }: AppProps) {
  return (
    <>
      <Head>
        <title>Fresh App</title>
        <link
          href="https://cdn.jsdelivr.net/npm/daisyui@2.18.1/dist/full.css"
          rel="stylesheet"
          type="text/css"
        />
        <link rel="stylesheet" href={asset("style.css")} />
      </Head>
      <div data-theme="lemonade">
        <Component />
      </div>
    </>
  );
}
CSSファイルは static/ 配下に置いてください。今回は CDN から DaisyUI を読み込んでいます。
おわりに
Deno や Fresh に関しては、新興のアーキテクチャということもありエコシステムがまだまだ整っていない感じがしました。特に Fresh は公式ドキュメントには殆ど説明がなく、主な情報源はリポジトリの Issue や他人が作ったプロジェクトのソースコードのみ、という状況だったので、大きめのプロダクトでは使うのはまだ厳しそうです。今後に期待!