Flatを利用してLAMP環境構築
参考記事:FlatをRaspberryPIへ事前にインストールが必要です。
1.FlatのGUIへアクセスし、「admin」のアカウントでログインします。
①http://[Raspberry PIのIP:9000
→内部で同じネットワークであるpcから接続する場合は、このアドレスを使用してください。
②http://localhost:9000
→Raspberry PIにvncまたは直接繋げている場合、このアドレスを利用してください。
③Raspberry PIのIPアドレスを確認する場合は、下記のコマンドを利用してください。
WIFIでアクセスしているので、下記のIPアドレスを利用してアクセスします。
pi@raspberrypi:~ $ ifconfig
eth0: flags=4099<UP,BROADCAST,MULTICAST>  mtu 1500
        ether dc:a6:32:97:c4:93  txqueuelen 1000  (ォ、?ォオォヘォテォネ)
        RX packets 0  bytes 0 (0.0 B)
        RX errors 0  dropped 0  overruns 0  frame 0
        TX packets 0  bytes 0 (0.0 B)
        TX errors 0  dropped 0 overruns 0  carrier 0  collisions 0
wlan0: flags=4163<UP,BROADCAST,RUNNING,MULTICAST>  mtu 1500
        inet 192.168.1.16  netmask 255.255.255.0  broadcast 192.168.1.255
        inet6 fe80::6de5:78e2:f6ed:f272  prefixlen 64  scopeid 0x20<link>
        ether dc:a6:32:97:c4:95  txqueuelen 1000  (ォ、?ォオォヘォテォネ)
        RX packets 3424  bytes 245801 (240.0 KiB)
        RX errors 0  dropped 0  overruns 0  frame 0
        TX packets 3269  bytes 3961381 (3.7 MiB)
        TX errors 0  dropped 0 overruns 0  carrier 0  collisions 0
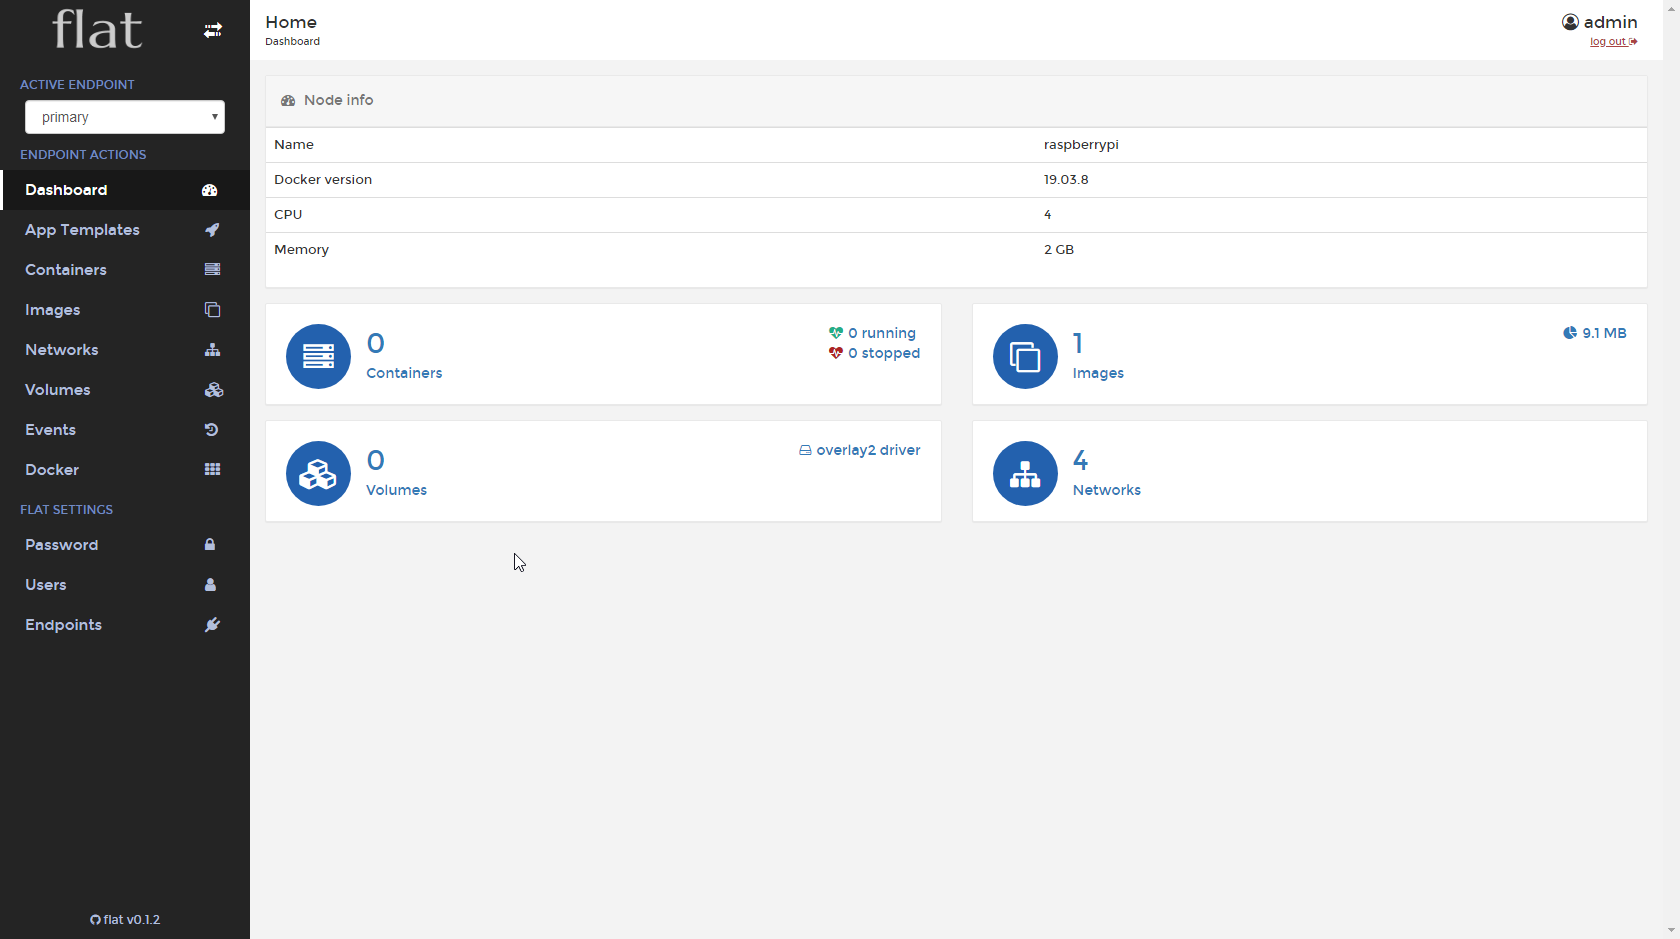
2.Flatの初期ページです。
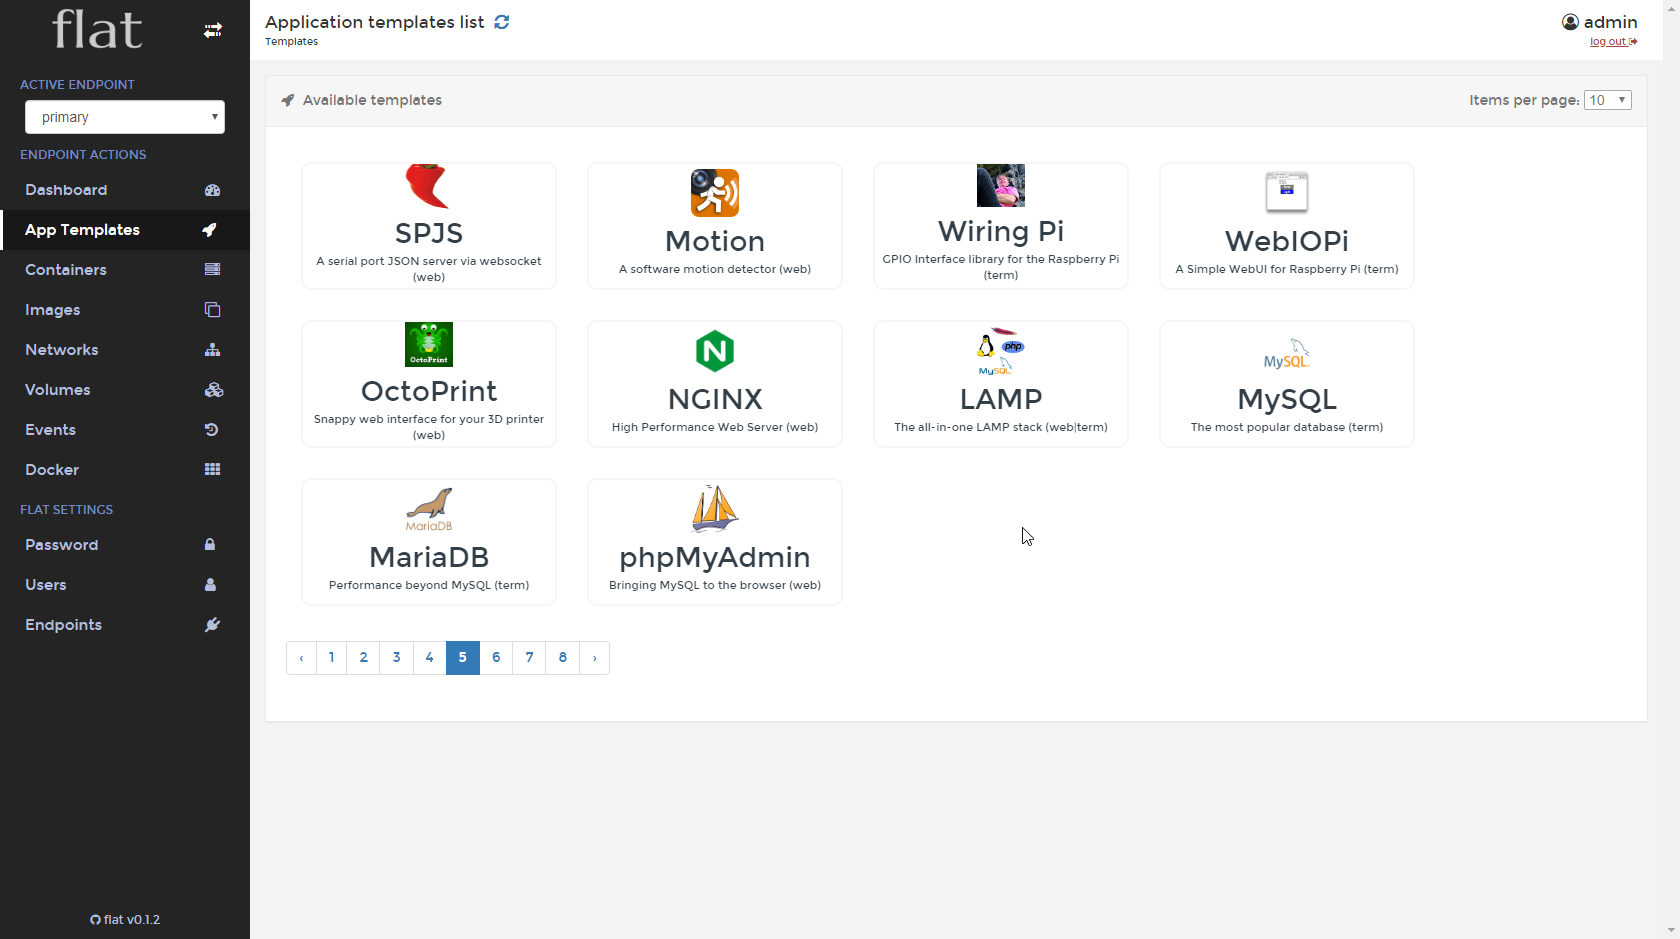
3.App Templatesメニューをクリックします。
4.LAMPを選択します。
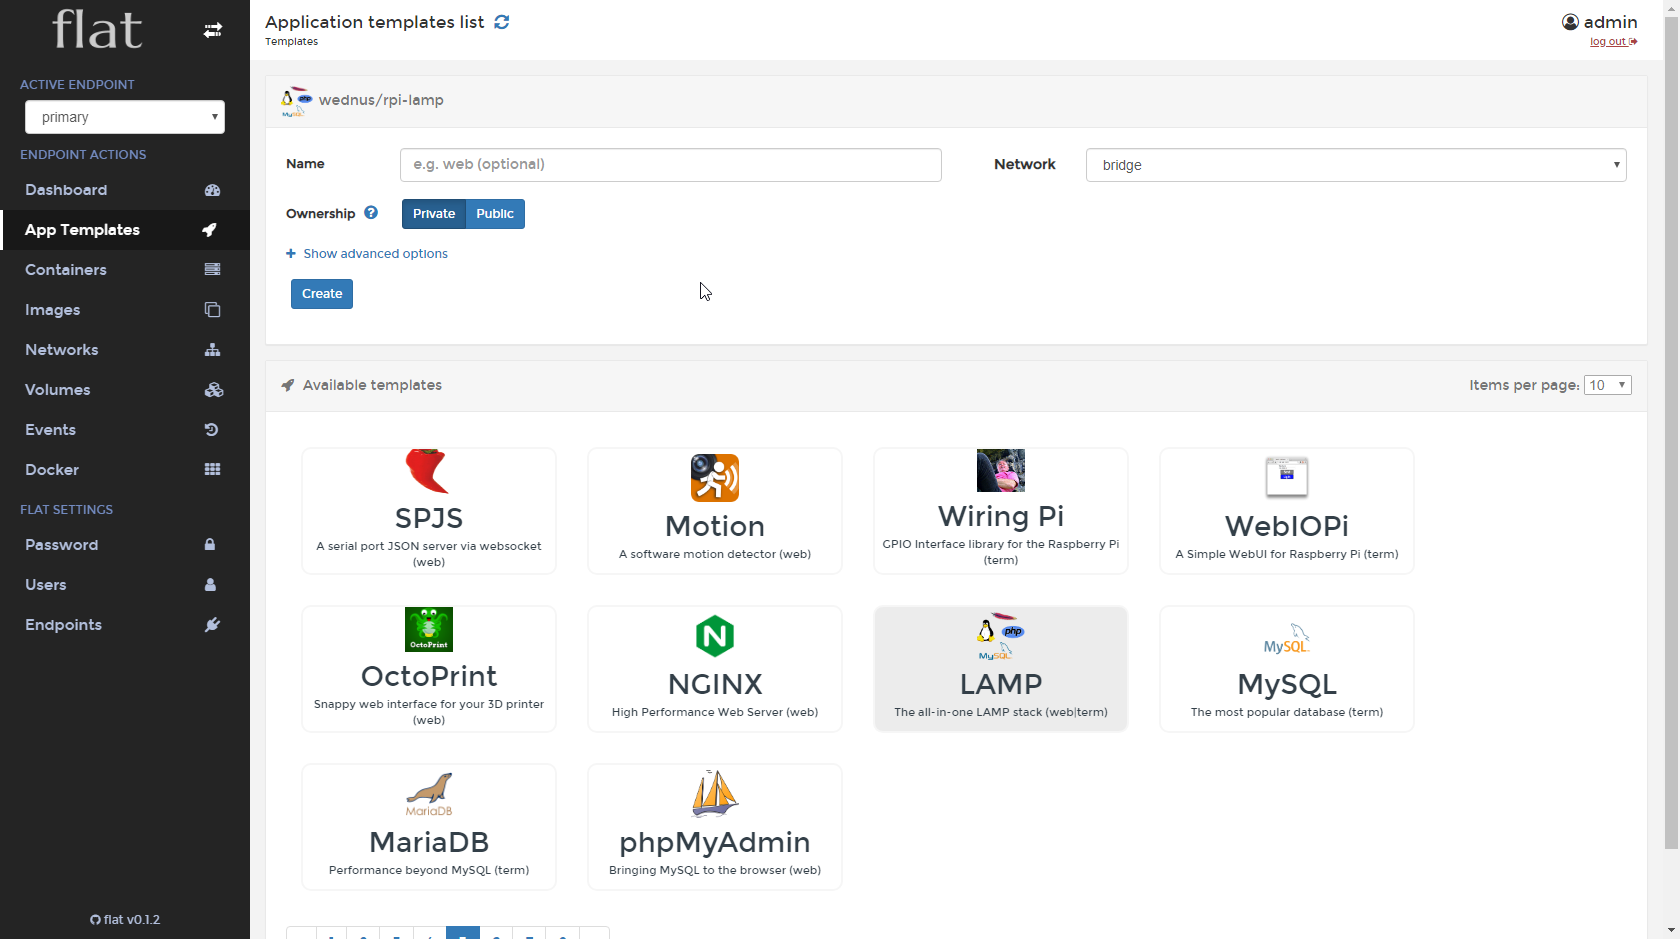
5.LAMPの環境情報を入力します。
①Publicを選択します。
②show advanced optionsをクリックしてください。
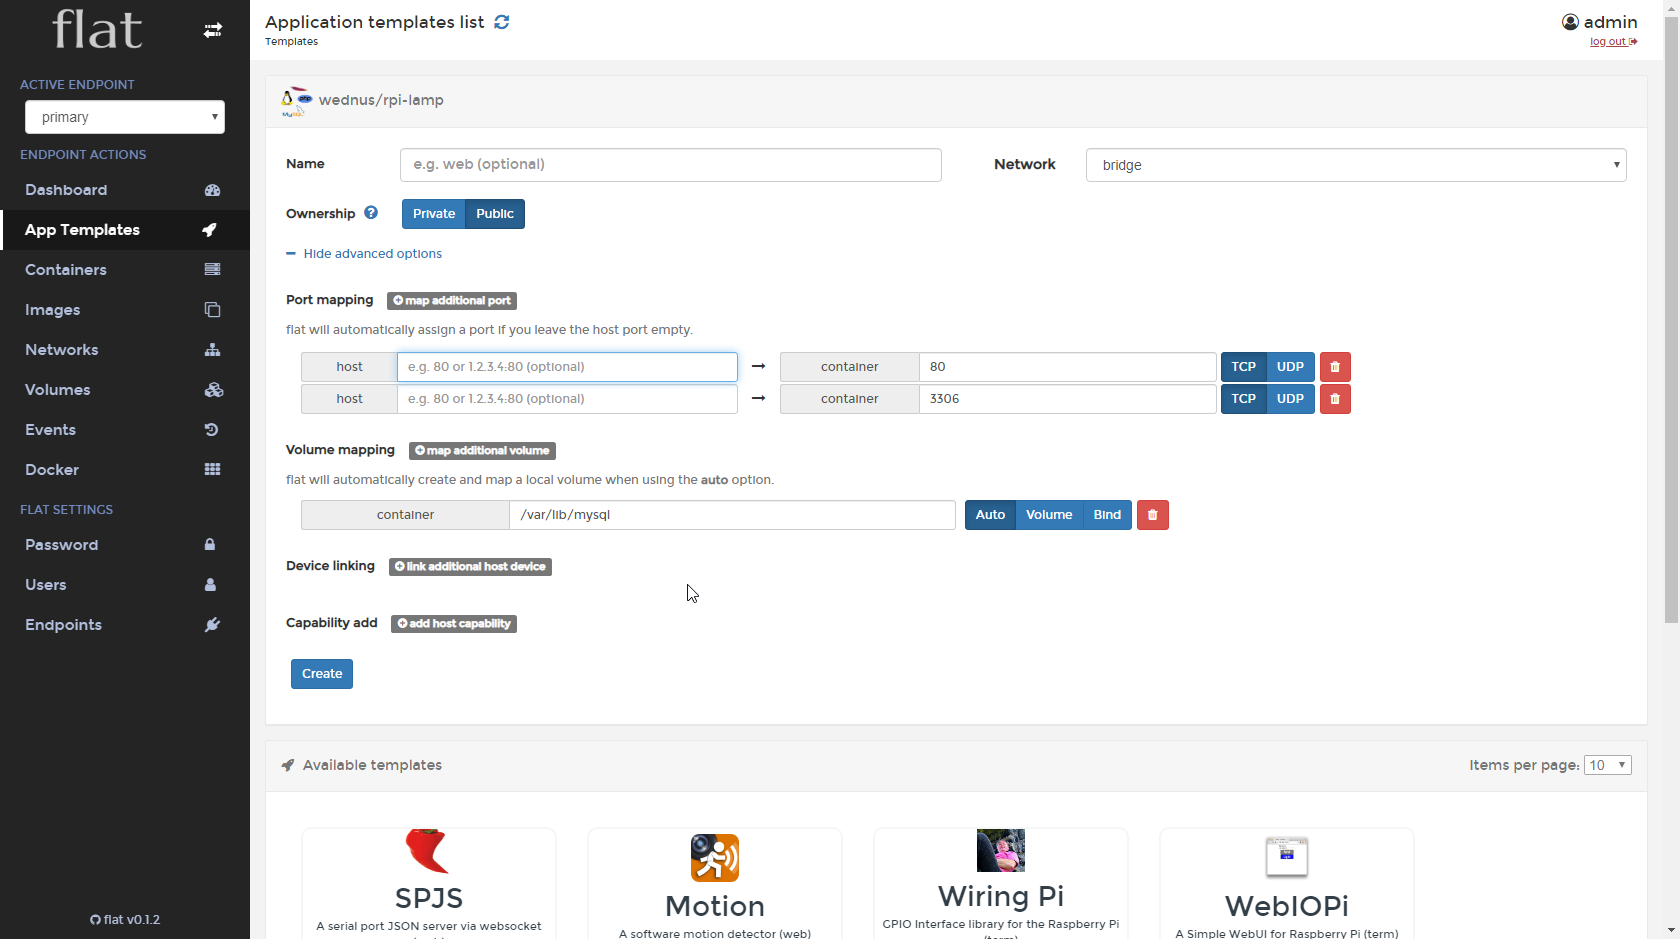
※注意事項:LAMP環境で使っているポートを外部に公開したい場合、記載します。
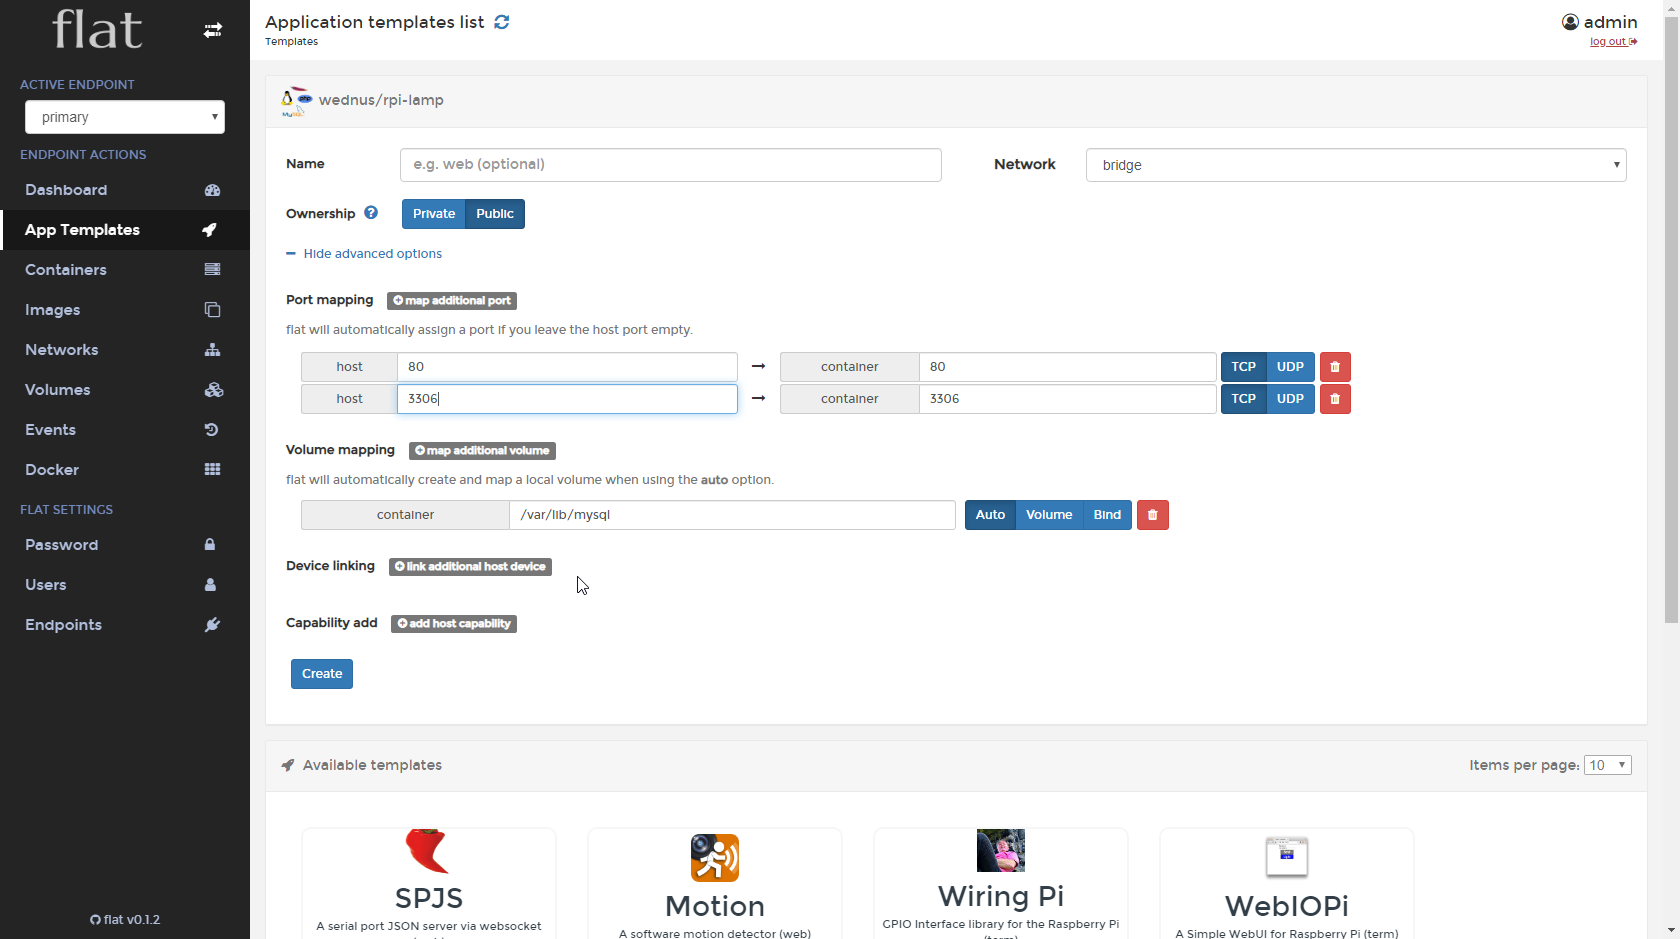
③下記の情報通りに記載します。
・名前:LAMP
・WEBポート:80
・Mysqlポート:3306
※Createボタンをクリックしてください。
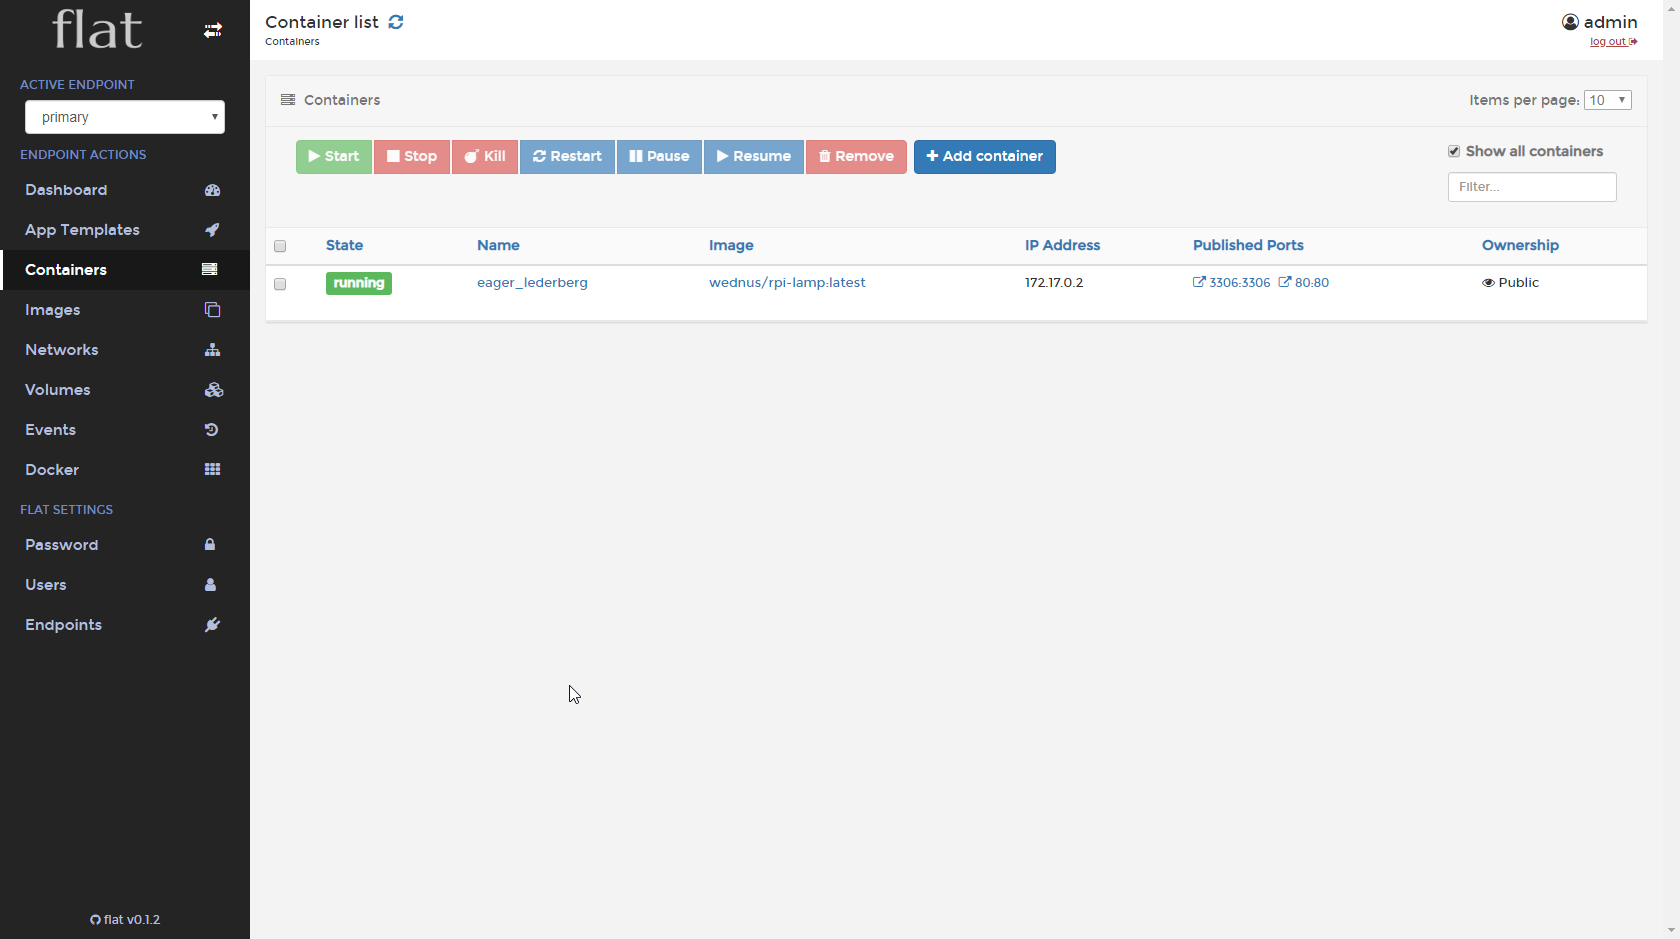
④生成が終わったらこの画面が表示されます。
※Lampの環境の設定が完了して、コンテナが正常に起動されているとOKです。
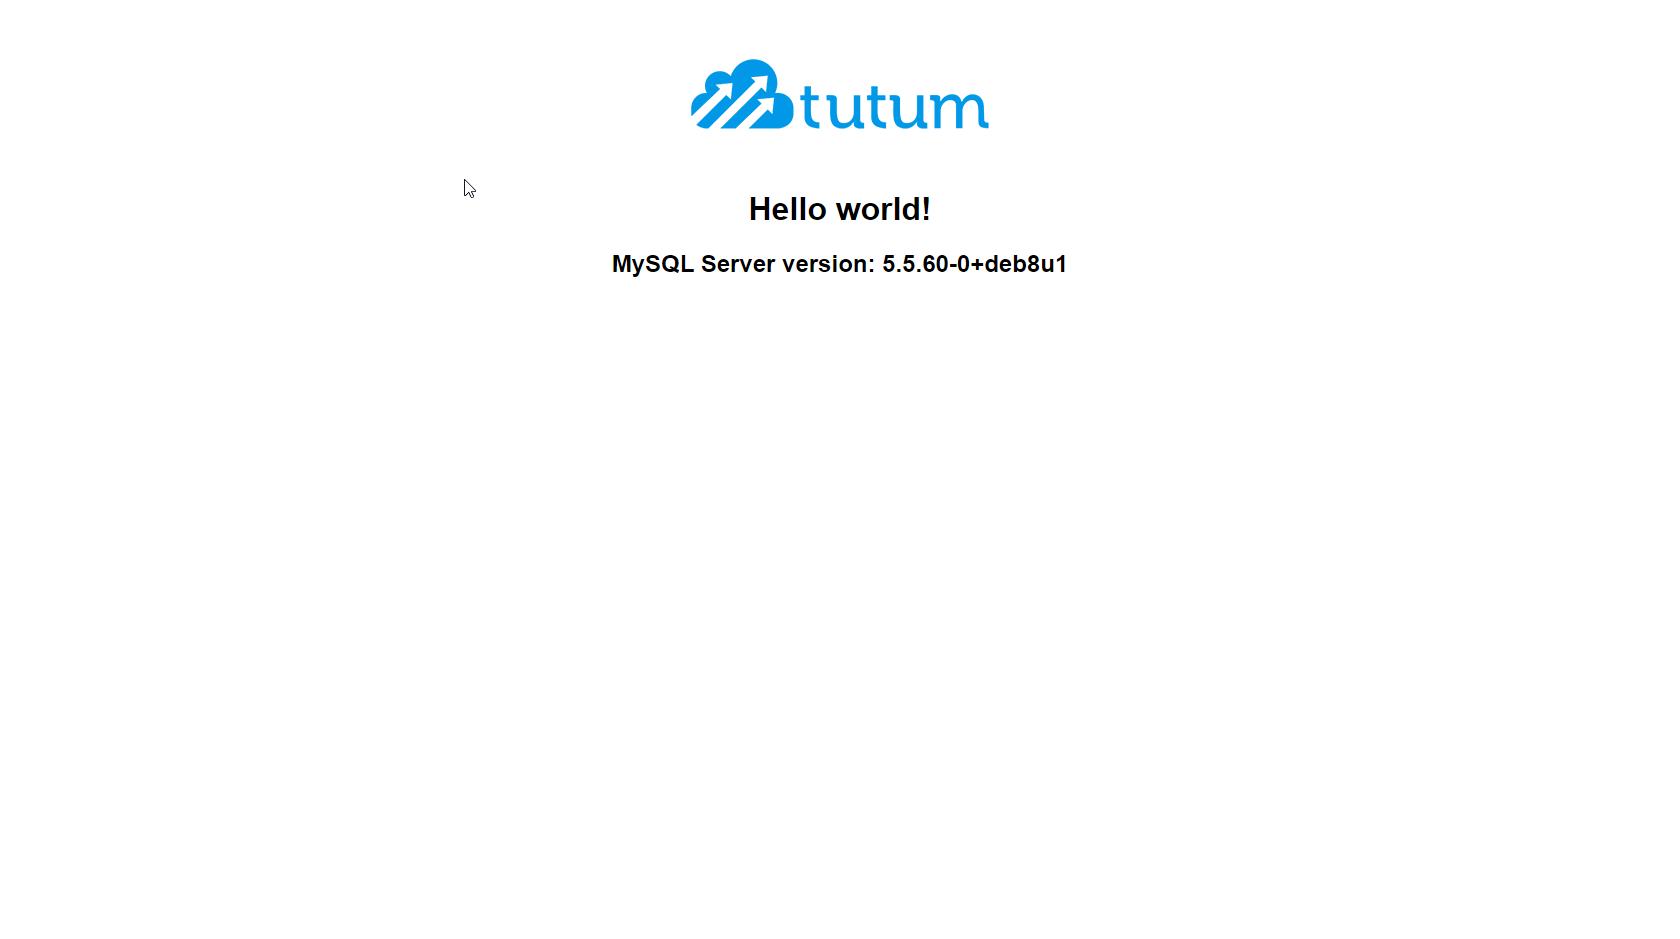
6.WEBページを確認します。
①Raspberry PIのIPアドレスを入力すると下記のWEBページが表示されます。
http://[raspberry piのip
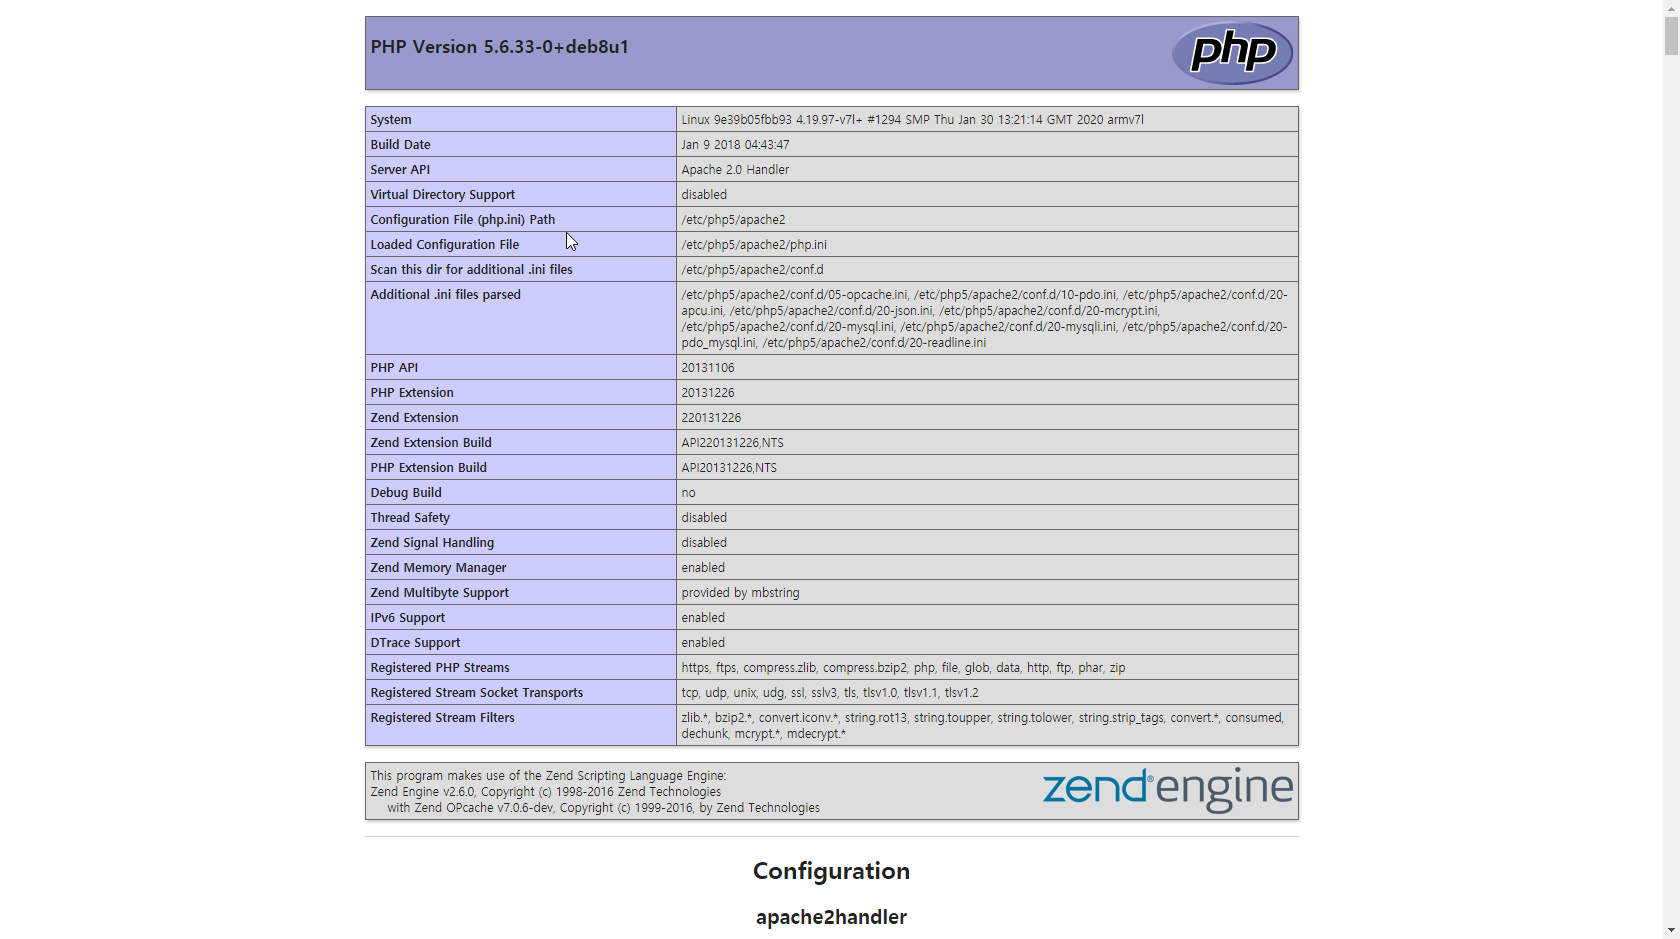
②phpinfoページへアクセスします。
※PHP Version 5.6.33-0+deb8u1のバージョンで古いですね。
^^;;今後バージョンアップしてみましょう。
http://[raspberry piのip/phpinfo.php
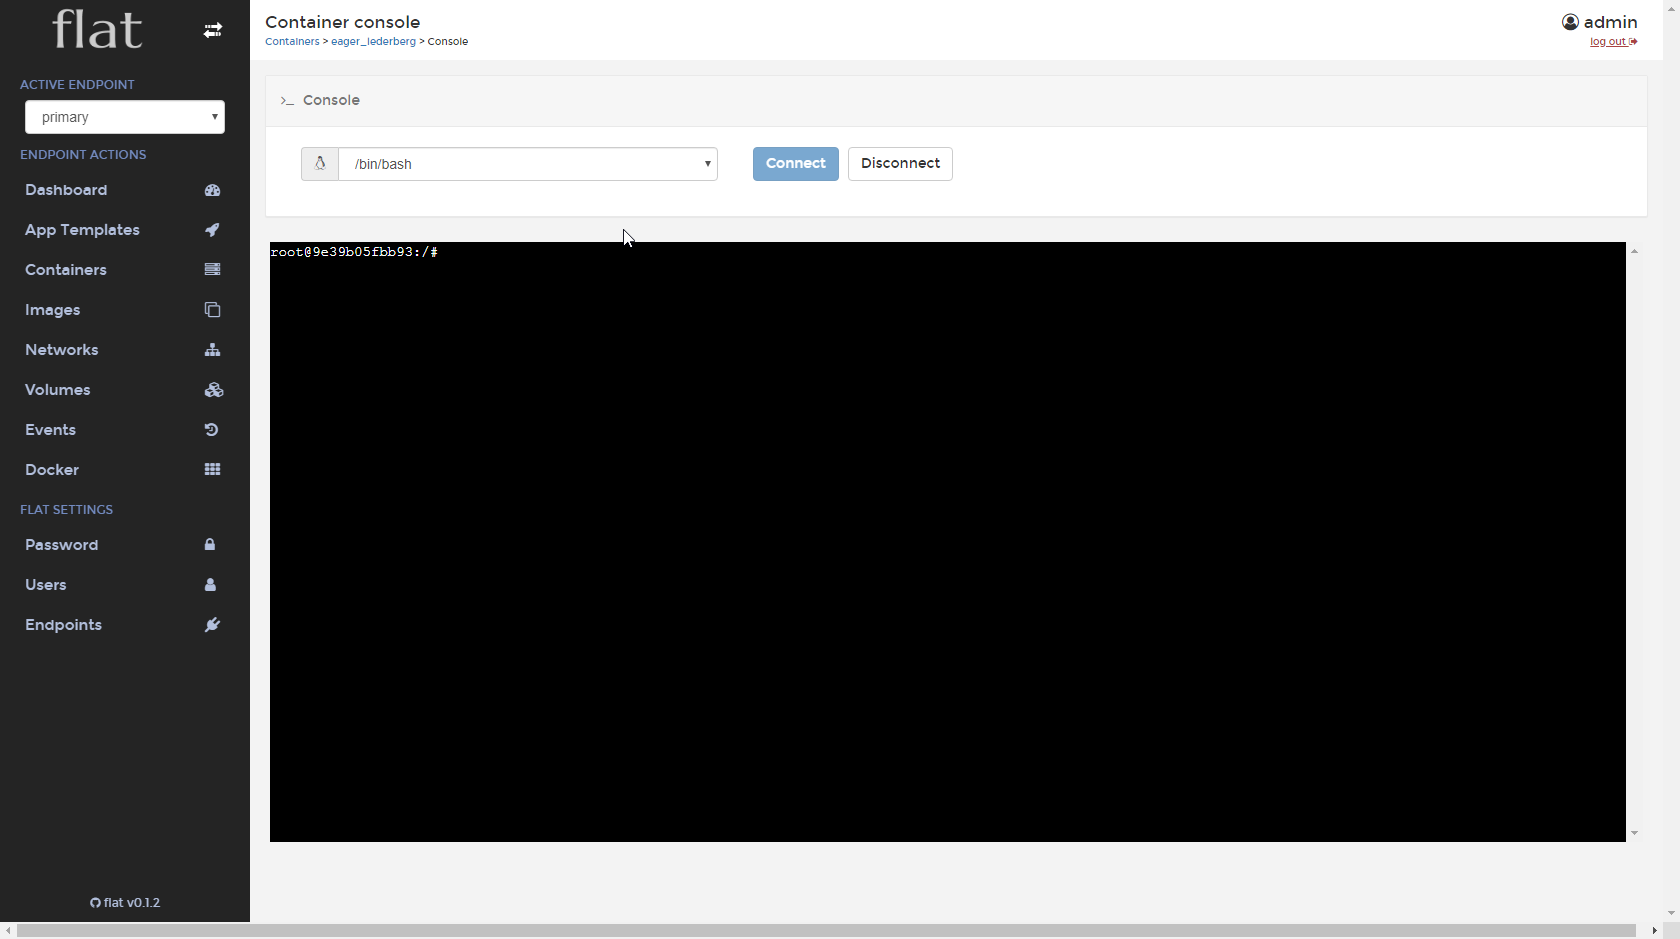
7.Flatでコンテナのコンソルに接続
①下記の画面で名前を選択します。
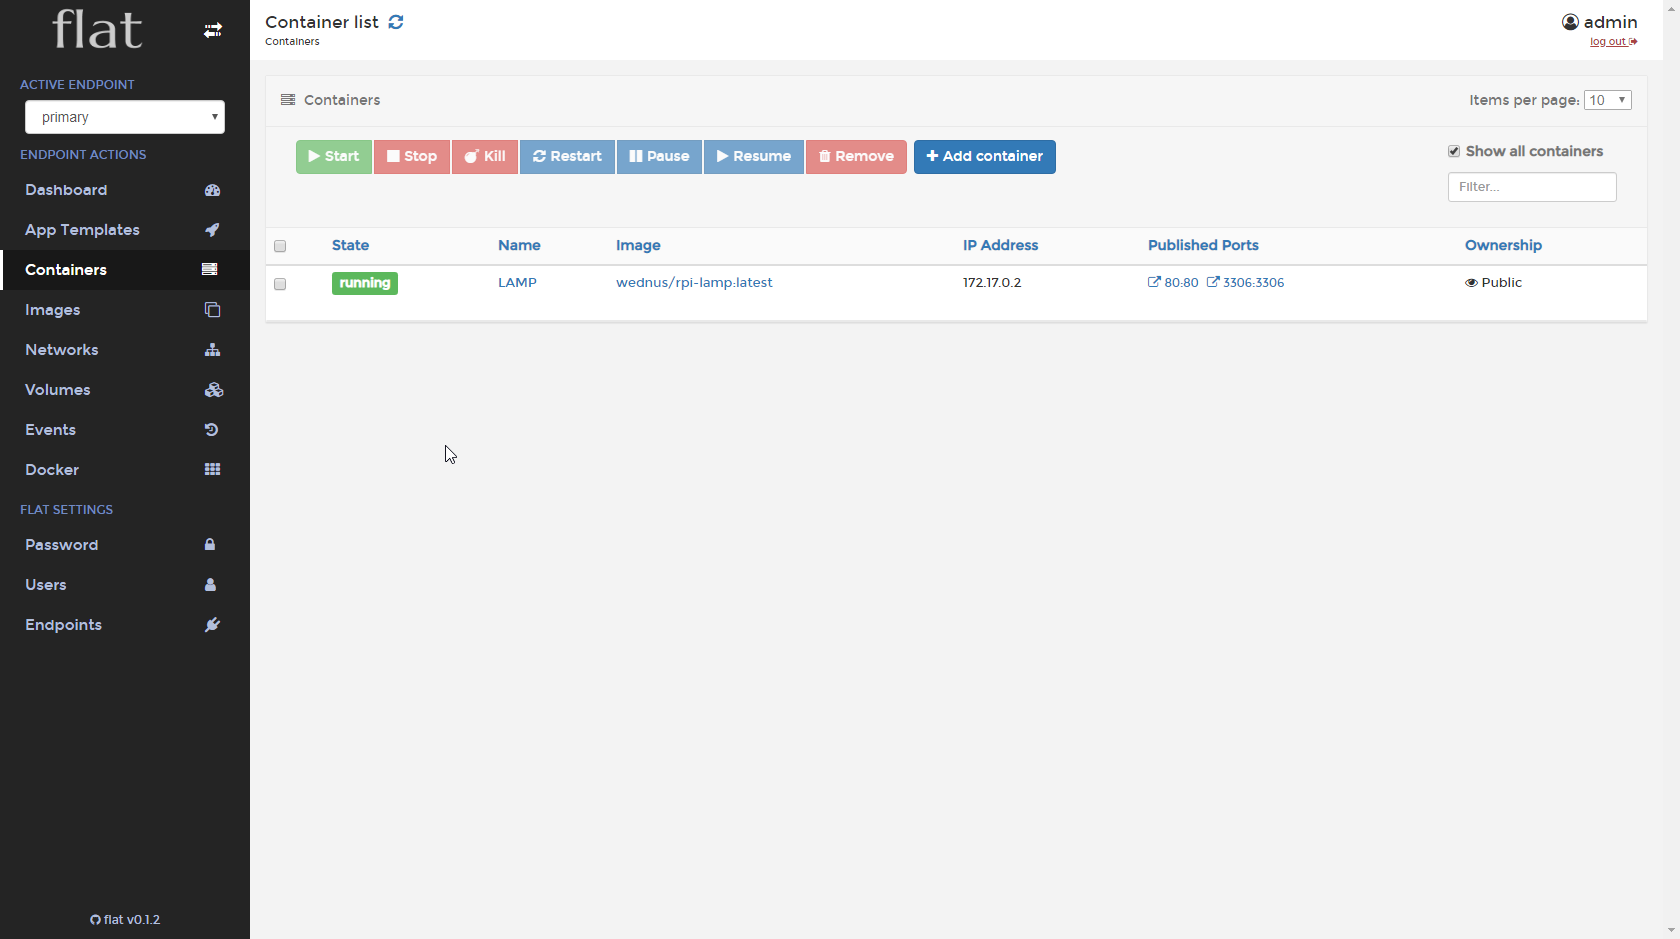
②下記の画面が表示されます。「>_Console」をクリックしてください。
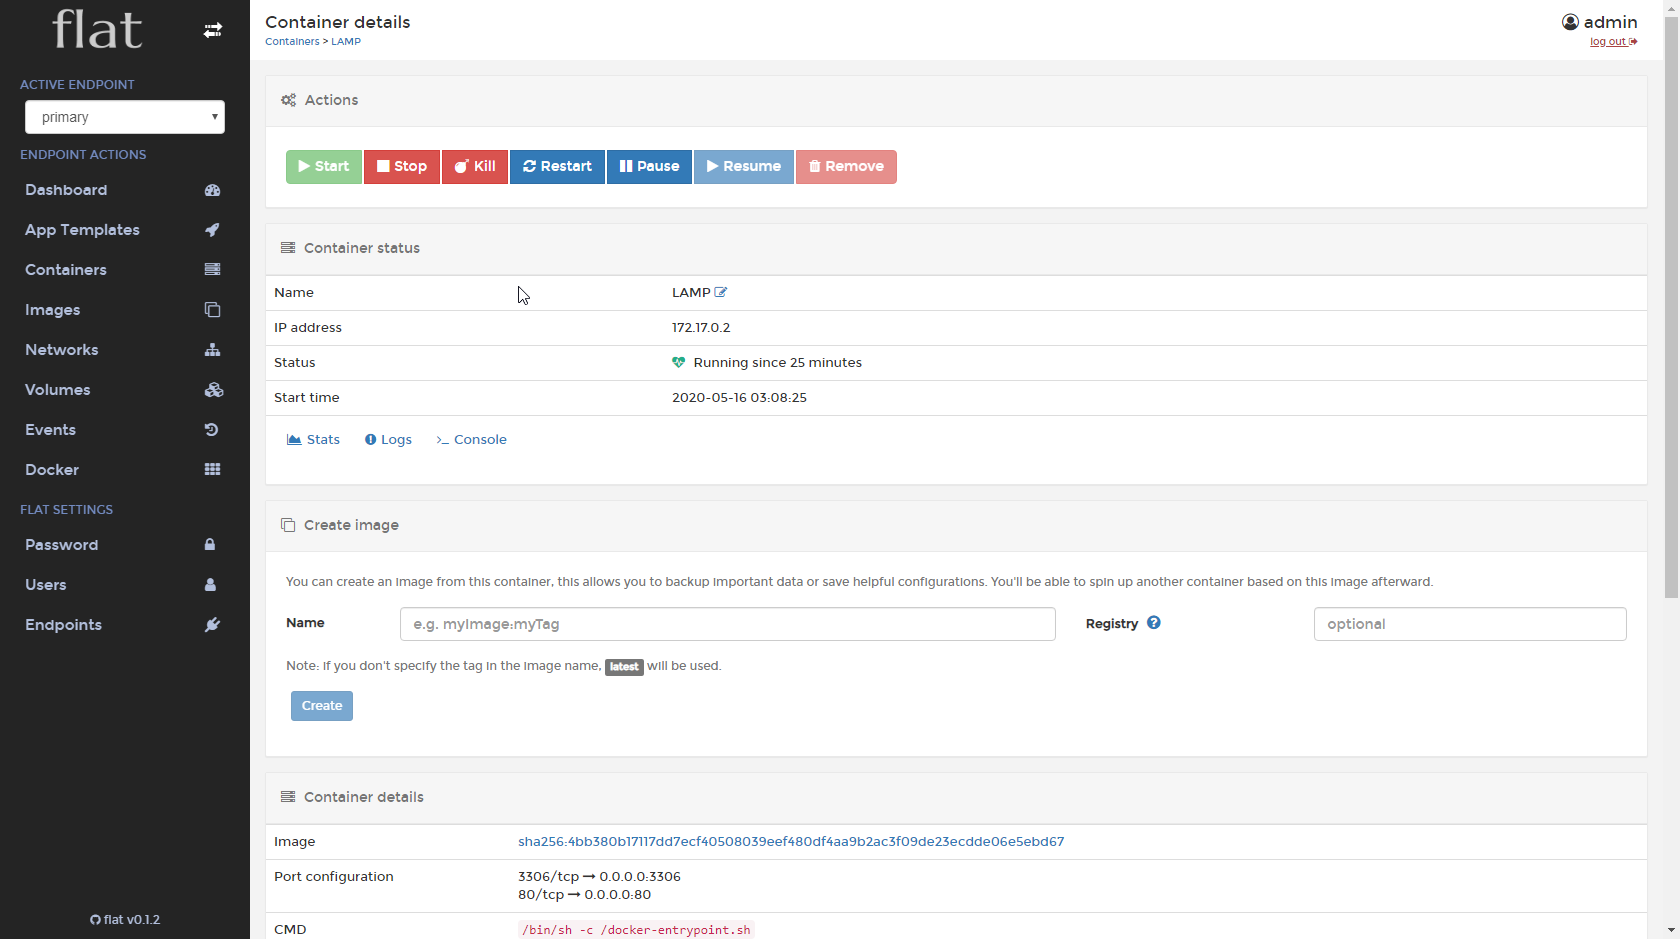
③「Connect」ボタンをクリックしてください。
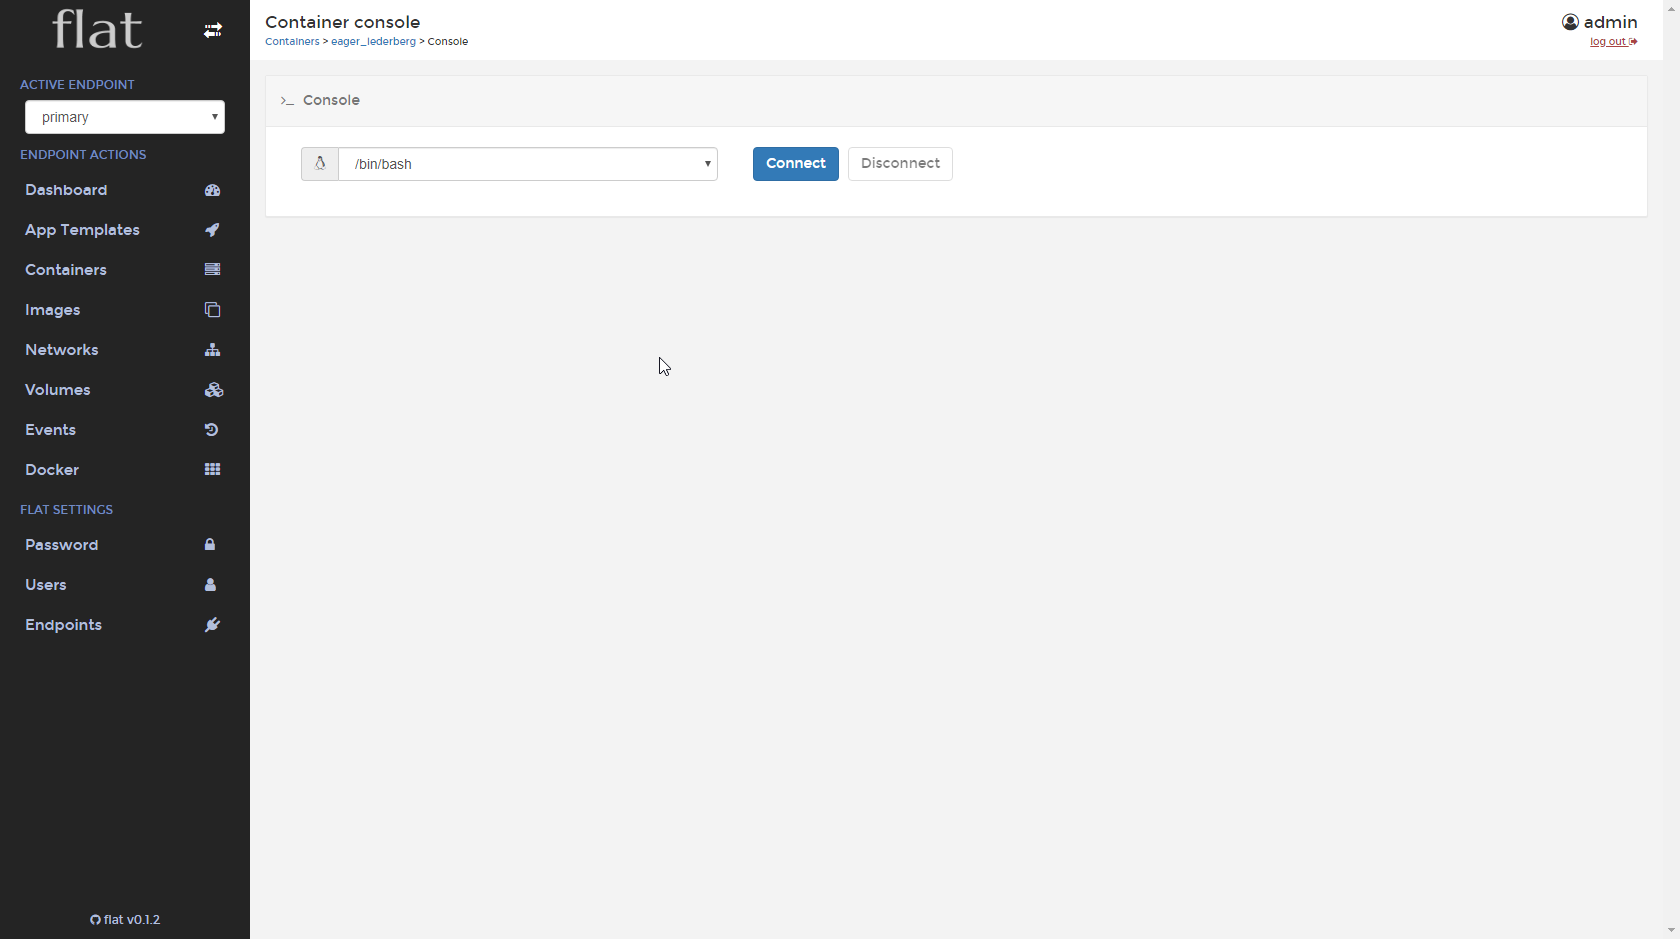
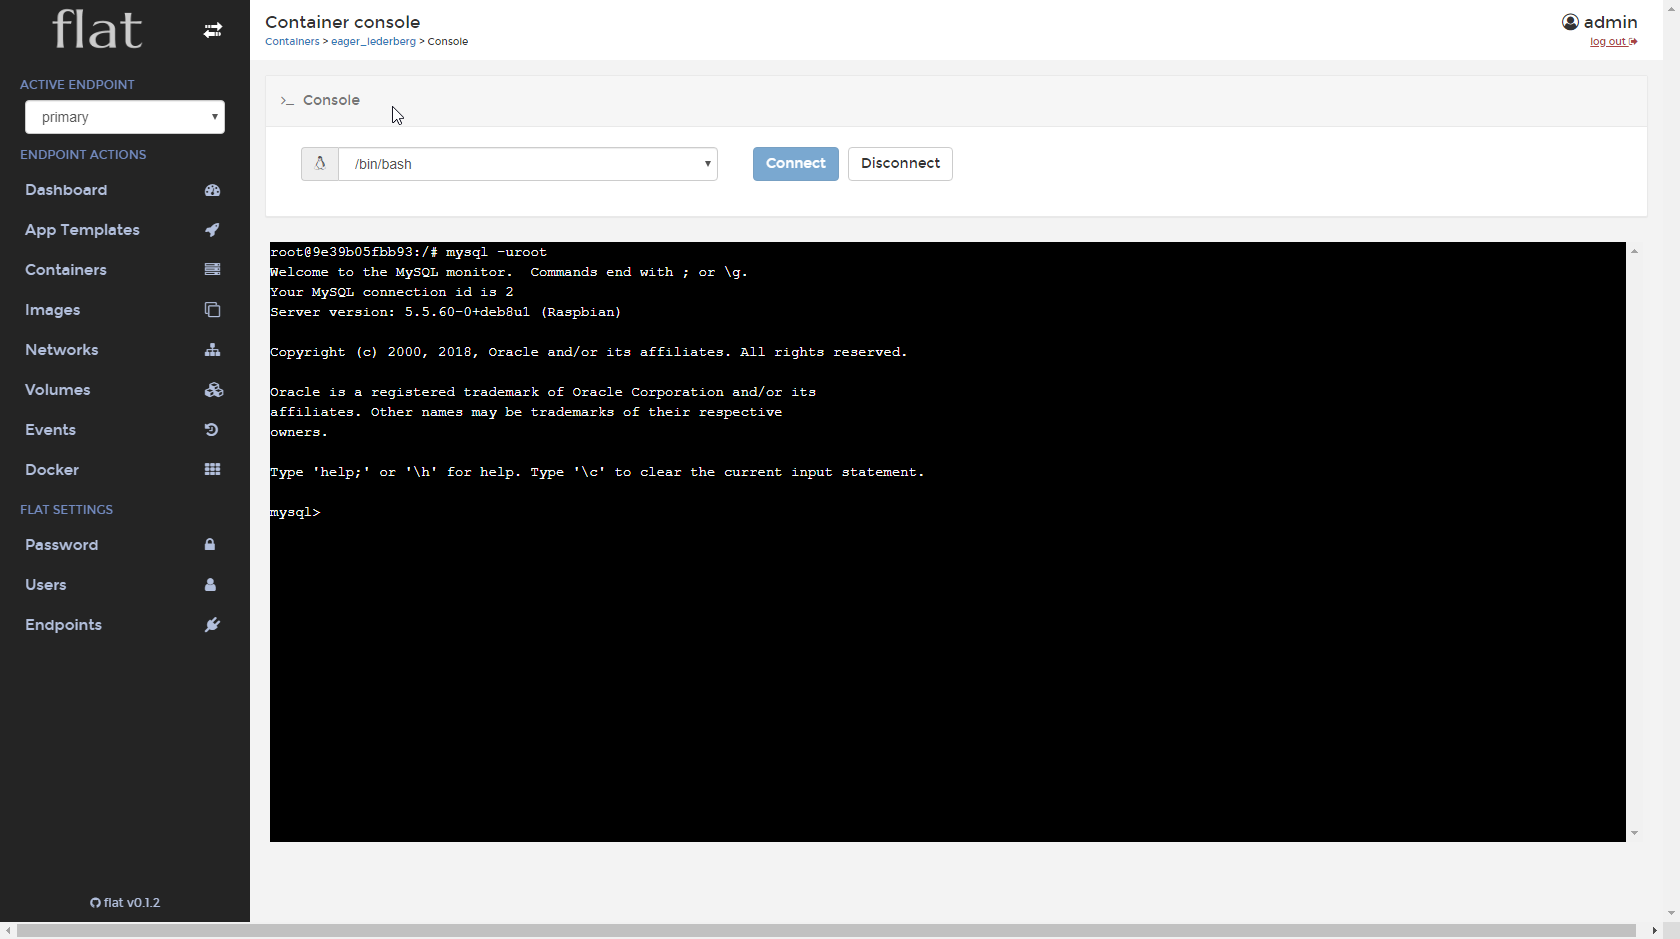
④下記のコンソル画面が表示されます。
※基本的にRoot権限で接続されます。
8.Mysqlへ接続
下記のコマンドでMysqlへ接続します。
root@9e39b05fbb93:/# mysql -uroot
Welcome to the MySQL monitor.  Commands end with ; or \g.
Your MySQL connection id is 2
Server version: 5.5.60-0+deb8u1 (Raspbian)

Copyright (c) 2000, 2018, Oracle and/or its affiliates. All rights reserved.

Oracle is a registered trademark of Oracle Corporation and/or its
affiliates. Other names may be trademarks of their respective
owners.

Type 'help;' or '\h' for help. Type '\c' to clear the current input statement.

mysql>
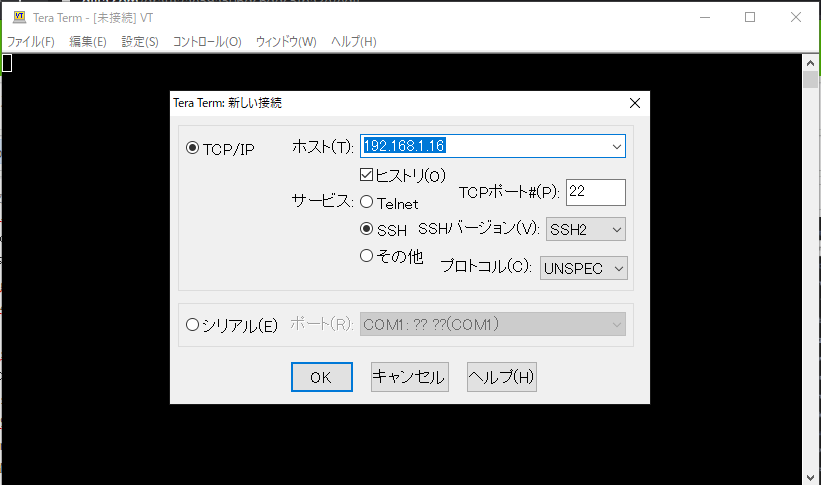
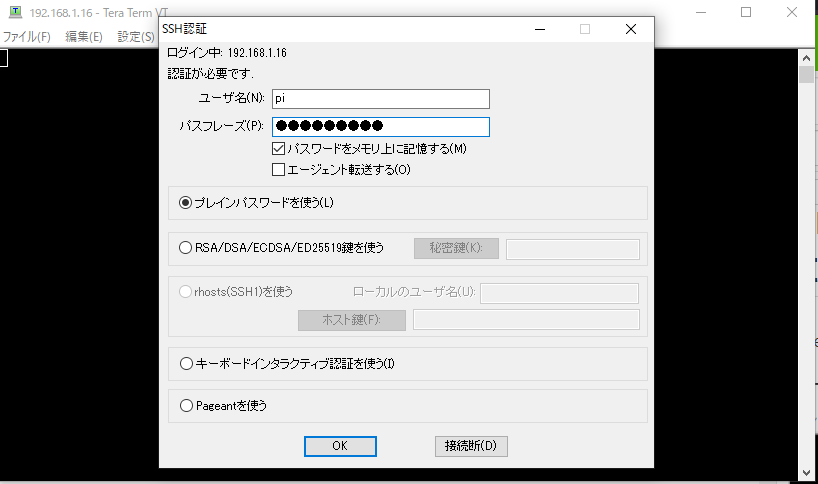
9.Raspberry PIへSSHを利用してLAMPのテンプレートにアクセスしたい場合
①TeraTermを利用してRaspberryPIへログインします。
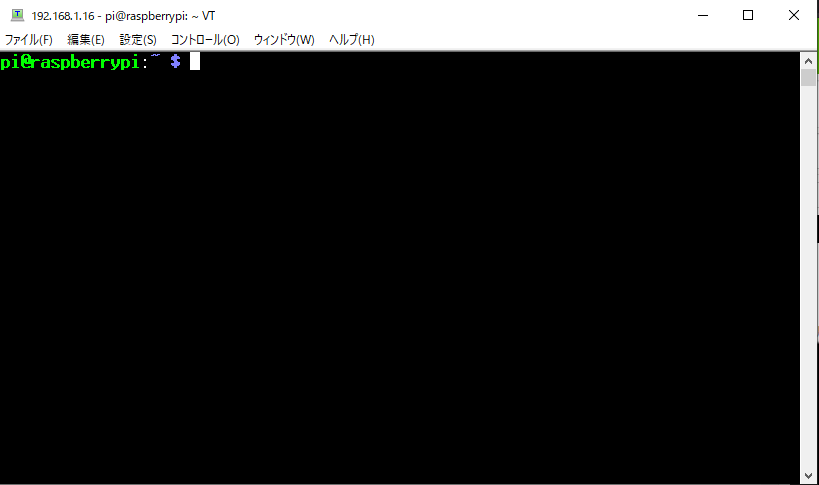
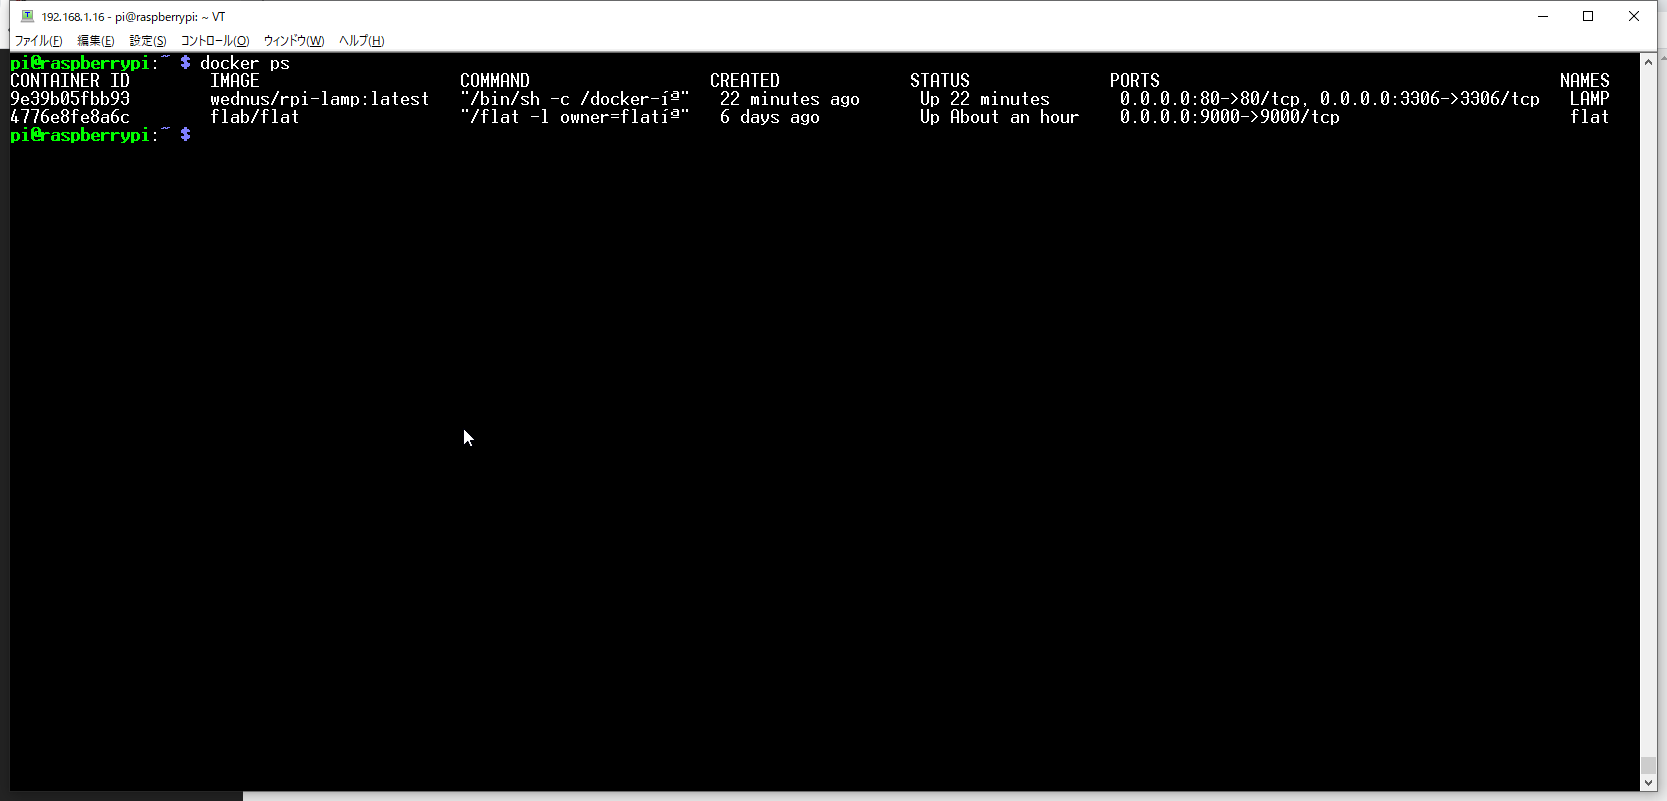
②下記のコマンドでLAMP環境の名前を確認します。
pi@raspberrypi:~ $ docker ps
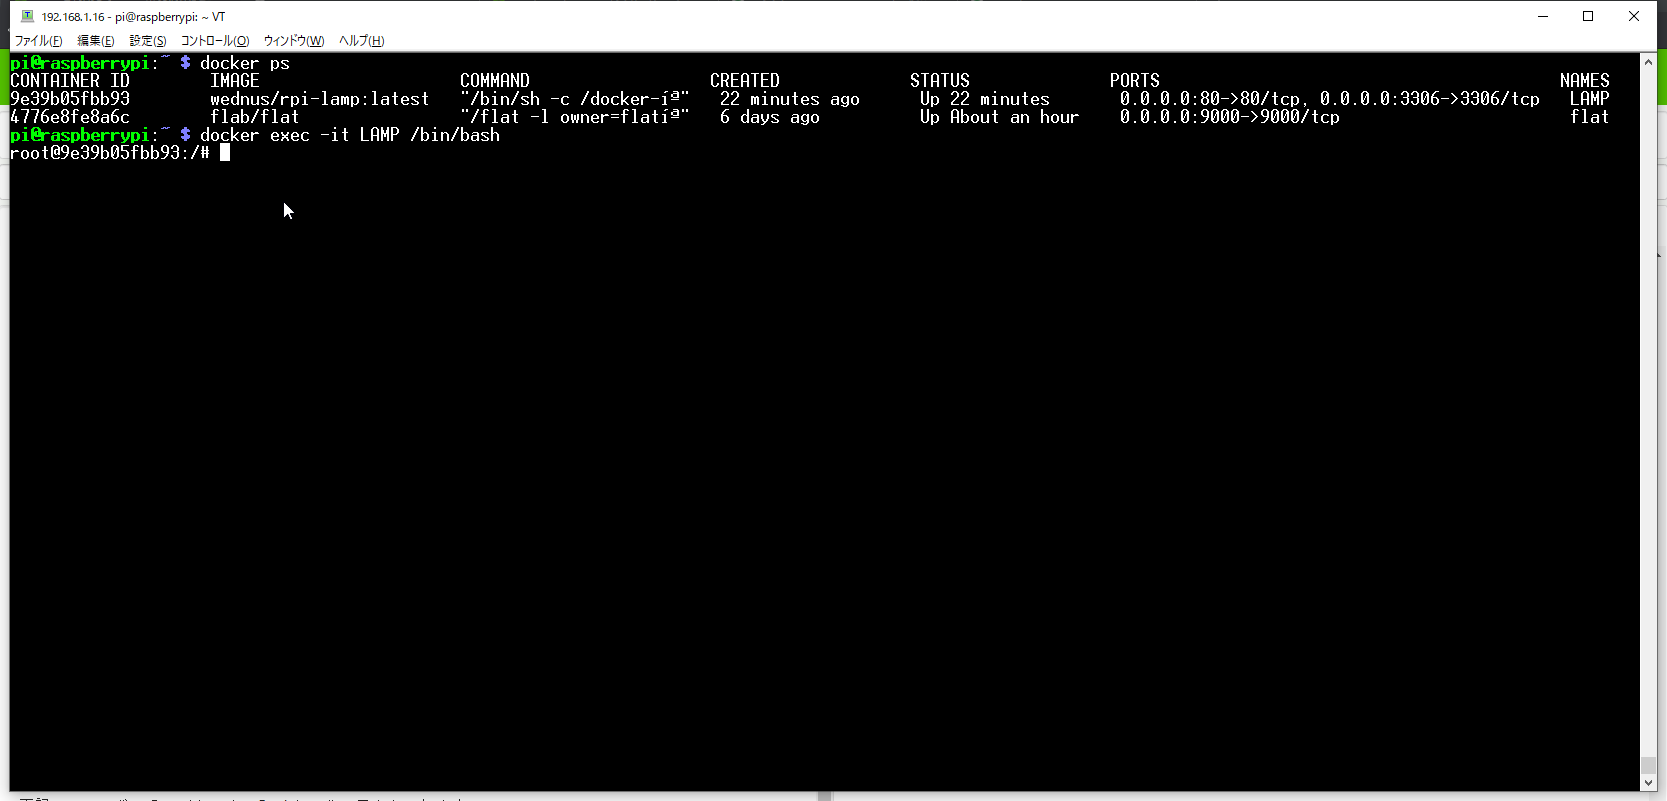
③下記のコマンドでテンプレートへBashシェルでアクセスします。
pi@raspberrypi:~ $ docker exec -it LAMP /bin/bash
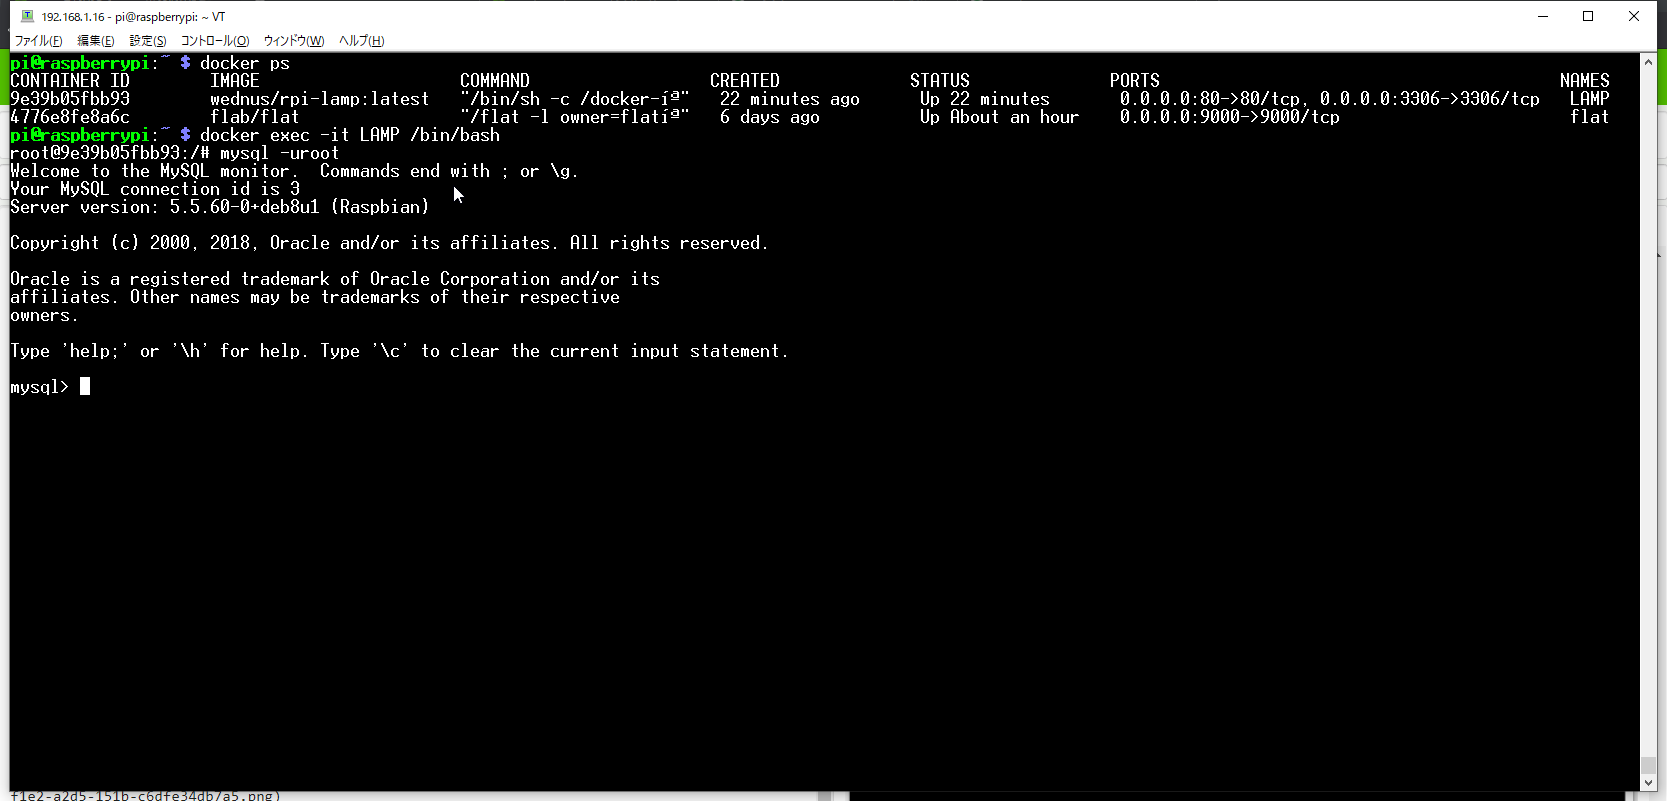
④Mysqlへ接続
pi@raspberrypi:~ $ mysql -uroot
終わりに
Flatのテンプレートを利用してDocker用のLAMP環境が簡単に構築できました。
PHPとMysqlのバージョンが古いですが、このFlatで提供しているものではなく
RaspberyPIのLAMP(Docker用)をインストールしても使えます。
今回はテンプレートを利用して簡単にLAMP環境を構築するための内容です。
Flatはいかがでしょうか?まだ日本に知られてないツールです。
是非お試してみてください。
