はじめに
Reactの学習をはじめようと思った時に、DBとの連携はどのようにするのか不明だったので調査したところ、「Node.jsでAPIサーバーを立てて、Reactから実行、結果をごにょごにょする」という結論に至ったのでそれを実現するための備忘録です。
開発環境
・OS: MacOS Big Sur
・Editor: Visual Studio Code
・DB: MySQL
事前準備
Node.jsやReact、MySQL Serverのインストールは事前に済んでいるものとします。
DB、テーブルは事前に簡単なものを作成済みです。
VSCodeのターミナルで作業を行います。
clientディレクトリとserverディレクトリを作成
$ mkdir client
$ mkdir server
Reactの設定
client側にはReactをインストールする
$ cd client/
$ create-react-app .
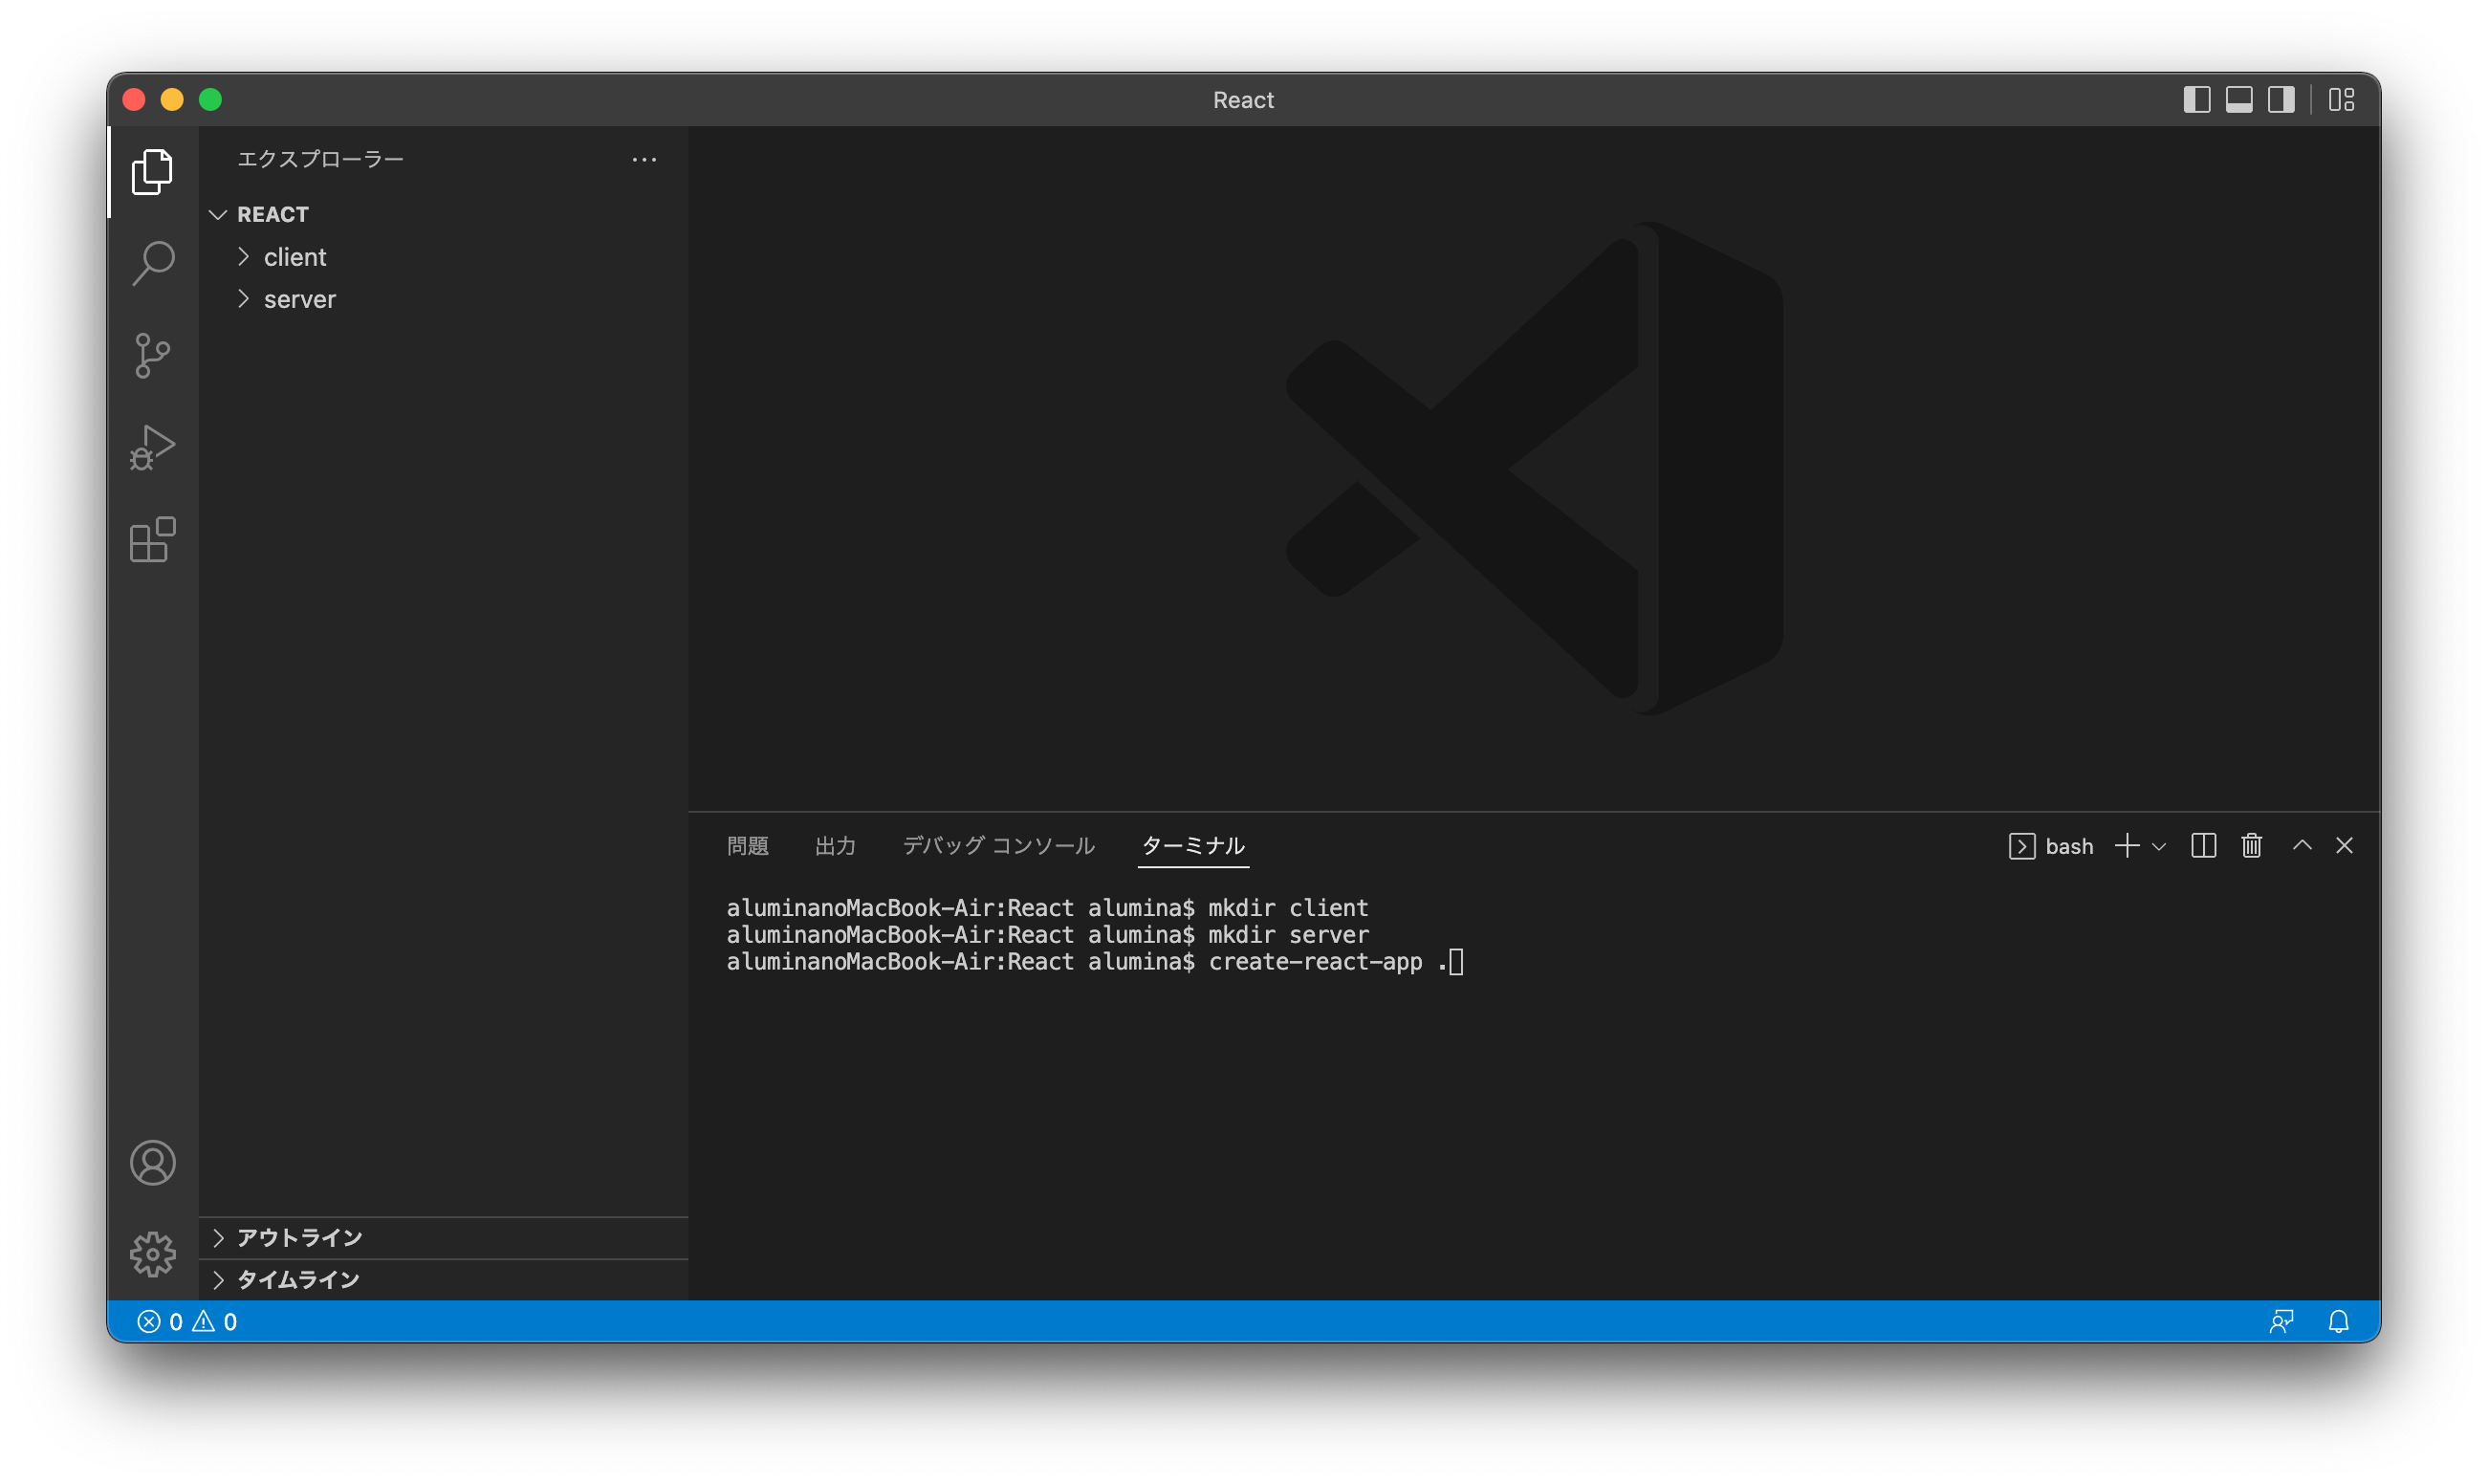
Reactのインストールが完了
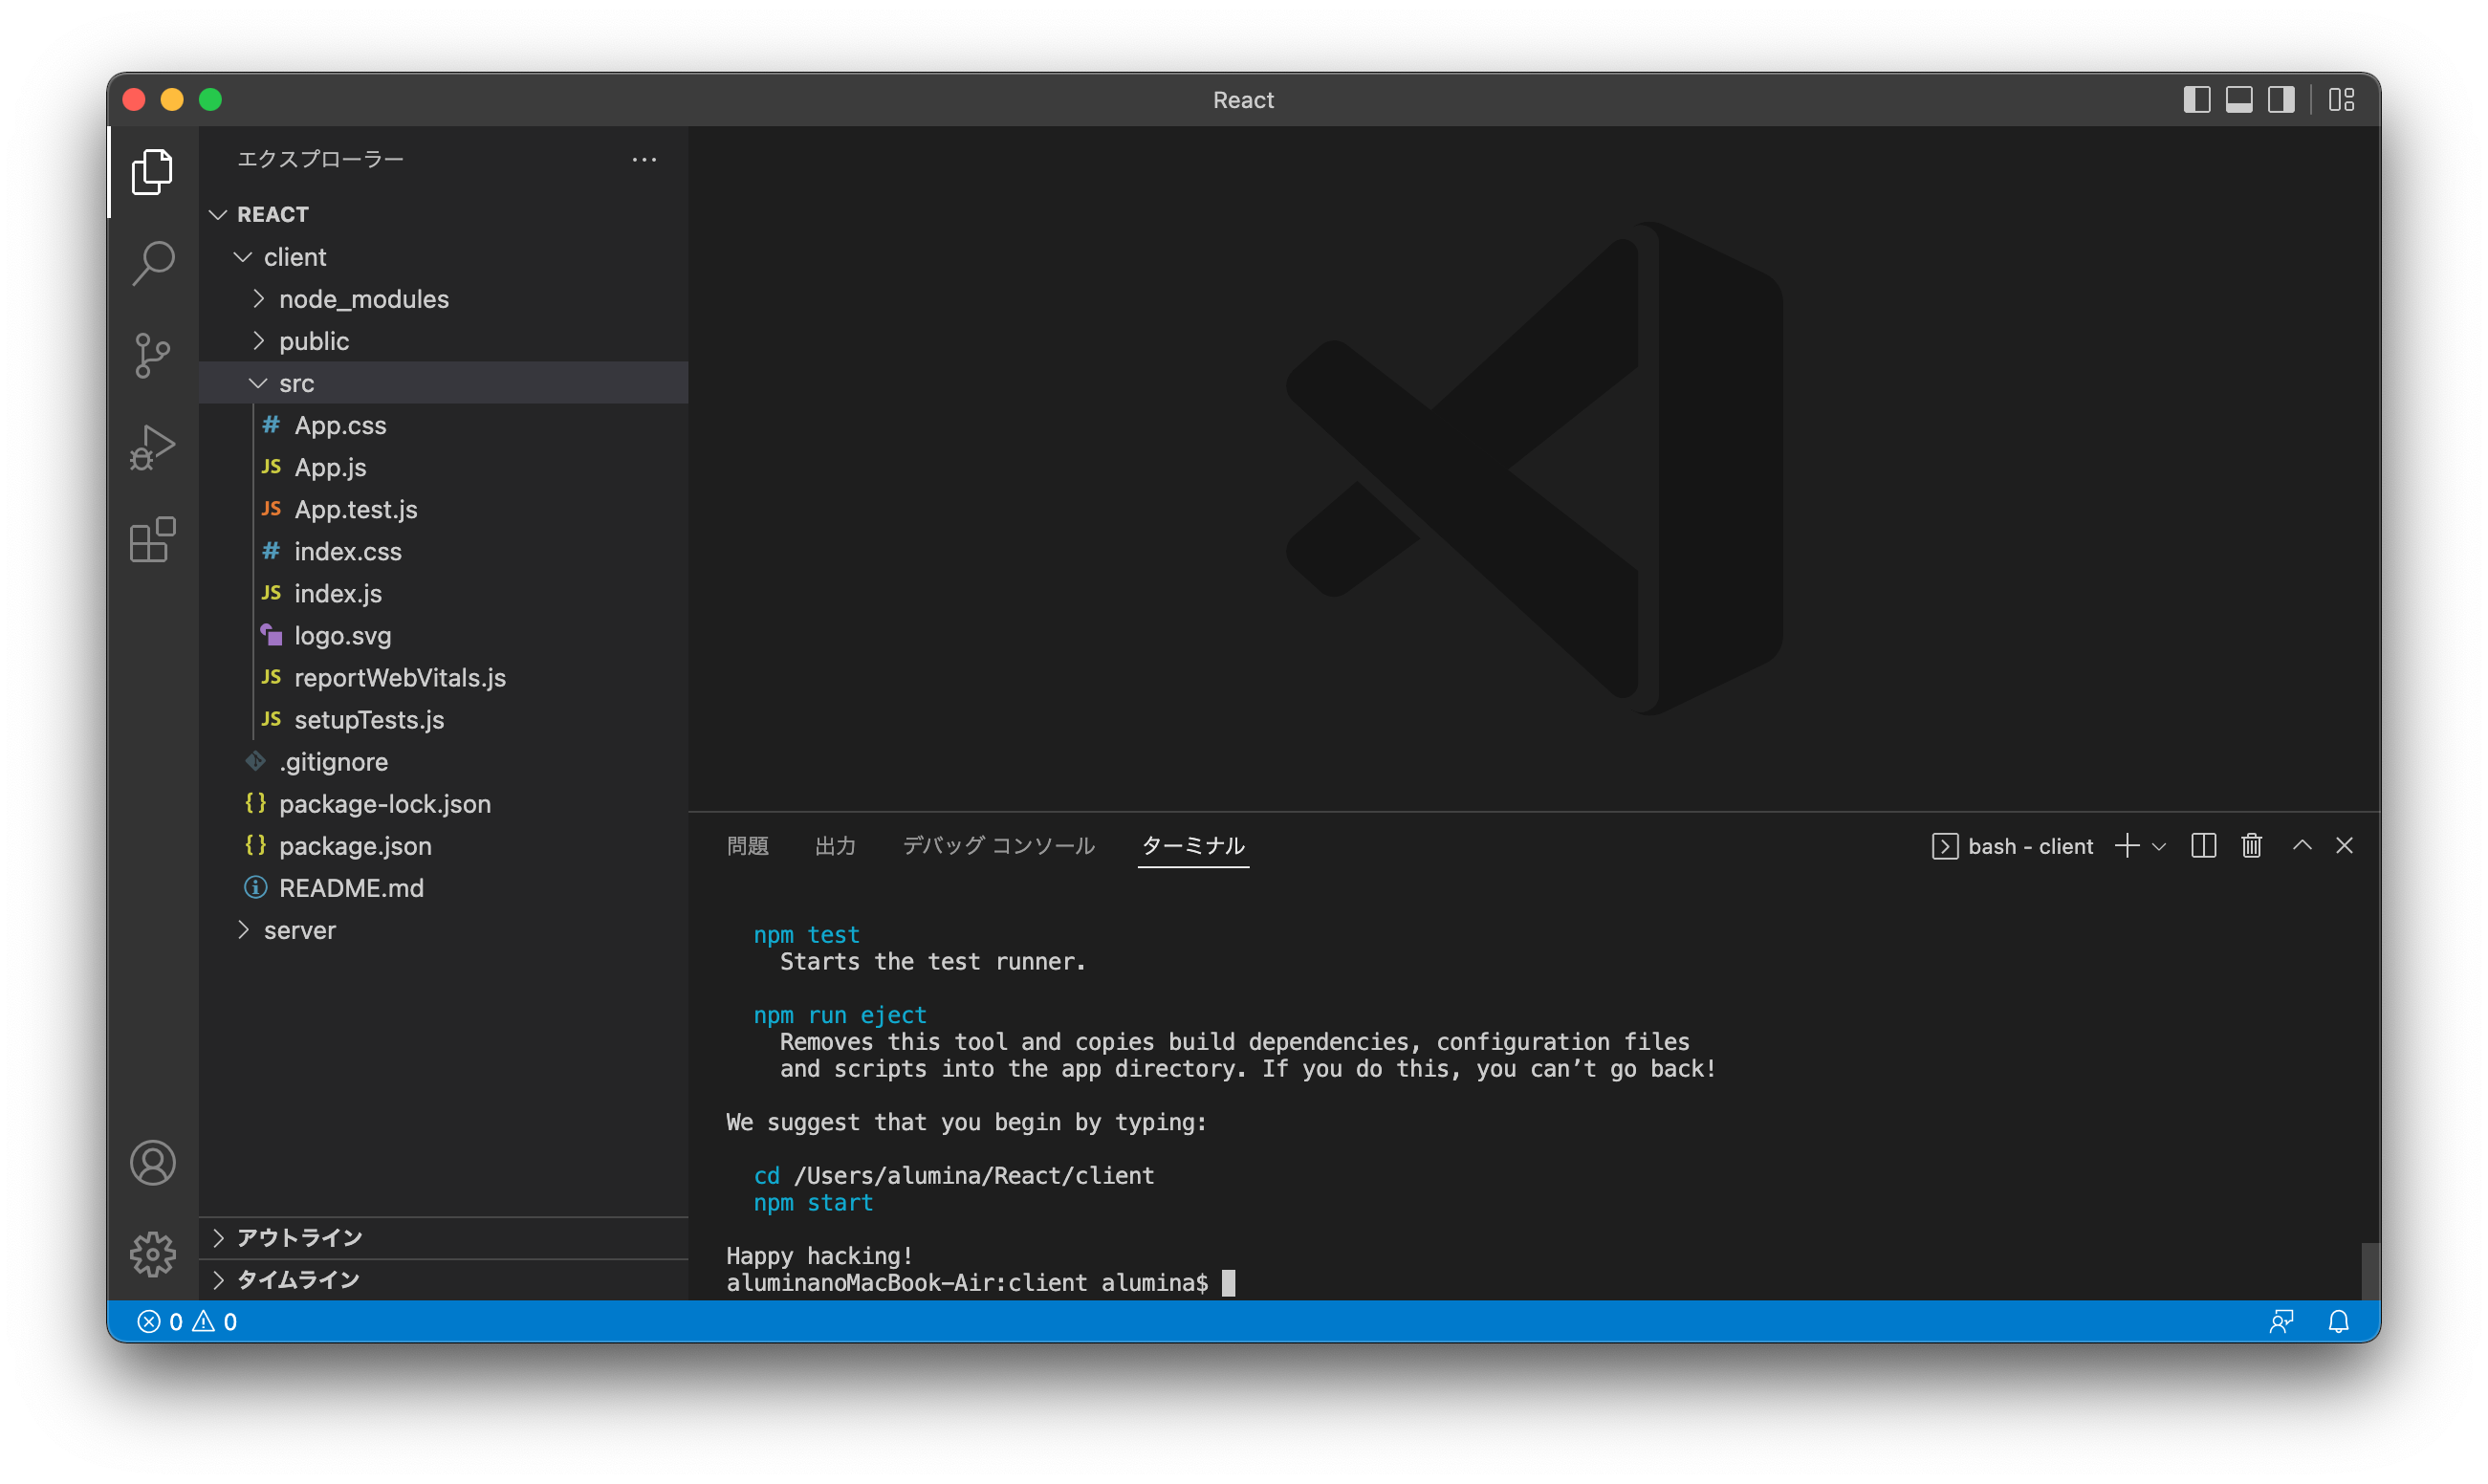
モジュールを一つインストールしておく
$ npm install axios

axios: 特定のエンドポイントへのリクエストを送信できるようにする、HTTPクライアント
起動
$ npm start
ブラウザが自動で立ち上がります
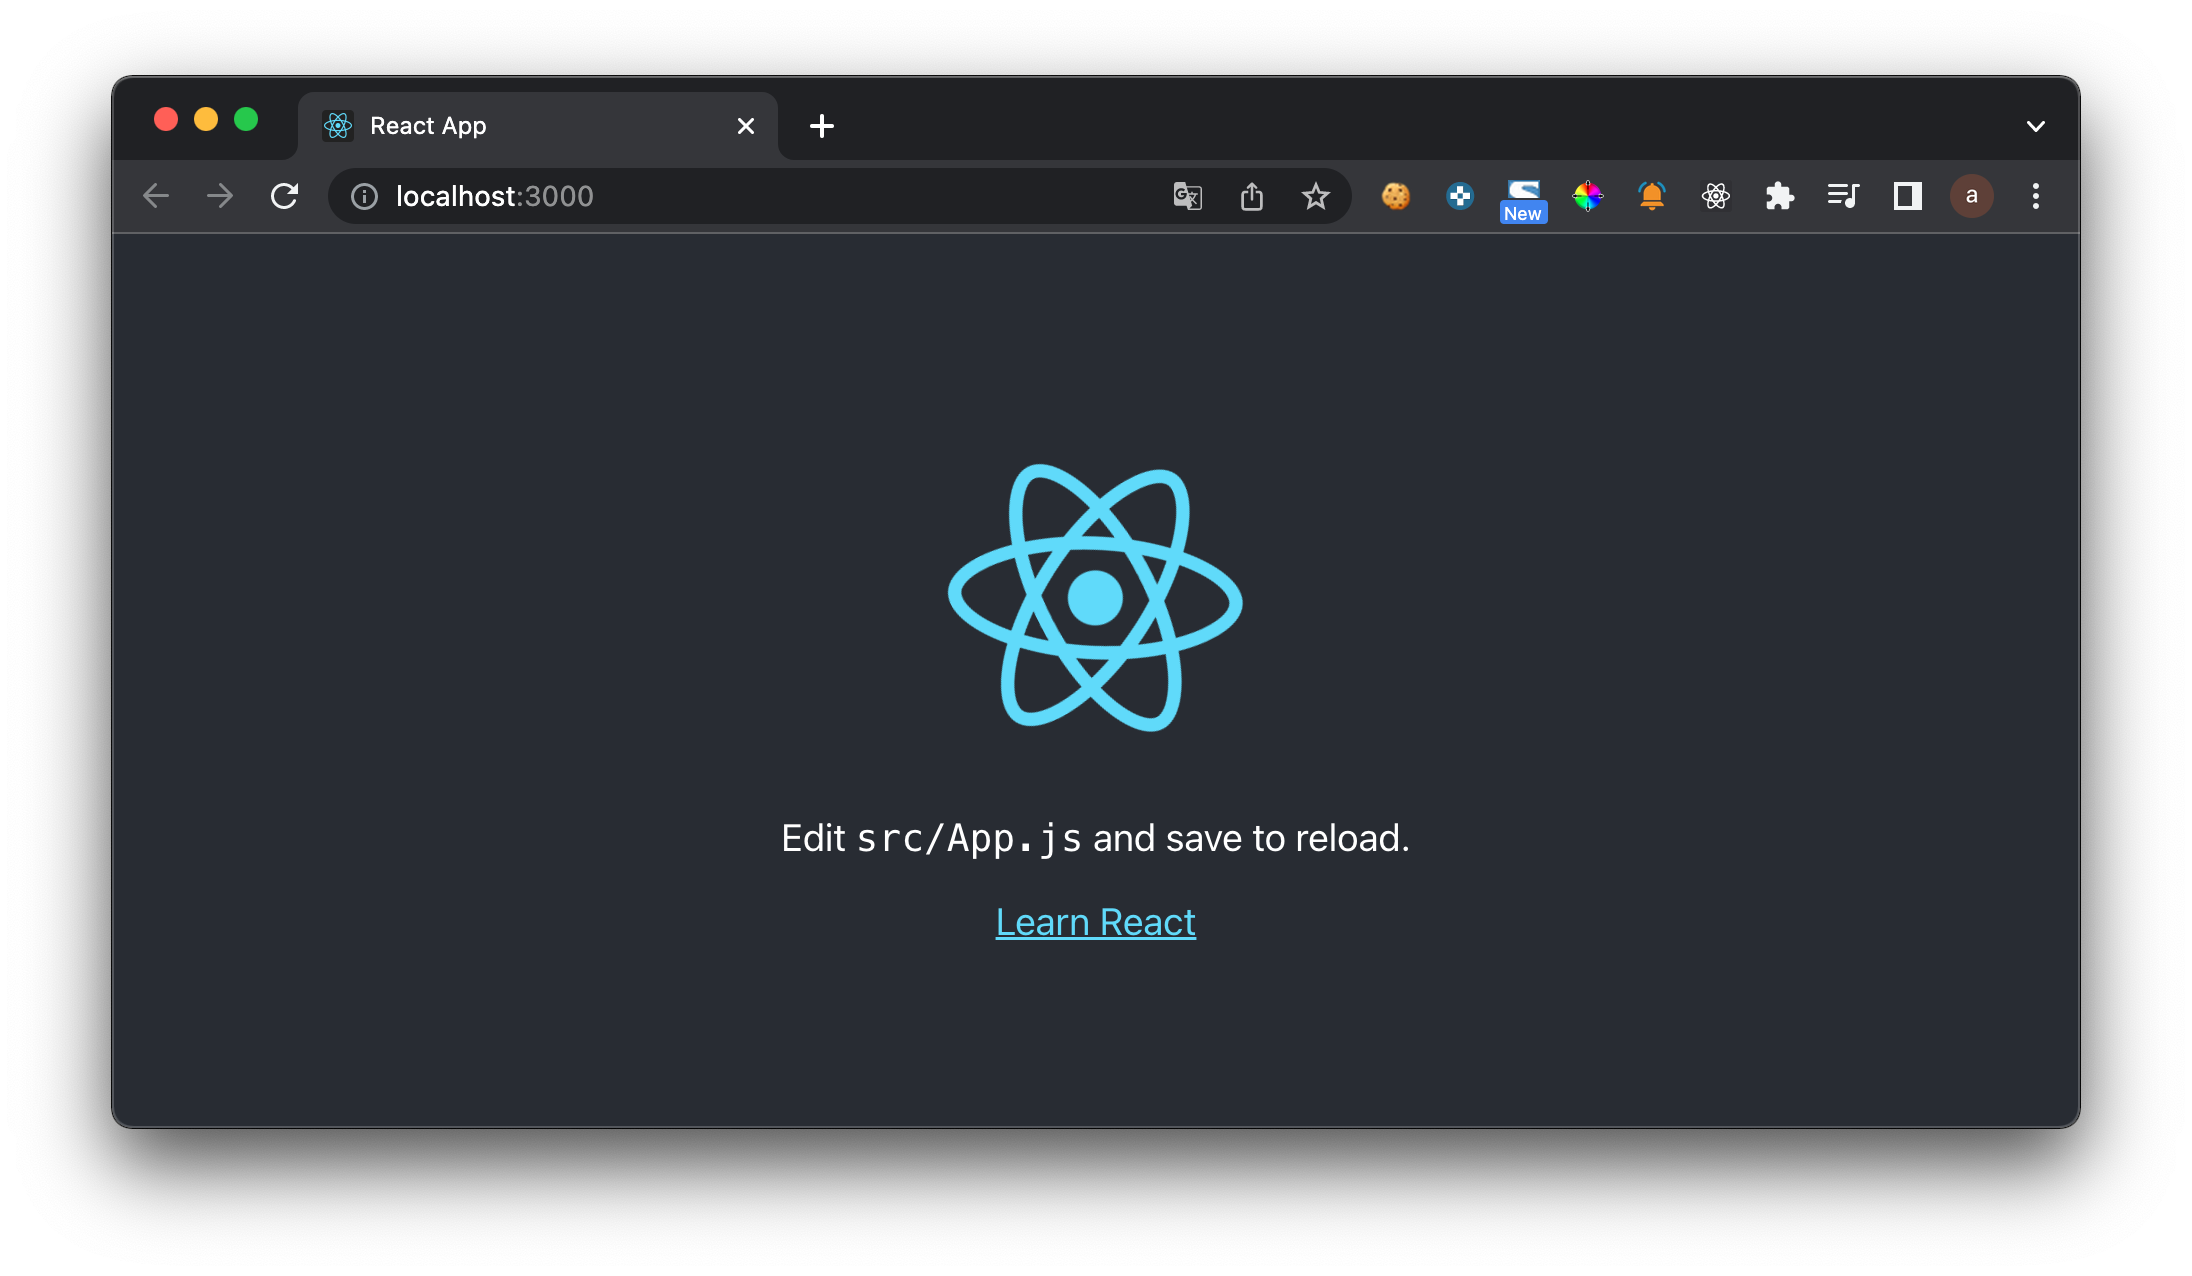
以下のファイルは使わないので削除します。
・App.test.js
・index.css
・logo.svg
・setupTests.js
また、残した以下のファイルで不要な記述は削除します。
import React from 'react';
import ReactDOM from 'react-dom';
import App from './App';

ReactDOM.render(
    <App />,
  document.getElementById('root')
);
import './App.css';

function App() {
  return (
    <div className="App">Hello</div>
  );
}

export default App;
Node.jsの設定
右下の+マークを押下し、新しいターミナルを開く
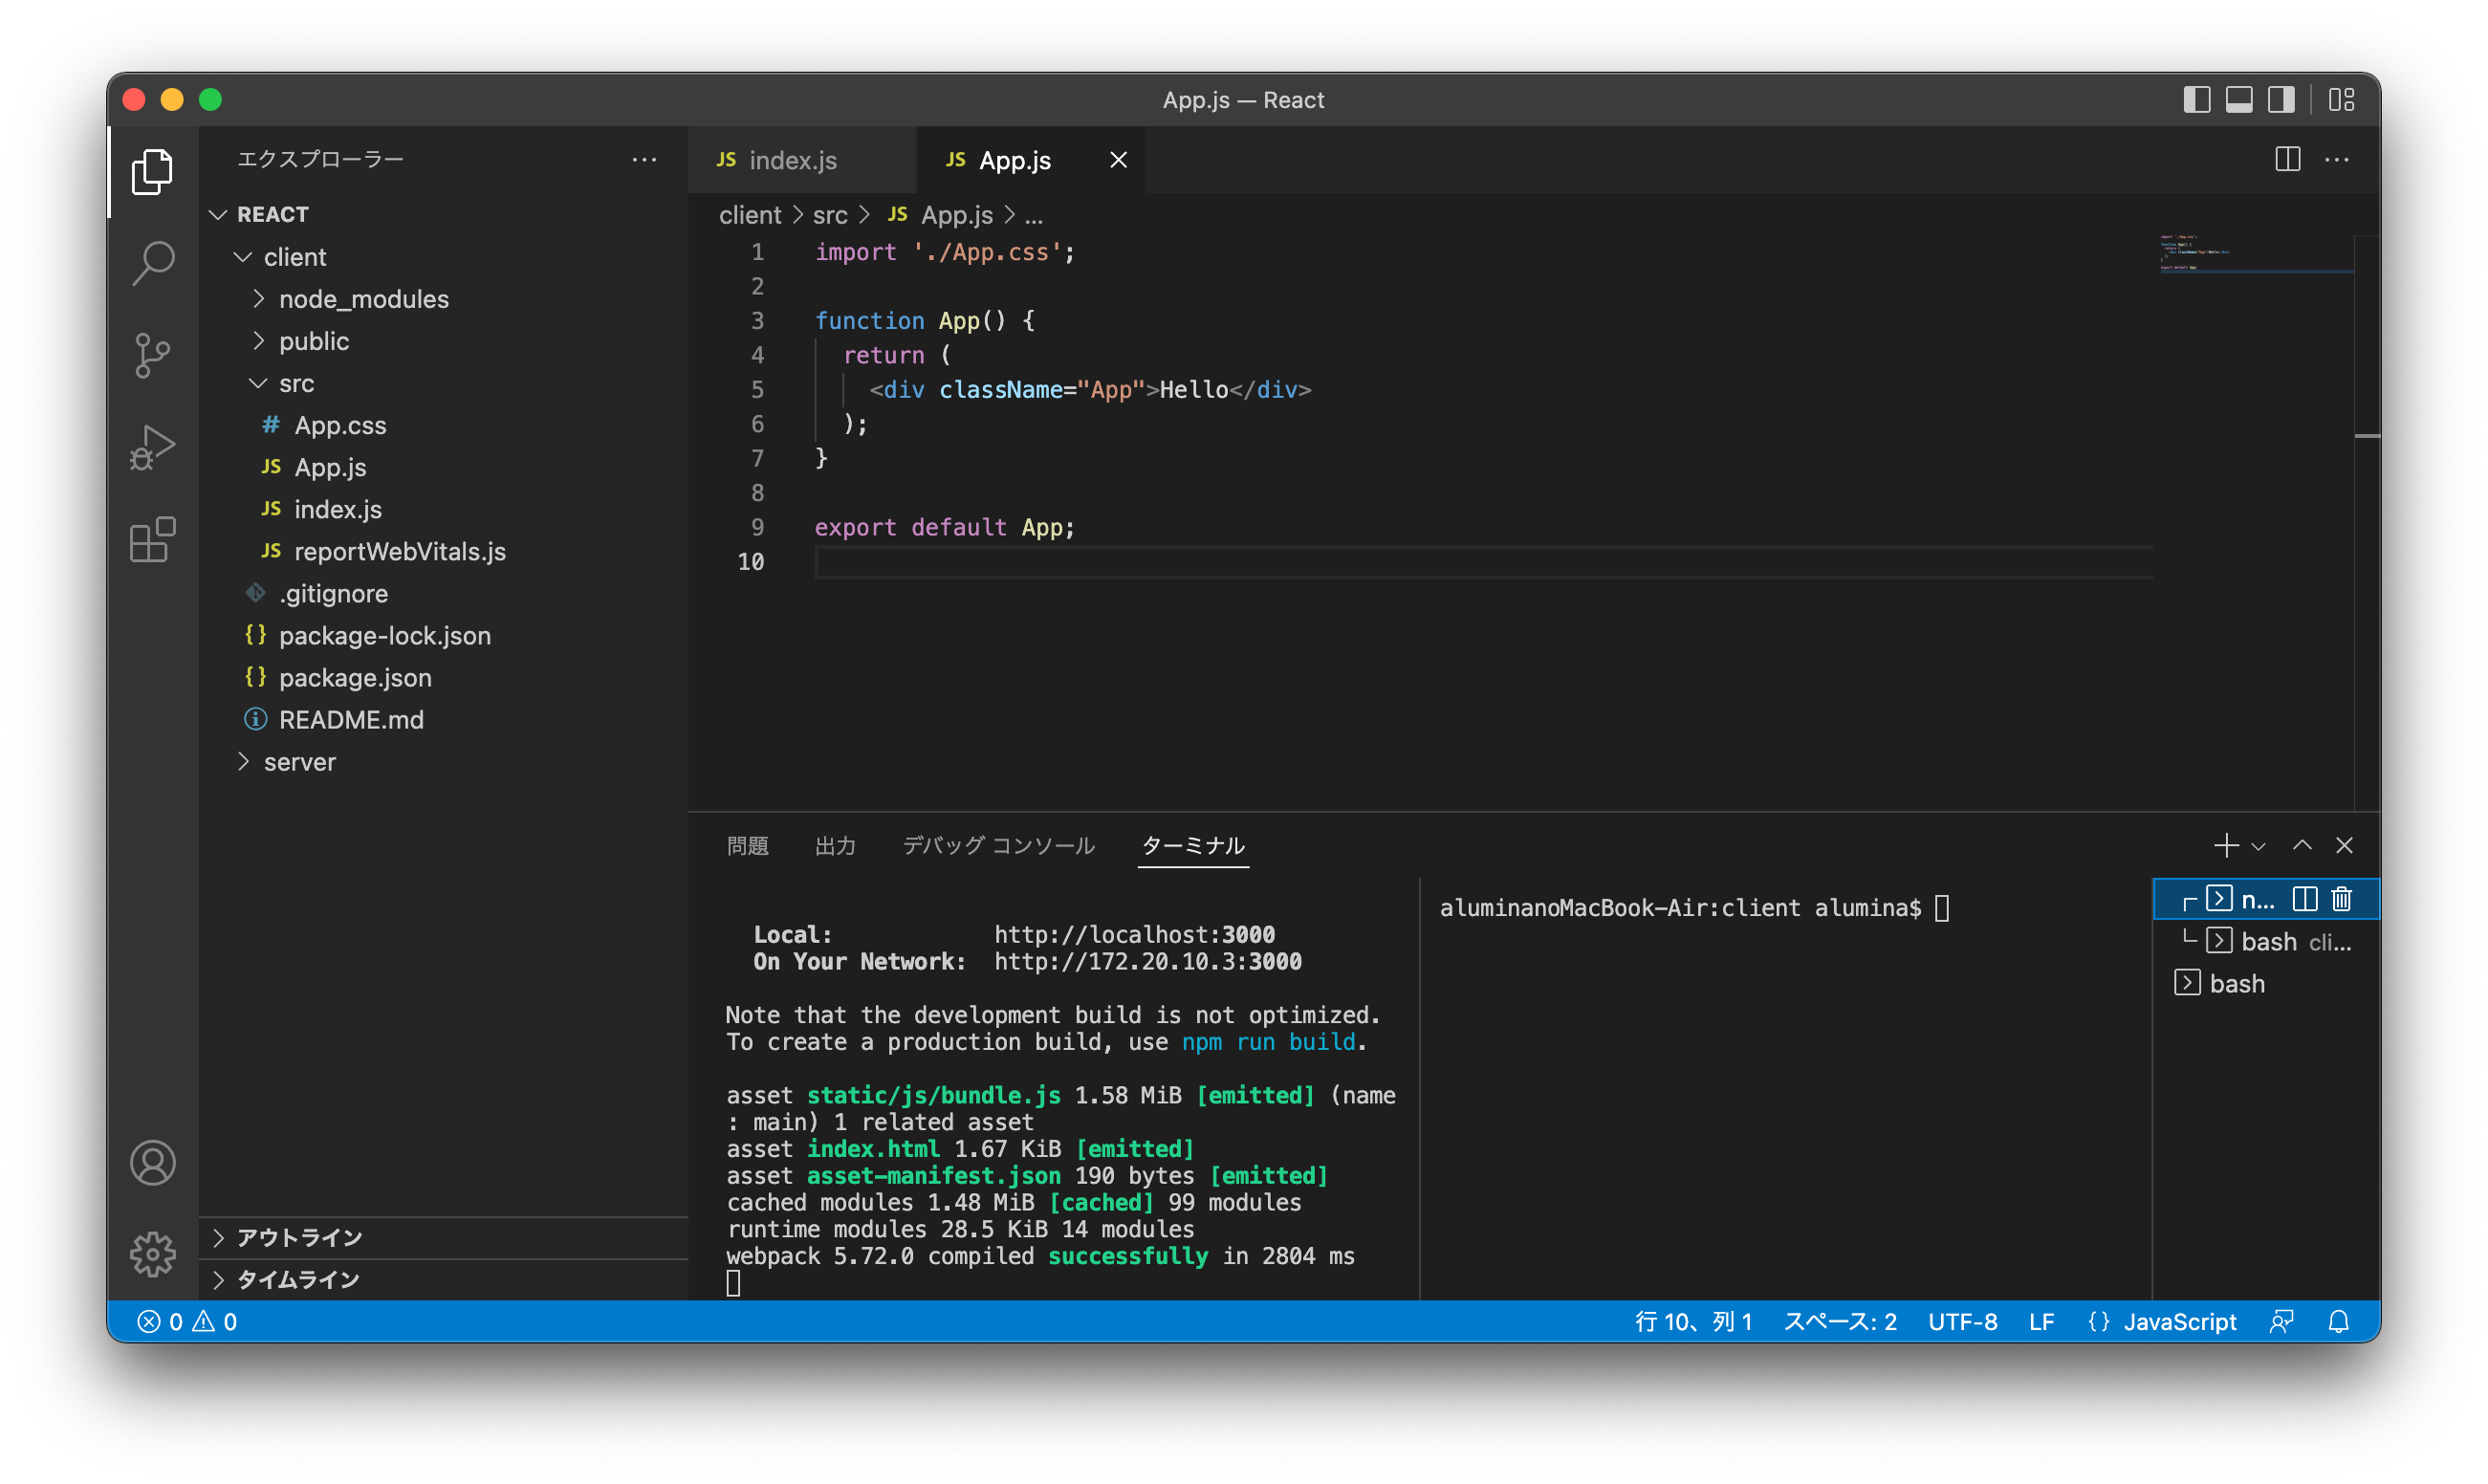
serverディレクトリへ移動
$ cd ..
$ cd server/
node.jsアプリケーションを作成する
$ npm init
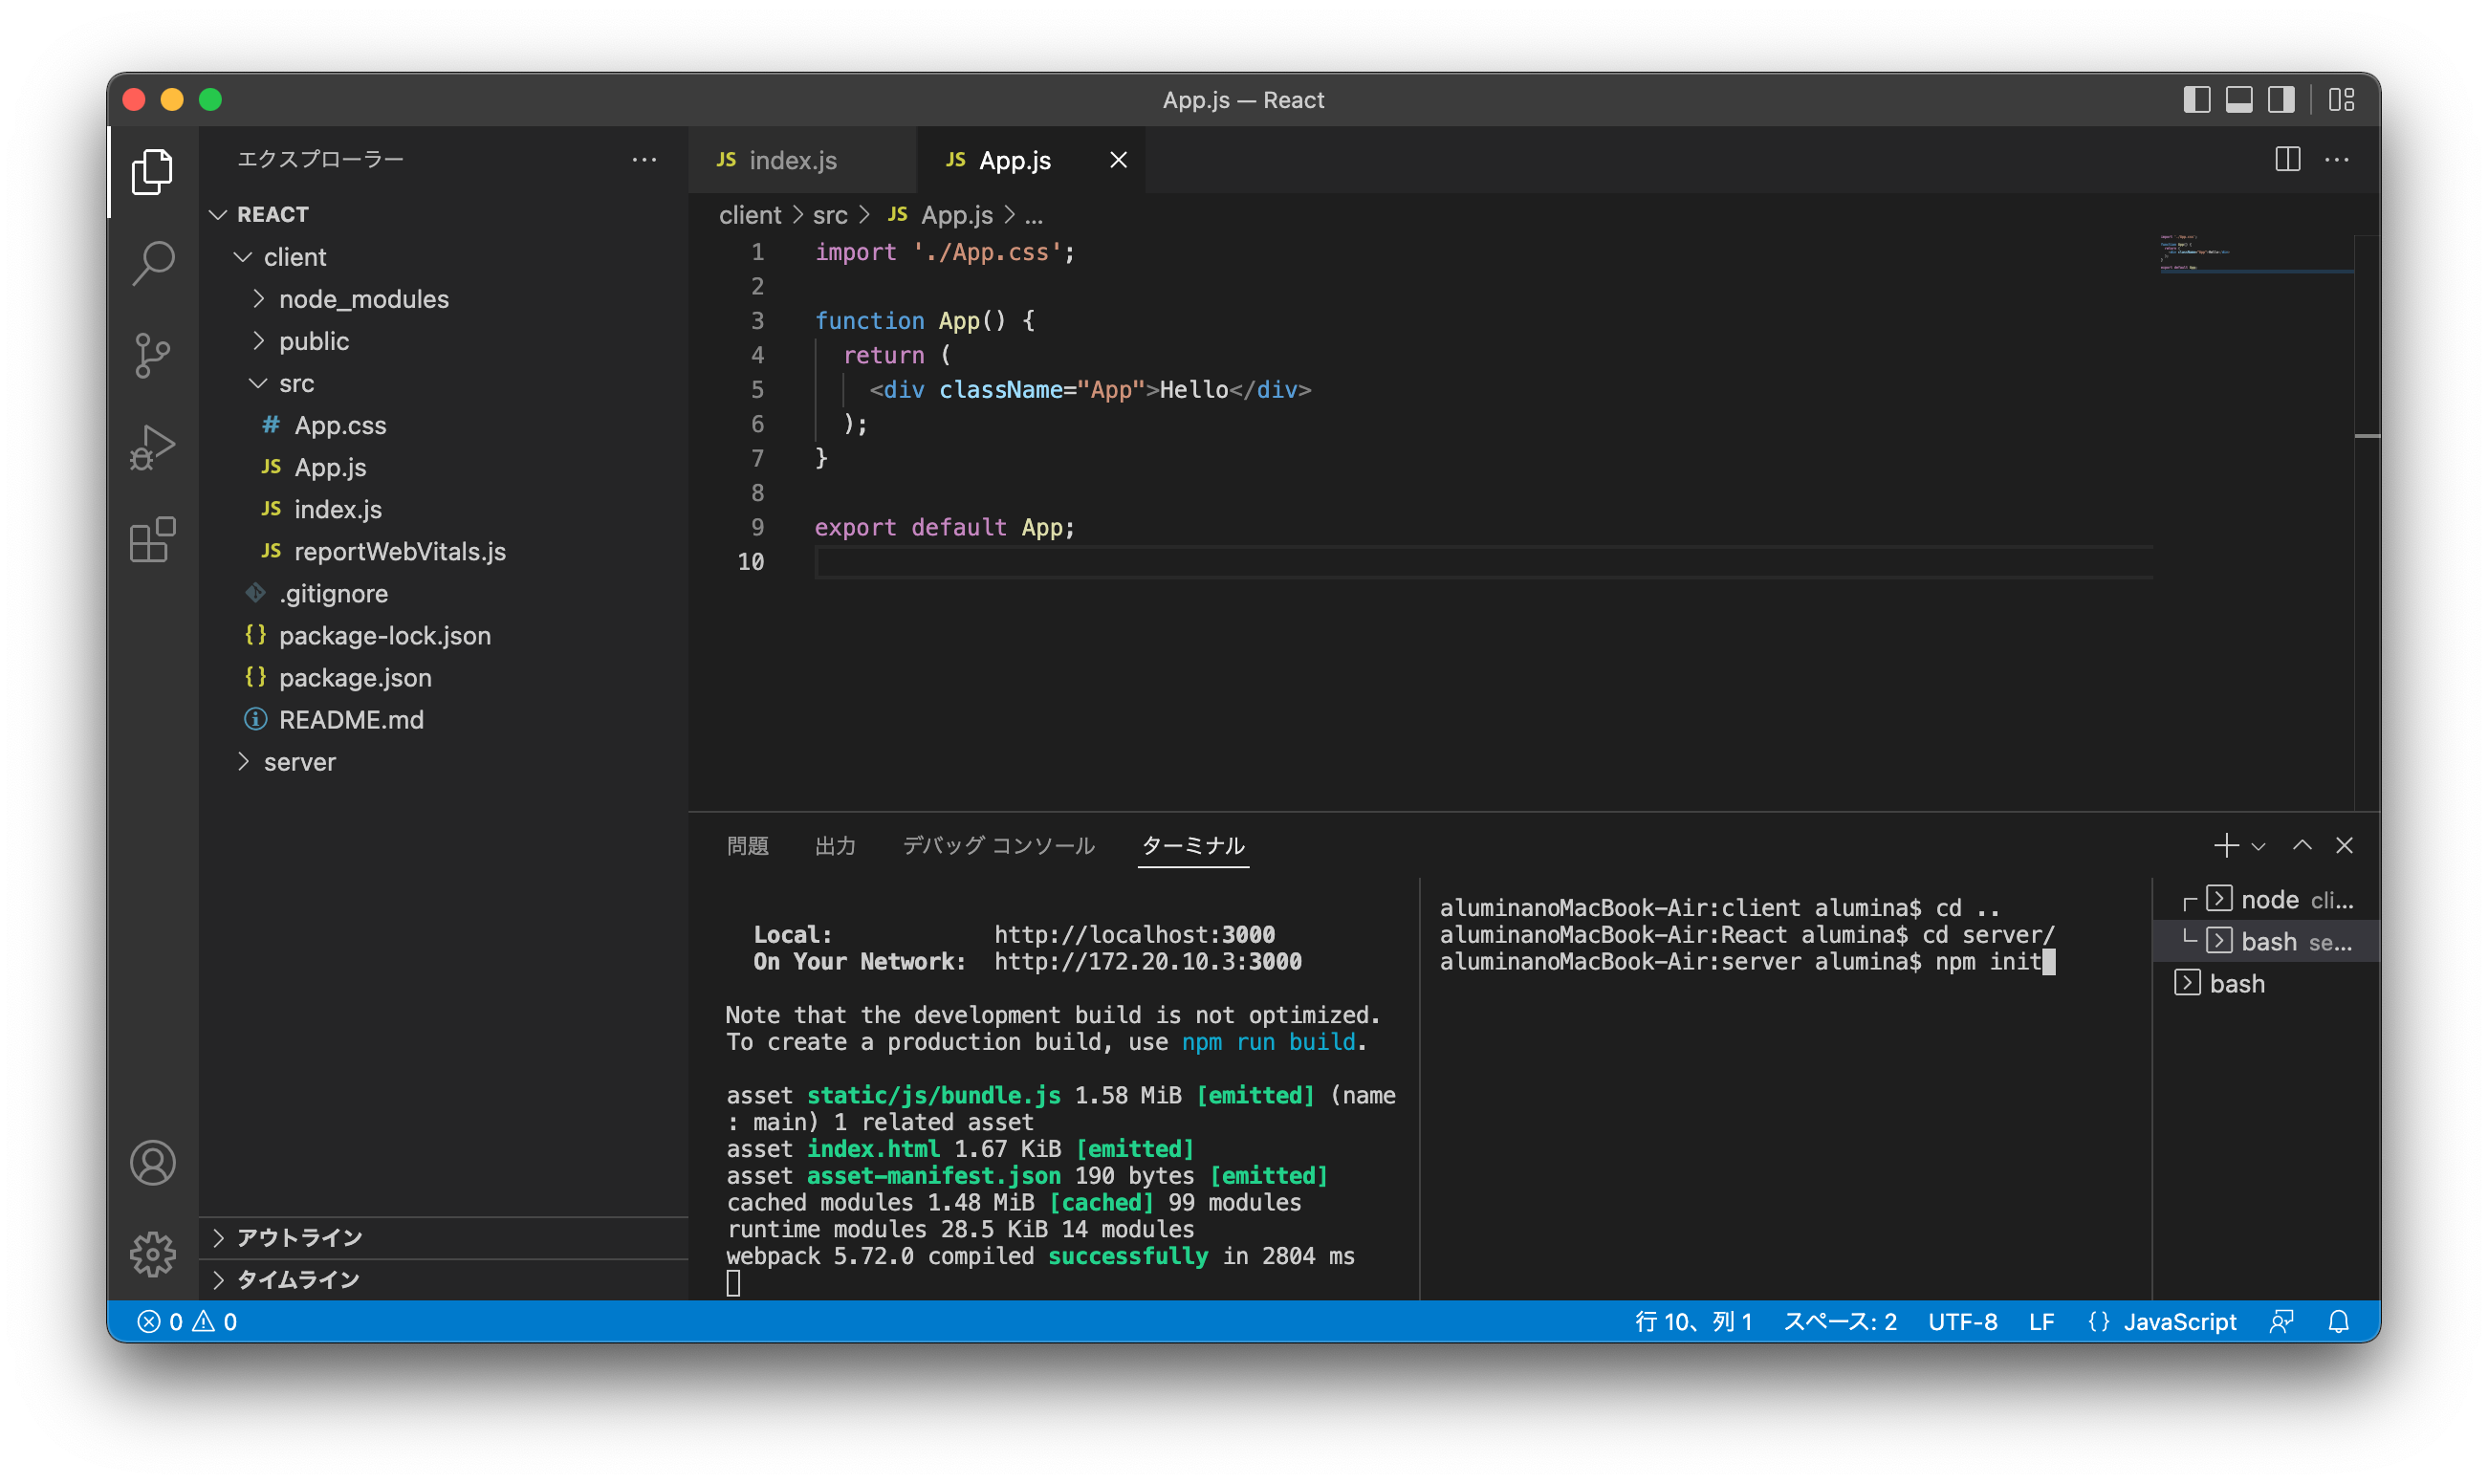
表示される質問に対しては、すべて「Enter」でOK
serverディレクトリの中にpackage.jsonが作成される
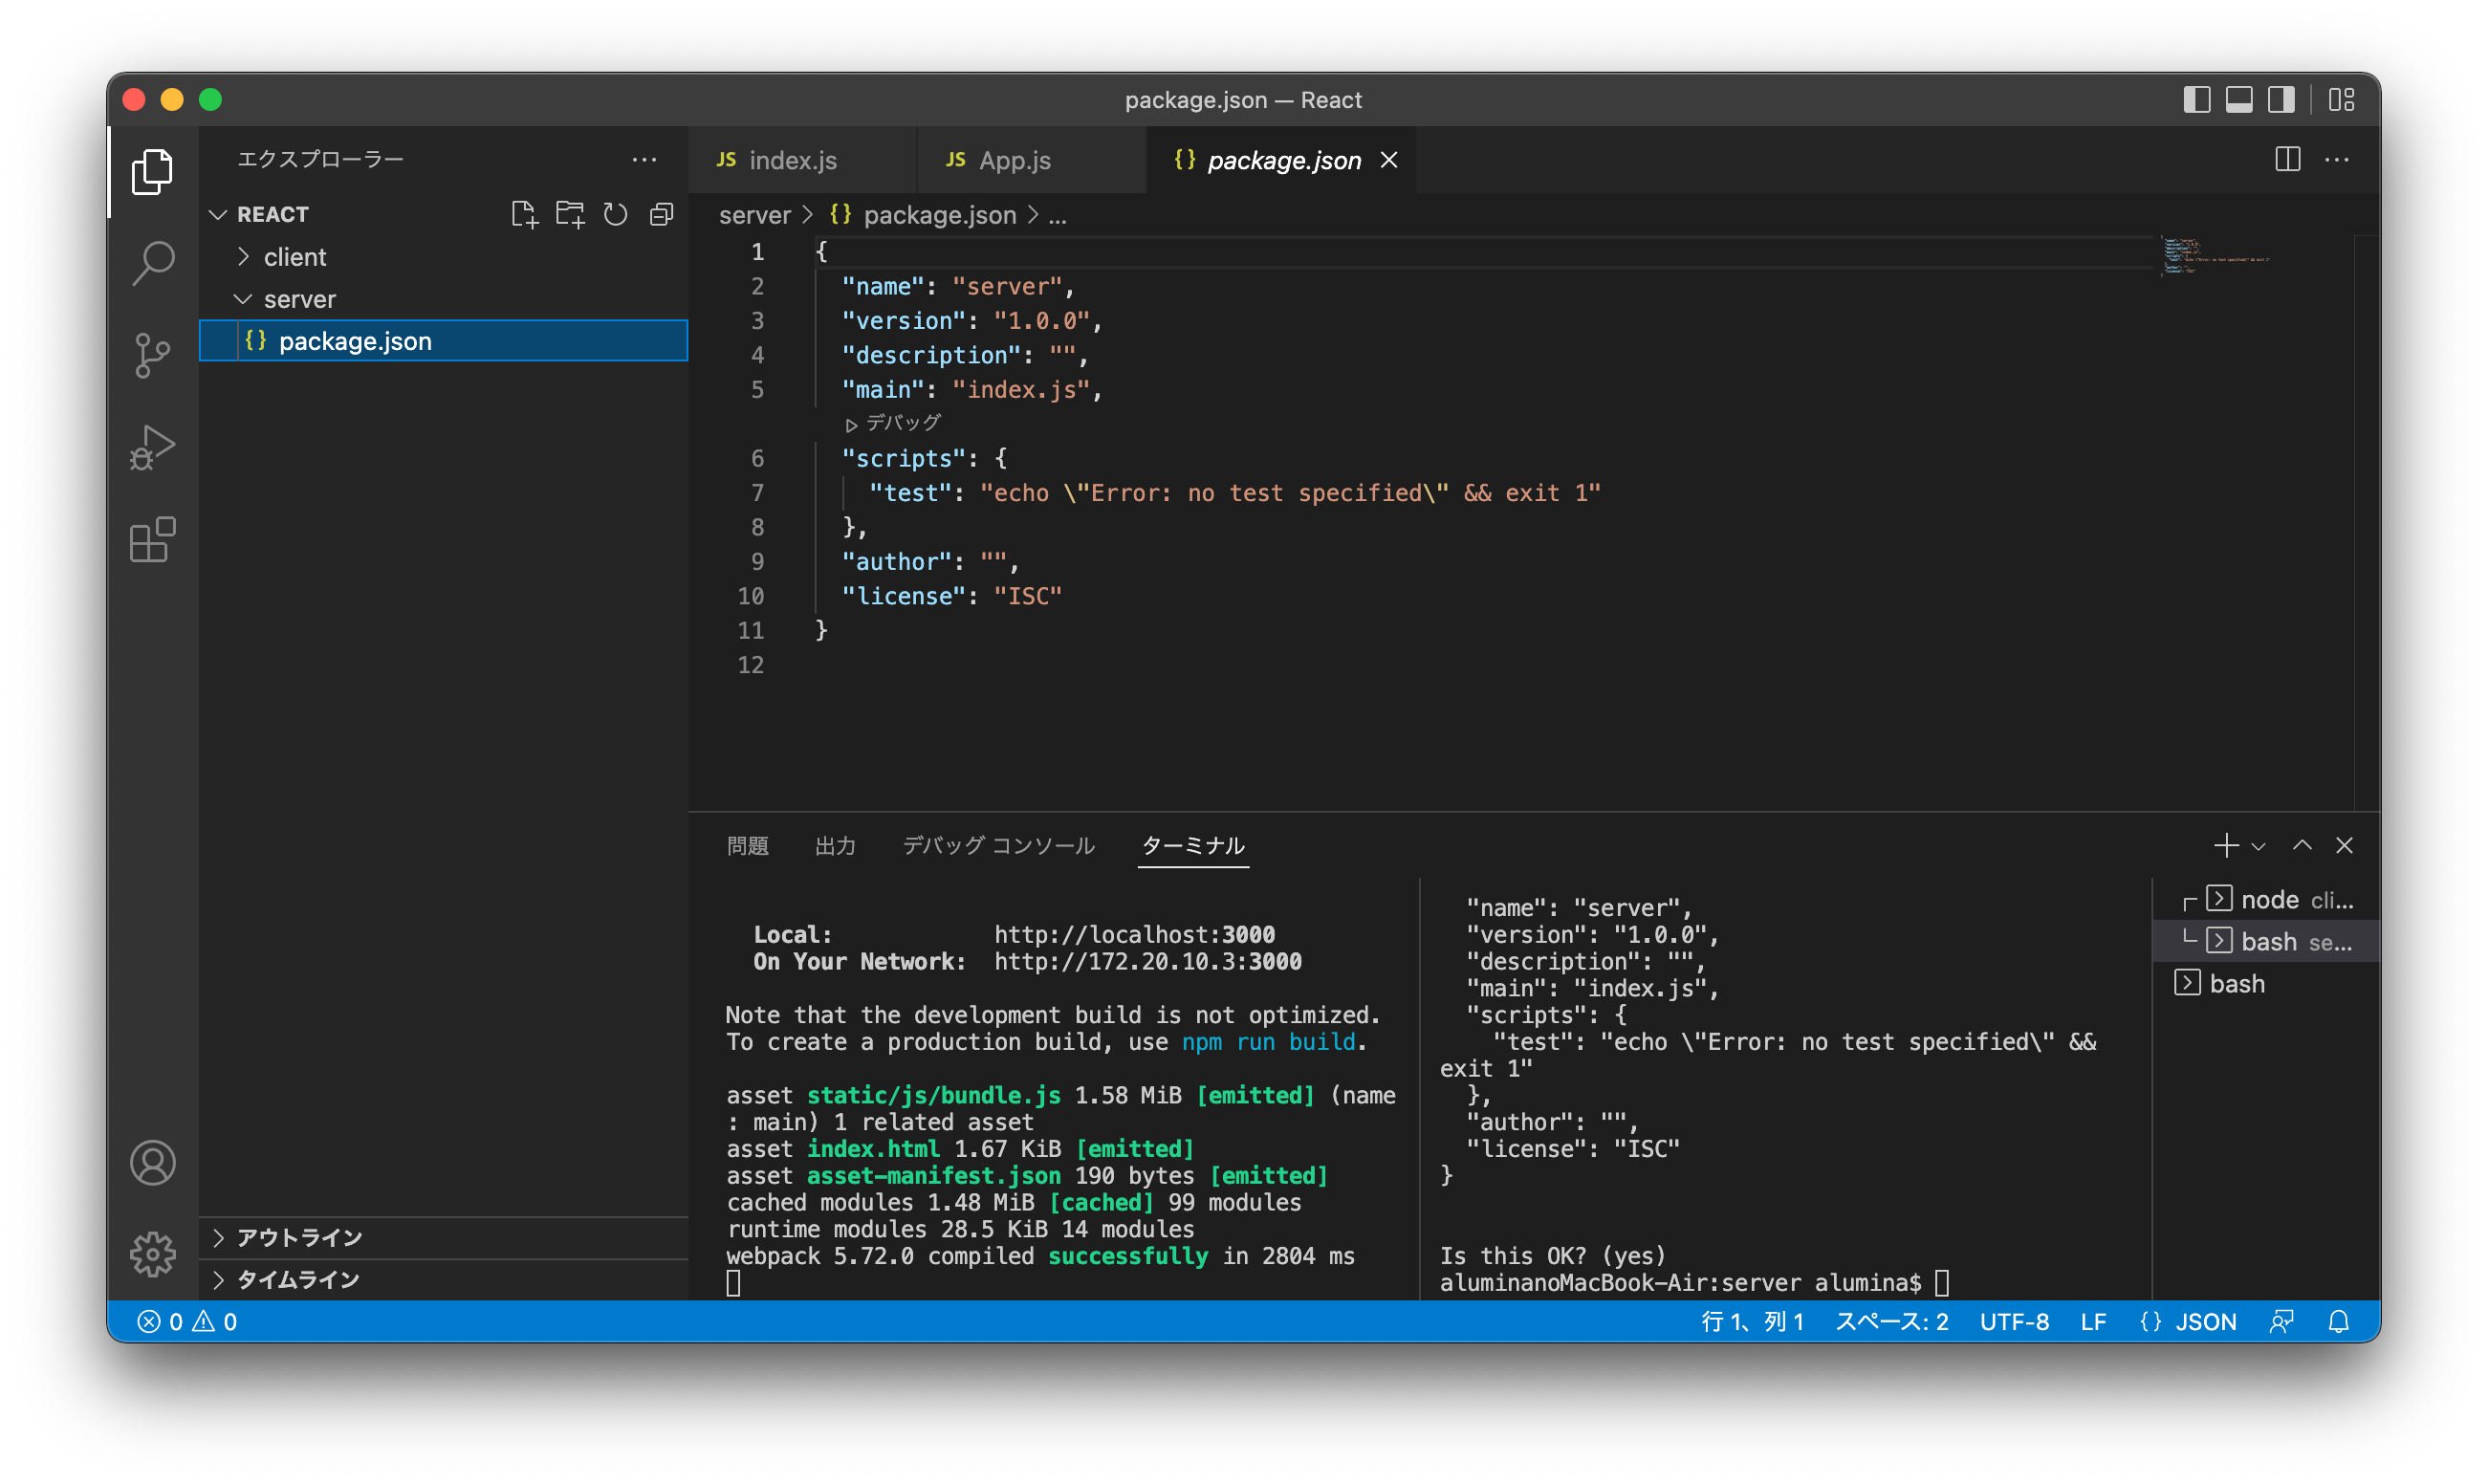
serverディレクトリの中にindex.jsファイルを作成
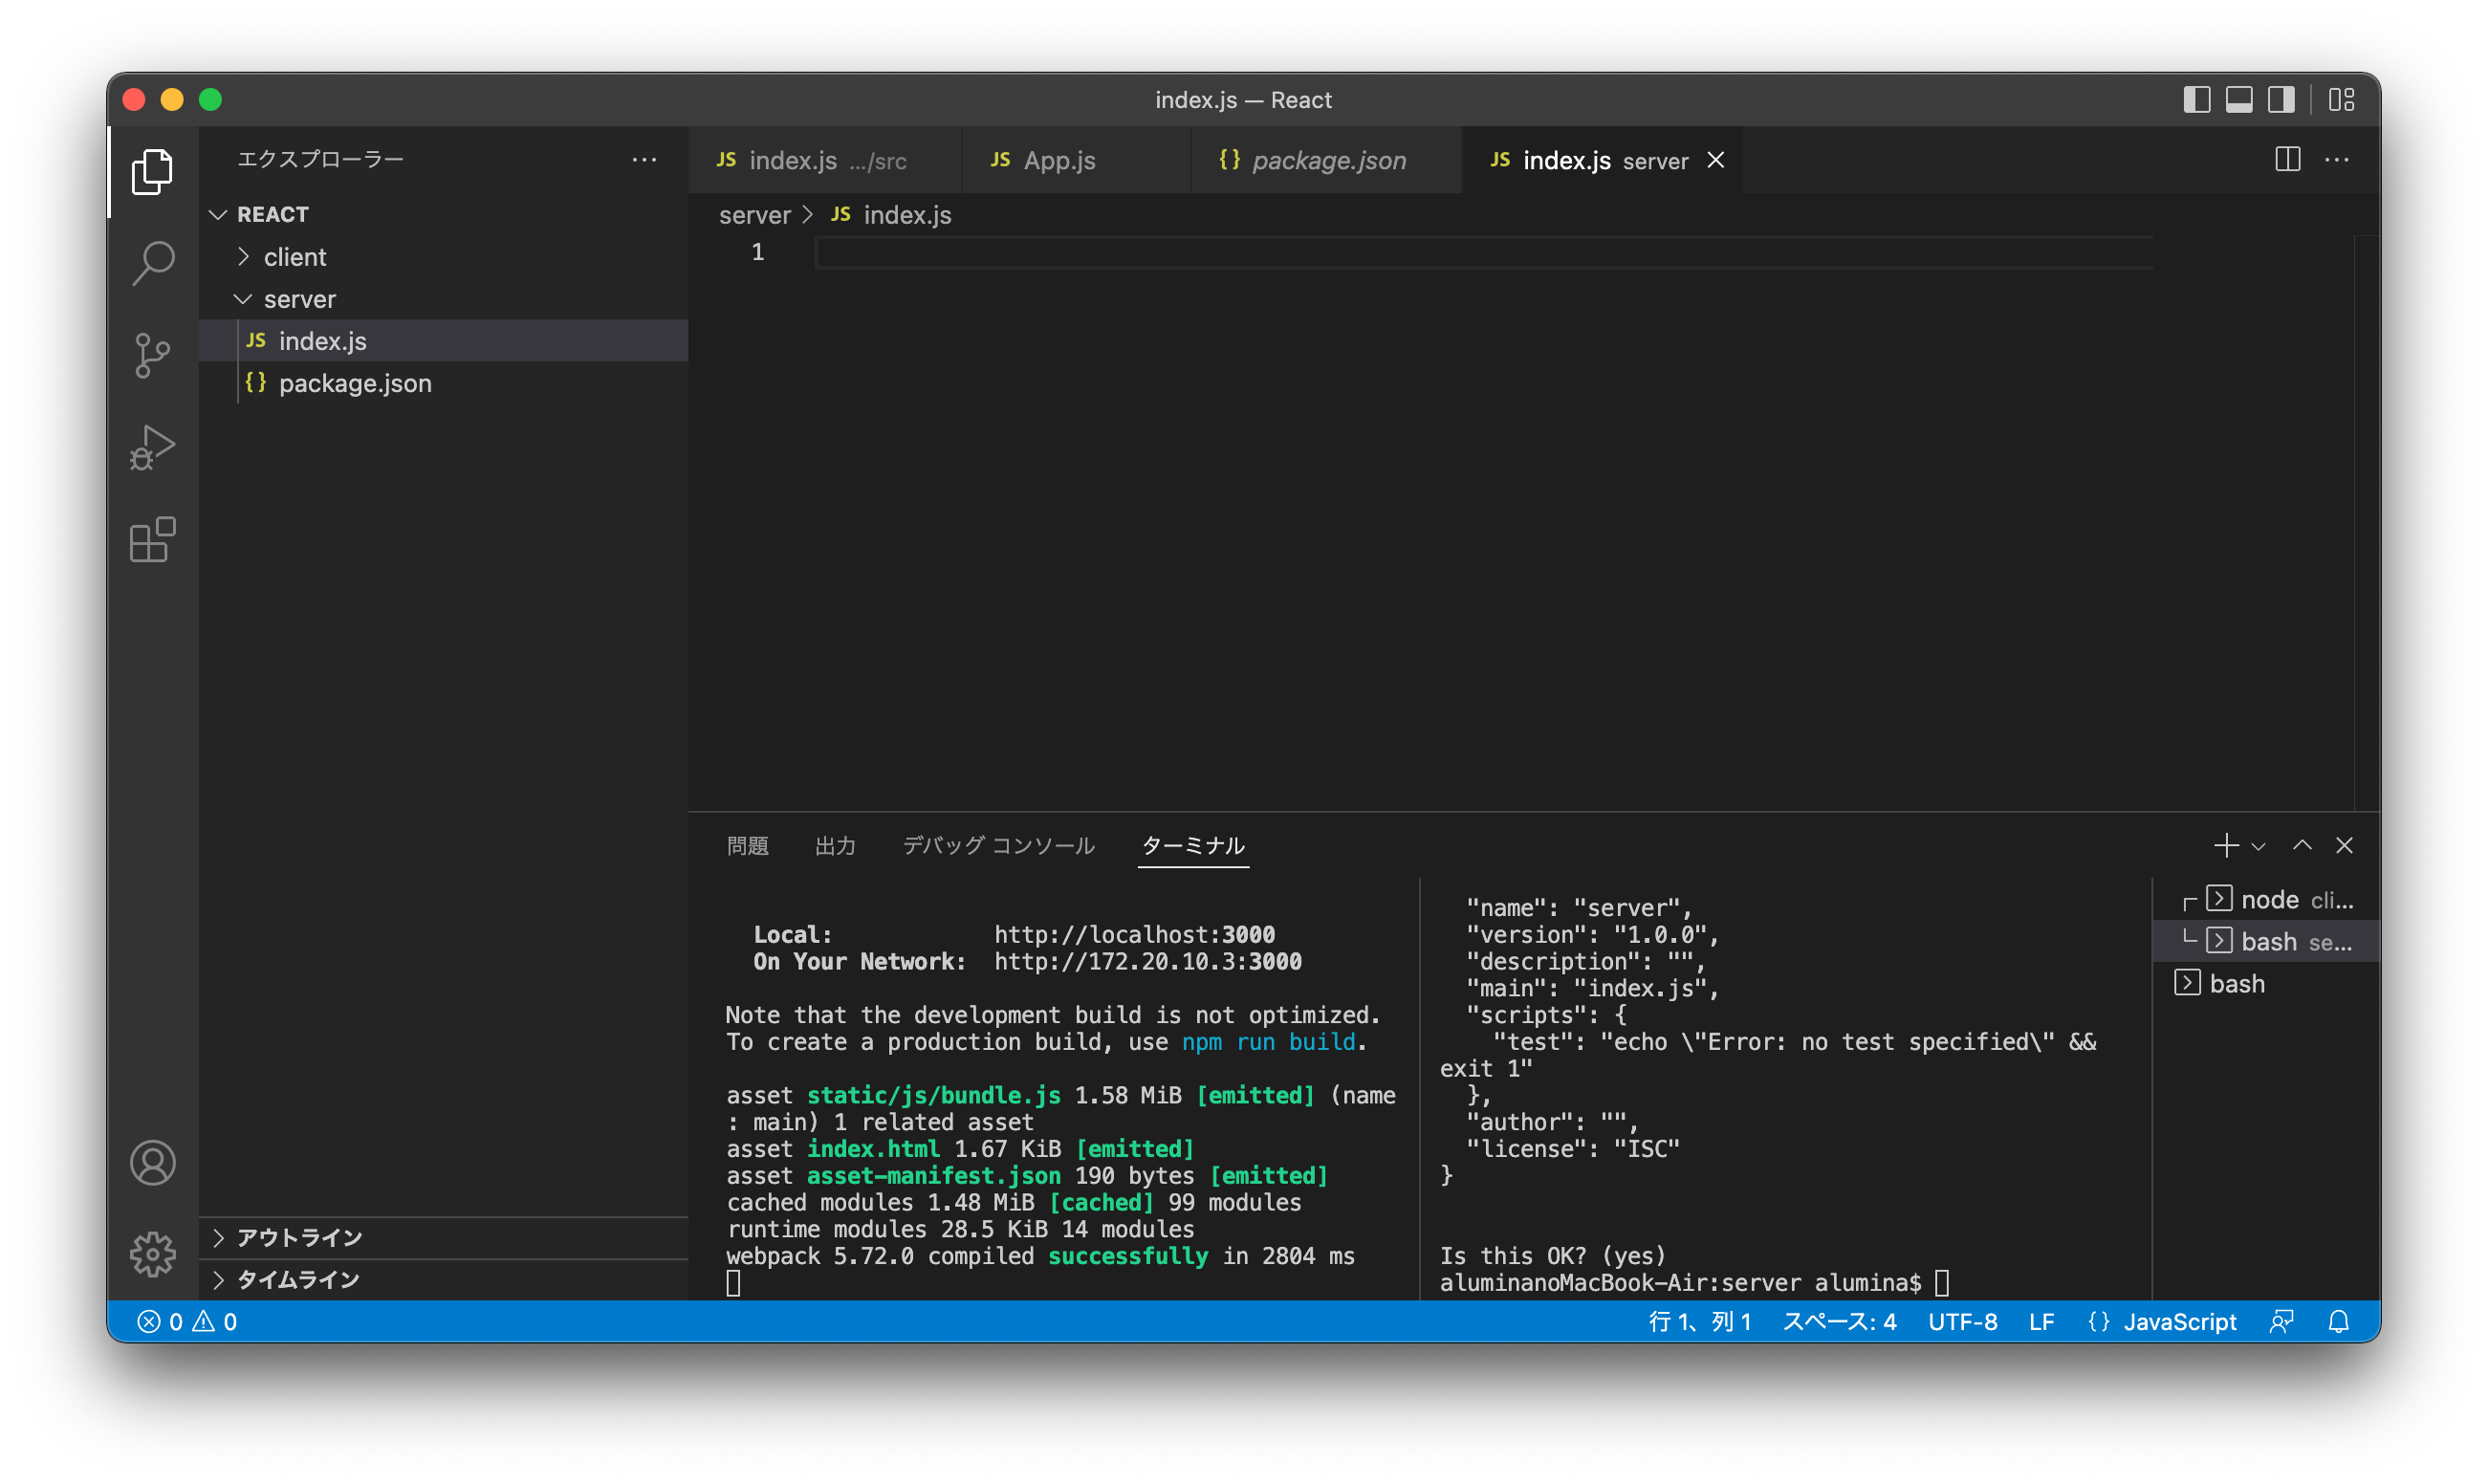
必要なモジュールのインストール
$ npm install express mysql2 nodemon cors

express: フレームワーク
mysql2: DB。無印より2が良い
nodemon: ソースを監視して、自動でサーバーを再起動してくれるツール
cors: cors対策
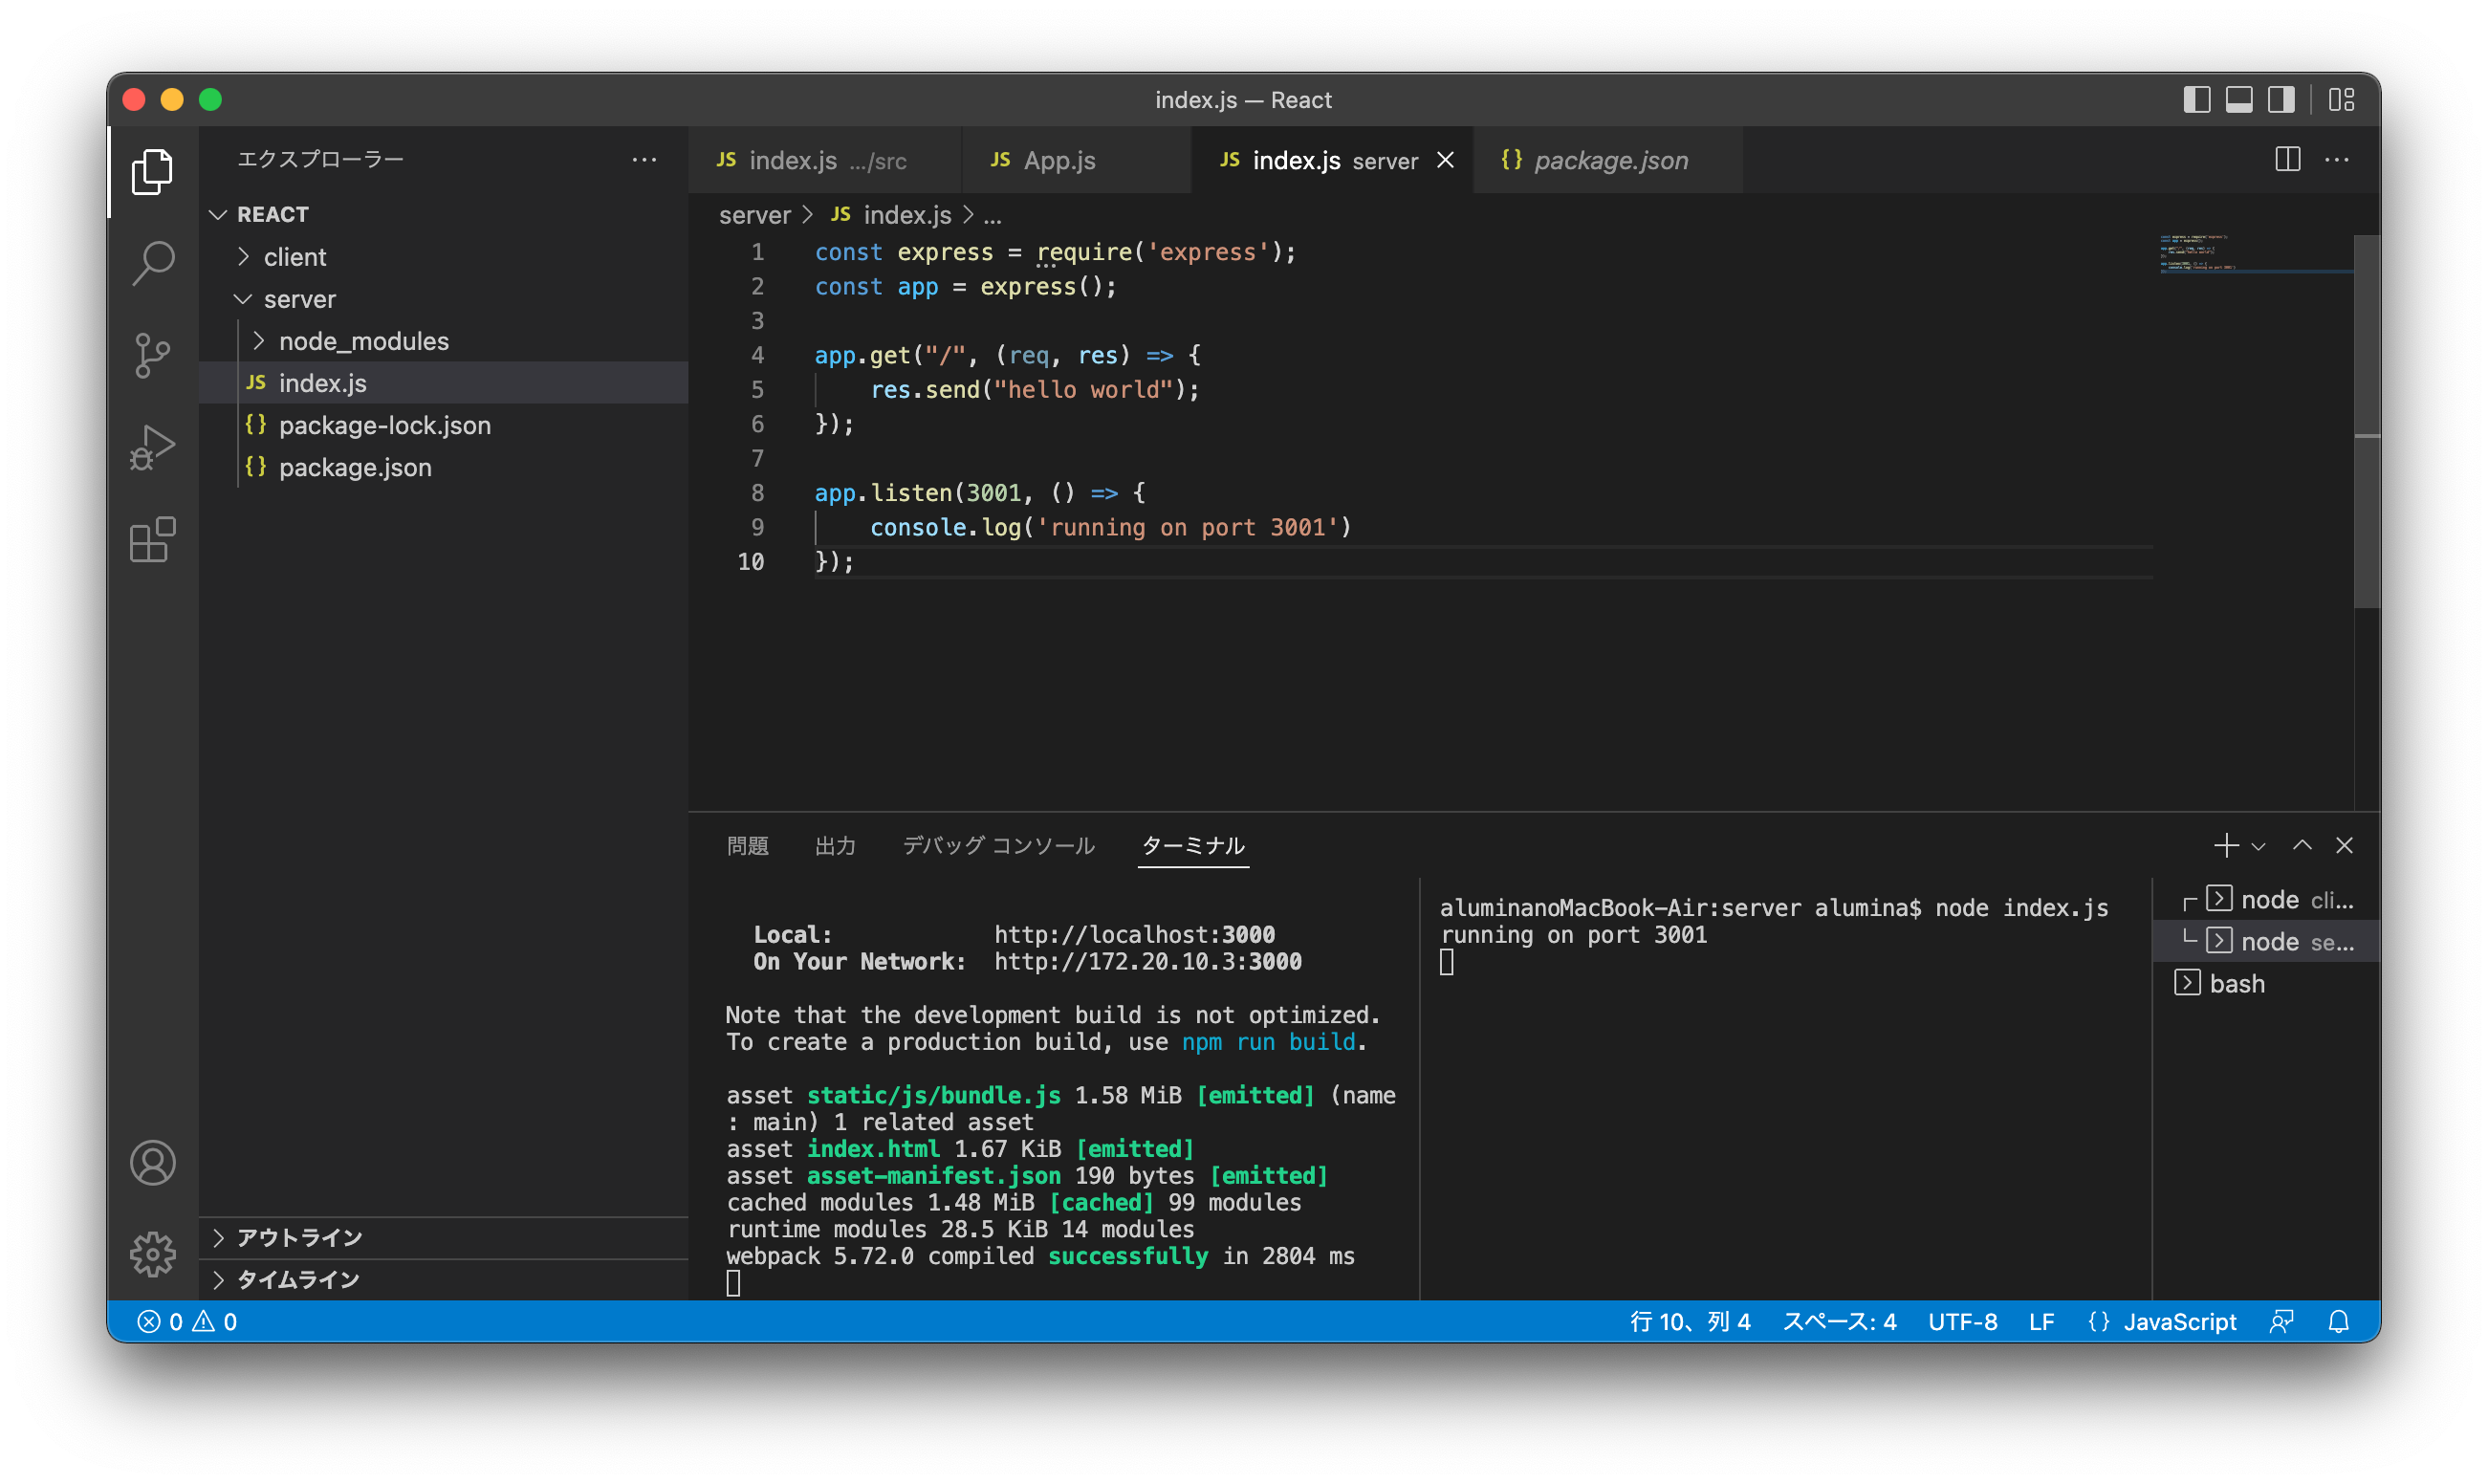
node.js側の画面表示
const express = require('express');
const app = express();

app.get("/", (req, res) => {
    res.send("hello world");
});

app.listen(3001, () => {
    console.log('running on port 3001');
});
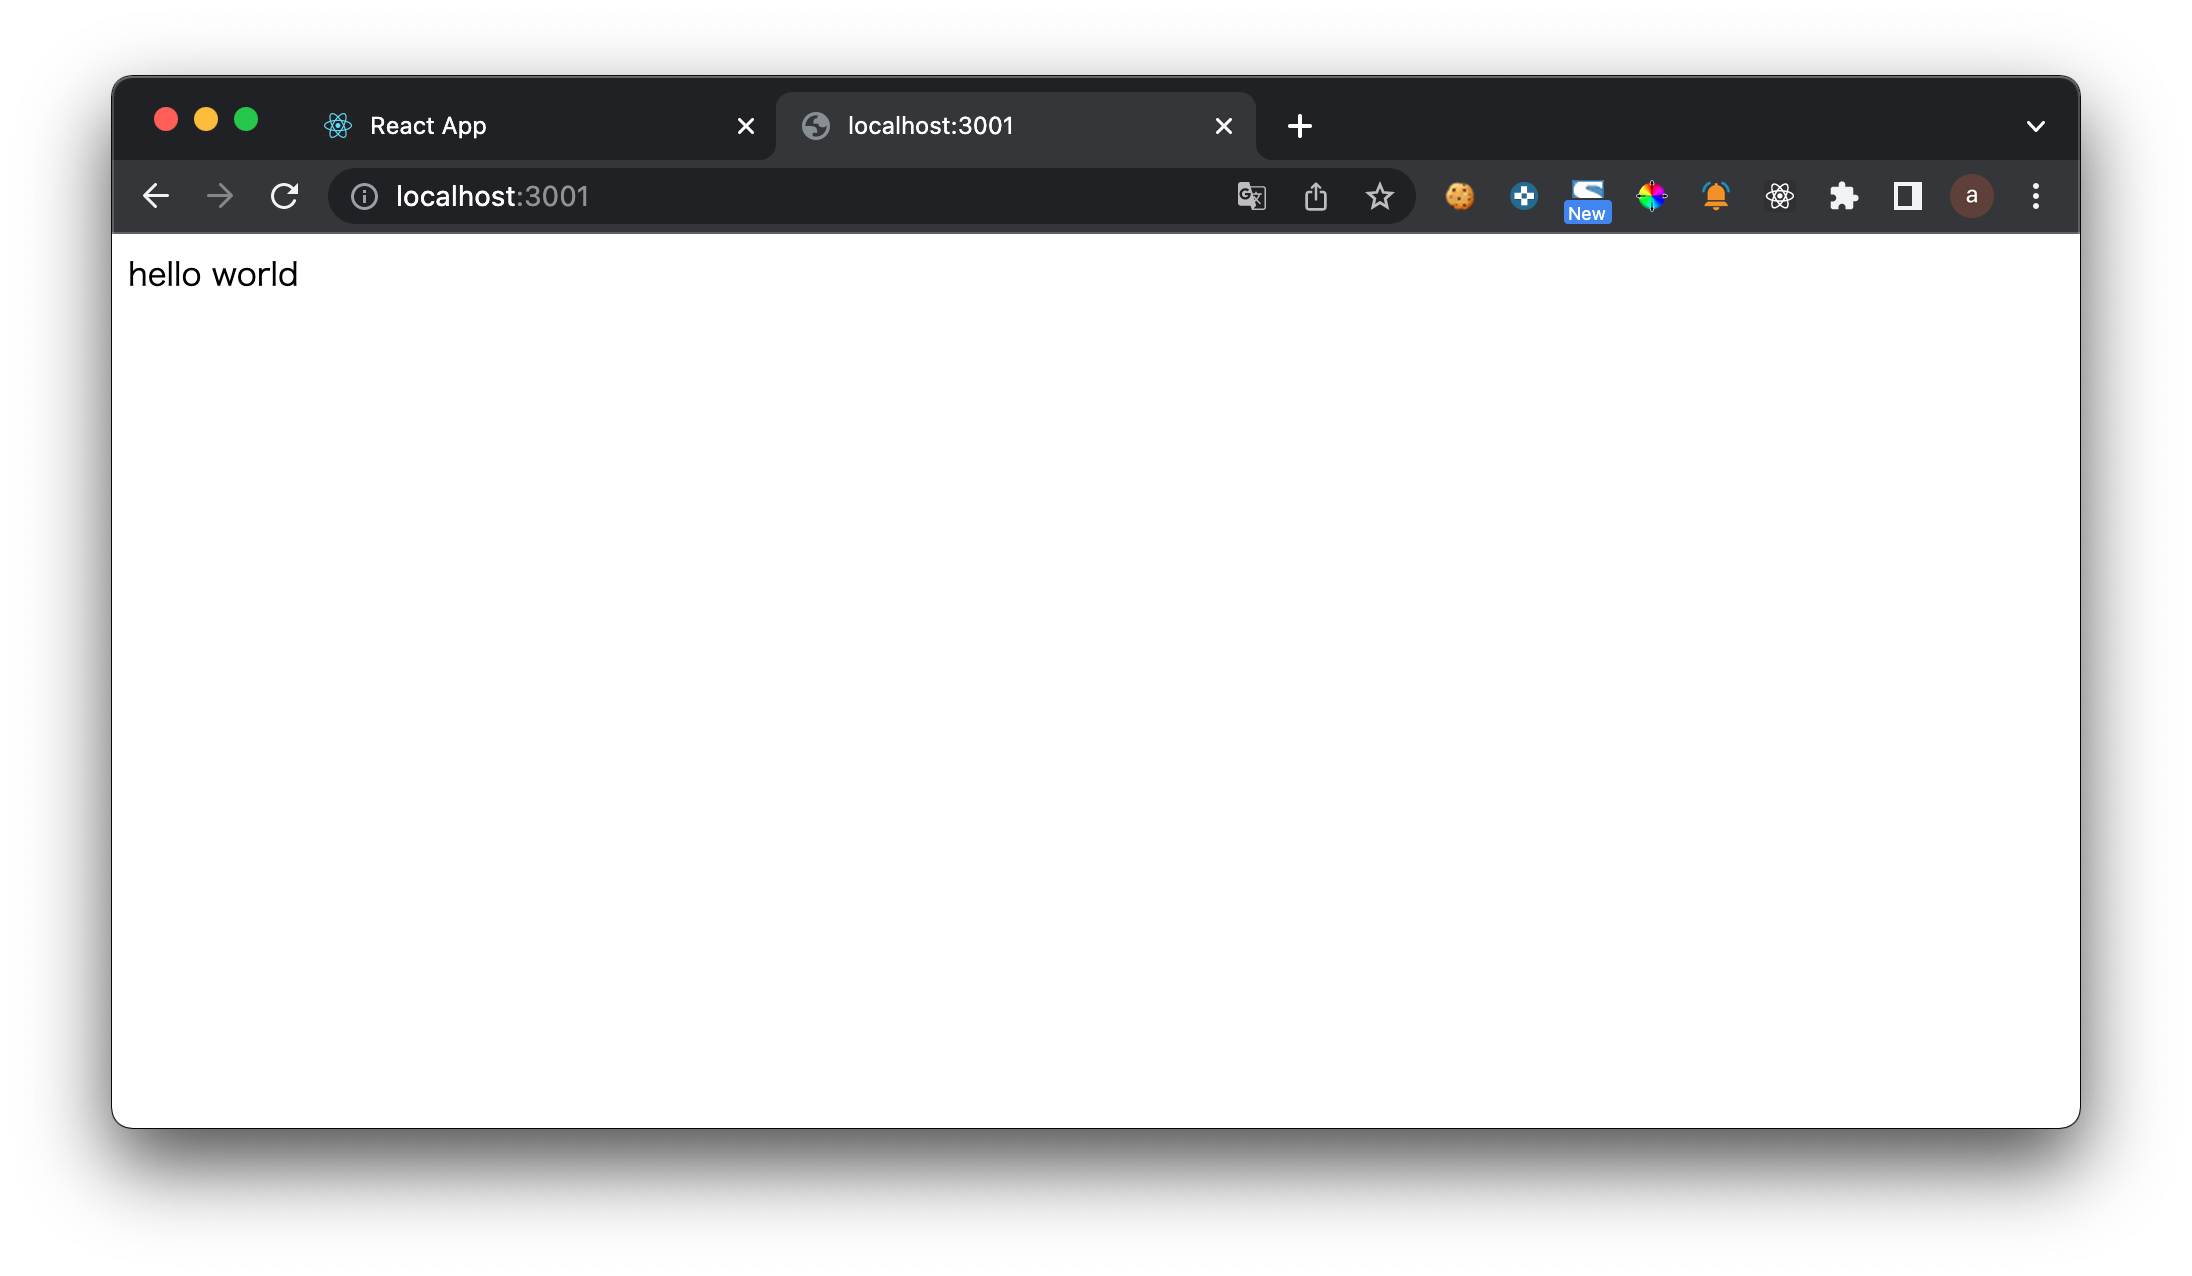
node.jsを実行
$ node index.js
node.jsのサーバーがファイル編集をトリガーに自動で再起動するように設定
  "scripts": {
+    "start": "node index.js",
+    "devStart": "nodemon index.js",
    "test": "echo \"Error: no test specified\" && exit 1"
  },
右側のターミナルで実行中のものは一度Ctrl+cで終了し、再度以下コマンドで起動
$ npm run devStart
MySQLに接続し、任意のテーブルからデータを取得して返す
const express = require('express');
const app = express();
+ const mysql = require('mysql2');

+ const db = mysql.createPool({
+   host: 'localhost',
+   user: 'root',
+   password: 'password',
+   database: 'dbname',
+ });

app.get("/", (req, res) => {

+   const sqlSelect = "SELECT * FROM category ORDER BY id";
+   db.query(sqlSelect, (err, result) => {
+       res.send(result);
+   });

-   res.send("hello world");
});

app.listen(3001, () => {
    console.log('running on port 3001');
});
画面にSELECT結果が表示されれば成功
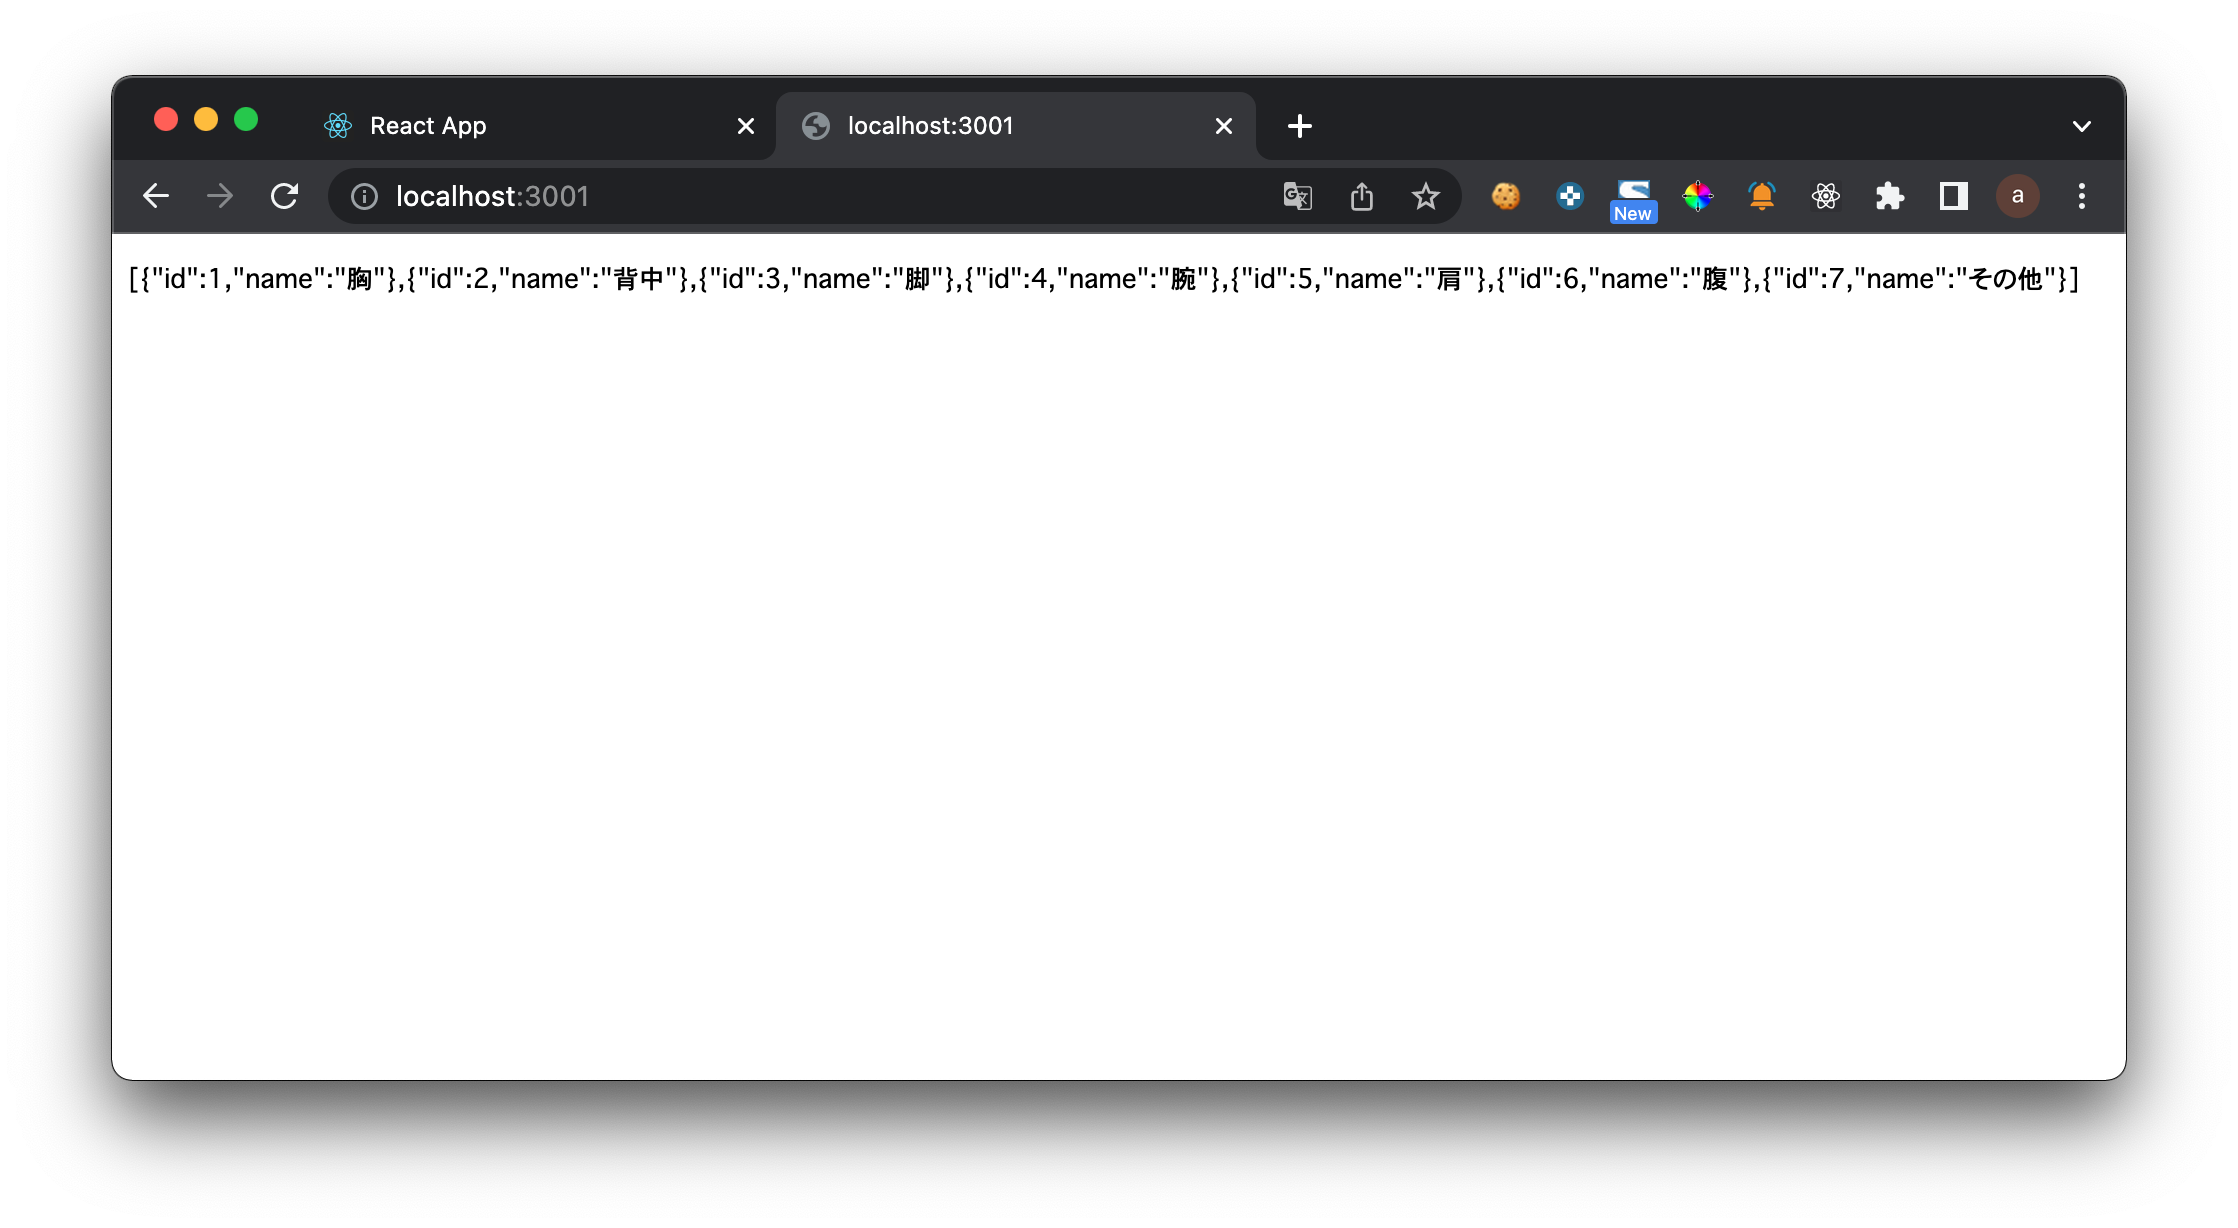
続いて、client側から呼び出すため、リクエストURLをAPI形式に変更
また併せてCORS対策を追加
const express = require('express');
+ const cors = require('cors');
const app = express();
const mysql = require('mysql2');

:

+ app.use(cors());

+ app.get("/api/get/category", (req, res) => {
    const sqlSelect = "SELECT * FROM category ORDER BY id";
    db.query(sqlSelect, (err, result) => {
        res.send(result);
    });
});

:
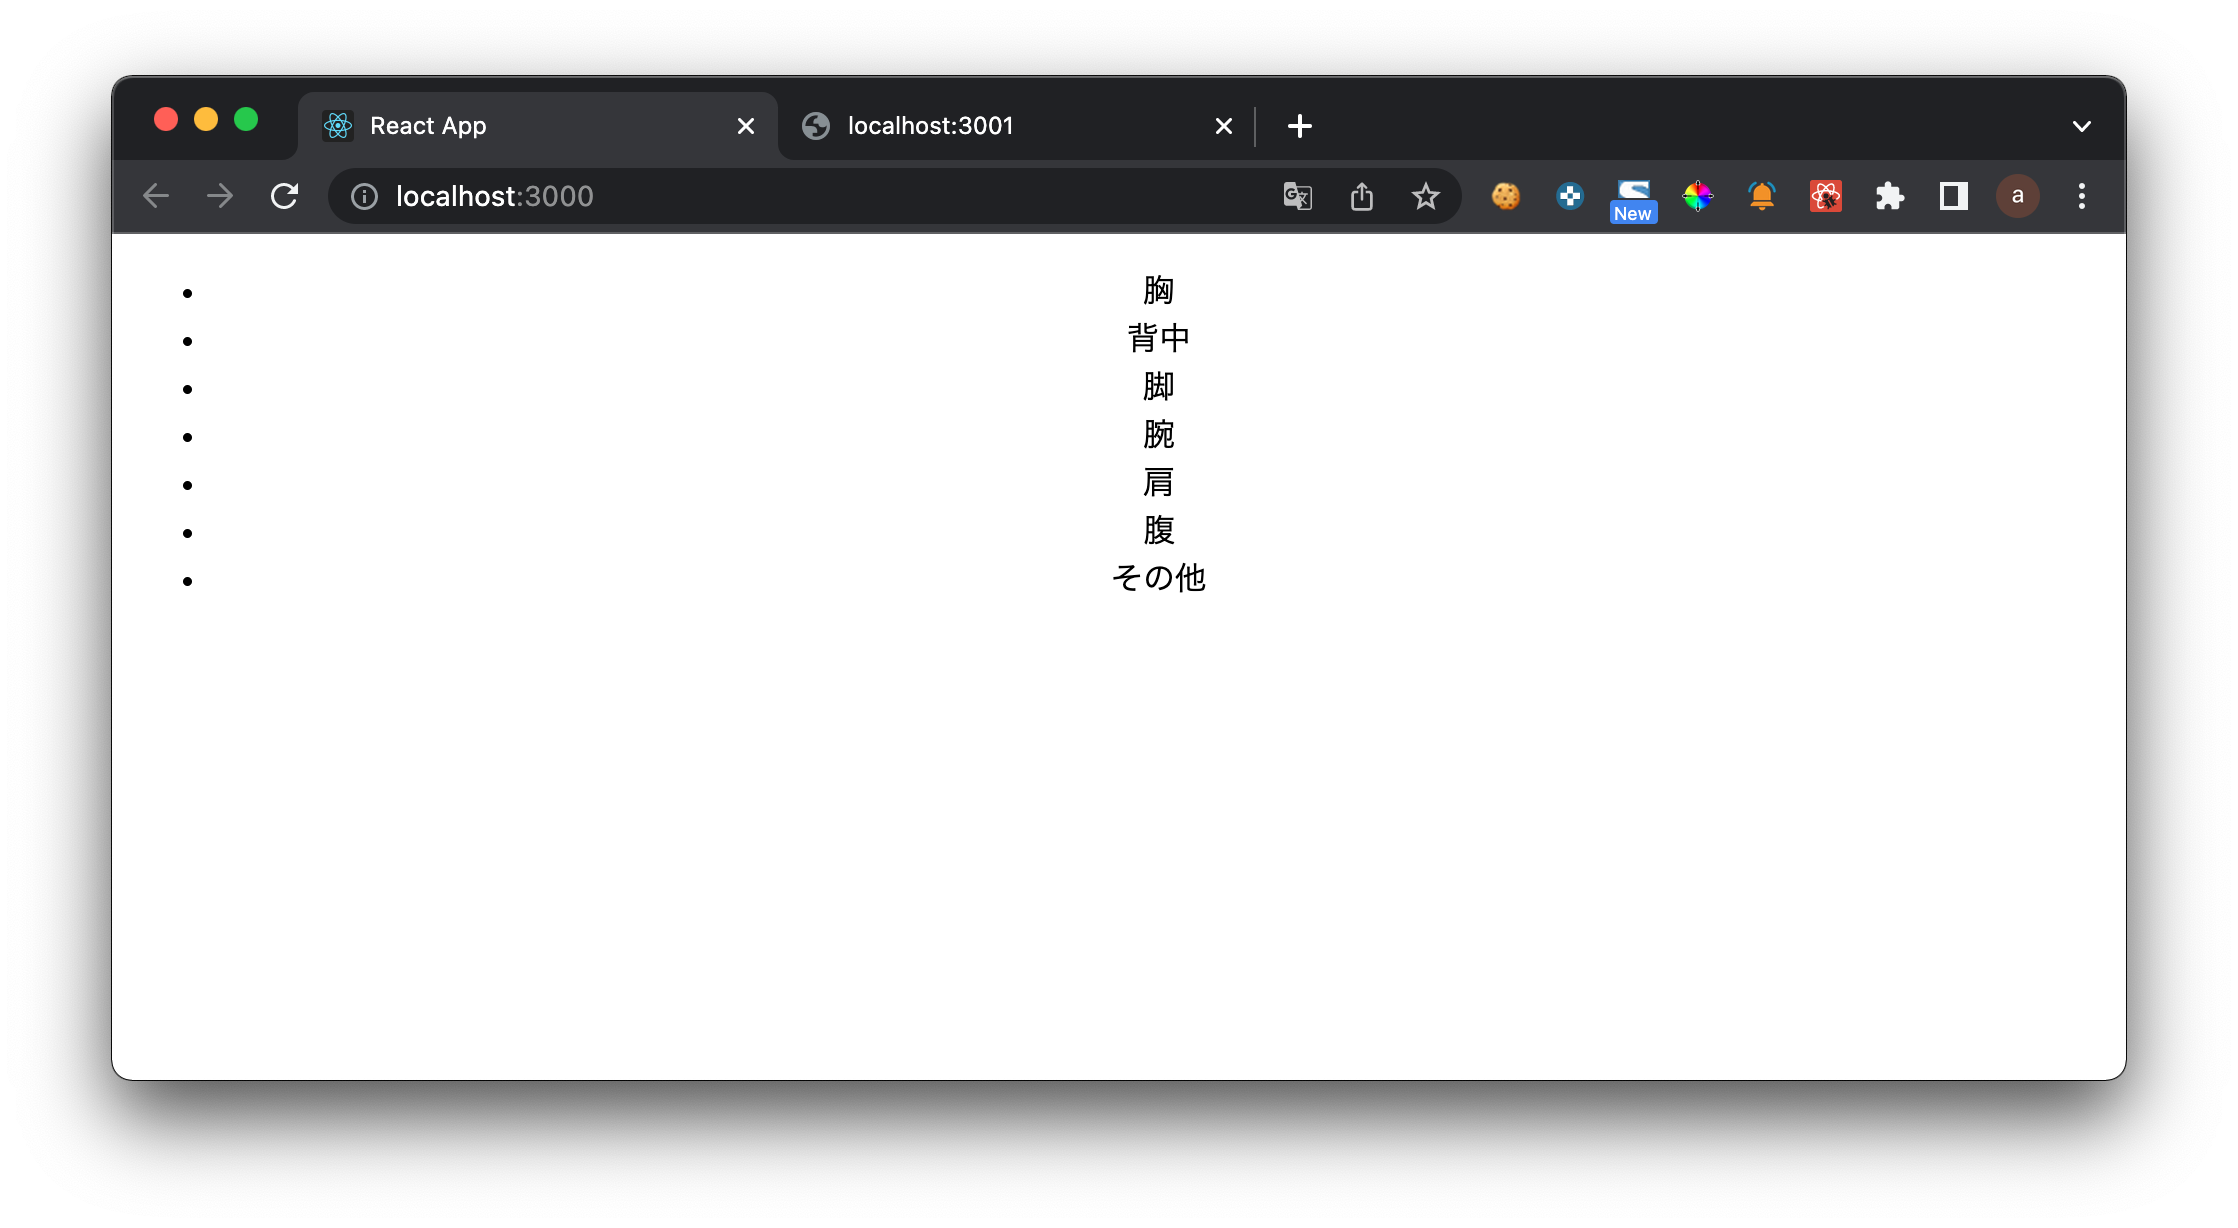
client側では、先ほど作成したAPIを叩いて結果をリスト表示します。
補足:Reactのライフサイクルは以下の3つ
Mounting(生まれた時) → Updating(状態が変化した時) → Unmounting(コンポーネントがなくなる時)
useEffectの第二引数に空の配列を渡すと、Mounting時のみ呼ばれるようになるのでページ表示時のみAPI実行となる。
第二引数の値が変化した時だけ呼ばれるようになるので、仮にstateを入れていると、Mounting時、stateの変化時(Updating)に呼ばれるようになる。
import React, { useState, useEffect } from "react";
import './App.css';
+ import Axios from "axios";

function App() {
+ const [categoryList, setCategoryList] = useState([]);

+ useEffect(() => {
+   Axios.get("http://localhost:3001/api/get/category").then((response) => {
+     setCategoryList(response.data);
+   });
+ }, []);
  return (
    <div className="App">
+     <ul>
+       {categoryList.map((val, index) => {
+         return <li key={index}>{val.name}</li>
+       })}
+     </ul>
    </div>
  );
}

export default App;
おまけ
このようにNode.jsのindex.jsに対して複数APIを記述していくことが可能。
postパラメータを受け取ってからのinsertの例も追加しておく
:
app.get("/api/get/category", (req, res) => {
    const sqlSelect = "SELECT * FROM category ORDER BY id";
    db.query(sqlSelect, (err, result) => {
        res.send(result);
    });
});

+ app.post("/api/insert/category", (req, res) => {
+   const name = req.body.name;
+   const sqlInsert = "INSERT INTO category (name) VALUES (?)";
+   db.query(sqlInsert, [name], (err, result) => {
+       console.log(result);
+   });
+ });
:
:
  useEffect(() => {
    Axios.get("http://localhost:3001/api/get/category").then((response) => {
      setCategoryList(response.data);
    });
  }, []);

+ const submitCategory = () => {
+   Axios.post("http://localhost:3001/api/insert/category", {
+     name: categoryName,
+   }).then(() => {
+     alert("successful insert");
+   });
+ };
:
