M5StickCPlus のビルド方法
- いつも忘れるのでメモ
ビルド方法
よくあるのは Arduino IDE ですが、あれは遅すぎるので、Visual Studio Code + PlatformIO を使おう。
Visual Studio Code をダウンロード/インストール
- https://code.visualstudio.com/download からダウンロードしてインストールする
PlatformIO IDE のインストール
- Visual Studio Code を起動する
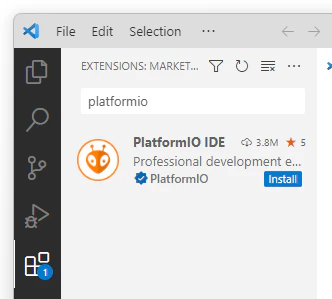
- 左のバーから Extensions を選び、PlatformIO を検索
- インストール ボタンを押下する
プロジェクトの作成
-
Visual Studio Code を起動する
-
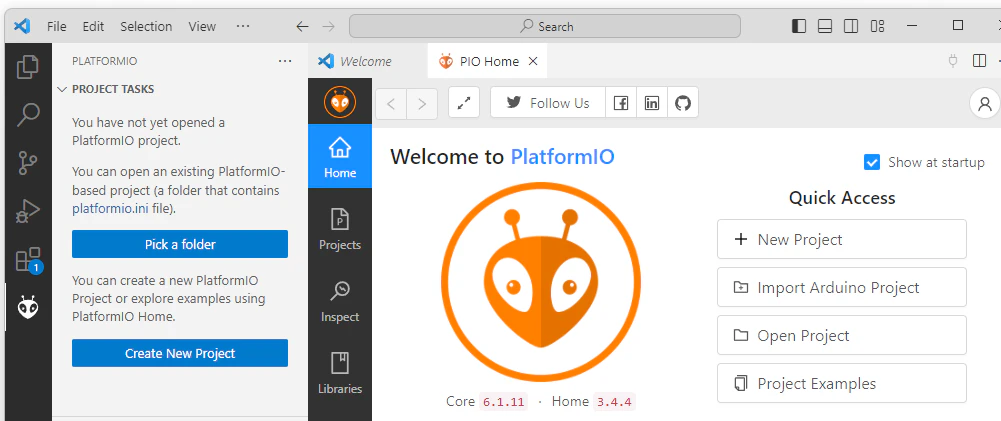
左のバーから PlatformIO を選ぶ
-
Create New Project を選び、+ New Project を選択し、プロジェクトを作成する
- Name: に適当なプロジェクト名を
- Board: は M5Stick-C (M5Stack) を選択し
- Framework: は Arduino を選択する
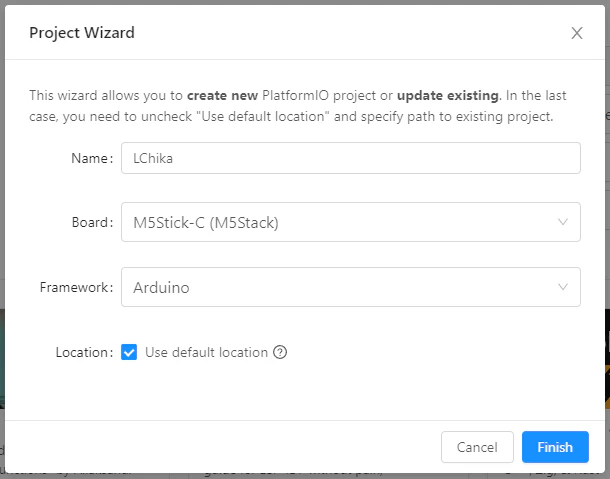
Use default location の場合は、ドキュメント内の PlatformIO\Projects\LChika にプロジェクトが生成されます。
-
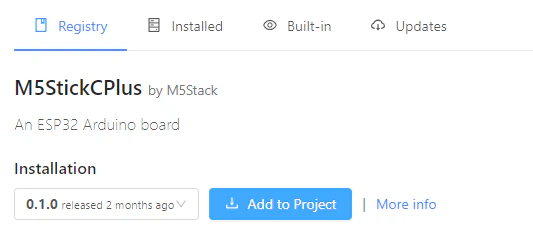
Libraries を選択して、M5StickCPlus を探して Add します

コーディング / ビルド
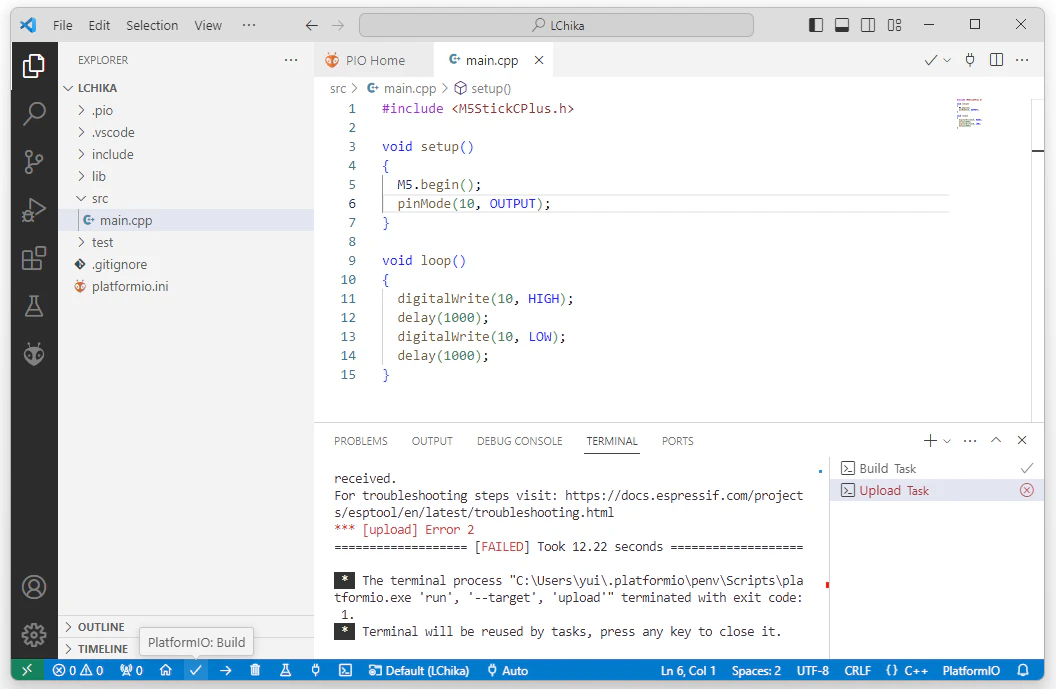
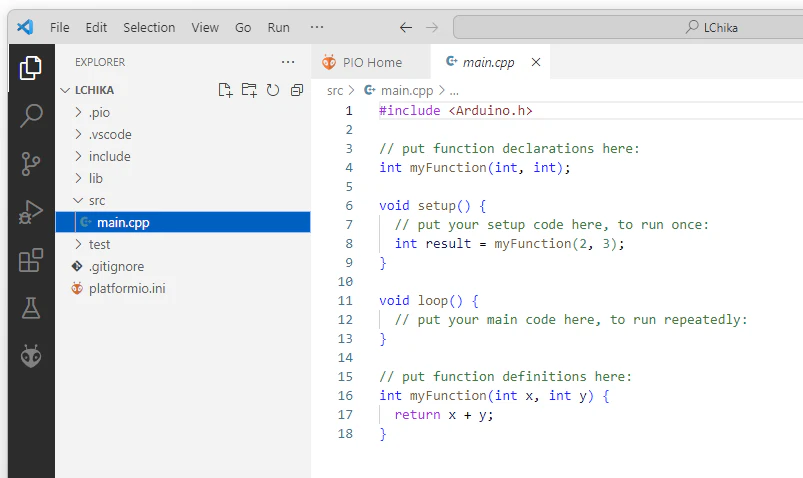
左ペインから src/main.cpp を選択して、コーディングします。
main.cpp
#include <M5StickCPlus.h>

void setup()
{
  M5.begin();
  pinMode(10, OUTPUT);
}

void loop()
{
  digitalWrite(10, HIGH);
  delay(1000);
  digitalWrite(10, LOW);
  delay(1000);
}
ビルドとアップロードはそれぞれのアイコンをクリックします。