概要
最近?よく聞くようになったatomicDesign...🤔
今回は、すごくシンプルに原子を実装する場合の私なりのやり方を紹介したいと思います。
2018年iOSDCのこちらの発表を参考にしたりしていなかったりするので、こちらも是非٩( 'ω' )و
(AtmicDesignってなんぞや?についてはこちらでは記述しないので悪しからず...)
対象パーツ
🍎カラー
🍎フォント
🍎ラベル
🍎ボタン
に対してアプローチしたいと思います😊
(swift4 xcode10です)
🐱カラーの定義
※Colorに関しては、R.Swiftを使った方が圧倒的に楽ですが今回は自前で作成。
(UIColorExtensionとカラーパレットの二重管理せずにgeneratedファイルで一元管理できるため)
UIColorExtensionの作成
import UIKit

extension UIColor {

    // 16進数のカラーコードをUIColorに変換する
    private static func hexColor(_ str: String) -> UIColor {
        let index = str.index(str.startIndex, offsetBy: 1)
        let colStr = str[index...]
        if str[..<index] == "#", colStr.utf16.count == 6 {
            let rStr = (colStr as NSString).substring(with: NSRange(location: 0, length: 2))
            let gStr = (colStr as NSString).substring(with: NSRange(location: 2, length: 2))
            let bStr = (colStr as NSString).substring(with: NSRange(location: 4, length: 2))
            let rHex = CGFloat(Int(rStr, radix: 16) ?? 0)
            let gHex = CGFloat(Int(gStr, radix: 16) ?? 0)
            let bHex = CGFloat(Int(bStr, radix: 16) ?? 0)
            return UIColor(red: rHex/255.0, green: gHex/255.0, blue: bHex/255.0, alpha: 1.0)
        }
        return UIColor.white
    }

    // ここで定数ではなくメソッドにしているのは、呼び出すときに末尾に()がつくことで、
    // UIColorのデフォルトのカラープロパティと混同させないようにするためです(・ω・ )
    static func mainColor() -> UIColor {
        return hexColor(ColorCode.mainColor)
    }

    static func subColor() -> UIColor {
        return hexColor(ColorCode.subColor)
    }

    // カラーコードを内部クラスで保持する
    class ColorCode {
        // メイン
        static let mainColor: String = "#FF577C"
        // メインホバー
        static let subColor: String = "#FFB817"
    }
}
カラーパレットの作成
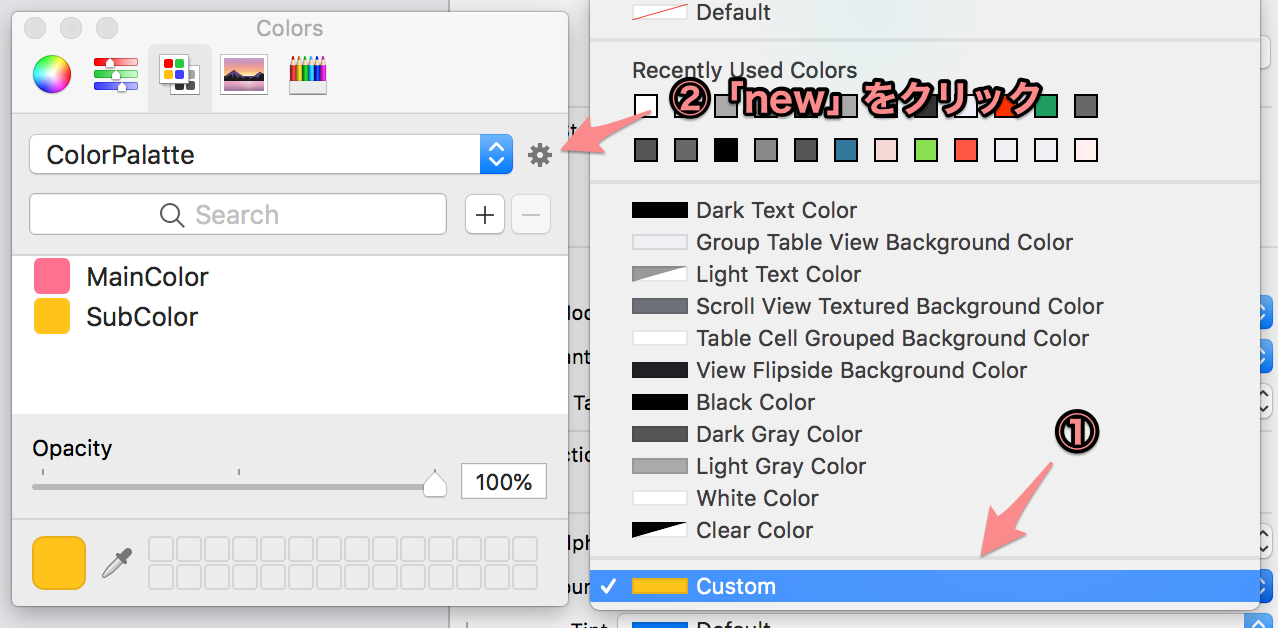
IBの右側のColorを設定するところからカラーパレットを作成することができます。

⚠️注意
 カラーパレットはローカルの↑の階層に自動でファイルが作成されますので、
もしチーム開発やgit管理をしたい場合は、プロジェクトにclrを追加し以下のスクリプトをBuildPhasesを書いて、
ビルドのタイミングで各PCのローカルに自動的に保存されるようにするといいと思います。
color_clr_path="${PROJECT_DIR}/(clrファイルを入れた階層)"
ln -fs ${color_clr_path}/ColorPalette.clr ~/Library/Colors/

💃使ってみよう
◆コードから

◆IBから

🐱フォントの定義
ラベルスタイルやボタンスタイルで呼び出すためのフォントの定義を作ります。
import UIKit

extension UIFont {

    // UIFontを返す
    private static func apply(size: CGFloat, weight: UIFont.Weight) -> UIFont {
        return self.systemFont(ofSize: size, weight: weight)
    }

    static func title() -> UIFont {
        return self.apply(size: 19, weight: .bold)
    }

    static func body() -> UIFont {
        return self.apply(size: 14, weight: .regular)
    }
}
🐱ラベルの定義
UILabelに適応するためのスタイルを作ります。
・フォントサイズは固定
・カラーは動的に設定
という形で実装しています(・ω・ )
定義を追加したい場合は、
固定したいデータはrequired init内、動的に変更したいものはdidSetで値を入れる変数で定義する形になります。
import UIKit

// titleスタイル
@IBDesignable class TitleLabelStyle: UILabel {

    override init(frame: CGRect) {
        super.init(frame: frame)
    }
    required init?(coder aDecoder: NSCoder) {
        super.init(coder: aDecoder)!
        self.font = UIFont.title()
    }
    // カラーの変更
    @IBInspectable var color: UIColor? {
        didSet {
            self.textColor = color
        }
    }
}

// bodyスタイル
@IBDesignable class BodyLabelStyle: UILabel {

    override init(frame: CGRect) {
        super.init(frame: frame)
    }
    required init?(coder aDecoder: NSCoder) {
        super.init(coder: aDecoder)!
        self.font = UIFont.body()
    }
    // カラーの変更
    @IBInspectable var color: UIColor? {
        didSet {
            self.textColor = color
        }
    }
}
IBDesignableとIBDesignable
クラスの前にIBDesignableをつけるとそのパーツの変更をリアルタイムにIBで確認できるようになり、
IBInspectableをつけると、その値がIB上で簡単に変更できるようになります٩( 'ω' )و
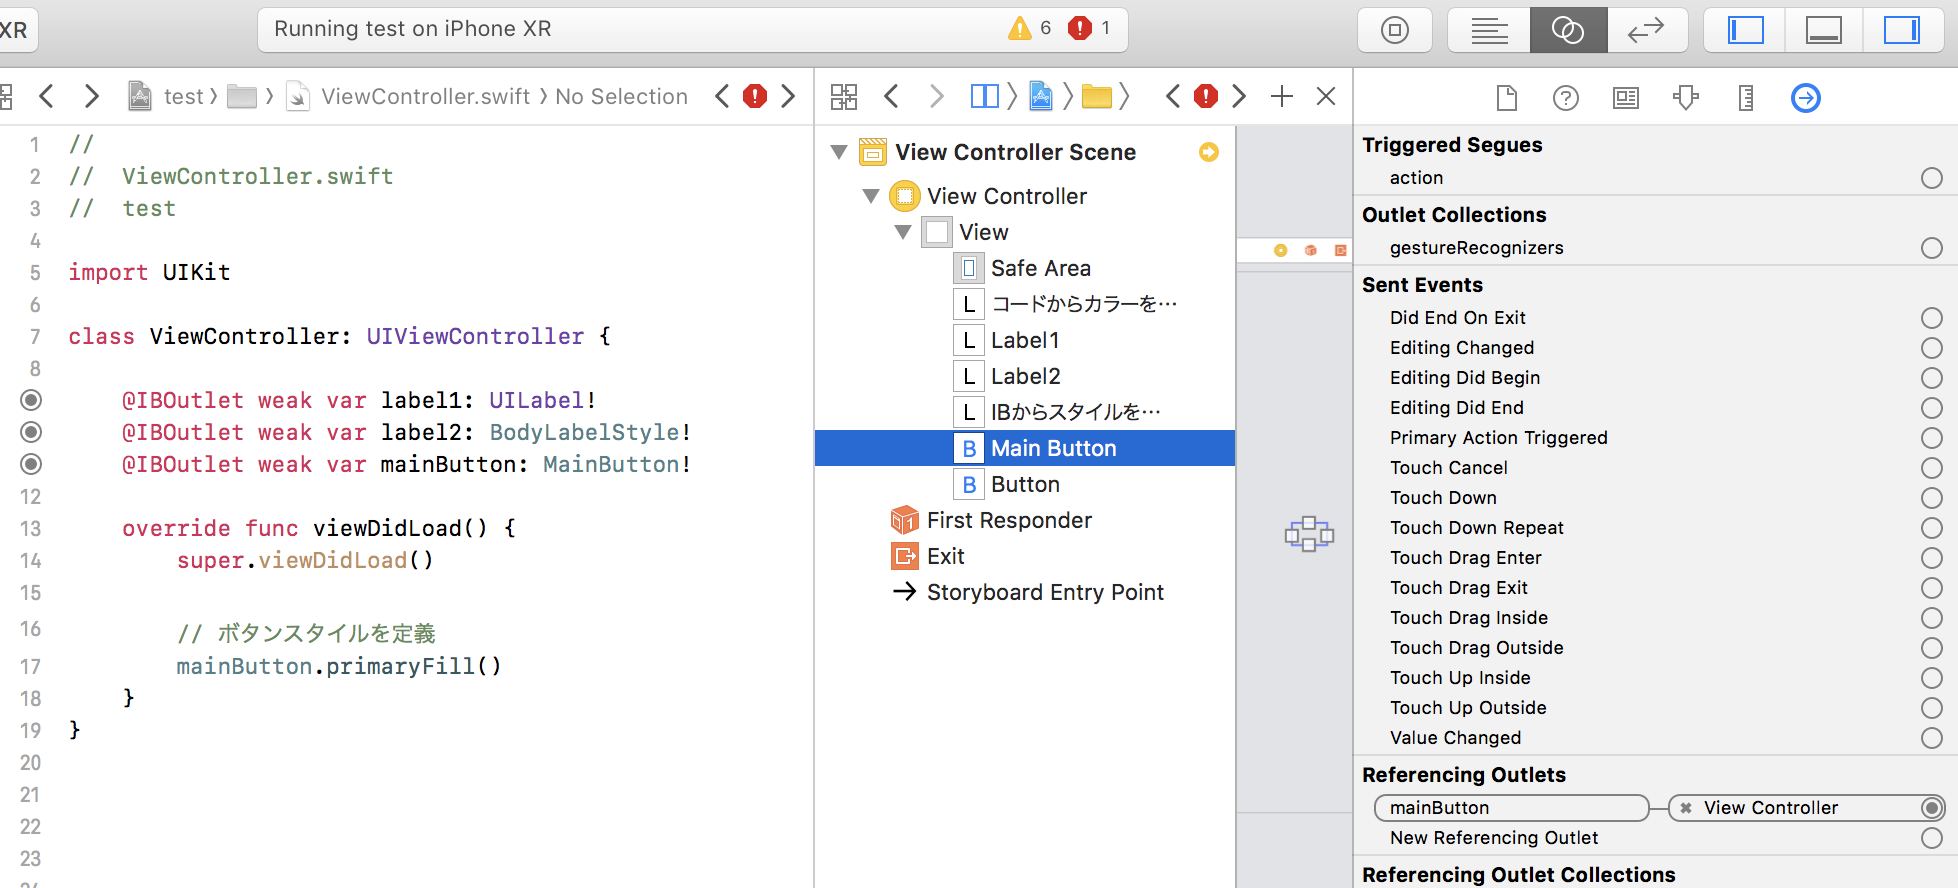
💃使ってみよう
◆コードから


◆IBから


🐱ボタンの定義
UILabelに適応するためのスタイルを作ります。
・角丸、枠線幅、タイトルスタイルは固定
・活性非活性状態を切り替えられる
・引数に任意でタイトルを入れられる
という形で実装しています(・ω・ )
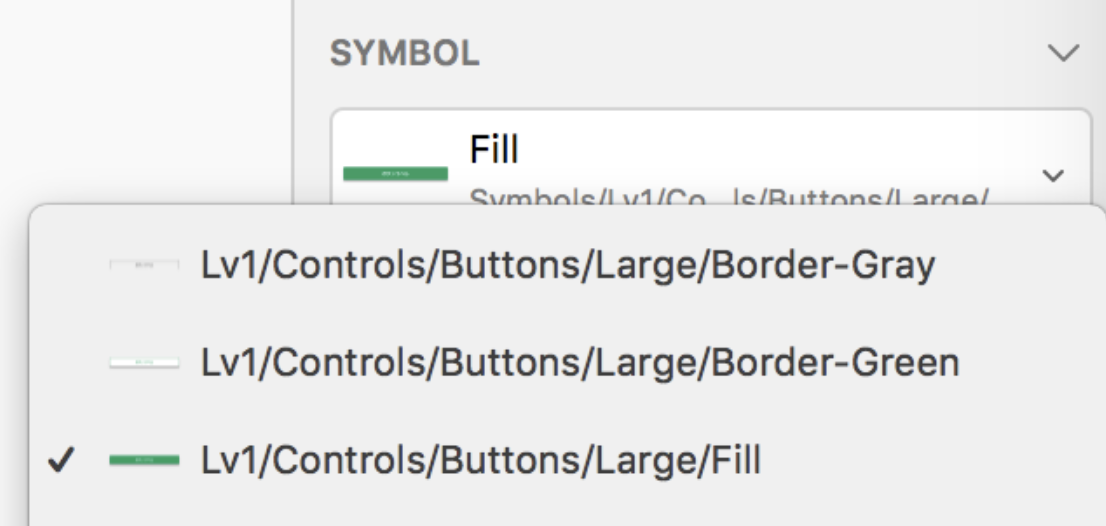
↓のようなsketchデータのシンボルと同様に、1つのパーツの中で複数の状態を持つ形を意識😃

定義を追加したい場合は、
固定したいデータはrequired init内、動的に変更したいものは各状態のメソッド内に追加する形になります。
import UIKit

@IBDesignable class MainButton: UIButton {

    // 固定値の代入
    required init?(coder aDecoder: NSCoder) {
        super.init(coder: aDecoder)

        self.layer.cornerRadius = 2.0
        self.layer.borderWidth = 1.0
        self.titleLabel?.font = UIFont.title()
    }

    // 背景塗りつぶしパターン
    func primaryFill(title: String = "") {
        if !title.isEmpty {
            self.setTitle(title, for: .normal)
        }
        self.layer.borderColor = UIColor.mainColor().cgColor
        self.backgroundColor = UIColor.mainColor()
        self.setTitleColor(UIColor.white, for: .normal)
    }

    // 白背景枠線ありパターン
    func secondaryGhost(title: String = "") {
        if !title.isEmpty {
            self.setTitle(title, for: .normal)
        }
        self.layer.borderColor = UIColor.mainColor().cgColor
        self.backgroundColor = UIColor.white
        self.setTitleColor(UIColor.mainColor(), for: .normal)
    }
}

@IBDesignable class SubButton: UIButton {

    // 固定値の代入
    required init?(coder aDecoder: NSCoder) {
        super.init(coder: aDecoder)

        self.layer.cornerRadius = 2.0
        self.layer.borderWidth = 1.0
        self.titleLabel?.font = UIFont.body()
    }

    // 背景塗りつぶしパターン
    func primaryFill(title: String = "") {
        if !title.isEmpty {
            self.setTitle(title, for: .normal)
        }
        self.layer.borderColor = UIColor.subColor().cgColor
        self.backgroundColor = UIColor.subColor()
        self.setTitleColor(UIColor.white, for: .normal)
    }

    // 白背景枠線ありパターン
    func secondaryGhost(title: String = "") {
        if !title.isEmpty {
            self.setTitle(title, for: .normal)
        }
        self.layer.borderColor = UIColor.subColor().cgColor
        self.backgroundColor = UIColor.white
        self.setTitleColor(UIColor.subColor(), for: .normal)
    }
}
🐟補足
ボタンの高さ横幅がもし固定であった場合でもそれらの処理を追加しない方がいいかなと私は判断しました。
結局それらを定義したとしてもマージン等の定義は個別で書かなければならないので、
それならばStyleの定義内では一切考慮しないのがベターかなと思いました(・ω・`)
💃使ってみよう
※IBからは呼ばない想定です
(ラベルと違ってほぼ100%何かしらのコードを書くかと思いますので、コードで定義!)

まとめ
デザイナーと共通言語欲しいなという考えで作ってみました💑
やり方は色々あると思いますので、小さいところからチャレンジしていきたい気持ちです💪
