はじめに
独学でプログラミング学び始めて約1年、業務でプログラミング書き始めて2ヶ月、Swift始めて1ヶ月のSwifterです。
Xcodeでプロジェクトを作り始めた時、「CoreDataとか使わないよなぁ」と思いつつ、やっぱり使いたいなんて時があると思います。僕はままあります。後からだと色々面倒なのでメモ的に記事にしてみました。
対象となる人
・プログラミング/Swift初心者
・「Use CoreData」チェックボックスにチェックを入れなかったけどやっぱり使いたい人
・SwiftでCoreDataを扱いたい人
環境
xcode 7.2.1
Swift 2.1.1
やること
・プロジェクトの作成
・Data Modelと生成
・Entityの生成
・CoreData関連のコードを追記
・データ操作用のコードを記述
・CoreDataにデータを登録と検索
1.プロジェクトの作成
Xcodeの[File] -> [New] -> [Project]から新しいプロジェクトを開始します。
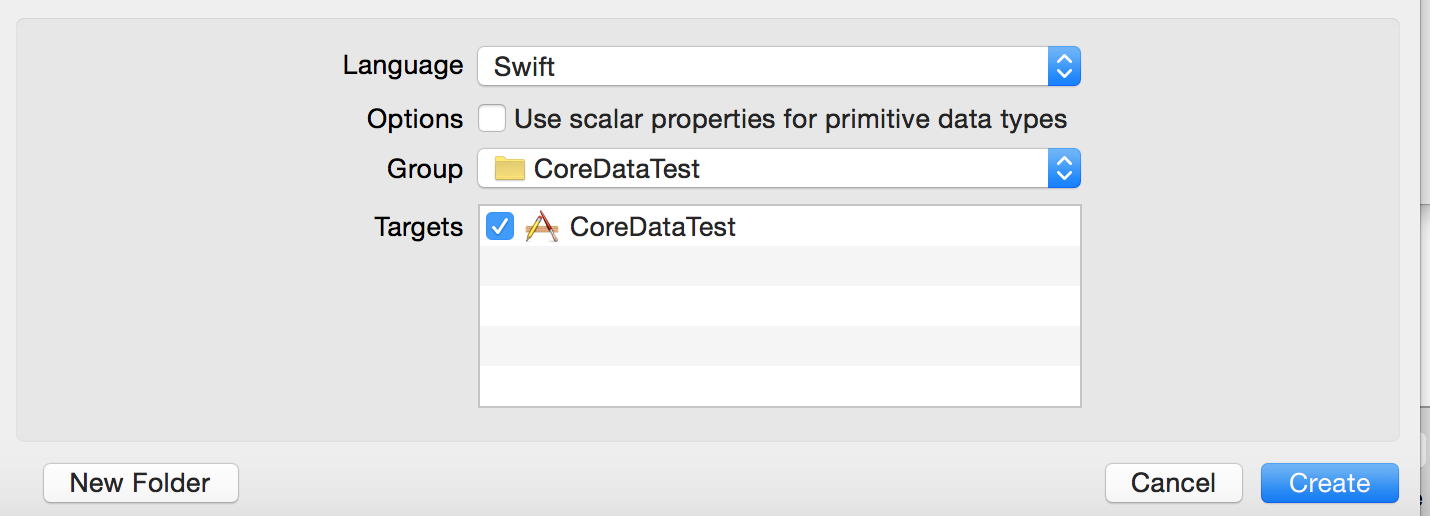
Single View Applicationを選択し、
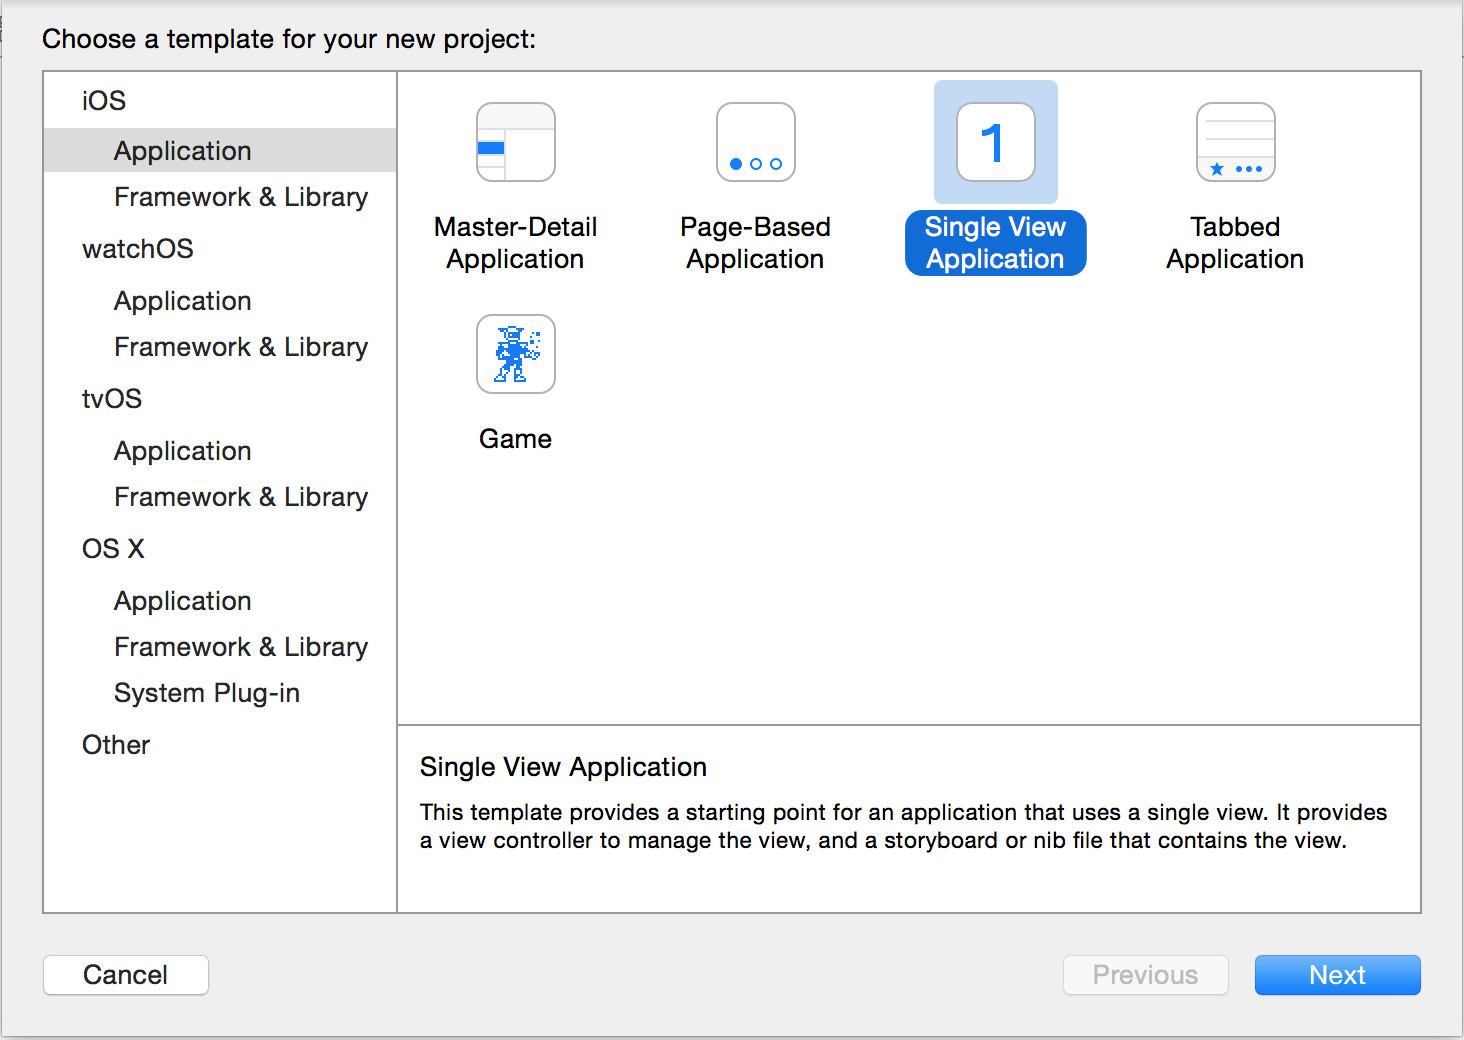
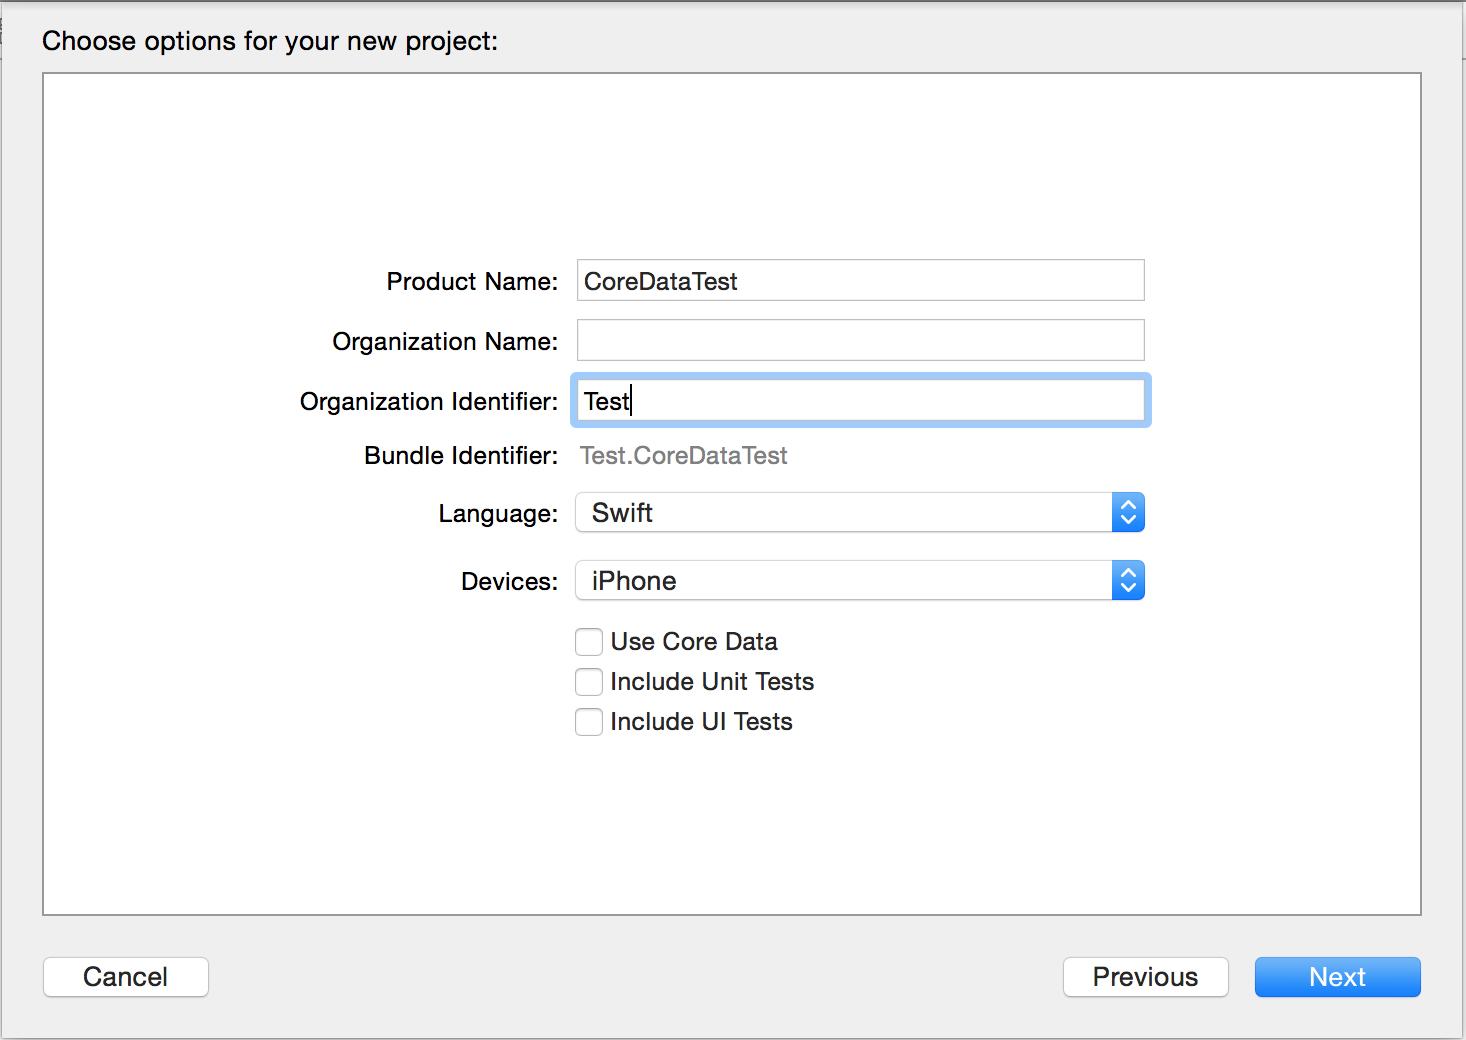
CoreDataにチェックしてない体なのでここでは選択せずにプロジェクトを開始します。言語はSwiftを選択。Organization Nameと Organization Identifierはそのままでよいでしょう。
2.Data Modelの生成
プロジェクトの直上で右クリック -> 「New File」 -> 「CoreData」 -> 「Data Model」と選択していき、Data Modelを生成します。ファイル名はCoreData.xcdatamodeldとしています。特に意味はありませんが、このファイル名はのちのち使うので覚えておいてください。

3.Entityの生成
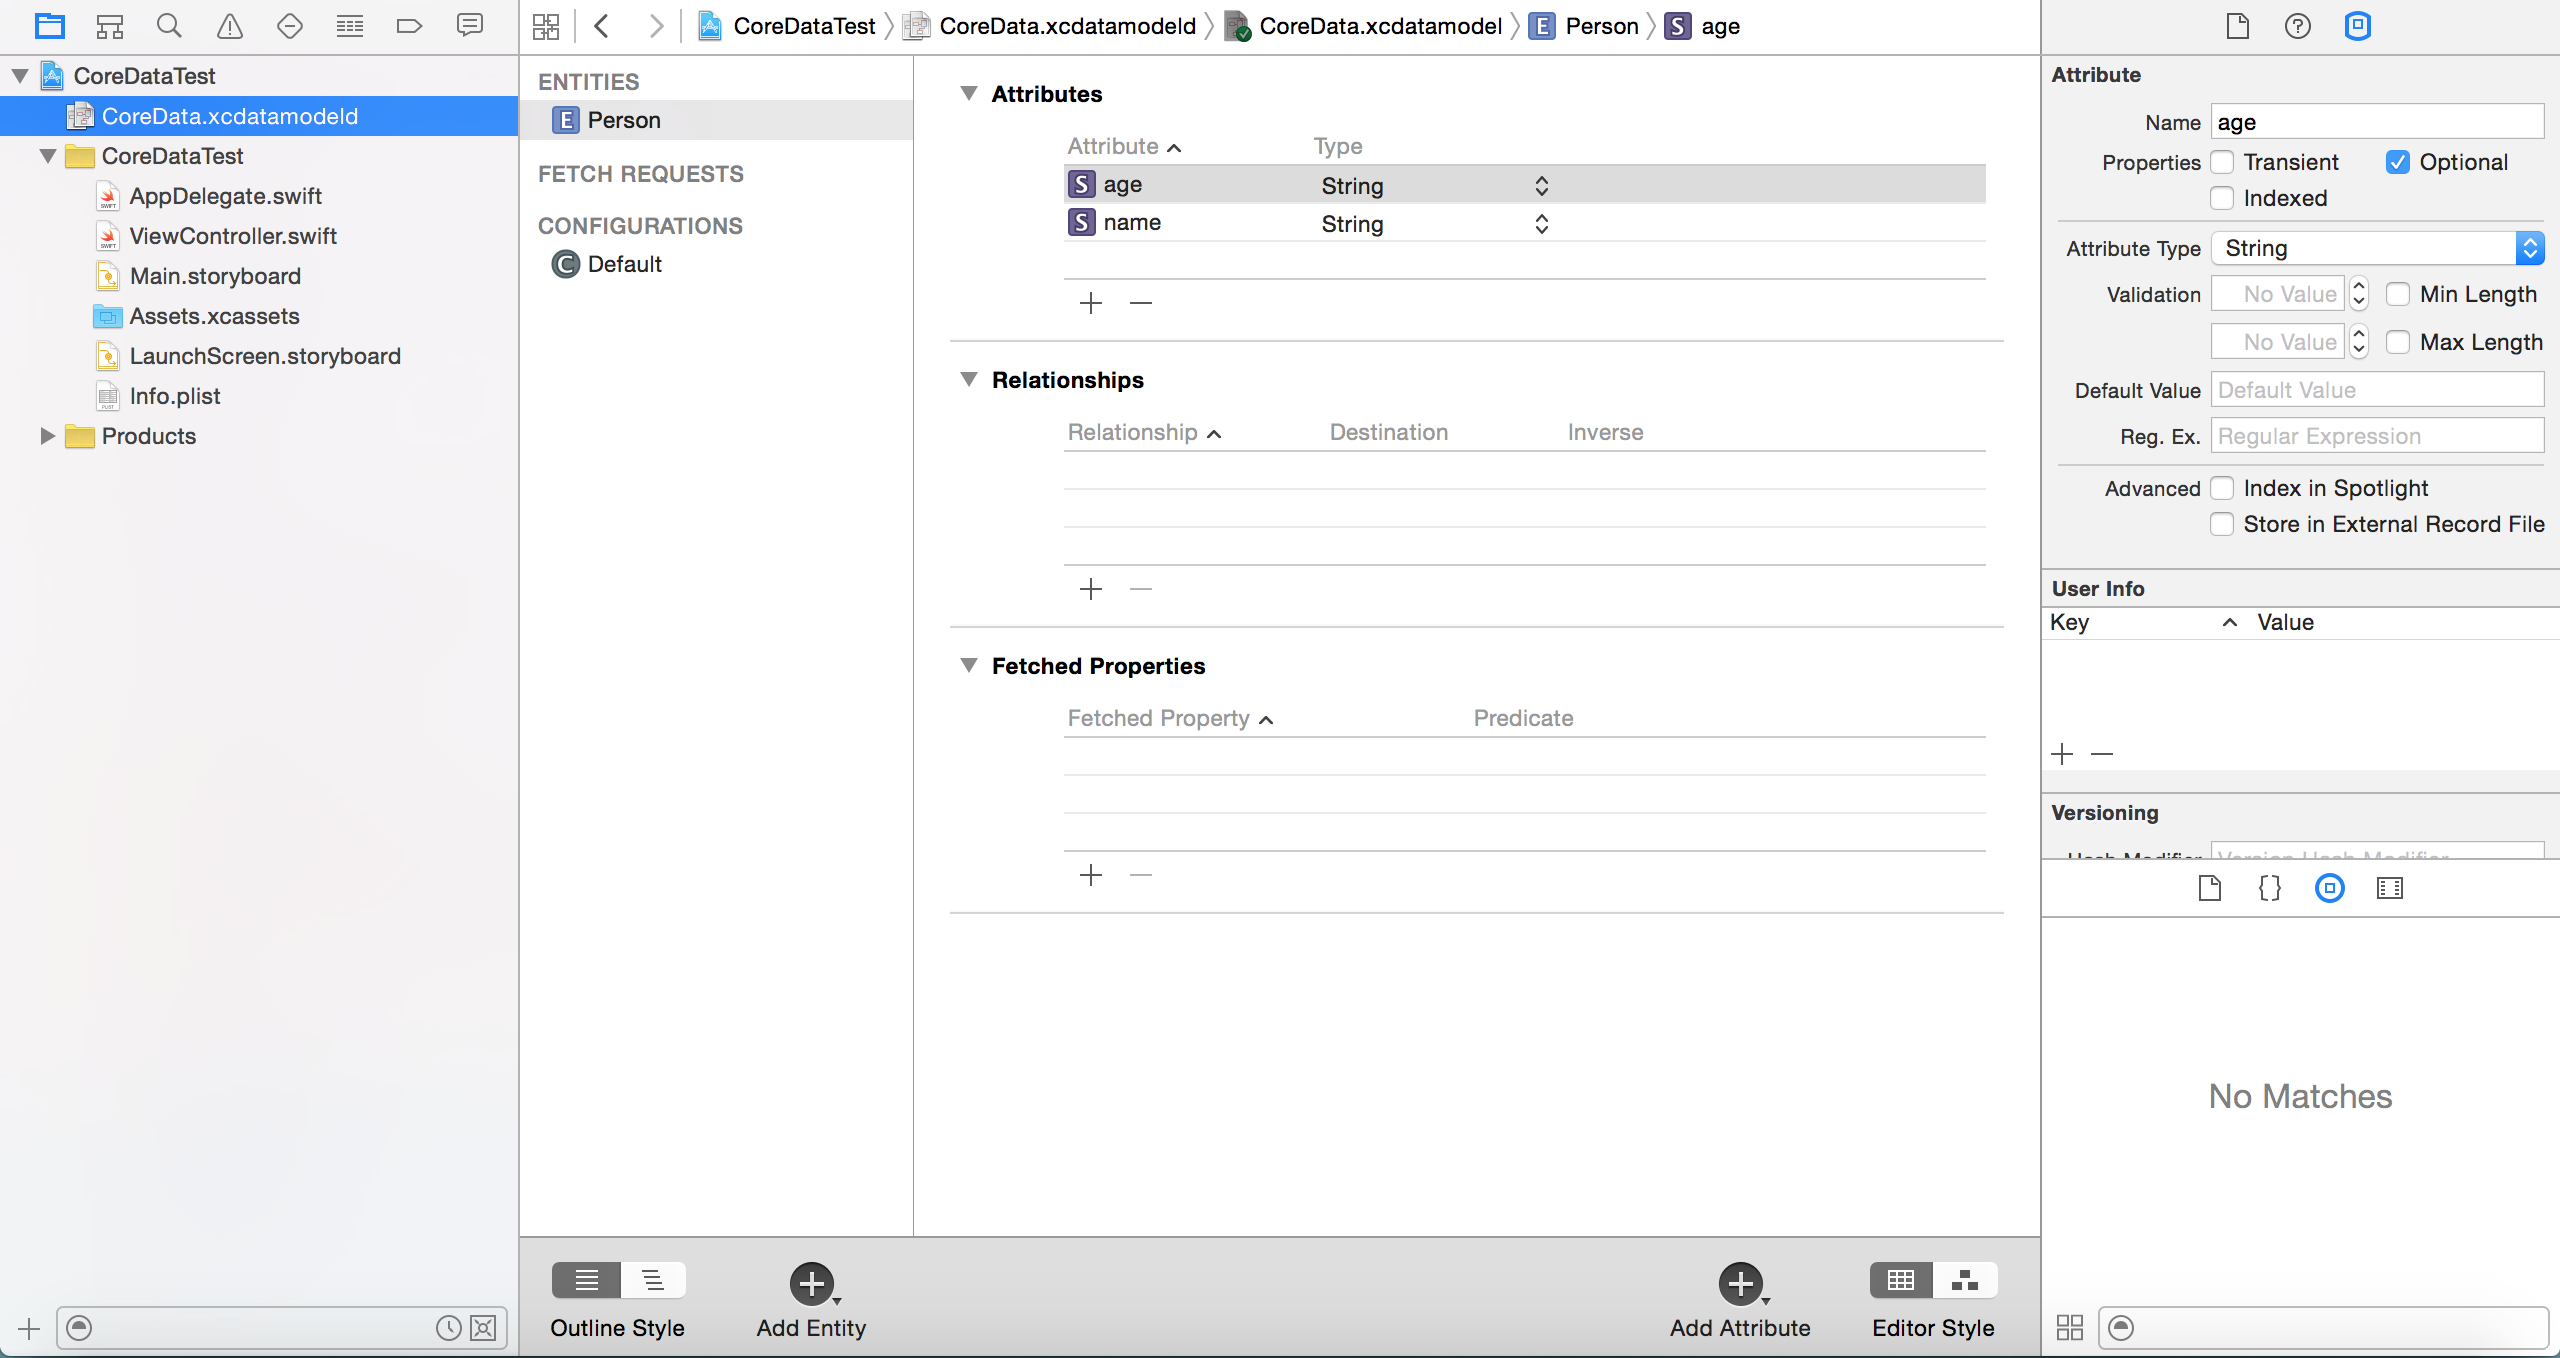
次にデータを保存したいEntityを生成します。
今回はnameとageをプロパティに持つPersonエンティティを作ります。先ほど生成したCoreData.xcdatamodeldをクリックしてエンティティを用意します。今回はこんな感じ。恐ろしく単純なエンティティですね。
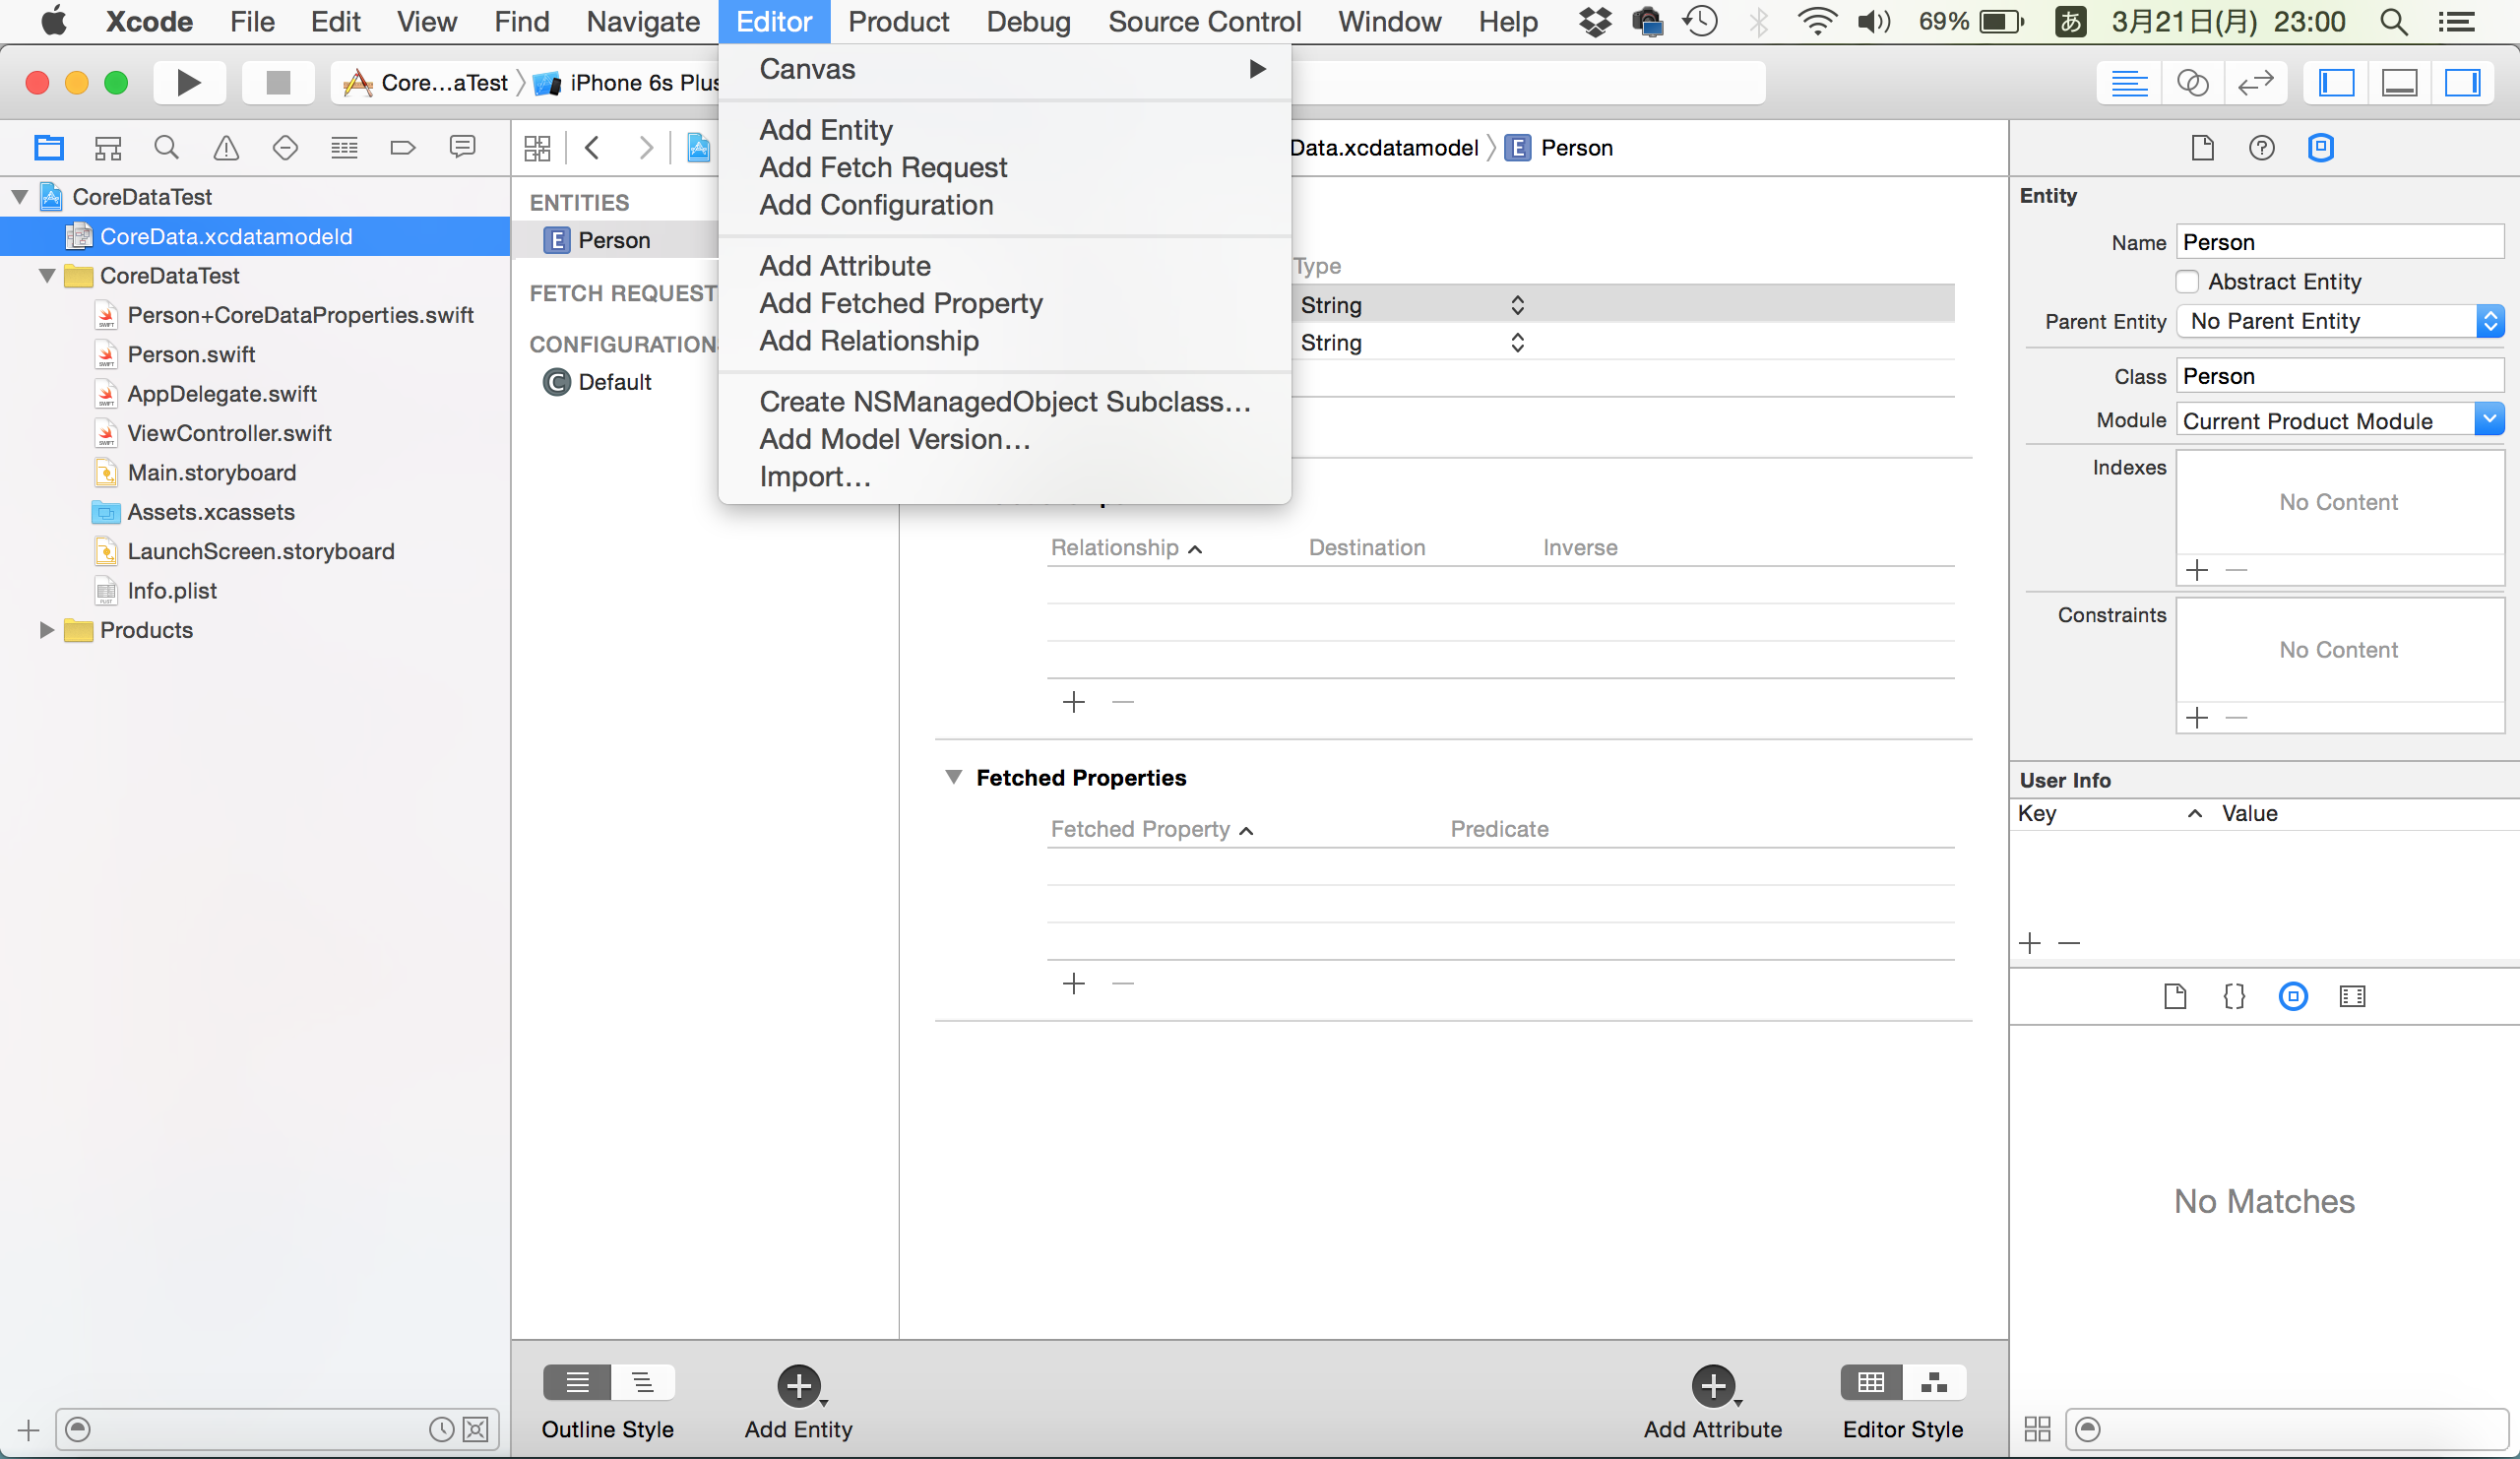
これができたら、再びCoreData.xcdatamodeldをクリック -> 「Editor」 -> 「Create NSManagedObjectSubclass...」を選択。
「Next」 -> 「Next」と選択。Groupをクリックして保存先をプロジェクトフォルダにします。
自動的にPerson+CoreDataProperties.swiftとPerson.swiftが生成されれば準備OKです。
4.CoreData関連のコードを記述
さてさて、「Use CoreData」にチェックを入れていれば記述されていたはずのコードをAppDelegateに記述していきます。また、CoreDataフレームワークをimportします。
import UIKit
import CoreData

 ~(略)~
    func applicationWillTerminate(application: UIApplication) {
        // Called when the application is about to terminate. Save data if appropriate. See also applicationDidEnterBackground:.
    }

// MARK: - Core Data stack

    lazy var applicationDocumentsDirectory: NSURL = {
        // The directory the application uses to store the Core Data store file. This code uses a directory named "jp.ne.softbank.elle68.test" in the application's documents Application Support directory.
        let urls = NSFileManager.defaultManager().URLsForDirectory(.DocumentDirectory, inDomains: .UserDomainMask)
        return urls[urls.count-1]
    }()

    lazy var managedObjectModel: NSManagedObjectModel = {
        // The managed object model for the application. This property is not optional. It is a fatal error for the application not to be able to find and load its model.
        let modelURL = NSBundle.mainBundle().URLForResource("CoreData", withExtension: "momd")!
        return NSManagedObjectModel(contentsOfURL: modelURL)!
    }()

    lazy var persistentStoreCoordinator: NSPersistentStoreCoordinator = {
        // The persistent store coordinator for the application. This implementation creates and returns a coordinator, having added the store for the application to it. This property is optional since there are legitimate error conditions that could cause the creation of the store to fail.
        // Create the coordinator and store
        let coordinator = NSPersistentStoreCoordinator(managedObjectModel: self.managedObjectModel)
        let url = self.applicationDocumentsDirectory.URLByAppendingPathComponent("CoreData.sqlite")
        var failureReason = "There was an error creating or loading the application's saved data."
        do {
            try coordinator.addPersistentStoreWithType(NSSQLiteStoreType, configuration: nil, URL: url, options: nil)
        } catch {
            // Report any error we got.
            var dict = [String: AnyObject]()
            dict[NSLocalizedDescriptionKey] = "Failed to initialize the application's saved data"
            dict[NSLocalizedFailureReasonErrorKey] = failureReason

            dict[NSUnderlyingErrorKey] = error as NSError
            let wrappedError = NSError(domain: "YOUR_ERROR_DOMAIN", code: 9999, userInfo: dict)
            // Replace this with code to handle the error appropriately.
            // abort() causes the application to generate a crash log and terminate. You should not use this function in a shipping application, although it may be useful during development.
            NSLog("Unresolved error \(wrappedError), \(wrappedError.userInfo)")
            abort()
        }

        return coordinator
    }()

    lazy var managedObjectContext: NSManagedObjectContext = {
        // Returns the managed object context for the application (which is already bound to the persistent store coordinator for the application.) This property is optional since there are legitimate error conditions that could cause the creation of the context to fail.
        let coordinator = self.persistentStoreCoordinator
        var managedObjectContext = NSManagedObjectContext(concurrencyType: .MainQueueConcurrencyType)
        managedObjectContext.persistentStoreCoordinator = coordinator
        return managedObjectContext
    }()

    // MARK: - Core Data Saving support

    func saveContext () {
        if managedObjectContext.hasChanges {
            do {
                try managedObjectContext.save()
            } catch {
                // Replace this implementation with code to handle the error appropriately.
                // abort() causes the application to generate a crash log and terminate. You should not use this function in a shipping application, although it may be useful during development.
                let nserror = error as NSError
                NSLog("Unresolved error \(nserror), \(nserror.userInfo)")
                abort()
            }
        }
    }
1点気をつけなければいけないのは約55行目の"CoreData"の部分。
let modelURL = NSBundle.mainBundle().URLForResource("CoreData", withExtension: "momd")!
ここは先ほど生成したCoreData.xcdatamodeldの.より前のファイル名を記述してください。デフォルトの通りならModel.xcdatamodeldとなっていると思うので
let modelURL = NSBundle.mainBundle().URLForResource("Model", withExtension: "momd")!
ですね。
5.データ操作用のコードを記述
これまででおおよそCoreDataが動かせるのですが、CRUDがやりづらいです。今回はCreateとReadの部分をメソッド化します。
// MARK: -CoreDataMethod Read用
    func all(entityName:String) -> [Person]{
        return self.fetch(entityName, limit: 0)
    }
    func all(entityName:String, sortKey:String?) -> [Person]{
        return self.fetch(entityName, sortKey: sortKey, limit: 0)
    }

    func fetch(entityName:String, limit:Int) -> [Person] {
        return self.fetch(entityName, sortKey: nil, limit: limit)
    }

    func fetch(entityName:String!, sortKey:String?, limit:Int!) -> [Person] {
        let context: NSManagedObjectContext! = self.managedObjectContext
        let request: NSFetchRequest! = NSFetchRequest()
        let entity: NSEntityDescription = NSEntityDescription.entityForName(entityName, inManagedObjectContext: context)!
        request.entity = entity
        if let sortKey = sortKey {
            request.sortDescriptors = [NSSortDescriptor(key: sortKey, ascending: true)]
        }
        request.fetchLimit = limit
        let failureReason = "There was an error fetching CoreDataResult."
        var mutableFetchResult = [AnyObject]()
        do {
            mutableFetchResult = try context.executeFetchRequest(request)

        } catch {
            // Report any error we got.
            var dict = [String: AnyObject]()
            dict[NSLocalizedDescriptionKey] = "Failed to initialize the application's saved data"
            dict[NSLocalizedFailureReasonErrorKey] = failureReason

            dict[NSUnderlyingErrorKey] = error as NSError
            let wrappedError = NSError(domain: "YOUR_ERROR_DOMAIN", code: 9999, userInfo: dict)
            // Replace this with code to handle the error appropriately.
            // abort() causes the application to generate a crash log and terminate. You should not use this function in a shipping application, although it may be useful during development.
            NSLog("Unresolved error \(wrappedError), \(wrappedError.userInfo)")
            abort()
        }

        return mutableFetchResult as! [Person]
    }

// MARK: - CoreDataMethod Insert用
    func entityForInsert(entityName:String!) -> NSManagedObject?{
            let context: NSManagedObjectContext = self.managedObjectContext
            return NSEntityDescription.insertNewObjectForEntityForName(entityName, inManagedObjectContext: context)
    }

// MARK: - Core Data Saving support
    func saveContext () {
        if managedObjectContext.hasChanges {
            do {
                try managedObjectContext.save()
            } catch {
                // Replace this implementation with code to handle the error appropriately.
                // abort() causes the application to generate a crash log and terminate. You should not use this function in a shipping application, although it may be useful during development.
                let nserror = error as NSError
                NSLog("Unresolved error \(nserror), \(nserror.userInfo)")
                abort()
            }
        }
    }
こんな感じです。それぞれのメソッドをみていきます。
こいつは引数にEntityを渡してあげることで、登録されているPersonを全て返してくれます。
    func all(entityName:String) -> [Person]{
        return self.fetch(entityName, limit: 0)
    }
このメソッドはPersonを全て返しつつ、キーに入れたものでソートしてくれます。
    func all(entityName:String, sortKey:String?) -> [Person]{
        return self.fetch(entityName, sortKey: sortKey, limit: 0)
    }
使うのはだいたいこの2つのメソッドでしょうか。
entityForInsert()とsaveContext()は実際に使うところで説明します。
6.CoreDataへの登録とデータの検索
ではViewControllerのViewDidLoad内でデータの登録と検索をしたいと思います。
    override func viewDidLoad() {
        super.viewDidLoad()

        var appDelegate = UIApplication.sharedApplication().delegate as! AppDelegate

        let person1 = appDelegate.entityForInsert("Person") as! Person
        person1.name = "テスト 太郎"
        person1.age = "28歳"
        appDelegate.saveContext()

        let person2 = appDelegate.entityForInsert("Person") as! Person
        person2.name = "テスト 花子"
        person2.age = "18歳"
        appDelegate.saveContext()
    }
順にみていきます。
var appDelegate = UIApplication.sharedApplication().delegate as! AppDelegate
これはCoreDataを使う時のおまじないだと思ってください。
        let person1 = appDelegate.entityForInsert("Person") as! Person
        person1.name = "テスト 太郎"
        person1.age = "28歳"
        appDelegate.saveContext()
let person1の行でCoreDataに追加したいPersonクラスのインスタンスを生成します。entityForInsert()は追加したいクラス名を記述します。今回はPerson。
次にperson1インスタンスが持つnameとageプロパティに値を代入していきます。
これでテスト 太郎さん(28歳)が出来上がりました。
最後にappDelegate.saveContext()でセーブします。これを忘れるとCoreDataに登録されません。
テスト 花子さんもやり方は一緒です。
・追加したいクラスのインスタンスをentityForInsert()メソッドで生成
・インスタンスのプロパティに値を代入
・saveContext()でデータをセーブする の流れですね。
これでデータの登録ができました。次にデータの検索を見てみます。
    person2.name = "テスト 花子"
    person2.age = "18歳"
    appDelegate.saveContext()

    var result = appDelegate.all("Person")

    for person in result {
        print("person.name  \(person.name!)")
        print("person.age \(person.age!)")
        print("-----------------")
    }

    print("==================================")

    result = appDelegate.all("Person", sortKey: "age")
    for person in result {
        print("person.name  \(person.name!)")
        print("person.age \(person.age!)")
        print("-----------------")
    }
これを起動するとこんな感じでコンソールに表示されると思います。
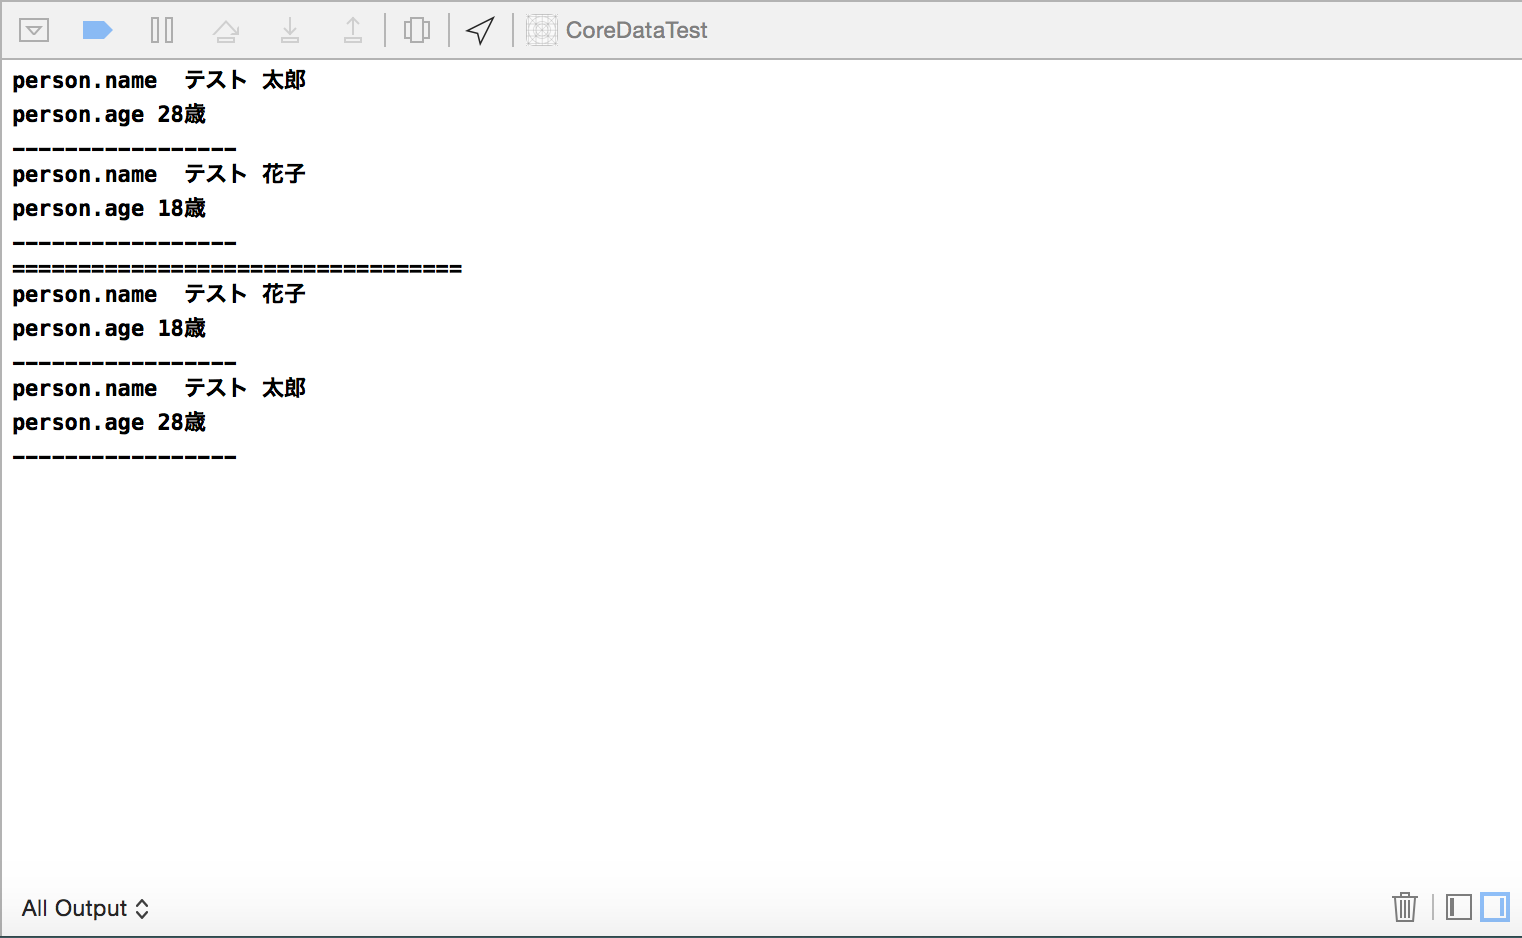
appDelegate.all("Person")から返ってきた配列を変数resultに代入。それをfor文で表示しています。
appDelegate.all("Person", sortKey: "age")ではソートのキーにageを指定しています。
その結果、ageを基準に昇順に並び替えられ、花子さんが先に表示されていることがわかると思います。
降順にしたい場合は、AppDelegateの約64行目、下記のtrueをfalseに変更します。
この指定を引数にして、検索時に指定できるようにするのもいいですね。
request.sortDescriptors = [NSSortDescriptor(key: sortKey, ascending: false)]
最後に
文章にするとすごく長いですがCoreDataのおおよその扱いをメモりました。 もっとよいやり方があると思いますが、ひとまずはここまでに。(というより実力不足でこれ以上が分からない)