これはなに?
- セキュリティ観点でGitアカウントに二段階認証を入れている
- SageMakerで更新するJupyter Notebook、他ファイルをGit管理したい
以上のような状態を達成するために少しハマったので備忘録。
作業環境
AWS SageMakerのJupyter notebook上
二段階認証を行ったGitアカウント
どうやる
AWSのドキュメント通り。
このページのAmazon SageMaker アカウントに Git リポジトリを追加する (コンソール)という項目内の、

この部分に従う。
(SageMaker上でGithubのユーザー名・パスワードでSageMaker-リポジトリ間の連携を行うと、JupyterNotebookインスタンスをGitリポジトリと連携した状態で立ち上げると認証エラーが発生し、起動失敗してしまう)
二段階認証を行っている場合はSageMakerとGitリポジトリを連携する際にパスワード部分に上画像にある個人用アクセストークンを利用する。
こちらで手順通りに設定すると最後にアクセストークンが発行される。
ここで発行されるアクセストークンがSageMakerとリポジトリを紐付ける時にパスワードの部分に入力する文字列になる。
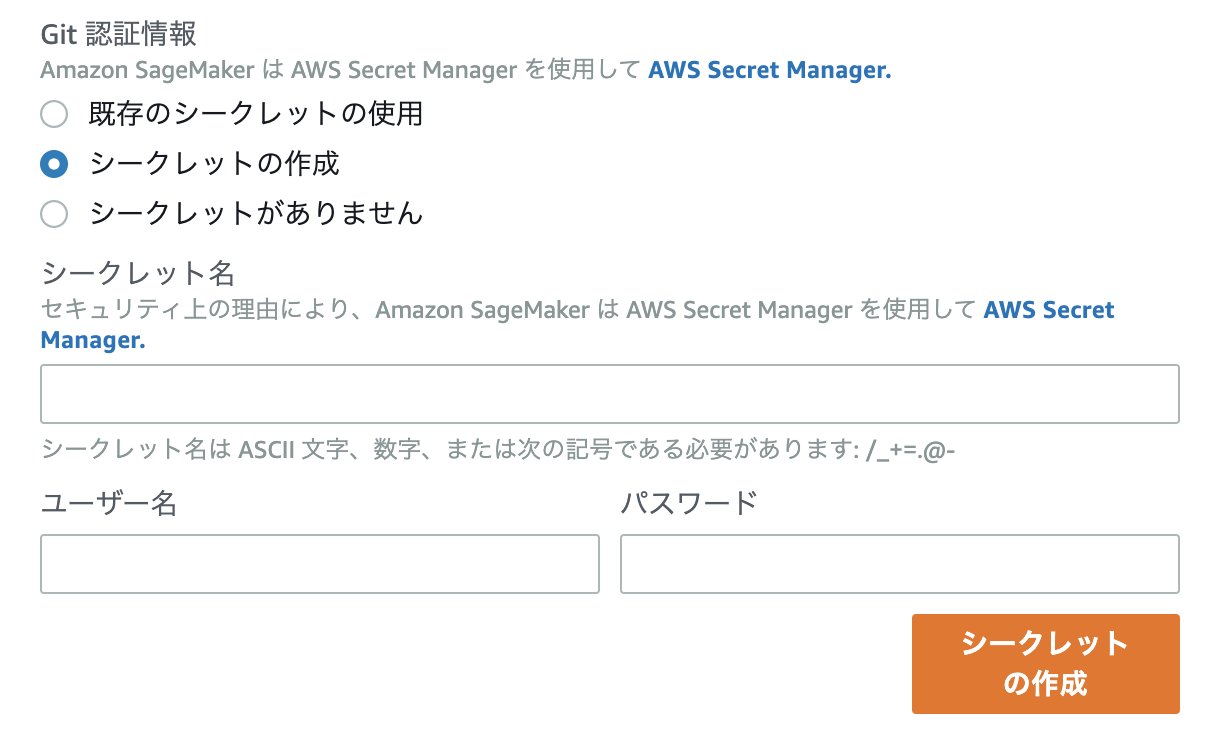
AWSコンソール内のSageMaker > Githubリポジトリ > リポジトリの追加で下画像の項目を入力する。
ユーザー名:Githubアカウント名
パスワード:アクセストークン

入力した後はシークレットを作成し、Jupyter Notebookにこのリポジトリを紐付ける。
紐付けが終わった後はJupyter Notebook内でのヘッダー部分に「Git」という項目があるので選択する。
Git > Git Command in Terminalで通常通りGitコマンドを入力。
git add hogehoge.ipynb
git commit "first commit"
git push origin master
Jupyter Notebook上の管理したいファイルに対して、いつものようにgit pushしてやれば連携したリポジトリ側にJupyterNotebookの管理ファイルが追加されています!!
DONE!!