はじめに
日頃運転する自分の車の燃費を詳細に調べたくて「OBD2」とAndroidスマホを使ったアプリを探していたら自作も出来そうなので挑戦することにしました。簡単に説明すると、「OBD2」アダプタとAndroidスマホをBluetooth接続し、定期的に「OBD2」のアダプタへ問い合わせ、応答を処理(ループ処理)して車の内部情報を数値に変換する、という構成になります。
色々試していく中で、車の燃費を測定するには、ある程度の時間、データを取得しなければいけませんし、そうは言っても、取得開始/終了は画面から操作したいよね、とか、ほかのアプリ立ち上げたら取得が止まってしまう?とか疑問も出てきて調べていくうちに、”マルチスレッド”とか、”バックグラウンド”というワードが出てきました。
調べた結果をもとに簡単なソースコードで試した結果、
- メインスレッドでループ処理を実行すると、アプリ画面の終了ボタン処理はループ処理の後になる(中断できない)
- マルチスレッド(Thread)でループ処理を実施すると、アプリ画面の終了ボタン処理でループ処理を中断できるが、マルチタスクメニュー(ホーム画面右下の四角ボタンからの画面切り替え)からアプリケーションを終了するとループ処理も中断されてしまう
- バックグラウンド(フォアグラウンド サービス)を使うとマルチタスクメニューからアプリを消してもループ処理が継続できるが、アプリ画面の終了ボタン処理はループ処理の後になる(中断できない)→"サービス"は、デフォルトではアプリのメインスレッドで実行される
- バックグラウンド(フォアグラウンド サービス)からマルチスレッドでループ処理を実施し、アプリ画面の開始/終了ボタン処理でスレッドを開始/終了させるような構成なら、マルチタスクメニューからアプリを消してもループ処理が継続でき、アプリ画面の終了ボタン処理でループ処理を中断できる
まとめると、「定期的にデータを取得する処理(ループ処理)を、画面から開始/終了し、バックグラウンドに回っても(マルチタスクメニューからアプリが消えても)処理が中断される可能性をなるべく低くしたい(バッテリ温度等の制限が入る可能性はあり、ゼロにはできない模様)」と思うと、4つめの、バックグラウンド(フォアグランド サービス)からマルチスレッド(Thread)でループ処理を実施し、アプリ画面の開始/終了ボタン処理でスレッドを開始/終了させるような構成がよさそう、ということが分かりました。
以下、順に説明します。
※ここでのループ処理は、本来は while 文で、終了ボタンを押すと break としたいのですが、無限ループになると面倒なので、for ループで実施しています。
なお、試した環境は、
- Java:open jdk 1.8.0_152
- Android Studio Arctic Fox | 2020.3.1 Patch 3
- CompileSdkVersion:31
- 実機デバッグ:Sony Xperia 8 (SOV42 android 10,API 29)
です。
計測の開始、終了操作
まず、計測(データ取得)の開始、終了はスマホから操作したい、から試しました。
ボタンはAndroid デベロッパーの ボタン などを参考に、
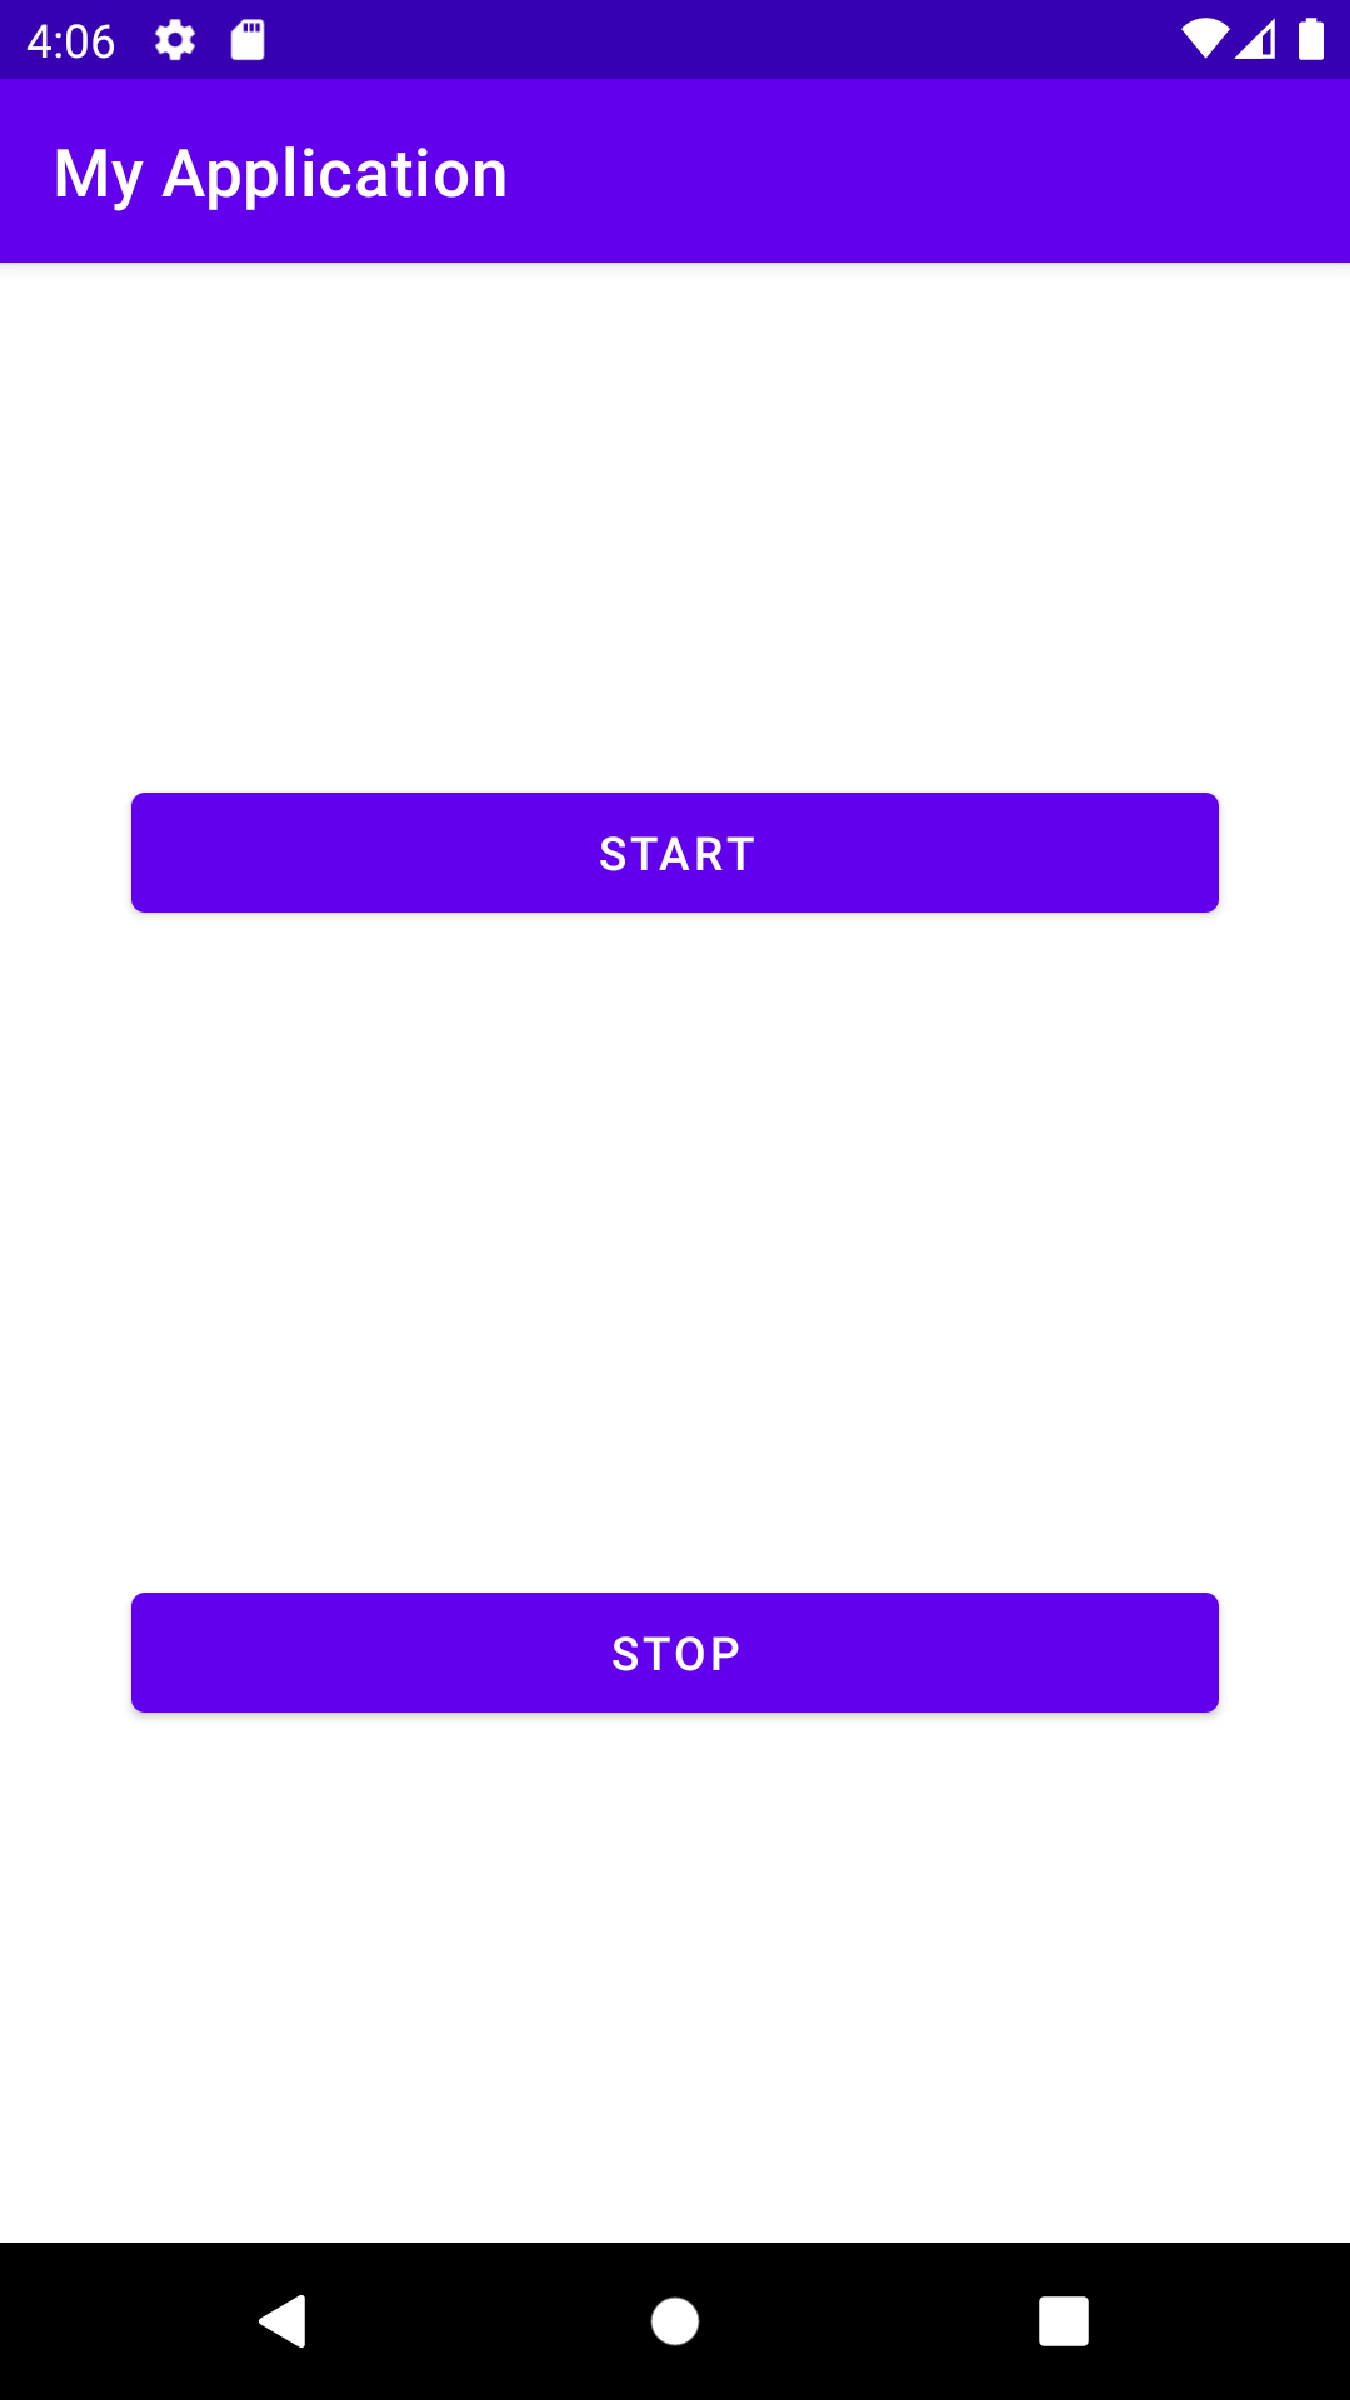
という感じに設定。ソースコードは、
<?xml version="1.0" encoding="utf-8"?>
<androidx.constraintlayout.widget.ConstraintLayout xmlns:android="http://schemas.android.com/apk/res/android"
    xmlns:app="http://schemas.android.com/apk/res-auto"
    xmlns:tools="http://schemas.android.com/tools"
    android:layout_width="match_parent"
    android:layout_height="match_parent"
    tools:context=".MainActivity">

    <Button
        android:id="@+id/button_start"
        android:text="@string/start"
        android:layout_margin="40dp"
        android:layout_width="match_parent"
        android:layout_height="wrap_content"
        app:layout_constraintBottom_toTopOf="@+id/button_stop"
        app:layout_constraintLeft_toLeftOf="parent"
        app:layout_constraintRight_toRightOf="parent"
        app:layout_constraintTop_toTopOf="parent"/>

    <Button
        android:id="@+id/button_stop"
        android:text="@string/stop"
        android:layout_margin="40dp"
        android:layout_width="match_parent"
        android:layout_height="wrap_content"
        app:layout_constraintBottom_toBottomOf="parent"
        app:layout_constraintLeft_toLeftOf="parent"
        app:layout_constraintRight_toRightOf="parent"
        app:layout_constraintTop_toBottomOf="@+id/button_start"/>

</androidx.constraintlayout.widget.ConstraintLayout>
<resources>
    <string name="app_name">MyApplication</string>
    <string name="start">Start</string>
    <string name="stop">Stop</string>
</resources>
Start ボタンを押すと計測を開始したいので、buttonStart.setOnClickListener の onClick の中に書けば、ボタンを押すと処理してもらえる、ということですね。また、for ループで、1000ms毎に10までカウントアップすることでデータの定期的な処理を模擬しています。ここで、Stop ボタンを押した時の処理をbuttonStop の onClick() でonActive = falseでループ処理を抜ける、という感じでコーディングしましたが、これはうまくいきません。
package com.example.myapplication;

import android.os.Bundle;
import android.util.Log;
import android.view.View;
import android.widget.Button;

import androidx.appcompat.app.AppCompatActivity;

public class MainActivity extends AppCompatActivity{

    boolean onActive = true;
    @Override
    protected void onCreate(Bundle savedInstanceState) {
        super.onCreate(savedInstanceState);
        setContentView(R.layout.activity_main);
        Log.d("debug", "onCreate");

        onActive = true;
        Button buttonStart = findViewById(R.id.button_start);
        buttonStart.setOnClickListener(new View.OnClickListener() {
            public void onClick(View v) {
                // Do something in response to button click
                Log.d("debug", "button_start");
                // 計測模擬
                synchronized (this) {
                    for (int i = 0; i < 10; i++) {
                        Log.d("debug", " i = " + i);
                        try {
                            wait(1000);
                        } catch (InterruptedException e) {
                            e.printStackTrace();
                        }
                        if(!onActive) break;
                    }
                }
            }
        });

        Button buttonStop = findViewById(R.id.button_stop);
        buttonStop.setOnClickListener(v -> {
            Log.d("debug", "button_stop");
            onActive = false;
        });
    }

    @Override
    public void onDestroy() {
        super.onDestroy();
        Log.d("debug", "onDestroy");
    }
}
結果
Start ボタンを押すと、Logcatにカウントされている様子が出力されました。が、カウントの途中でStop ボタンを押してもbuttonStop の onClick() にある Log.d() はカウント終了後に処理されています。
 D/debug: button_start
 D/debug:  i = 0
 D/debug:  i = 1
 D/debug:  i = 2
 D/debug:  i = 3
 D/debug:  i = 4
 D/debug:  i = 5
 D/debug:  i = 6
 D/debug:  i = 7
 D/debug:  i = 8
 D/debug:  i = 9
...
 D/debug: button_stop
マルチスレッド(Thread)
Stopボタンを押してもループ処理から抜けられない問題を、マルチスレッド化で対策してみます。【Java】マルチスレッドの実装方法 などを参考にしました。
MainActivity 内に、MeasureThread と名付けた Thread を作りました。cancel()が呼ばれると、ループ処理フラグをOFF(onActive = false)、for ループを break 出来るようにしておきます。
    private class MeasureThread extends Thread {
        boolean onActive = true;
        public MeasureThread() {
            Log.d("MeasureThread", "Thread name = "
            	 + Thread.currentThread().getName());
        }

        public void run() {
            Log.d("MeasureThread run", "Thread name = "
            	 + Thread.currentThread().getName());
            // 計測模擬
            synchronized (this) {
                for (int i = 0; i < 10; i++) {
                    Log.d("debug", " i = " + i);
                    try {
                        wait(1000);
                    } catch (InterruptedException e) {
                        e.printStackTrace();
                    }
                    if(!onActive) break;
                }
            }
        }
        public void cancel(){
            onActive = false;
            Log.d("MeasureThread", "cancel");
        }
    }
呼び出し側は
        buttonStart.setOnClickListener(v -> {
            // Do something in response to button click
            Log.d("debug", "button_start");
            // 計測模擬
            thread = new MeasureThread();
            thread.start();
        });
Thread を run()ではなく、start() ?となった場合は「Thread を start() と run() で実行するときの違い」を見てください。
さらにStopボタンを押したら終了出来るように、thread.cancel() を追加。
        buttonStop.setOnClickListener(v -> {
            Log.d("debug", "button_stop");
            thread.cancel();
        });
最終的にMainActivityは
package com.example.myapplication;

import android.os.Bundle;
import android.util.Log;
import android.view.View;
import android.widget.Button;

import androidx.appcompat.app.AppCompatActivity;

public class MainActivity extends AppCompatActivity{

    MeasureThread thread;

    @Override
    protected void onCreate(Bundle savedInstanceState) {
        super.onCreate(savedInstanceState);
        setContentView(R.layout.activity_main);
        Log.d("debug", "onCreate");

        Button buttonStart = findViewById(R.id.button_start);
        buttonStart.setOnClickListener(v -> {
            // Do something in response to button click
            Log.d("debug", "button_start");
            // 計測模擬
            thread = new MeasureThread();
            thread.start();
        });

        Button buttonStop = findViewById(R.id.button_stop);
        buttonStop.setOnClickListener(v -> {
            Log.d("debug", "button_stop");
            thread.cancel();
        });

    }

    @Override
    public void onDestroy() {
        super.onDestroy();
        Log.d("debug", "onDestroy");
    }

    private class MeasureThread extends Thread {
        boolean onActive = true;
        public MeasureThread() {
            Log.d("MeasureThread", "Thread name = "
                 + Thread.currentThread().getName());
        }

        public void run() {
            Log.d("MeasureThread run", "Thread name = "
                 + Thread.currentThread().getName());
            // 計測模擬
            synchronized (this) {
                for (int i = 0; i < 10; i++) {
                    Log.d("debug", " i = " + i);
                    try {
                        wait(1000);
                    } catch (InterruptedException e) {
                        e.printStackTrace();
                    }
                    if(!onActive) break;
                }
            }
        }
        public void cancel(){
            onActive = false;
            Log.d("MeasureThread", "cancel");
        }
    }
}
結果
画面上のStartボタンを押してカウントアップ、途中でStopボタンを押すとカウント終了、が出来ました。
 D/debug: button_start
 D/MeasureThread: Thread name = main
 D/MeasureThread run: Thread name = Thread-2
 D/debug:  i = 0
 D/debug:  i = 1
 D/debug:  i = 2
 D/debug:  i = 3
 D/debug:  i = 4
 D/debug:  i = 5
 D/debug: button_stop
 D/MeasureThread: cancel
なお、MeasureThread のコンストラクタとrun() に Thread.currentThread().getName() でスレッドの名前を出力させていますが、コンストラクタではThread name = mainになっているのに対して、run()ではThread name = Thread-2となっており、別のスレッドになっていることが確認できます。
また、ホームボタンを押してメインの画面上からアプリが消えても(onDestroyに移行しても)カウントが継続されています。
 D/debug: button_start
 D/MeasureThread: Thread name = main
 D/MeasureThread run: Thread name = Thread-4
 D/debug:  i = 0
 D/debug:  i = 1
 D/debug:  i = 2
 D/debug:  i = 3
 D/debug: onDestroy
 D/debug:  i = 4
 D/debug:  i = 5
 D/debug:  i = 6
しかし、マルチタスクメニューから削除するとカウントが停止しました。試していませんが、もっと長時間のカウントにした場合にDozeモードに入ると停止するかもしれません。アプリのプロセスが現在フォアグラウンドにある場合はDozeモードに移行しないようですので、次に"フォアグラウンド サービス"を検討したいと思います。
Foreground Service
Android 8.0 Oreoから”バックグラウンド処理”に制限が入ったそうで、基本的には Foreground Serviceの基本 の内容を踏まえて作ります。さらに、[Android] Service の使い方 などを参考にServiceとして以下のように作成。
package com.example.myapplication;

import android.app.Notification;
import android.app.NotificationChannel;
import android.app.NotificationManager;
import android.app.PendingIntent;
import android.app.Service;
import android.content.Context;
import android.content.Intent;
import android.os.IBinder;
import android.util.Log;

public class MyService extends Service {
    public IBinder onBind(Intent intent) {
        return null;
    }

    public int onStartCommand(Intent intent, int flags, int startId) {
        Log.d("debug", "onStartCommand()");

        int requestCode = intent.getIntExtra("REQUEST_CODE",0);
        Context context = getApplicationContext();
        String channelId = "default";
        String title = context.getString(R.string.app_name);

        if (android.os.Build.VERSION.SDK_INT >= android.os.Build.VERSION_CODES.O) {

            PendingIntent pendingIntent =
                    PendingIntent.getActivity(context, requestCode, intent, PendingIntent.FLAG_IMMUTABLE);

            NotificationManager notificationManager =
                    (NotificationManager)context.getSystemService(Context.NOTIFICATION_SERVICE);

            // Notification Channel 設定
            NotificationChannel channel = new NotificationChannel(
                    channelId, title, NotificationManager.IMPORTANCE_DEFAULT);

            if (notificationManager != null) {
                notificationManager.createNotificationChannel(channel);

                Notification notification = new Notification.Builder(context, channelId)
                        .setContentTitle(title)
                        // android標準アイコンから
                        .setSmallIcon(android.R.drawable.ic_media_play)
                        .setContentText("MyApplication")
                        .setAutoCancel(true)
                        .setContentIntent(pendingIntent)
                        .setWhen(System.currentTimeMillis())
                        .build();

                // startForeground
                startForeground(1, notification);

            }
        }

        synchronized (this) {
            for (int i = 0; i < 10; i++) {
                Log.d("debug", " i = " + i);
                try {
                    wait(1000);
                } catch (InterruptedException e) {
                    e.printStackTrace();
                }
            }
        }

        stopSelf();
        return START_NOT_STICKY;
    }
}
実際の処理は、前述と同じ、 for ループで、1000ms毎に10までカウントアップすることでデータの定期的な処理を模擬しています。なお、Android 9(API レベル 28)以降ではさらに下記をManifestファイルに追記する必要があるそうです。
<uses-permission android:name="android.permission.FOREGROUND_SERVICE"/>
呼び出す側は、Start ボタンの setOnClickListener() 部分にstartForegroundService(intent) を追加
        buttonStart.setOnClickListener( v -> {
            Log.d("debug", "button_start");
            Intent intent = new Intent(getApplication(), MyService.class);
            intent.putExtra("REQUEST_CODE", 1);

            // Serviceの開始
            //startService(intent);
            if (Build.VERSION.SDK_INT >= Build.VERSION_CODES.O) {
                startForegroundService(intent);
            }
        });
停止させる処理として、Stop ボタンのsetOnClickListener() に stopService(intent)を追加しました。
        buttonStop.setOnClickListener(nv -> {
            Log.d("debug", "button_stop");
            Intent intent = new Intent(getApplication(), MyService.class);
            // Serviceの停止
            stopService(intent);
        });
forループでカウントアップする処理をMyService.javaに移した点も含めて不要な部分を削除すると、MainActivity.javaはいかのようになりました。
package com.example.myapplication;

import android.content.Intent;
import android.os.Build;
import android.os.Bundle;
import android.util.Log;
import android.widget.Button;

import androidx.appcompat.app.AppCompatActivity;

public class MainActivity extends AppCompatActivity{

    @Override
    protected void onCreate(Bundle savedInstanceState) {
        super.onCreate(savedInstanceState);
        setContentView(R.layout.activity_main);
        Log.d("debug", "onCreate");

        Button buttonStart = findViewById(R.id.button_start);
        buttonStart.setOnClickListener( v -> {
            Log.d("debug", "button_start");
            Intent intent = new Intent(getApplication(), MyService.class);
            intent.putExtra("REQUEST_CODE", 1);

            // Serviceの開始
            //startService(intent);
            if (Build.VERSION.SDK_INT >= Build.VERSION_CODES.O) {
                startForegroundService(intent);
            }
        });

        Button buttonStop = findViewById(R.id.button_stop);
        buttonStop.setOnClickListener(nv -> {
            Log.d("debug", "button_stop");
            Intent intent = new Intent(getApplication(), MyService.class);
            // Serviceの停止
            stopService(intent);
        });
    }

    @Override
    public void onDestroy() {
        super.onDestroy();
        Log.d("debug", "onDestroy");
    }
}
結果
カウント6辺りでマルチタスクメニューから削除してしまっても9までカウントし、その後onDestory()が実行されました。
 D/debug: button_start
 D/debug: onStartCommand()
 D/debug:  i = 0
 D/debug:  i = 1
 D/debug:  i = 2
 D/debug:  i = 3
 D/debug:  i = 4
 D/debug:  i = 5
 D/debug:  i = 6
 D/debug:  i = 7
 D/debug:  i = 8
 D/debug:  i = 9
 D/debug: onDestroy
あれ、今度はカウント6辺りでStop ボタンを押してもカウントアップが止まりません。カウントアップ終了後に button_stop が呼ばれたようです。
 D/debug: button_start
 D/debug: onStartCommand()
 D/debug:  i = 0
 D/debug:  i = 1
 D/debug:  i = 2
 D/debug:  i = 3
 D/debug:  i = 4
 D/debug:  i = 5
 D/debug:  i = 6
 D/debug:  i = 7
 D/debug:  i = 8
 D/debug:  i = 9
 D/debug: button_stop
MainActivity の onCreateに
        Log.d("MainActivity.onCreate", "Thread name = "
        	 + Thread.currentThread().getName());
MyService の onStartCommand() に
Log.d("MyService", "Thread name = " + Thread.currentThread().getName());
を追加してみると、同じスレッド名になっています。
 D/MainActivity.onCreate: Thread name = main

 D/debug: button_start
 D/MyService: onStartCommand()
 D/MyService: Thread name = main
なるほど、
Serviceはバックグラウンドで動作してくれるので別スレッドで実行しているのかと思ってしまいます。バックグラウンドという特性からすると別スレッドでと思うのですが実際はメインスレッドを使っているのですね。(原文はこちら)
というのはこういう事ですね。
Service からのマルチスレッド処理
では、Serviceから別のスレッドを起こしてそこでループ処理をさせてみます。
追加項目
- MyService 内に、
MeasureThreadというThreadを作り、ループ処理を移動 - onStartCommand() に 呼び出し部を追加
thread = new MeasureThread();
thread.start(); -
onDestroy()にthread.cancel()を追加 -
stopSelf()はコメントアウト
stopSelf() はコメントアウトしないと別スレッドをスタートした直後に処理されてループ処理が止まってしまいました...
ソースコードは、以下のようになりました。
import android.app.Notification;
import android.app.NotificationChannel;
import android.app.NotificationManager;
import android.app.PendingIntent;
import android.app.Service;
import android.content.Context;
import android.content.Intent;
import android.os.Build;
import android.os.IBinder;
import android.util.Log;

public class MyService extends Service {

    MeasureThread thread;

    public IBinder onBind(Intent intent) {
        return null;
    }

    public int onStartCommand(Intent intent, int flags, int startId) {
        Log.d("MyService", "onStartCommand()");
        Log.d("MyService", "Thread name = " + Thread.currentThread().getName());

        int requestCode = intent.getIntExtra("REQUEST_CODE",0);
        Context context = getApplicationContext();
        String channelId = "default";
        String title = context.getString(R.string.app_name);

        if (android.os.Build.VERSION.SDK_INT >= android.os.Build.VERSION_CODES.O) {

            PendingIntent pendingIntent =
                    PendingIntent.getActivity(context, requestCode, intent, PendingIntent.FLAG_IMMUTABLE);

            NotificationManager notificationManager =
                    (NotificationManager) context.getSystemService(Context.NOTIFICATION_SERVICE);

            // Notification Channel 設定
            NotificationChannel channel = new NotificationChannel(
                    channelId, title, NotificationManager.IMPORTANCE_DEFAULT);

            if (notificationManager != null) {
                notificationManager.createNotificationChannel(channel);

                Notification notification = new Notification.Builder(context, channelId)
                        .setContentTitle(title)
                        // android標準アイコンから
                        .setSmallIcon(android.R.drawable.ic_media_play)
                        .setContentText("MyApplication")
                        .setAutoCancel(true)
                        .setContentIntent(pendingIntent)
                        .setWhen(System.currentTimeMillis())
                        .build();

                // startForeground
                startForeground(1, notification);

            }
        }
        thread = new MeasureThread();
        thread.start();

//        stopSelf();
        return START_NOT_STICKY;
    }
    @Override
    public void onDestroy(){
        thread.cancel();
    }

    private class MeasureThread extends Thread {
        boolean onActive = true;
        public MeasureThread() {
            Log.d("MeasureThread", "Thread name = "
                 + Thread.currentThread().getName());
        }

        public void run() {
            Log.d("MeasureThread run", "Thread name = "
                 + Thread.currentThread().getName());
            Intent intent = new Intent(getApplication(), MyService.class);
            intent.putExtra("REQUEST_CODE", 1);

            synchronized (this) {
                for (int i = 0; i < 10; i++) {
                    Log.d("debug", " i = " + i);
                    try {
                        wait(1000);
                    } catch (InterruptedException e) {
                        e.printStackTrace();
                    }
                    if(!onActive) break;
                }
            }
        }
        public void cancel(){
            onActive = false;
            Log.d("MeasureThread", "cancel");
        }
    }
}
結果
Startボタンを押してカウントアップ開始、途中でStopボタンを押すとカウント終了、が出来ました。
 D/debug: button_start
 D/MeasureThread: Thread name = main
 D/MeasureThread run: Thread name = Thread-2
 D/debug:  i = 0
 D/debug:  i = 1
 D/debug:  i = 2
 D/debug:  i = 3
 D/debug:  i = 4
 D/debug:  i = 5
 D/debug: button_stop
 D/MeasureThread: cancel
参考