背景・目的
SharePointの拡張に関しては、SPFxを使おうってことなんですが、なかなかに難しそうで学習意欲がわかない!
ということで、ずぼらにReact製のWebアプリケーションをSharePoint Onlineで無理やり動作させてみました。
完成イメージ
注意
SharePointのドキュメントライブラリでは、配置された.html、.aspxのファイルはダウンロードされてしまうのですが、.aspxのファイルはカスタムスクリプトの実行を許可することで、ダウンロードされず画面で表示させることができるという、2020年2月時点で有効な仕様を前提に動作させています。
参考にさせていただいたブログ(外部リンク)
idea.toString();
静的 HTML ファイルを SharePoint にアップロードして公開する
Art-Break Tech
チームサイトやコミュニケーションサイトではライブラリにアップロードした.aspxファイルはクリックすると表示されずにダウンロードされてしまう
用意したもの
- SharePoint Online
- Node.js (lts)入りのパソコン(Windows10)とインターネット回線
やってみたこと
- SharePoint Onlineで任意のサイトを作成
- カスタムスクリプトの実行を許可
- ドキュメントライブラリを作成
- npmをインストールしReactの実行環境を作成(yarn create react-app使います)
- ちょっとした開発
- build
- buildしたファイルの加工
- ドキュメントライブラリに配置
やってみたことの説明
1.SharePoint Onlineで任意のサイトを作成
GUIでポチポチ。ちなみにコミュニケーションサイトで空白を選択しました。

2. カスタムスクリプトの実行を許可
記載させていただいたブログを参考に以下のコマンドをSharePoint Online Management Shellで実行します。
Connect-SPOService -Url https://**********.sharepoint.com -Credential **********
Set-SPOsite https://**********/sites/zubora -DenyAddAndCustomizePages 0
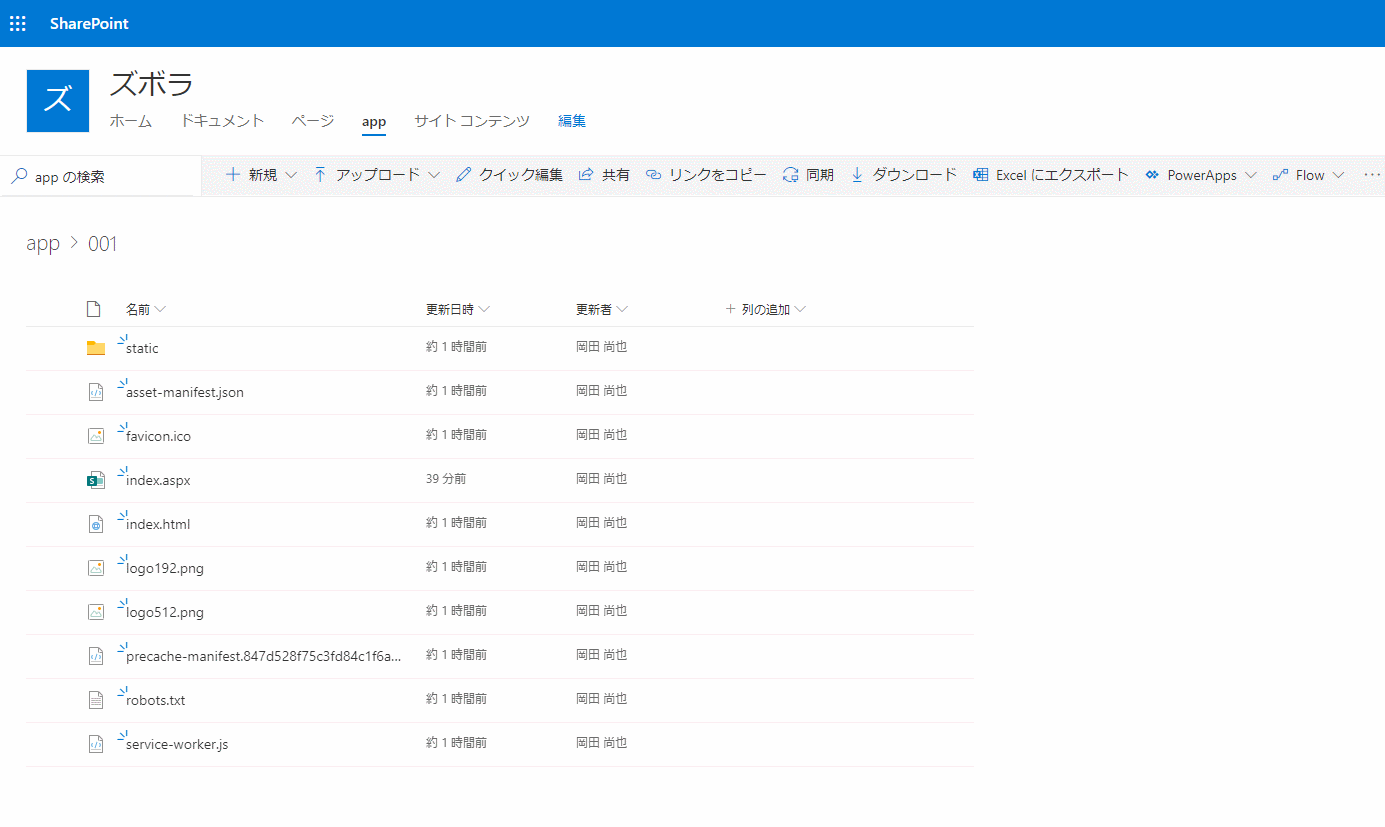
3. ドキュメントライブラリを作成
GUIでポチポチ。
4. npmをインストールしReactの実行環境を作成(yarn create react-app使います)
以下のコマンドをコマンドプロンプトで実行します。
yarn create react-app zubora
以下が表示されたらダウンロード成功です。
Success! Created zubora at **********
Inside that directory, you can run several commands:

  yarn start
    Starts the development server.

  yarn build
    Bundles the app into static files for production.

  yarn test
    Starts the test runner.

  yarn eject
    Removes this tool and copies build dependencies, configuration files
    and scripts into the app directory. If you do this, you can’t go back!

We suggest that you begin by typing:

  cd zubora
  yarn start

Happy hacking!
Done in 63.69s.
次に以下のコマンドを実行します。
cd zubora
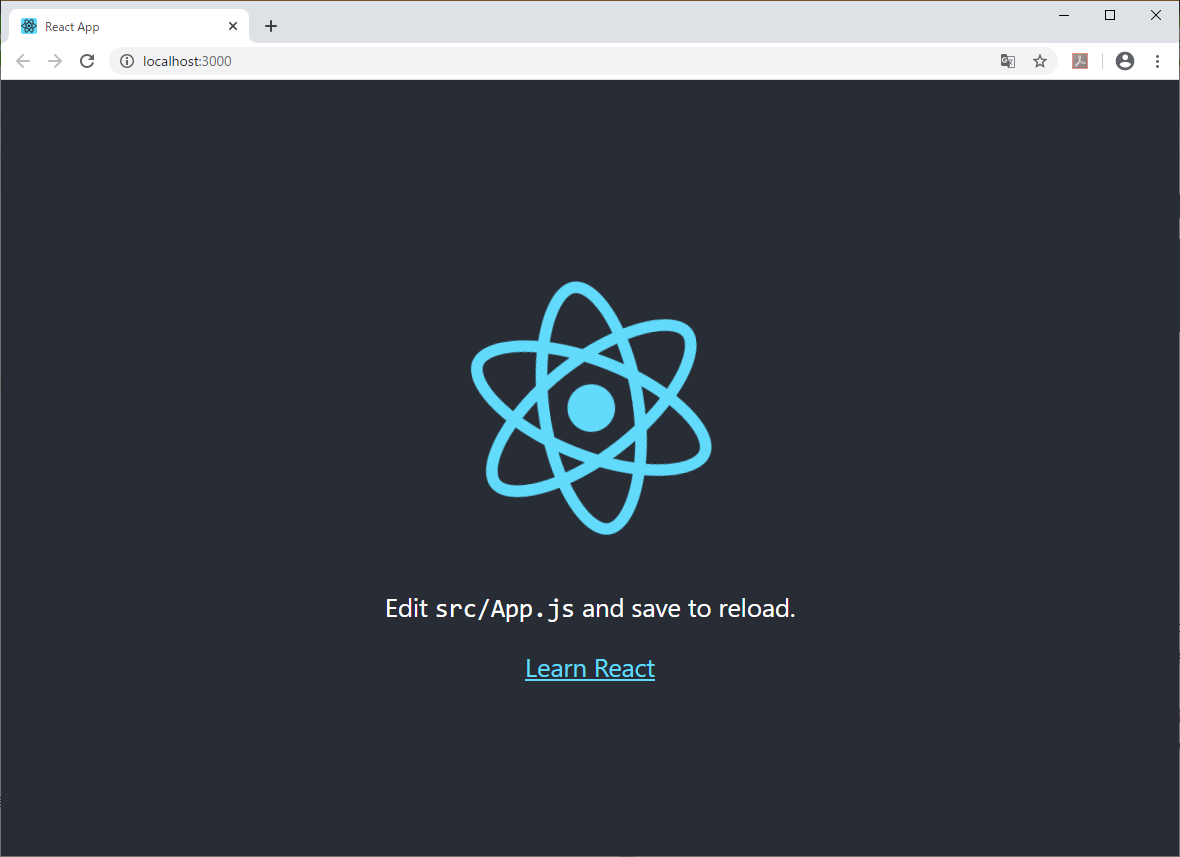
yarn start
この画面が出たら成功です。
今回はせっかくなので、material-uiのコンポーネントを使ってSharePointっぽくない感じにしてみたいと思います。
そのため、以下のコマンドを追加で実行します。
yarn add -D @material-ui/core @material-ui/icons
5. ちょっとした開発
デフォルトで作成されるファイルを修正します。
index.htmlの26行目の下に以下を追加します。
<link rel="stylesheet" href="https://fonts.googleapis.com/css?family=Roboto:300,400,500,700&display=swap" />
package.jsonの4行目の下に以下を追加します。
"homepage": ".",
App.jsを以下に書き換えます。{your sharepoint site}は自身のサイトUrlに変更してください。
import React from 'react';
import Button from '@material-ui/core/Button';
import Container from '@material-ui/core/Container';
import CircularProgress from '@material-ui/core/CircularProgress';
import AppBar from '@material-ui/core/AppBar';
import Toolbar from '@material-ui/core/Toolbar';
import Typography from '@material-ui/core/Typography';
import Badge from '@material-ui/core/Badge';
import MailIcon from '@material-ui/icons/Mail';
import Avatar from '@material-ui/core/Avatar';
import AssignmentIcon from '@material-ui/icons/Assignment';

import LoginName from './LoginName';

class App extends React.Component {
  constructor() {
    super();
    this.state = {
      loginName: 'Anonymous'
    }
  }
  getSpLoginUser = () => {
    fetch('{your sharepoint site}/sites/zubora/_api/web/currentuser', {
      'method': 'GET',
      'headers' : {
        'Content-type': 'application/json; odata=verbose',
        'Accept': 'application/json; odata=verbose'
      }
    })
    .then((response) => response.json())
    .then((responseJson) => {
      this.setState({ loginName: responseJson.d.Title })
    })
  }
  render() {
    return (
      <div>
        <AppBar position="static">
          <Toolbar>
            <Typography variant="h6">
              <LoginName dispLoginName={this.state.loginName} />
            </Typography>
          </Toolbar>
        </AppBar>
        <Container maxWidth="sm">
          <p>Create React Appで作ったよ</p>
          <p>すでにSharePointにログイン(サインイン)しているので特別な認証設定なしにRestも使えます</p>
          <Button variant="contained" color="primary" onClick={this.getSpLoginUser}>
            SharePoint Onlineのログインユーザを画面上部に表示
          </Button>
        </Container>
        <Container maxWidth="sm">
          <p>material ui のコンポーネントも使えるよ</p>
          <div>
            <p>CircularProgress</p>
            <CircularProgress />
          </div>
          <div>
            <p>Badge</p>
            <Badge badgeContent={4} color="secondary">
              <MailIcon />
            </Badge>
          </div>
          <div>
            <p>Avatar</p>
            <Avatar>
              <AssignmentIcon/>
            </Avatar>
          </div>
          <div>
            <p>などなどたくさん!!!</p>
          </div>
        </Container>
      </div>
    );
  }
}
export default App;
App.jsと同じフォルダにLoginName.jsを作成します。
import React from 'react';

class LoginName extends React.Component {
  render() {
    const dispLoginName = this.props.dispLoginName;
    return (
      <div>現在ログインしているユーザは {dispLoginName} さんです。</div>
    );
  }
}
export default LoginName;
6. build
以下のコマンドを実行します。
yarn build
以下みたいになれば成功です。
Creating an optimized production build...
Compiled successfully.

File sizes after gzip:

  66.63 KB (-2.14 KB)  build\static\js\2.7ec70346.chunk.js
  1.26 KB (-87 B)      build\static\js\main.5929dd22.chunk.js
  771 B                build\static\js\runtime-main.7cf92c16.js
  278 B                build\static\css\main.5ecd60fb.chunk.css

The project was built assuming it is hosted at ./.
You can control this with the homepage field in your package.json.

The build folder is ready to be deployed.

Find out more about deployment here:

  bit.ly/CRA-deploy

Done in 9.33s.
7. buildしたファイルの加工
buildフォルダの中に、index.htmlがあると思いますので、
index.html → index.aspx
にリネームします。
8. ドキュメントライブラリに配置
buildフォルダ中身の以下を除いて配置します。
- asset-manifest.json
- manifest.json
これで、index.aspxにブラウザでアクセスすると動作します。
と思ったらブラウザかにブラウザの設定によって(私はEdgeで確認。Chromeは問題なし)はエラー(CORS)が出るみたいですが、その場合以下のコードを削除してください。
<link rel="manifest" href="./manifest.json" />
まとめ
無事に上記手順のみで、 SharePoint Online だけで動作させることができました。
もし試される場合は、開発する際の認証の設定とか、Reactでルーティングした場合のURLとファイルの関係とか、いくつか留意事項がありますのでご注意ください。
また、あくまで現時点での SharePoint Online の仕様で許されているだけで、今後.aspxのファイルの扱いこのままかどうかは何とも言えません。
もし動作できなくなった場合には、素直にWebサーバに資産の移行か、SharePointの標準機能のページへの移行を検討しましょう。
ですがお手軽に組織内にWebアプリケーションを公開してみたい、複雑な認証の設定はしたくないが、 SharePoint REST サービスを組み合わせたWebアプリケーションを公開してみたいとかの場合にはやってみてもよいのではないでしょうか。
感想
SPFxに助走をつけて飛び込むためのReact勉強だったのですが、Reactのほうがおもしろくなりつつあります笑
以上、初Qiitaでした。レベルが低いかもですが、第一歩ということでお手柔らかに。。。