2016/07/04 (月) 11:00 ~ 14:00 株式会社XSHELLで行った、
「寝ながら作るXojo #1 ~最初の一歩・ランチオンハンズオン~」
https://atnd.org/events/79095
のハンズオンテキスト。
https://www.slideshare.net/YoshimasaKawano/xojo
昔の資料で、結構間違いも入っていたもの。今の環境(2020年2月)で動作確認と正確な説明を改めて。
環境
Linux Ubuntu 18.04.4 LTS ( AMD64 )
xojo 2019r3.1
初期メニュー
ここから開始
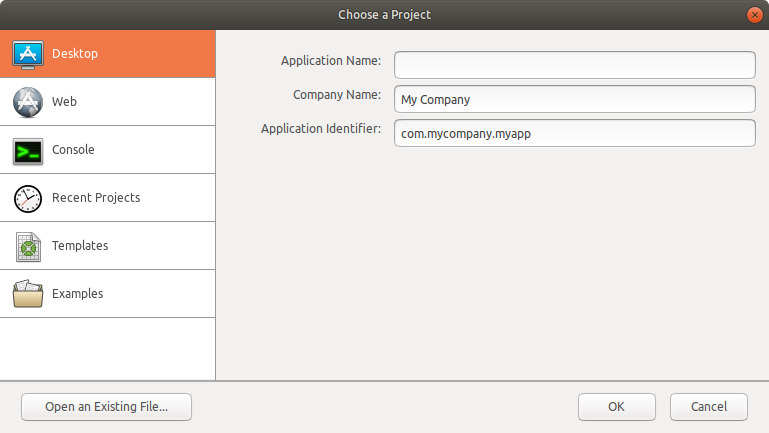
デスクトップアプリ作ってみる
初期メニューから「Desktop」を選ぶ
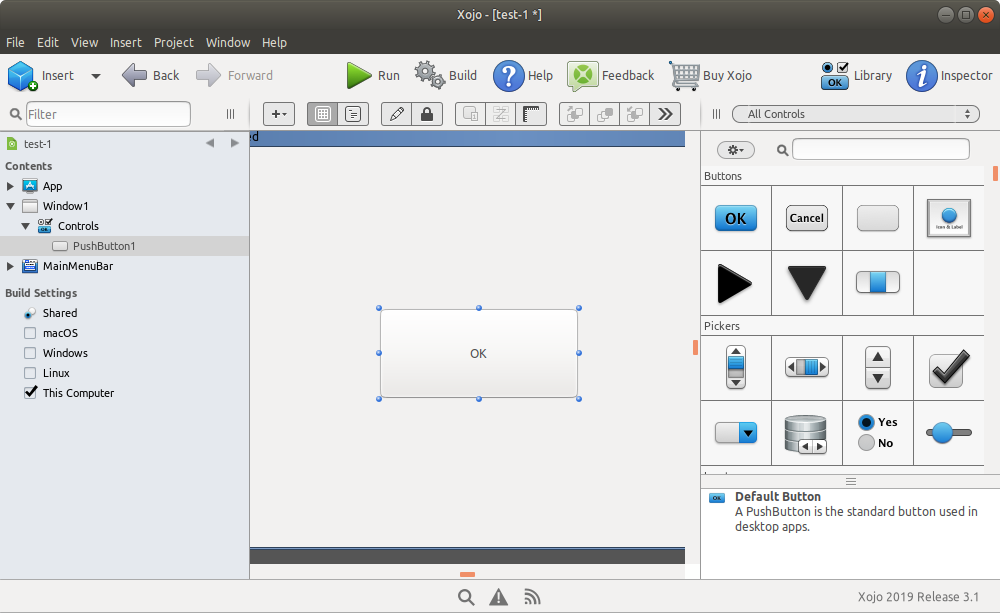
Hello作ってみる
OKボタンを置いて適当にサイズを変更します。
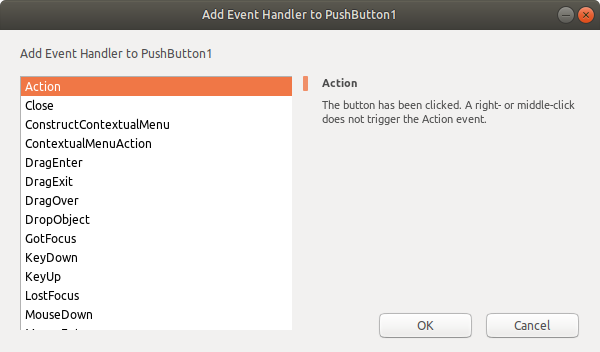
OKボタンをダブルクリックして以下の画面がでてきたら 「Action」 を選んで 「 OK 」
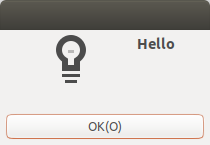
コードウィンドウ内にMsgBox("Hello")と書く

実行

OKボタンを押すとHelloが出ました。
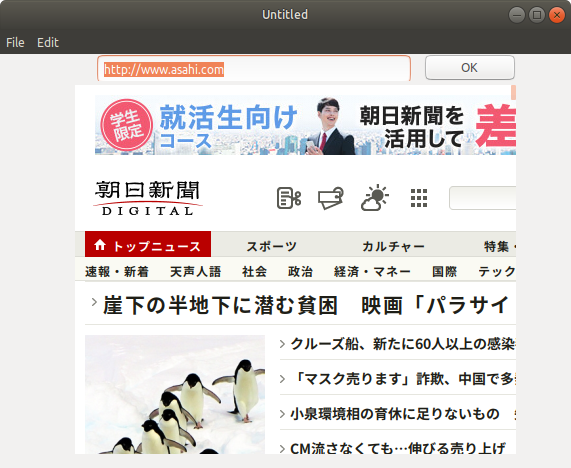
Webブラウザつくってみる
初期画面から「Desktop」を選び、ボタン、TextField,HTMLVIewerを配置

ボタンをダブルクリック→Action→OK
コードウィンドウ内に
HTMLViewer1.LoadURL(TextField1.Text)
と書く
実行
画像取得作ってみる
http://blog.xojo.com/2015/10/01/cats-up-using-httpsocket-with-the-cat-rest-api/
で公開されていた「Cats Up: Using HTTPSocket with the Cat REST API」
以前は「HTTPSocketとCat REST APIを使って幸せになる方法」として日本語訳がありましたが、
https://xojo.grapecity.com/topics/article-20151014
現在はリンク切れです。アーカイブがこちらから見えます
https://web.archive.org/web/20151114015228/https://xojo.grapecity.com/topics/article-20151014
サンプルプログラムはiOS用ですが、日本語訳ページにはデスクトップアプリへの移植方法が追加されてました。この記事を元にクラウドから画像取得するサンプルプログラムを作ってみます。
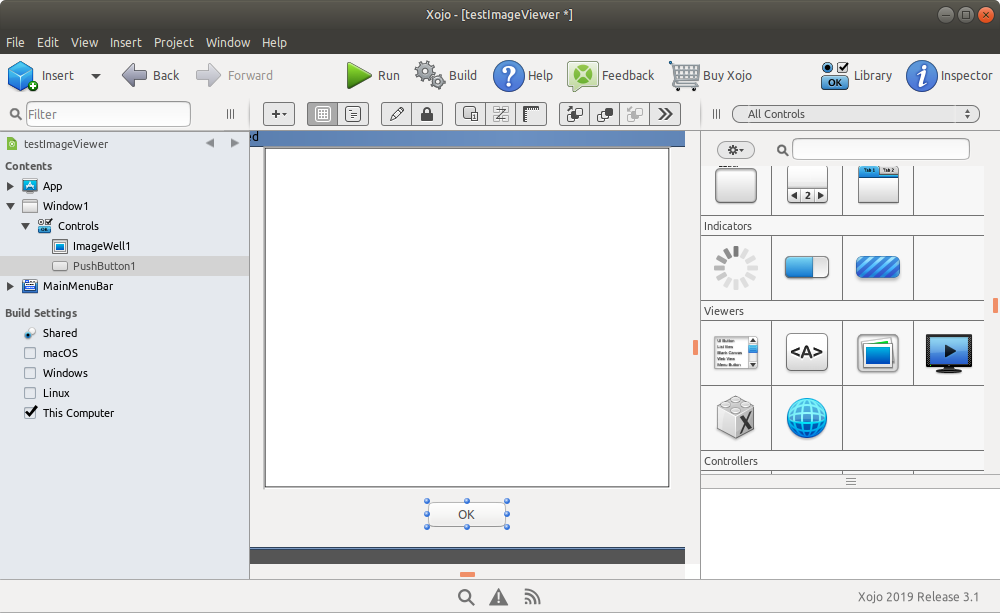
初期画面から「Desktop」を選び、OKボタン、ImageWallを配置する
「Insert」-「Class」でCatCloudをつくり、Superとしてxojo.Net.HTTPSocketを選ぶ。
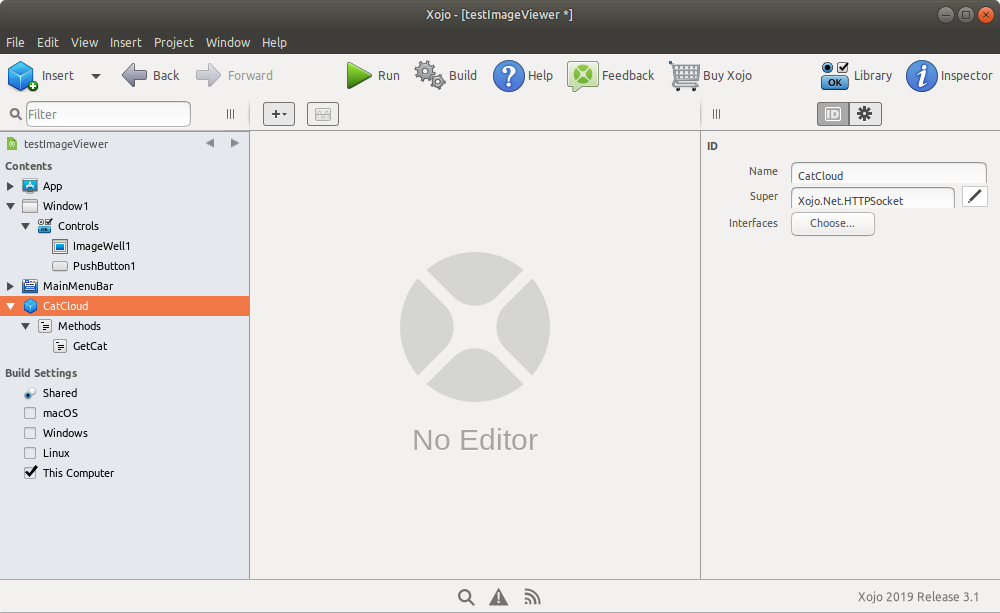
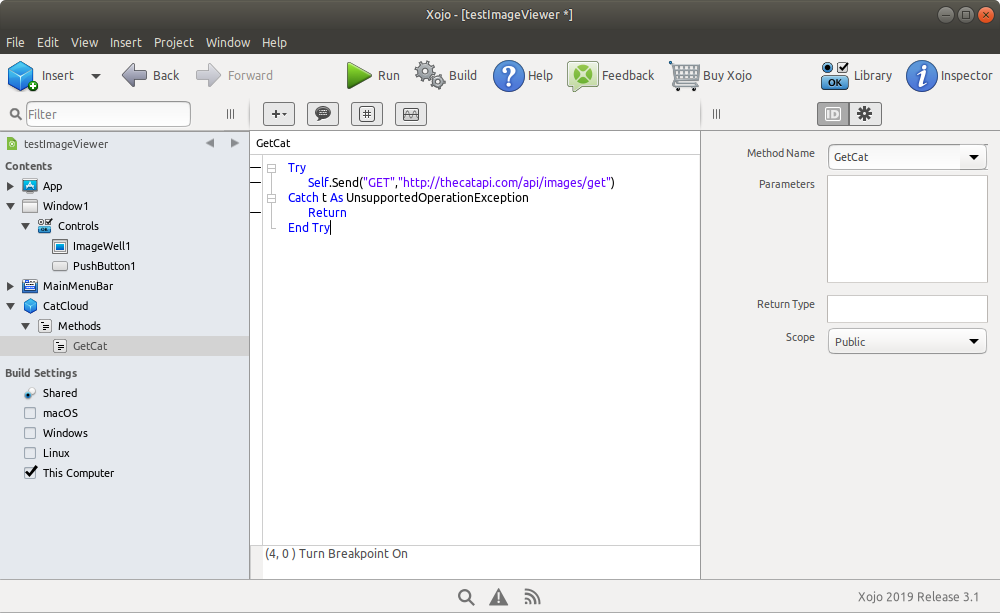
「Insert」-「Method」でGetCatを作り、コードを書く
Try
    Self.Send("GET","http://thecatapi.com/api/images/get")
Catch t As UnsupportedOperationException
    Return
End Try
ImageViewを表示して、クラスCatCloudをImageViewにドラッグ&ドロップします。そうすると画面下にCatCloud1ボタンができるので、
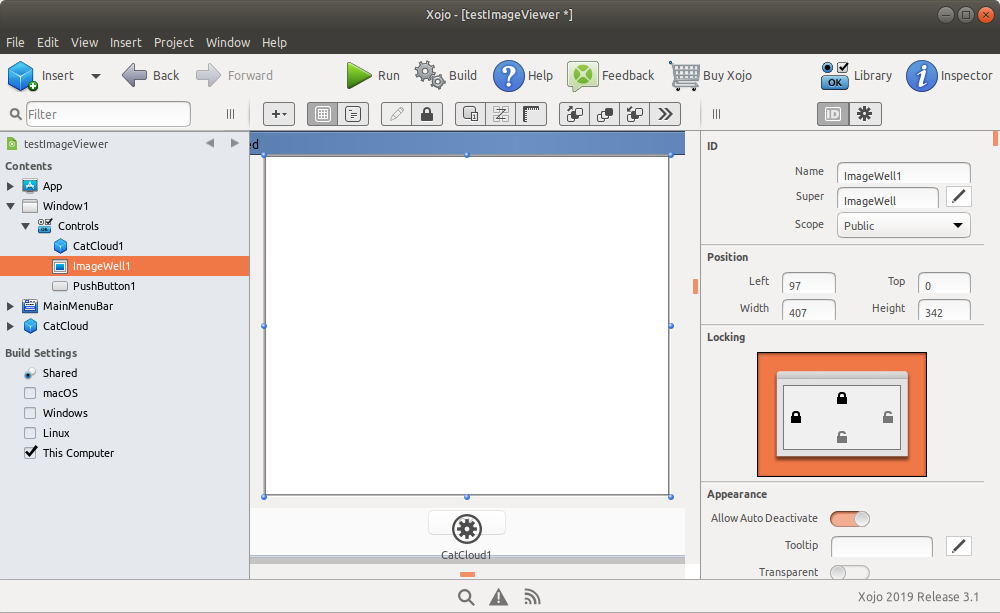
画面下のCatCloud1マークをクリック→PageRecievedでOK

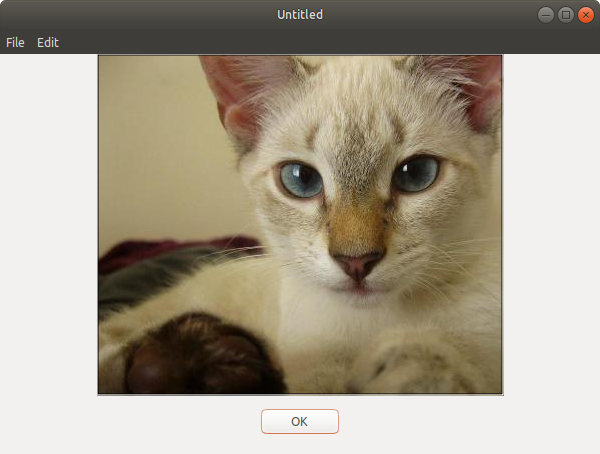
コードを追加
Dim picBlock As New MemoryBlock(Content.Size)
Dim lastByteIndex As integer = Content.Size - 1
For i As Integer = 0 To lastByteIndex
    picBlock.Byte(i) = Content.Data.Byte(i)
Next
Dim catPic As Picture
catPic = Picture.FromData(picBlock)
ImageWell1.Image = catPic
OKボタンをダブルクリックしてAction→コードを追加
Dim picBlock As New MemoryBlock(Content.Size)
Dim lastByteIndex As integer = Content.Size - 1
For i As Integer = 0 To lastByteIndex
    picBlock.Byte(i) = Content.Data.Byte(i)
Next
Dim catPic As Picture
catPic = Picture.FromData(picBlock)
ImageWell1.Image = catPic
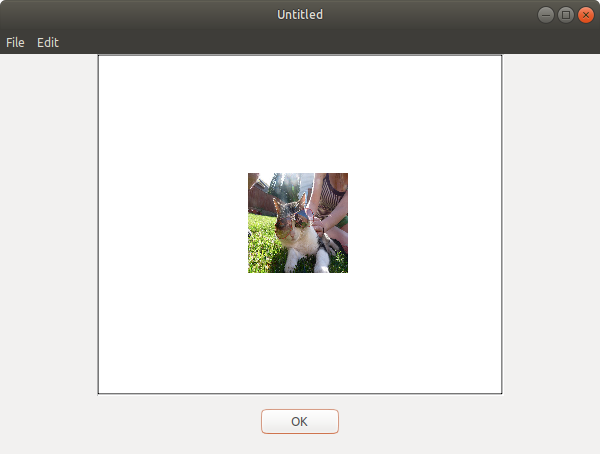
画像の加工表示作ってみる
先のアプリのPageRecievedを以下のように書き換える
  Dim picBlock As New MemoryBlock(Content.Size)
  Dim lastByteIndex As integer = Content.Size - 1
  Dim file As FolderItem
  For i As Integer = 0 To lastByteIndex
    picBlock.Byte(i) = Content.Data.Byte(i)
  Next
  Dim catPic As Picture
  Dim thumbnail As New Picture(100, 100, 32)
  catPic = Picture.FromData(picBlock)
  thumbnail.Graphics.DrawPicture(catPic, 0, 0, 100,100, 0, 0,catPic.Width, catPic.Height)
  ImageWell1.Image = thumbnail
  file = SpecialFolder.Pictures.Child("ThumbCat.jpg")
  ImageWell1.Image.Save(file, Picture.SaveAsJPEG)
画像の表示作ってみる
Picturesディレクトリにある画像の一覧を出す。自分の画像フォルダに合わせてプログラムは変更してください。また、自分の画像フォルダを表示すると犯罪になる場合は別フォルダを適宜指定してください。
以下を配置!
- 6 x ImageWall
- 6 x Label
- 1 x PushButton
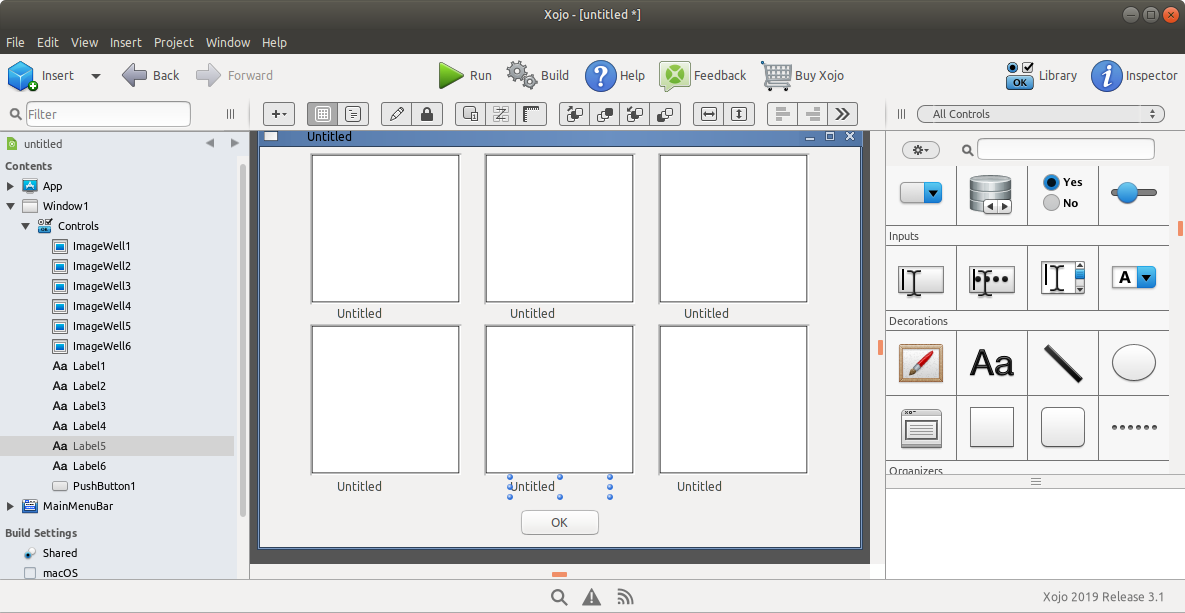
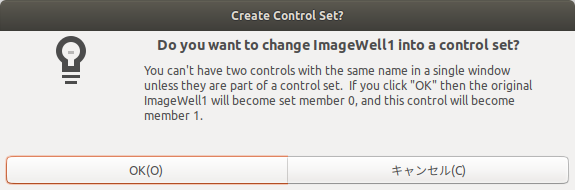
ImageWallとLabelをそれぞれ配列にする
同じ名前にすると自動的に配列になる

OKボタンのActionにつけるコード
  Dim itemIdx, dirCount as Integer
  Dim dir as FolderItem
  dim item as FolderItem
  Dim Pic As Picture
  Dim thumbnail As New Picture(100, 100, 32)

  dir = SpecialFolder.Pictures
  dirCount = dir.Count
  For itemIdx = 1 to 6
    item = dir.Item(itemIdx)
    If item <> nil Then
      dim thisExt as string = item.Name.Right(4)
      if thisExt = ".jpg" or  thisExt = ".png"  Then
        Pic = Picture.Open(item)
        thumbnail = new Picture(100,100,32)
        thumbnail.Graphics.DrawPicture(Pic, 0, 0, 100,100, 0, 0,Pic.Width, Pic.Height)
        ImageWall1(itemIdx-1).Image = thumbnail
      end If
      Label1(itemIdx-1).text=item.Name
    end if
  Next
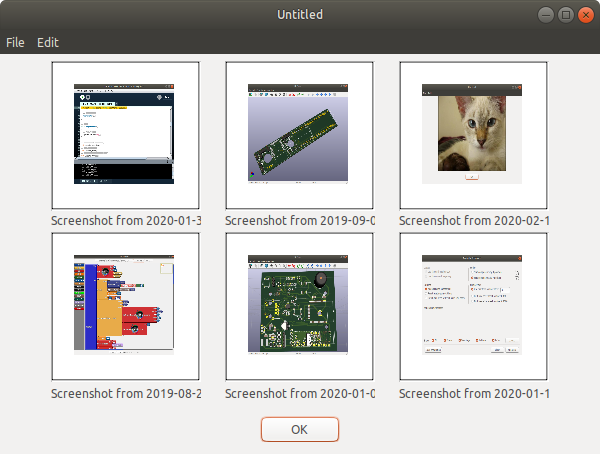
実行!
Webアプリ作ってみる
「Choose Project」→「Web」
ListBoxとTextFieldを配置

ボタン配置→ダブルクリック→Action→OK
コードウィンドウ内にListBox1.AddRow(TextField1.Text)と書く
実行するとブラウザが立ち上がります。
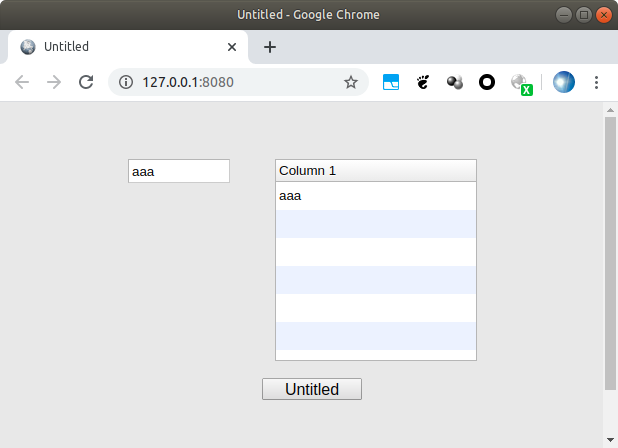
入力エリアに文字を入力してボタンを押すとリストに追加されます。
DBアクセスしてみる
ワークショップ時での説明ではRaspberryPiでMySQLを動かして、それにアクセスする方法を案内しました。
今回Qiita記事化するに伴い以下の内容を参照してください。
「Xojo + SQLite で遊ぶ」
https://qiita.com/nanbuwks/items/507ed3a21e04512d31ce
「Xojo で Web+DBアプリを作ってみる (SQLite編)」
https://qiita.com/nanbuwks/items/2cefc72528a16d60a329
「Xojo で Web+DBアプリを作ってみる (MySQL/MariaDB編)」
https://qiita.com/nanbuwks/items/0ccf38fc3f6ec2648d07
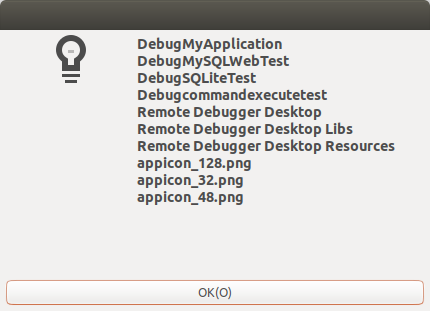
shell 呼び出してみる
CUIに皮を被せられるので便利!
Dim Command as new Shell
Command.Execute("ls")
MsgBox(Command.Result)