Ubuntu デスクトップなどからローカルでさくっと使えるように、最低限の操作でインストールする方法。
環境
- Ubuntu 20.04 LTS Desktop
- 2022/08/19追記:Ubuntu 22.04 LTS Desktop でも確認
- 2025/10/30追記:Ubuntu 24.04 LTS Desktop でも確認
- Ubuntu ディストリビューションパッケージで構成
- データベースサーバーとして MariaDB を使用
- http として Apache を使用
- あらかじめ、以下の作業は済ましておく。
$ sudo apt update
$ sudo apt upgrade
データベース(MariaDB)インストール
$ sudo apt install mariadb-client mariadb-server
phpMyAdmin の先にデータベースサーバをインストールしておきます。
MariaDB の設定
root でログインして、phpMyAdmin で使うためのユーザを作り、データベースの用意をします
$ sudo mysql -u root -p
Welcome to the MariaDB monitor.  Commands end with ; or \g.
Your MariaDB connection id is 49
Server version: 10.3.31-MariaDB-0ubuntu0.20.04.1 Ubuntu 20.04

Copyright (c) 2000, 2018, Oracle, MariaDB Corporation Ab and others.

Type 'help;' or '\h' for help. Type '\c' to clear the current input statement.

MariaDB [(none)]>
今回、以下のようにして「webdb」ユーザと、「夏休みのテスト」データベースを作ります。'password' 他は適宜変更してください。
 CREATE USER 'webdb'@'localhost' IDENTIFIED BY 'password';

 CREATE DATABASE 夏休みのテスト;
「webdb」ユーザが 「夏休みのテスト」データベースを操作できるようにします。
GRANT ALL ON 夏休みのテスト.* TO 'webdb'@'localhost';
phpmyadmin インストール
$ sudo apt install phpmyadmin
パッケージリストを読み込んでいます... 完了
依存関係ツリーを作成しています
状態情報を読み取っています... 完了
以下の追加パッケージがインストールされます:
  apache2 apache2-bin apache2-data apache2-utils dbconfig-common
  dbconfig-mysql icc-profiles-free javascript-common libapache2-mod-php7.4
  libapr1 libaprutil1 libaprutil1-dbd-sqlite3 libaprutil1-ldap libjs-jquery
  libjs-openlayers libjs-sphinxdoc libjs-underscore liblua5.2-0 libzip5 php
  php-bz2 php-common php-curl php-gd php-google-recaptcha php-mbstring
  php-mysql php-phpmyadmin-motranslator php-phpmyadmin-shapefile
  php-phpmyadmin-sql-parser php-phpseclib php-psr-cache php-psr-container
  php-psr-log php-symfony-cache php-symfony-cache-contracts
  php-symfony-expression-language php-symfony-service-contracts
  php-symfony-var-exporter php-tcpdf php-twig php-twig-extensions php-xml
  php-zip php7.4 php7.4-bz2 php7.4-cli php7.4-common php7.4-curl php7.4-gd
  php7.4-json php7.4-mbstring php7.4-mysql php7.4-opcache php7.4-readline
  php7.4-xml php7.4-zip
提案パッケージ:
  apache2-doc apache2-suexec-pristine | apache2-suexec-custom php-pear
  php-dbase php-libsodium php-mcrypt php-gmp
  php-symfony-service-implementation php-imagick php-twig-doc
  php-symfony-translation php-recode php-gd2 php-pragmarx-google2fa
  php-bacon-qr-code php-samyoul-u2f-php-server
推奨パッケージ:
  php-mcrypt
以下のパッケージが新たにインストールされます:
  apache2 apache2-bin apache2-data apache2-utils dbconfig-common
  dbconfig-mysql icc-profiles-free javascript-common libapache2-mod-php7.4
  libapr1 libaprutil1 libaprutil1-dbd-sqlite3 libaprutil1-ldap libjs-jquery
  libjs-openlayers libjs-sphinxdoc libjs-underscore liblua5.2-0 libzip5 php
  php-bz2 php-common php-curl php-gd php-google-recaptcha php-mbstring
  php-mysql php-phpmyadmin-motranslator php-phpmyadmin-shapefile
  php-phpmyadmin-sql-parser php-phpseclib php-psr-cache php-psr-container
  php-psr-log php-symfony-cache php-symfony-cache-contracts
  php-symfony-expression-language php-symfony-service-contracts
  php-symfony-var-exporter php-tcpdf php-twig php-twig-extensions php-xml
  php-zip php7.4 php7.4-bz2 php7.4-cli php7.4-common php7.4-curl php7.4-gd
  php7.4-json php7.4-mbstring php7.4-mysql php7.4-opcache php7.4-readline
  php7.4-xml php7.4-zip phpmyadmin
アップグレード: 0 個、新規インストール: 58 個、削除: 0 個、保留: 0 個。
21.7 MB のアーカイブを取得する必要があります。
この操作後に追加で 97.1 MB のディスク容量が消費されます。
続行しますか? [Y/n]
php や apache2は自動でインストールされます。
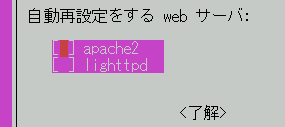
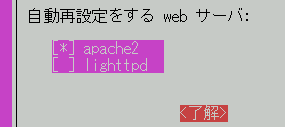
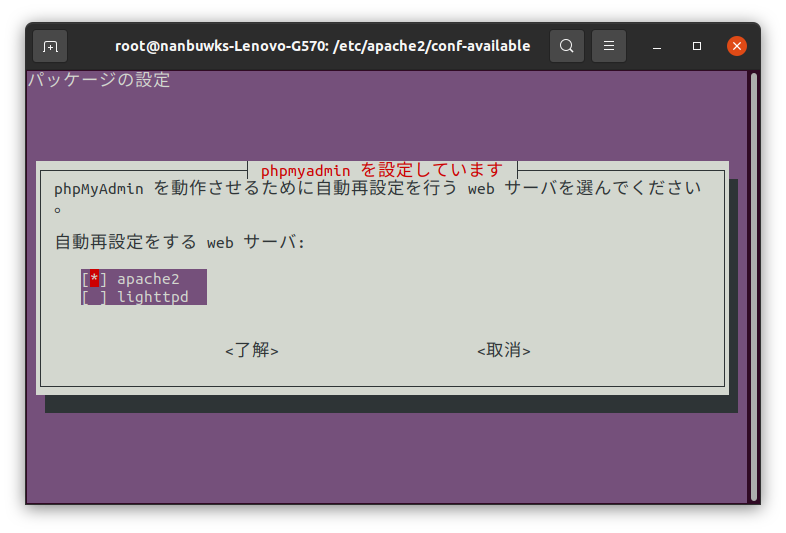
インストール中、以下の画面が出てきます。web サーバは apache2 とします。
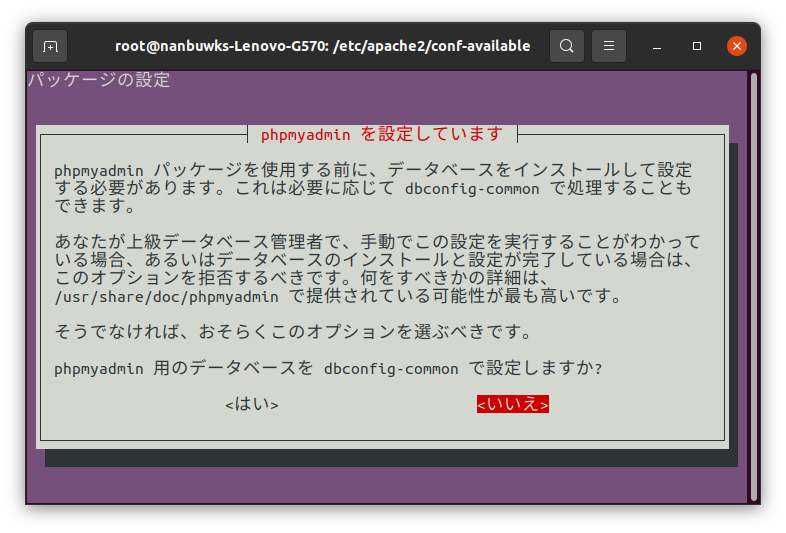
インストールしている最中に聞いてくる以下のページは「いいえ」とします。
「はい」を選択して進めると、途中でエラーが出る感じでした。
ブラウザで動作確認
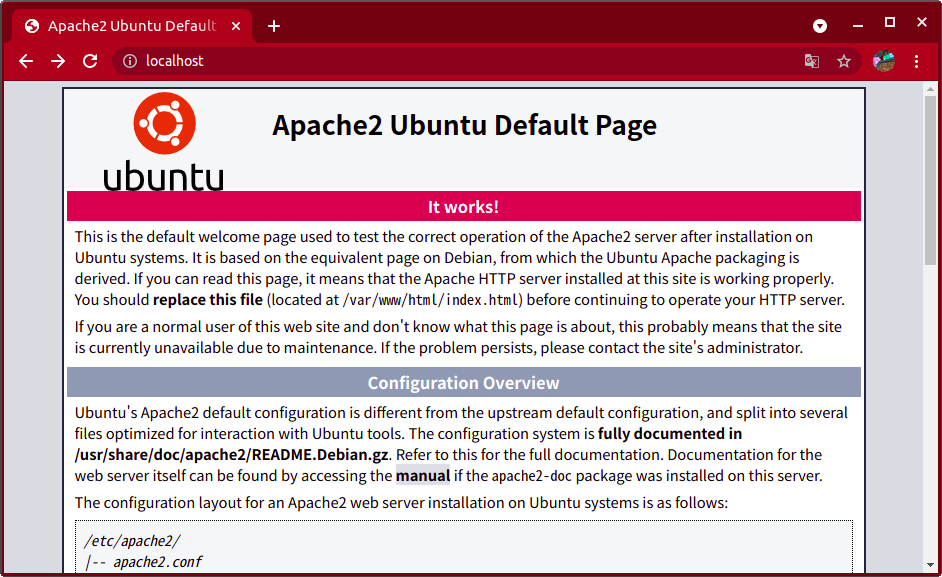
インストールが終わったら、Webブラウザで 「 http://localhost 」 を開きます。
以下のページが出てきたら、 apache2 は正常にインストールされています。
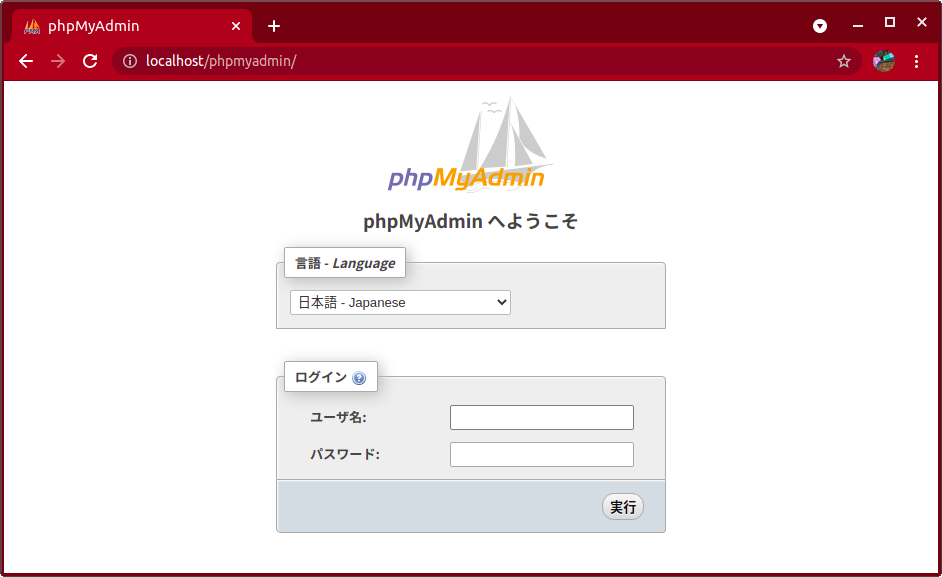
次に、「http://localhost/phpmyadmin/ 」にアクセスすると以下の画面が出てきます。
phpMyAdmin ログイン
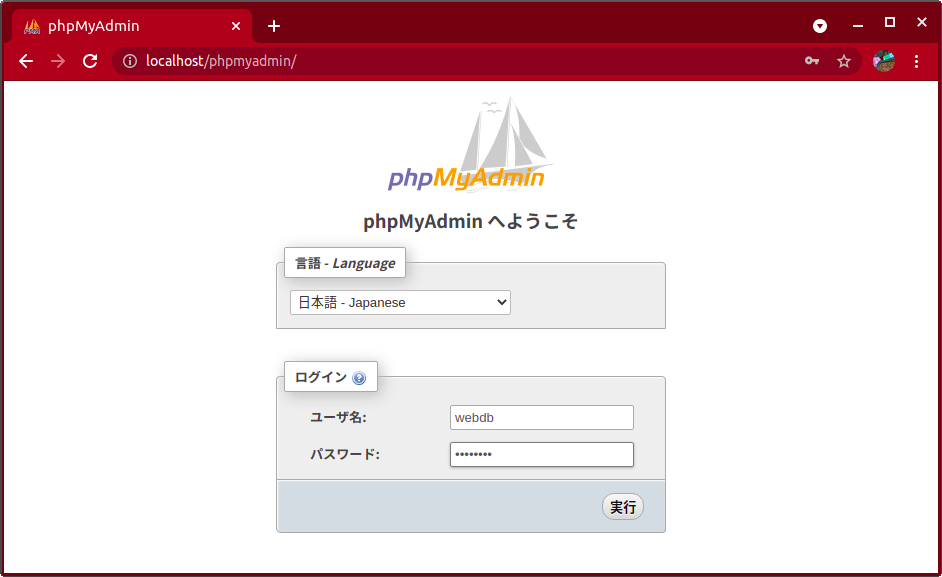
MariaDB の設定の時に指定した 「webdb」 とパスワードを入力して「実行」
ログインできました。「夏休みのテスト」が見えているのがわかりますね。
