1
0

Delete article

Deleted articles cannot be recovered.

Draft of this article would be also deleted.

Are you sure you want to delete this article?

More than 1 year has passed since last update.

栽培ロボットを作ろう

Last updated at Posted at 2023-09-02

「キヌア栽培のための制御回路をつくってみよう」
https://qiita.com/nanbuwks/items/138a8bbda59f0657b9df

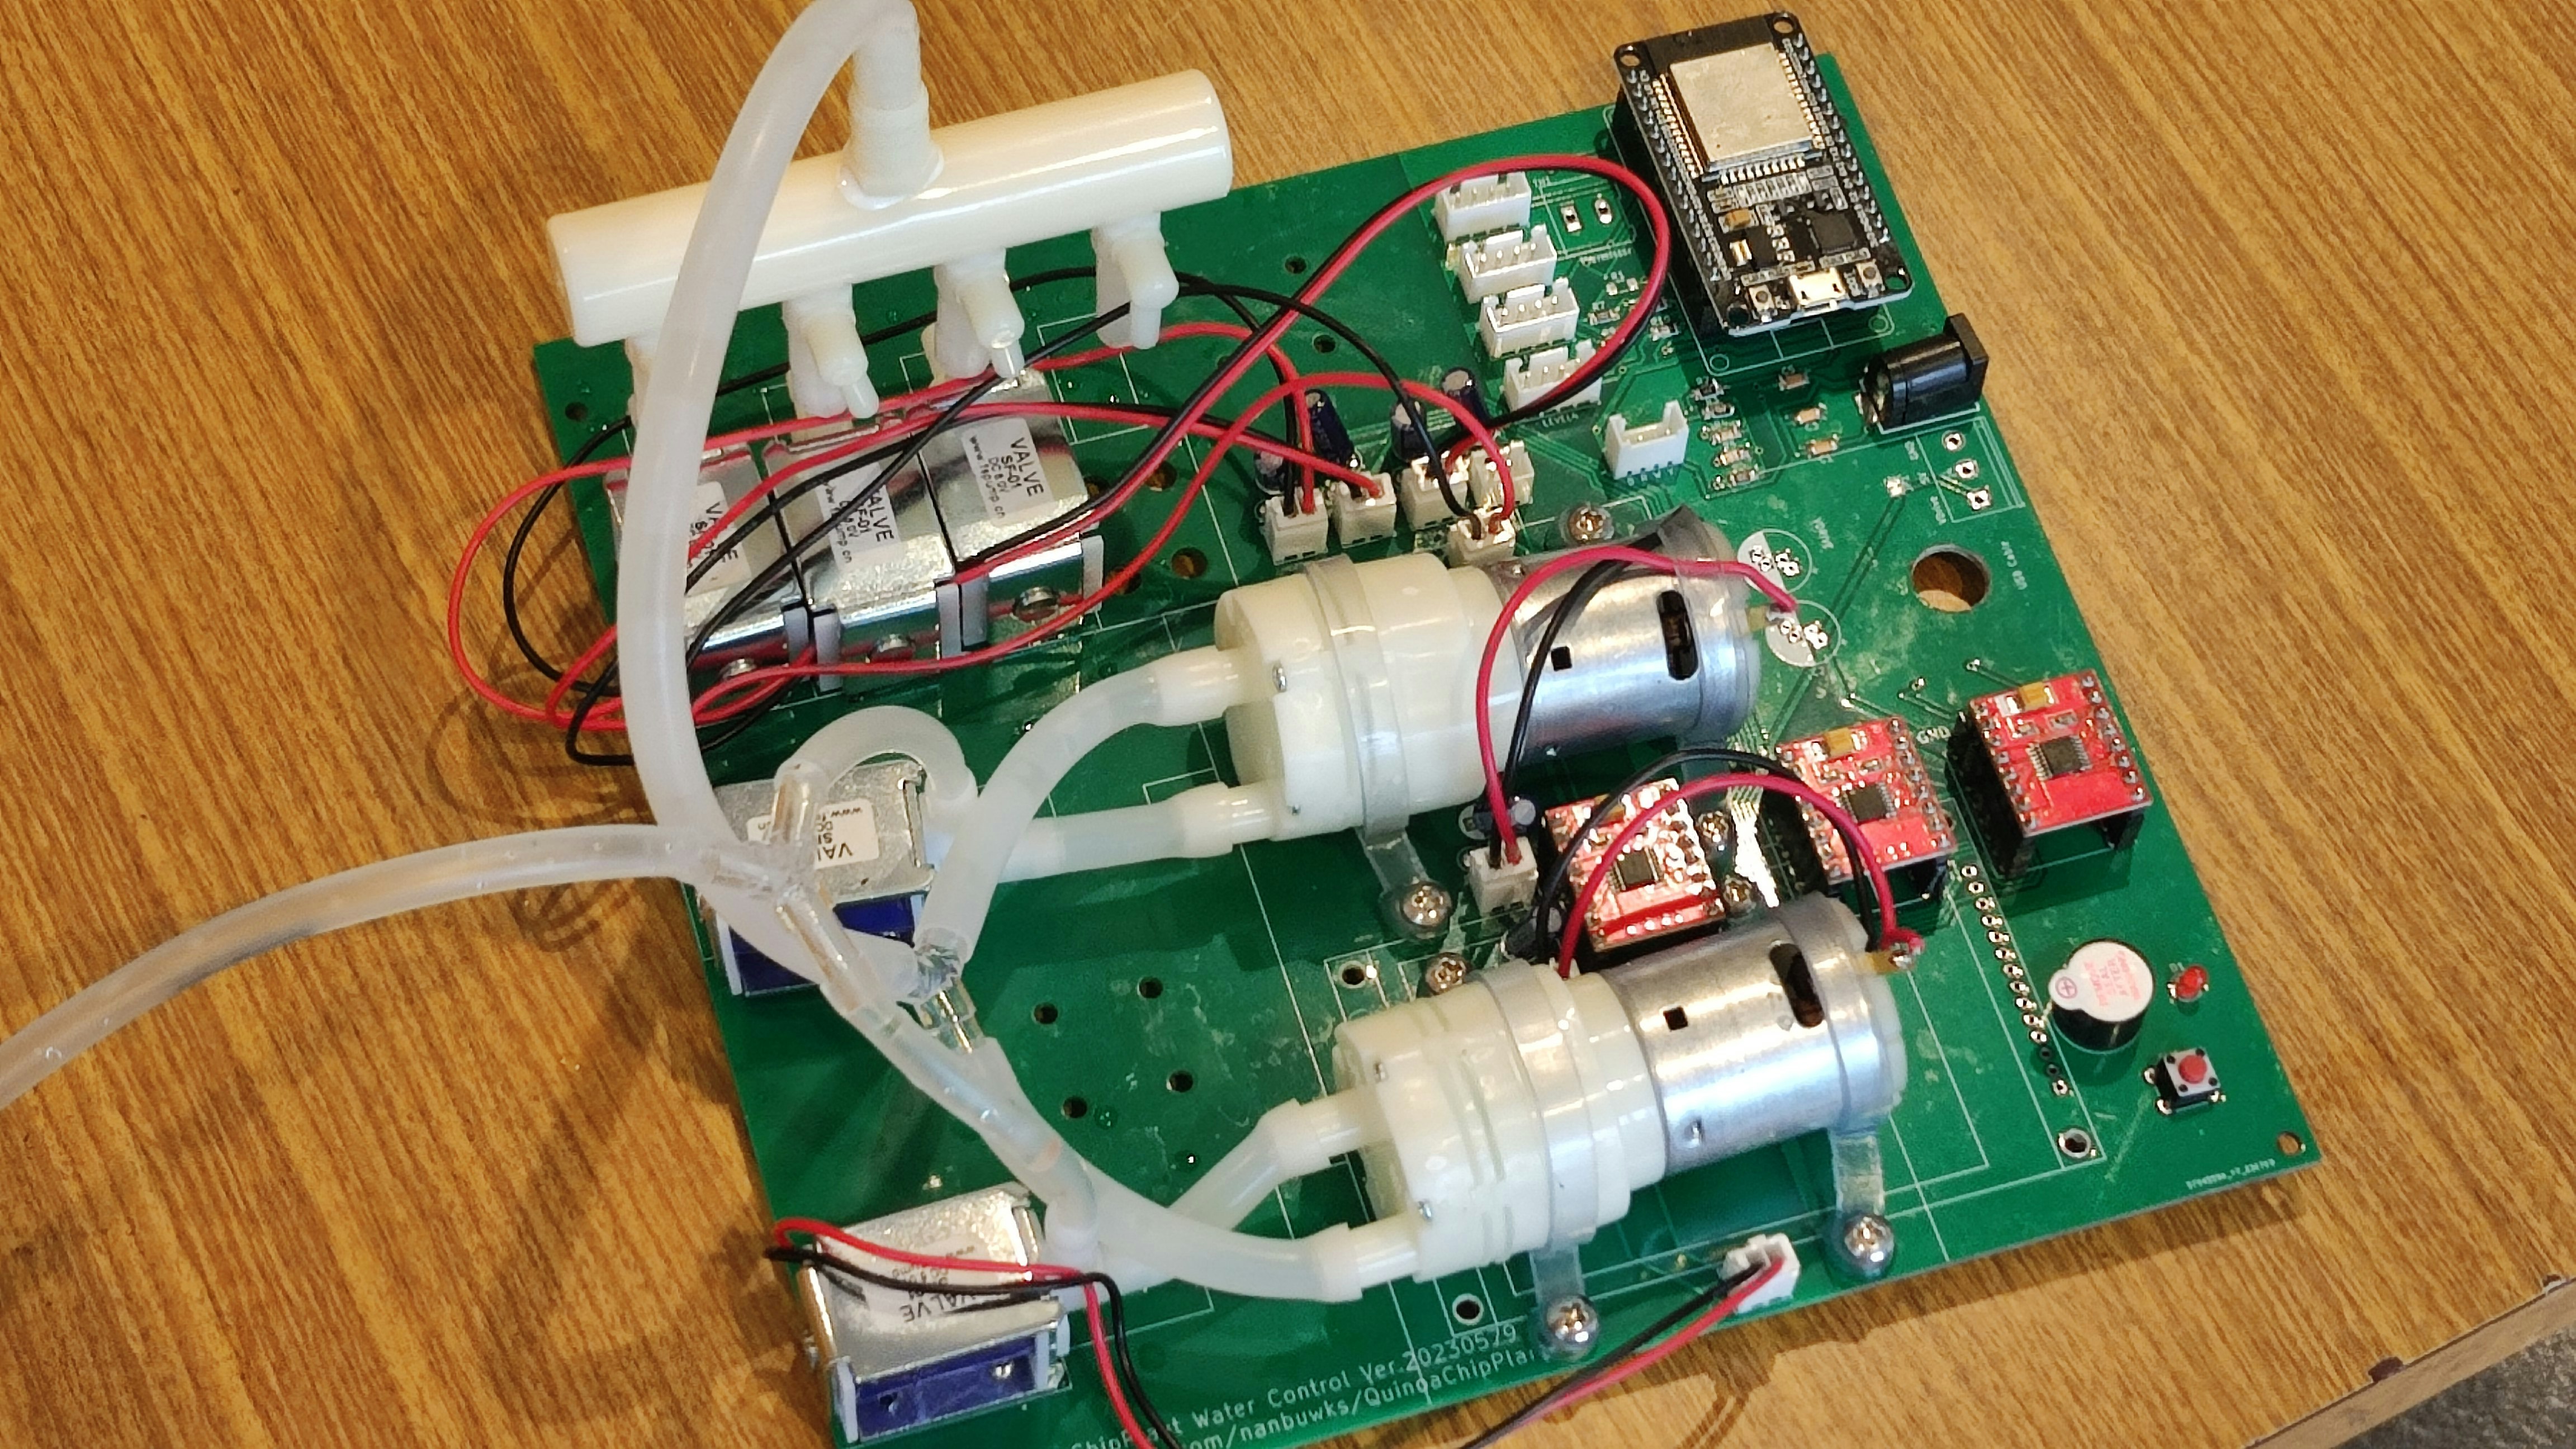
から改良して 4ch 給排水できるロボットを作成しました。

ロボットと言ってもこういったものではなくて

image.png

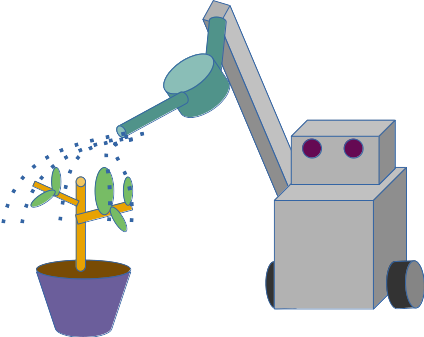
このようなものですが、センサーに基づく自律動作を行うことでロボットに位置づけています。
IMG_20230903_164346.jpg

  • 4ch 給排水
  • 4ch 水位センサ
  • 1ch の NeoPixel コントロールで 照明コントロール
  • 1ch の 温度計
  • ESP32 使用。WiFi 通信に発展できる
  • 液晶画面の取り付けができる

組み立てよう!

PCB (プリント基板) に部品をはんだづけしていき組み立てていきます。

背の低い部品から組み立てます。

10KΩ抵抗を取り付けます。

image.png

コンデンサを取り付けます。

image.png

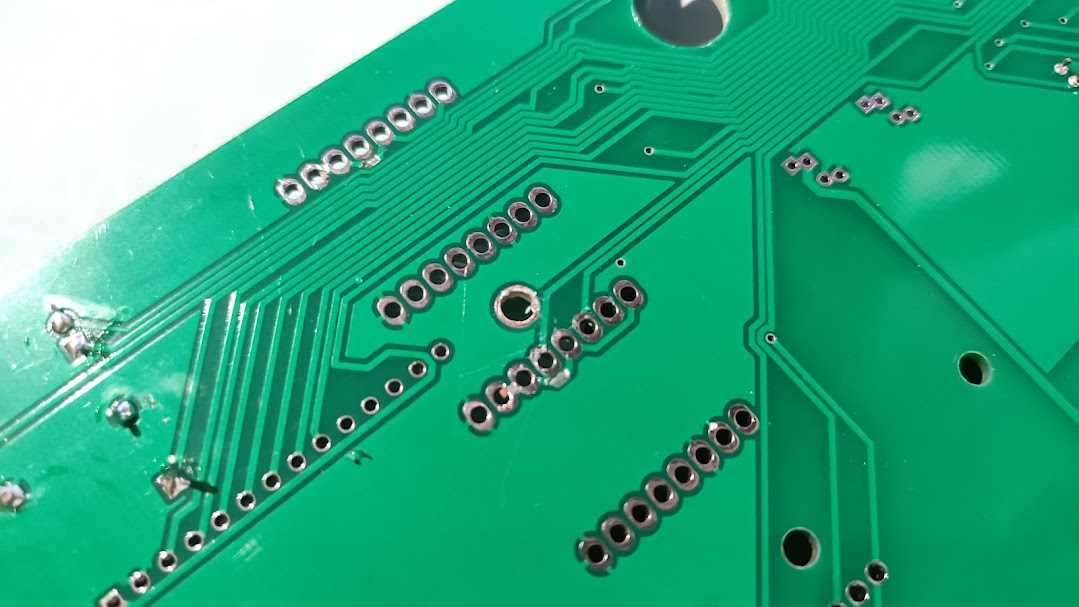
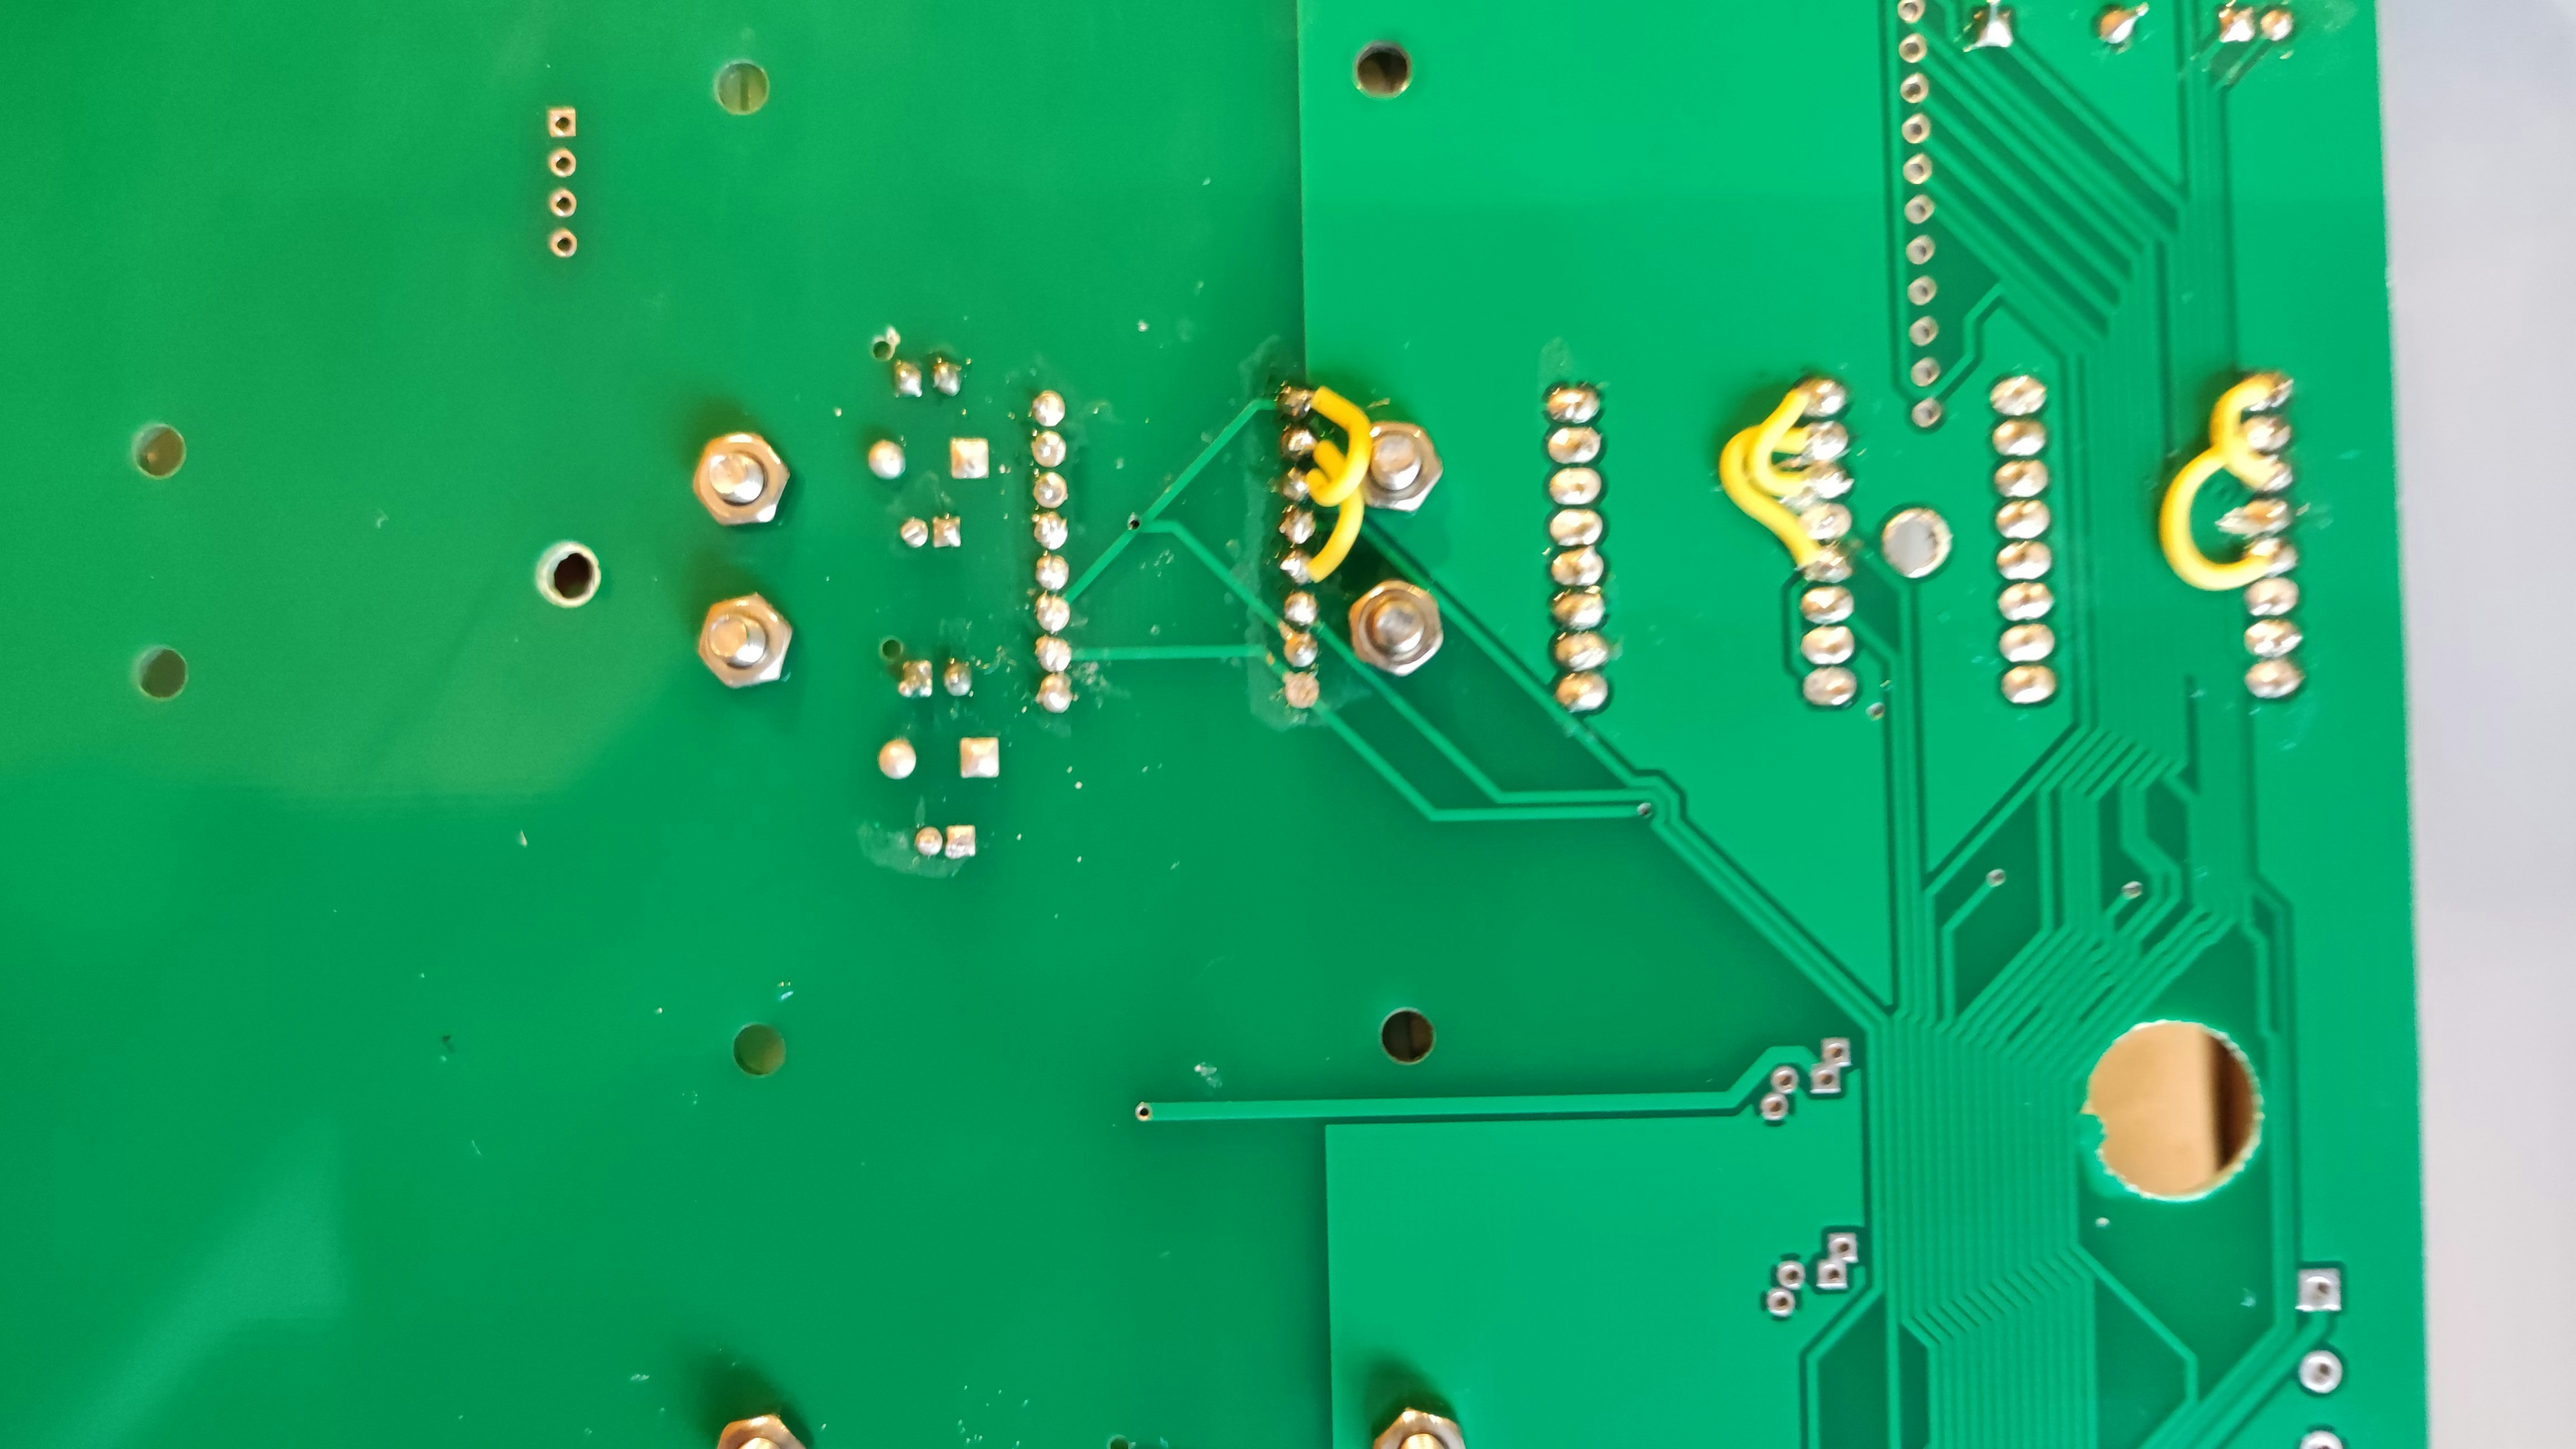
2023/05 バージョンはバグがあり、以下のようにパターンカットを行います。
image.png

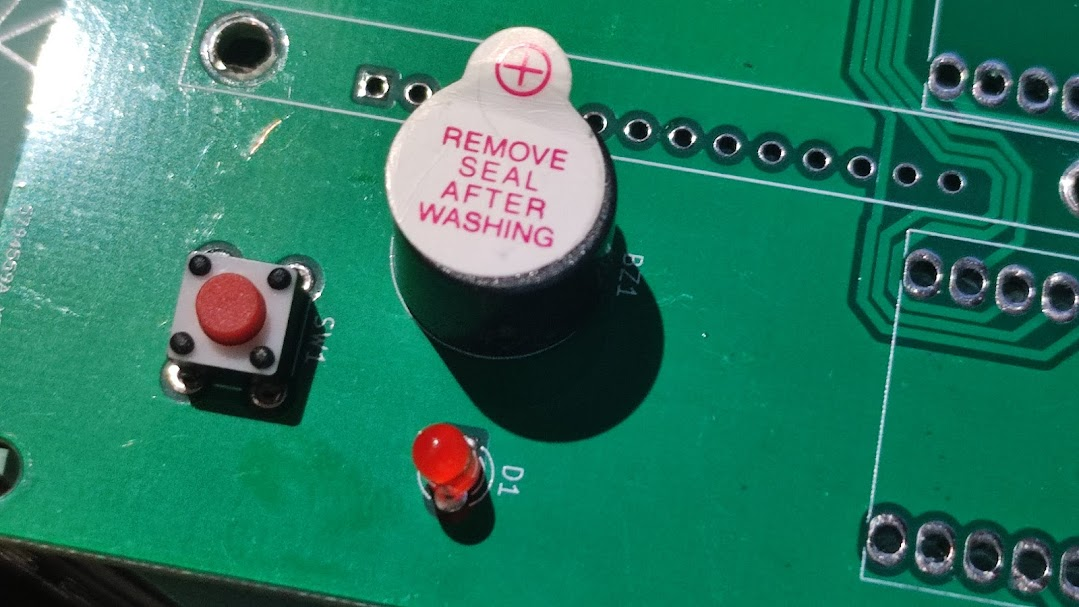
スイッチ、LED、ブザーを取り付けます。LEDは脚の長いほうが写真手前側です。
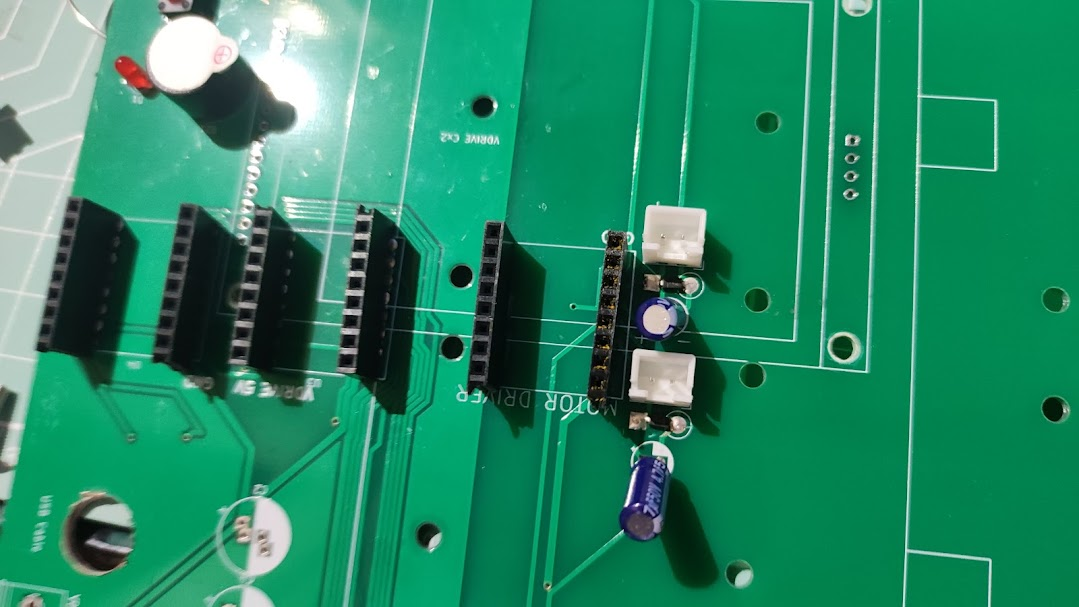
image.png

コネクタを取り付けます。
image.png

電解コンデンサを取り付けます。C2,C4はオプションです。不安定な電源を用いる時に追加で取り付けてください。

image.png

13ピンソケットを取り付けます。温度計測のためのサーミスタはオプションです。

image.png

モータドライバ用の8ピンコネクタを取り付けます。

image.png

202305バージョンは、バグのためジャンパーを行います。
IMG_20230903_164232.jpg

モータドライバに脚をつけます。

image.png

モーターに赤黒線をはんだづけします。
image.png

モータドライバ、モータを取り付けます。
image.png

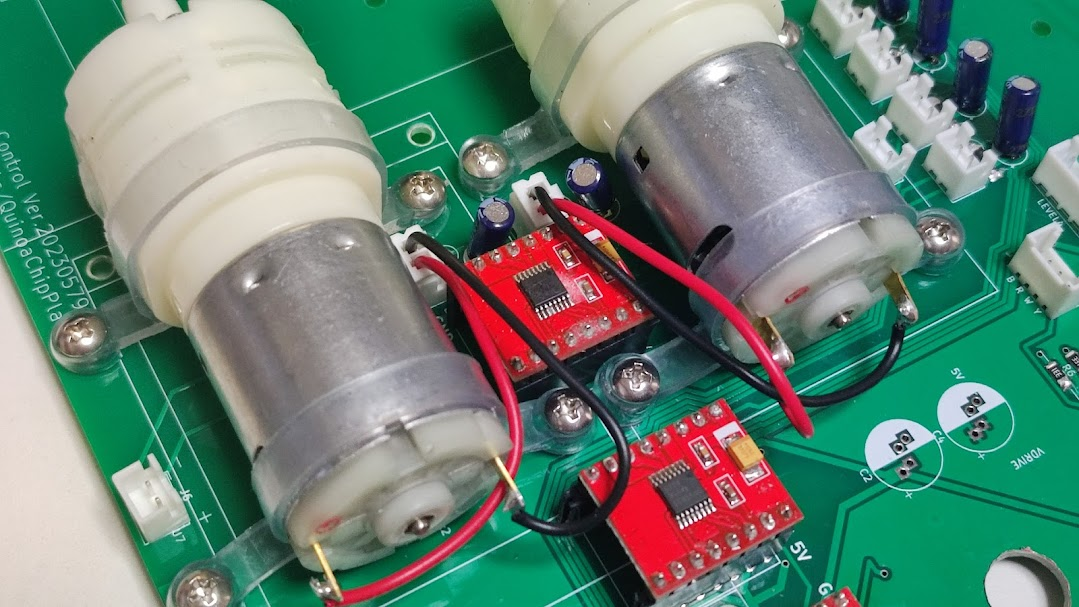
ESP32を取り付け、このあとパイピングします。
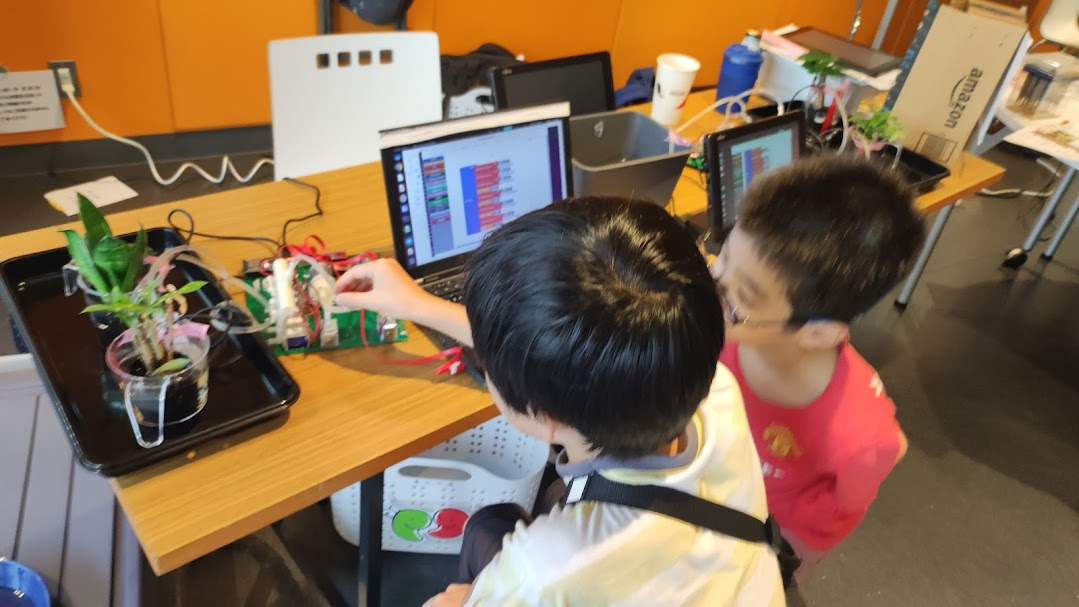
image.png

ワークショップ

プログラムワークショップをやってみました。
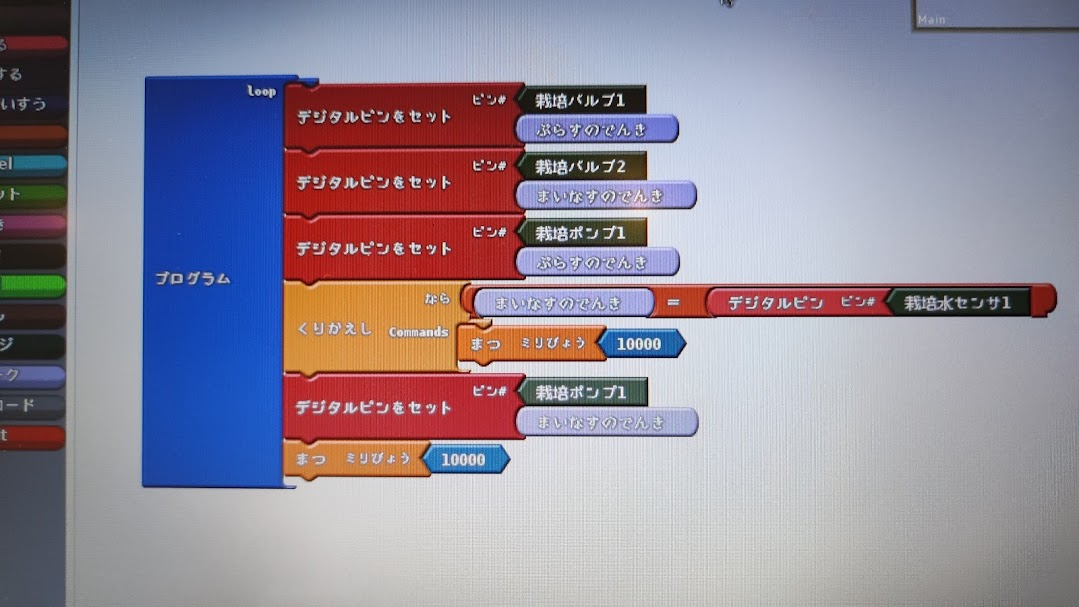
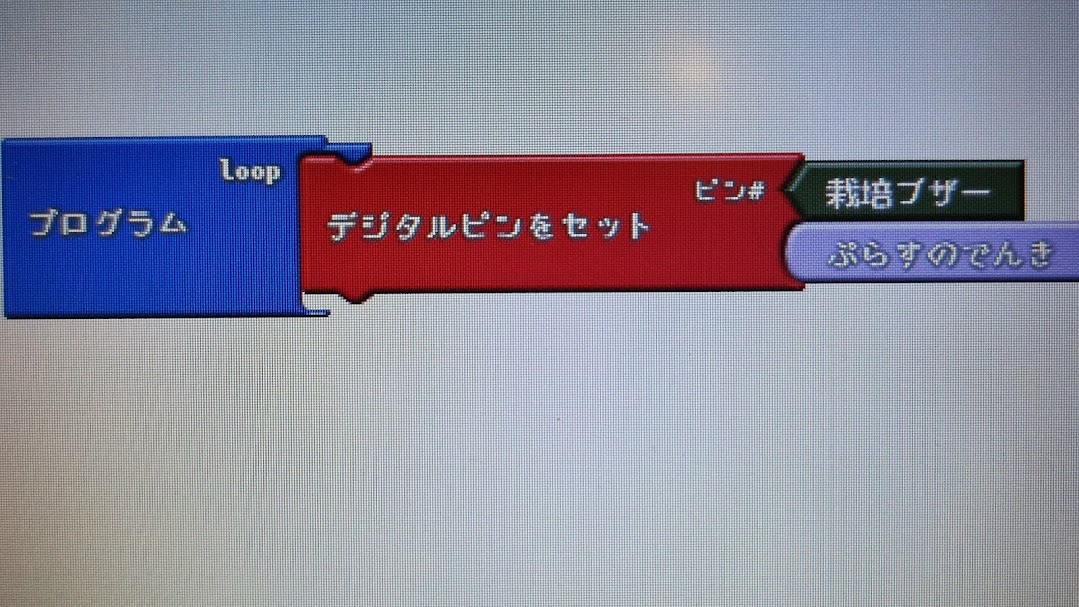
image.png

プログラム例です。
まず、ブザーを鳴らしてみましょう。

image.png

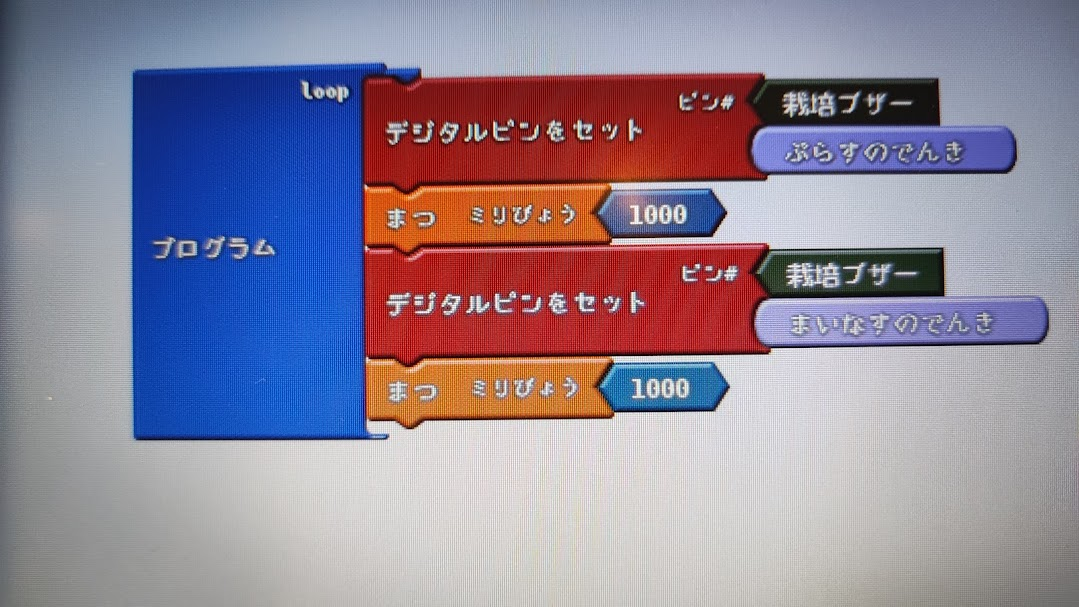
次に、ブザーを鳴らしたり止めたりするプログラムです。

image.png

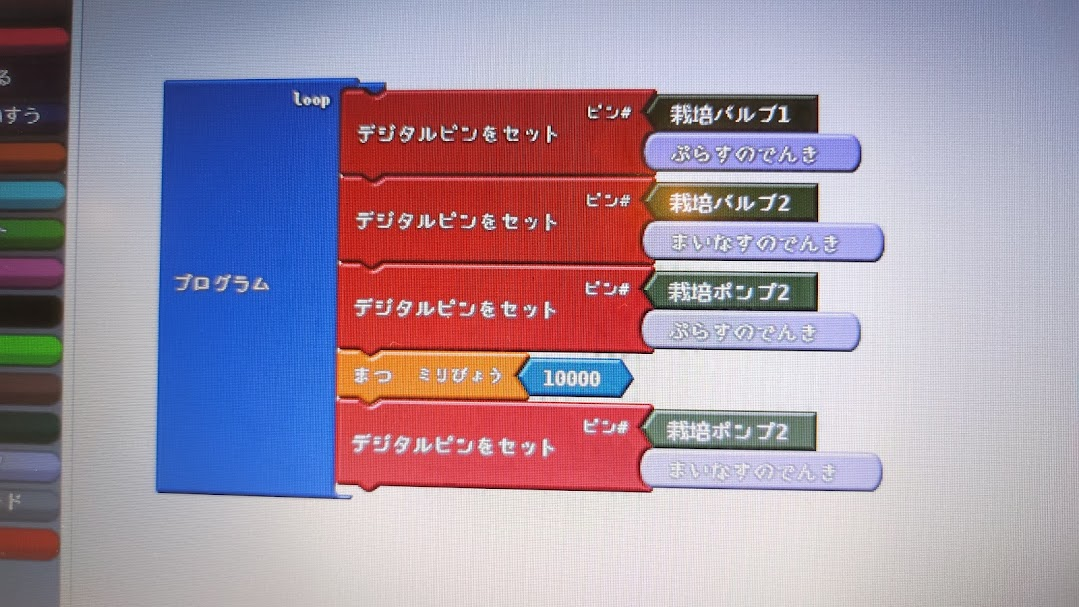
ブザーをバルブとポンプに変えて、給排水してみましょう。
image.png

センサ連動の例です。
image.png

1
0
0

Register as a new user and use Qiita more conveniently

  1. You get articles that match your needs
  2. You can efficiently read back useful information
  3. You can use dark theme
What you can do with signing up
1
0

Delete article

Deleted articles cannot be recovered.

Draft of this article would be also deleted.

Are you sure you want to delete this article?