W6300-EVB-Pico とは
「W6300-EVB-Pico」は、Raspberry Pi RP2040 と WIZnet製 TCP/IPコントローラ W6300 を一体化した開発ボードです。Raspberry Pi Picoの機能を活かしながら、手軽にイーサネット通信を試せます。
USB端子に USB-C を採用しているのもポイント高いです。

また、チップに RP2350 を搭載したモデル「W6300-EVB-Pico2」も販売されています。秋月電子ではどちらも同じ価格で販売されているため、特別な理由がない限り「W6300-EVB-Pico2」を選ぶのが良さそうです(うっかり RP2040 版を購入してしまったのは内緒)。
- W6300-EVB-Pico (RP2400版)
- W6300-EVB-Pico2 (RP2350版)
公式ドキュメント
日本語の公式ドキュメントも用意されており、ピンアサインや回路図、ガーバーデータ、3Dモデルが公開されています。
HTTPで「Hello World」する
公式チュートリアルに従い、HTTPサンプル を動かしてみます。
使用するOSは Windows 11 です。
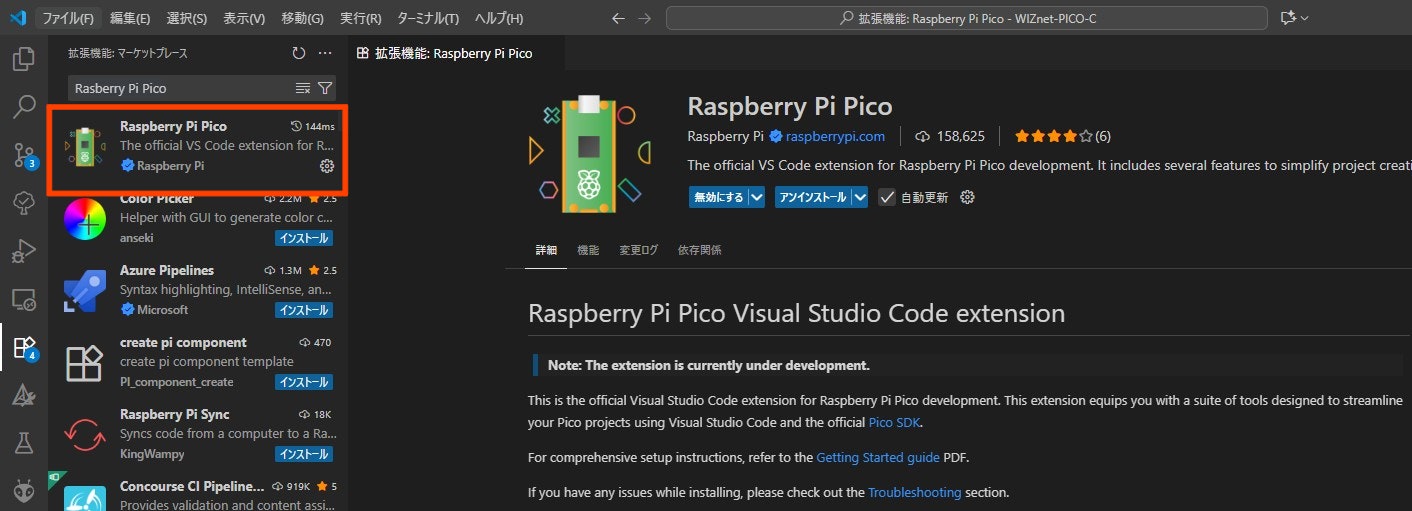
VSCode 拡張機能のインストール
VSCodeの拡張機能タブで 「Raspberry Pi Pico」 を検索してインストールします。
サンプルのクローン
任意のフォルダで以下のコマンドを実行します。
git clone --recurse-submodules https://github.com/WIZnet-ioNIC/WIZnet-PICO-C.git
ダウンロードしたプロジェクトフォルダへ移動します。
cd WIZnet-PICO-C
プロジェクトフォルダを Visual Studio Code で開きます。
code .
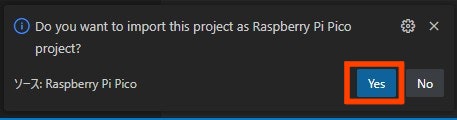
プロジェクトのインポート
VSCodeを開くと、次のメッセージが表示されます。
ここでは 「Yes」 をクリックしてください。
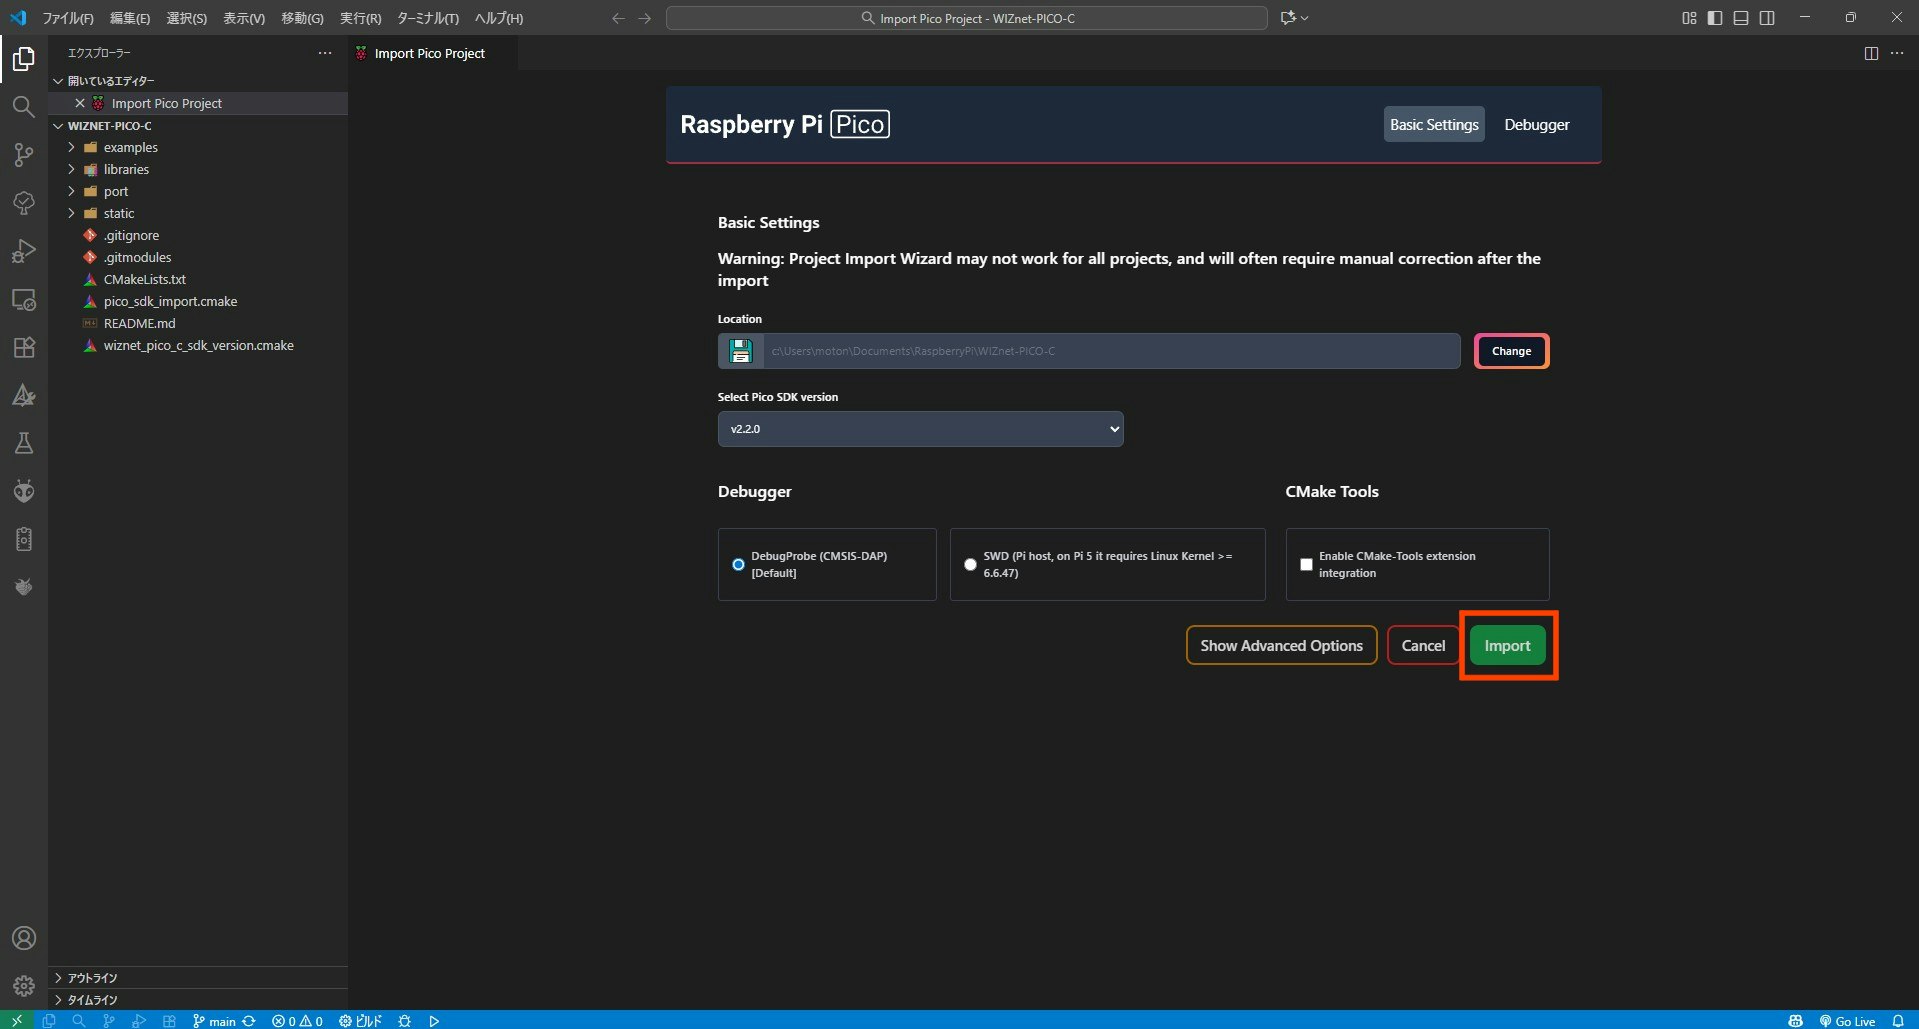
次にプロジェクト設定画面が表示されます。特に変更は不要なので、デフォルトのまま 「Import」 をクリックします。
ボードの設定
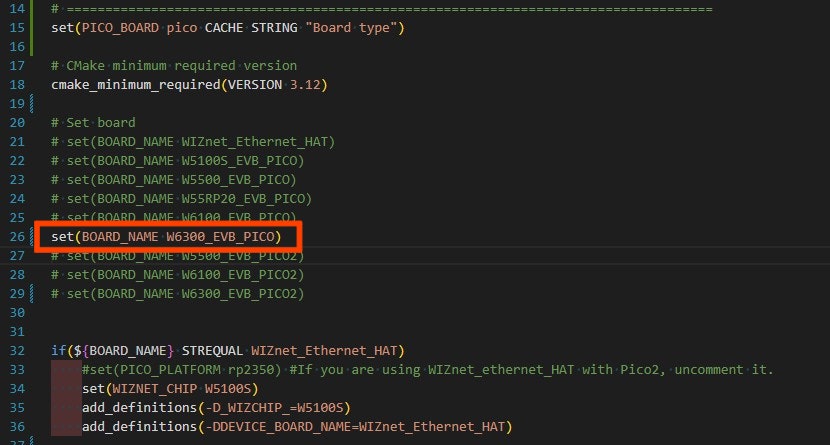
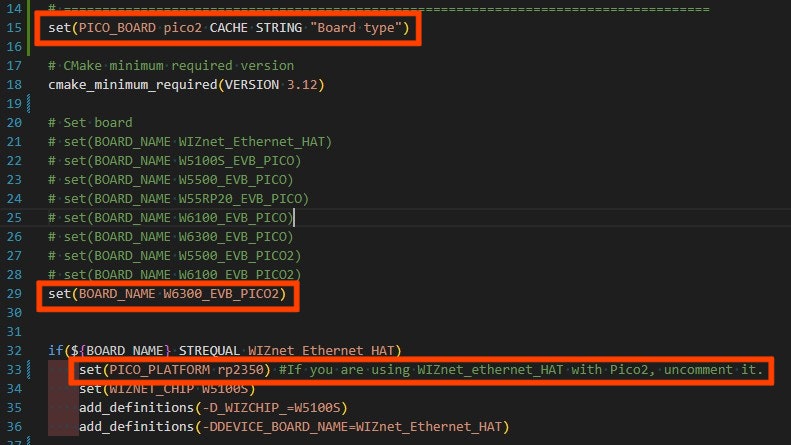
使用するボードに応じて CMakeLists.txt を編集します。
-
W6300_EVB_PICO の場合
-
W6300_EVB_PICO2 の場合
ソースコードの変更
examples\http\server\wizchip_http_server.c 内のネットワーク設定を、自分の環境に合わせて変更します。
static wiz_NetInfo g_net_info = {
    .mac = {0x00, 0x08, 0xDC, 0x12, 0x34, 0x56}, // MAC address
    .ip = {192, 168, 0, 30},                     // IP address
    .sn = {255, 255, 255, 0},                    // Subnet Mask
    .gw = {192, 168, 0, 1},                      // Gateway
    .dns = {8, 8, 8, 8},                         // DNS server
#if _WIZCHIP_ > W5500
    .lla = {
        0xfe, 0x80, 0x00, 0x00,
        0x00, 0x00, 0x00, 0x00,
        0x02, 0x08, 0xdc, 0xff,
        0xfe, 0x57, 0x57, 0x25},                                                                              // Link Local Address
    .gua = {0x00, 0x00, 0x00, 0x00, 0x00, 0x00, 0x00, 0x00, 0x00, 0x00, 0x00, 0x00, 0x00, 0x00, 0x00, 0x00},  // Global Unicast Address
    .sn6 = {0xff, 0xff, 0xff, 0xff, 0xff, 0xff, 0xff, 0xff, 0x00, 0x00, 0x00, 0x00, 0x00, 0x00, 0x00, 0x00},  // IPv6 Prefix
    .gw6 = {0x00, 0x00, 0x00, 0x00, 0x00, 0x00, 0x00, 0x00, 0x00, 0x00, 0x00, 0x00, 0x00, 0x00, 0x00, 0x00},  // Gateway IPv6 Address
    .dns6 = {0x20, 0x01, 0x48, 0x60, 0x48, 0x60, 0x00, 0x00, 0x00, 0x00, 0x00, 0x00, 0x00, 0x00, 0x88, 0x88}, // DNS6 server
    .ipmode = NETINFO_STATIC_ALL
#else
    .dhcp = NETINFO_STATIC
#endif
};
サンプルのビルド
ターミナルで以下のコマンドを実行します。
cd build
cmake -G Ninja ..
ninja
ビルドが成功すると、build\examples\http\server\wizchip_http_server.uf2 が生成されます。
2回目以降は、右下の「Compile」ボタンからビルドできます。
CMakeのキャッシュが残っているとビルドが正常に動作しないことがあります。
もしビルドに失敗した場合は、build フォルダ内のファイルをすべて削除してから、再度コマンドを実行してください。
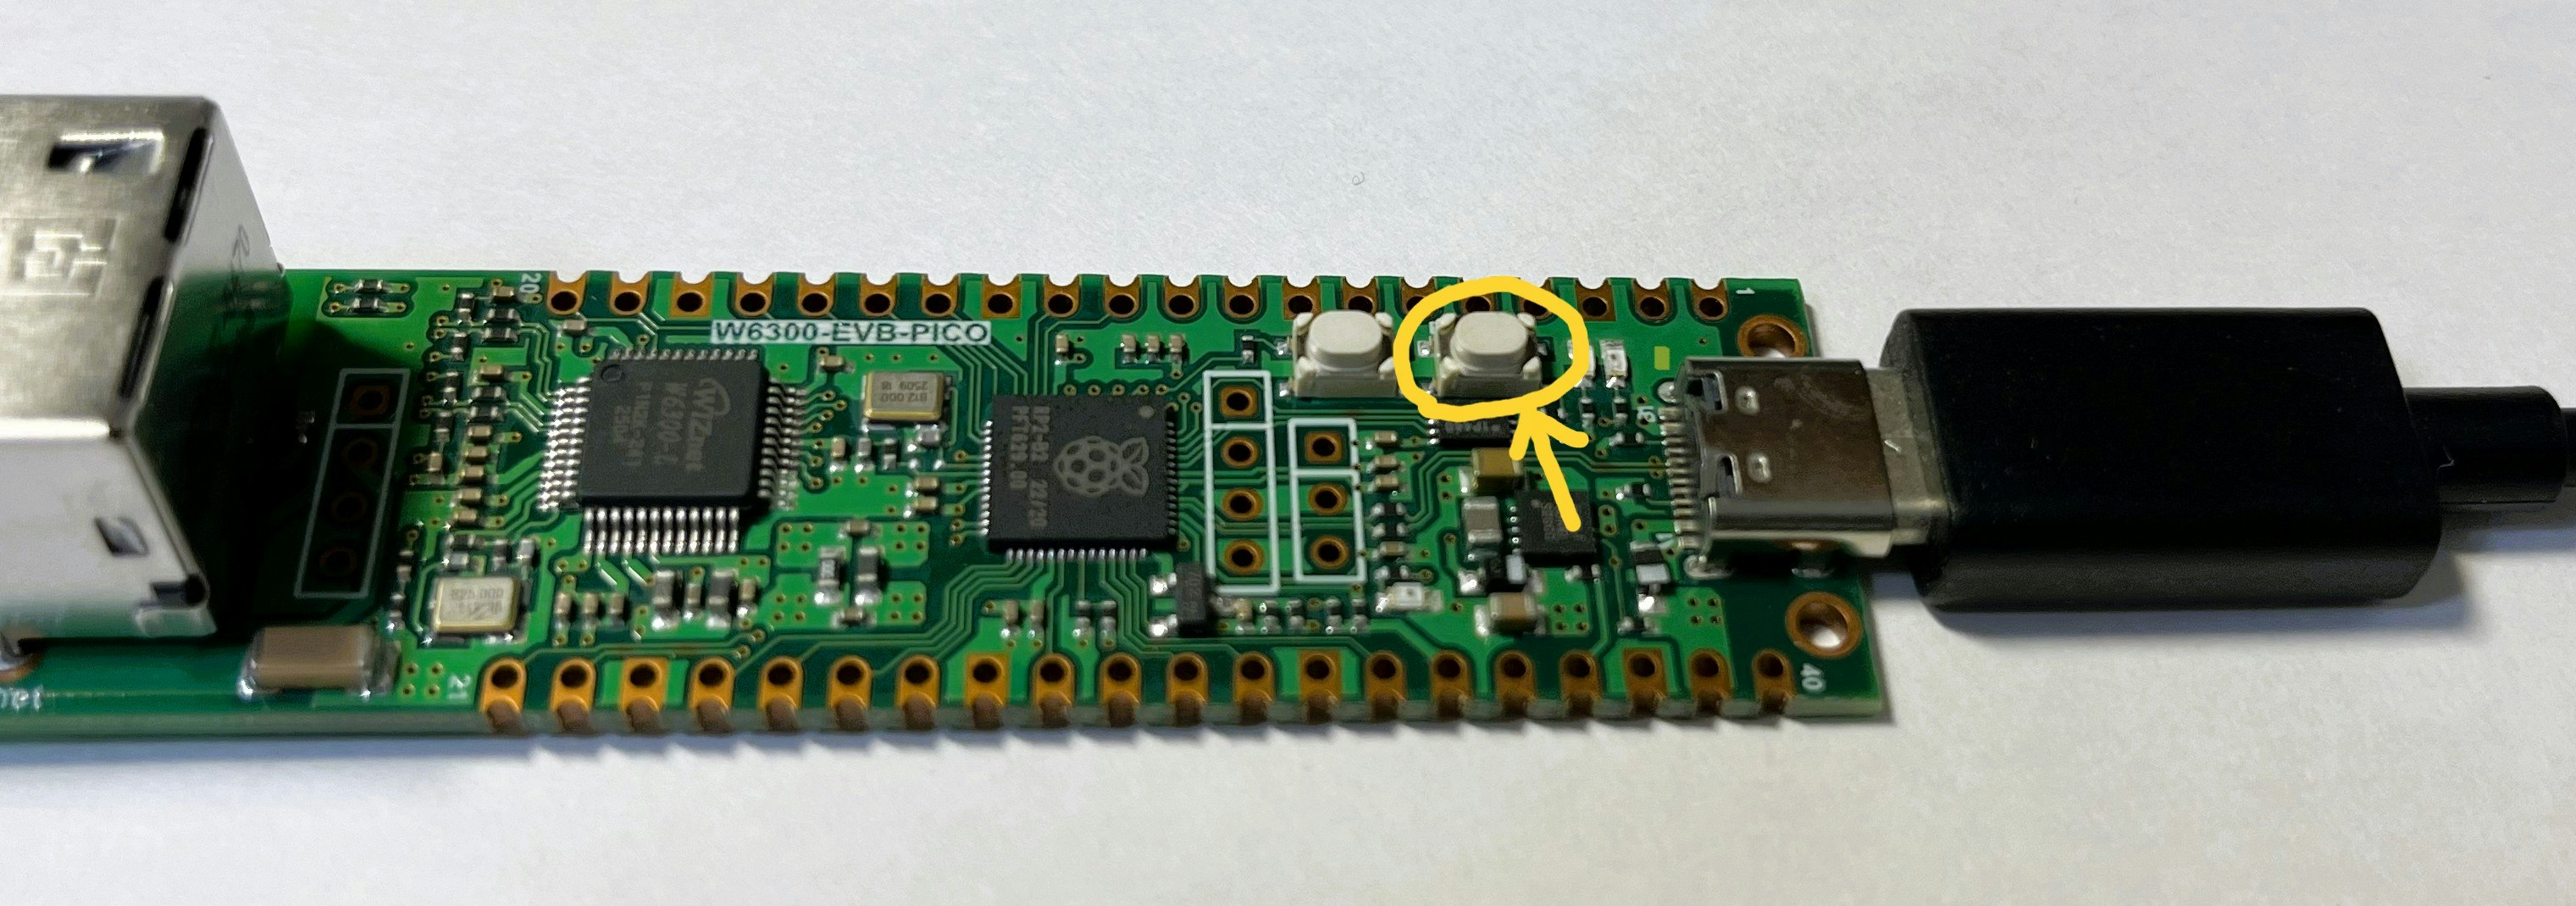
プログラムのアップロード
開発ボードの BOOTSELボタン を押しながらPCに接続してください。
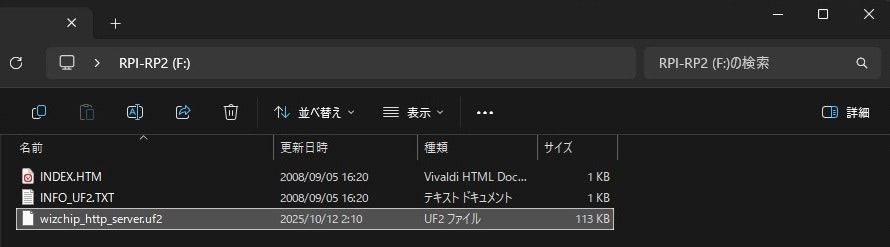
ボードがUSBストレージとして認識されます。
認識されたフォルダ内に、wizchip_http_server.uf2 をドラッグ&ドロップしてください。
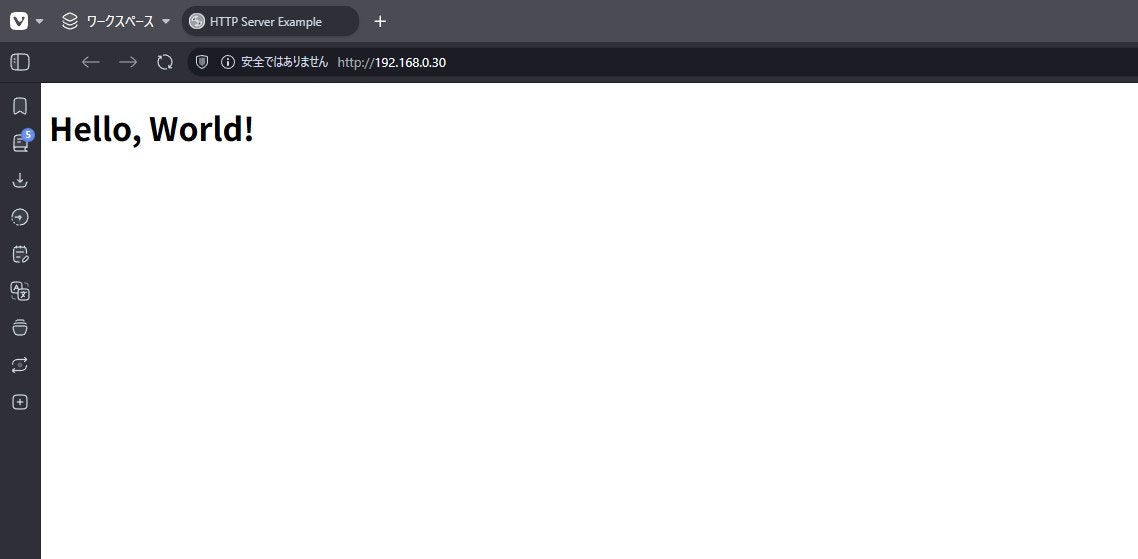
動作確認
LANケーブルを接続し、設定したIPアドレスにブラウザなどからアクセスしてて、以下のようなページが表示されれば成功です。