注意!
この後インストールするVue CLIにはnode-ipcが含まれています。
問題のあるバージョンは現在取り除かれていますが、念の為Vue CLIインストールやアップグレードした際はバージョン確認することをおすすめします。
Vueアプリを作成する
node.jsのインストール
インストーラのダウンロード
公式からpkgファイルをDLします。
インストール
DLしたpkgファイルをクリックし、インストーラーでNode.jsをインストールします。
 |
|---|
インストールしたらバージョン確認します。
node --version
Vue CLIのインストール
公式を参考にインストールします。
パッケージ名がvue-cliから@vue/cliに変更されたので、vue-cli(1.x or 2.x)をインストール済みの場合はアンインストールしてください。
npm uninstall vue-cli -g
Vue CLIをインストールします。
npm install -g @vue/cli
バージョンの確認。
vue --version
念の為node-ipcのバージョンも確認。 @vue/cli 関連に9.2.2が含まれていなければオッケー。
npm ls node-ipc
Vueアプリを作成する
下記コマンドで作成します。
vue create [パッケージ名]
今回はデフォルトのVue3+babel+eslistの組み合わせを選択します。
Vue CLI v5.0.1
? Please pick a preset: (Use arrow keys)
❯ Default ([Vue 3] babel, eslint)
  Default ([Vue 2] babel, eslint)
  Manually select features

~~~

🎉  Successfully created project sample.
👉  Get started with the following commands:

 $ cd sample
 $ npm run serve
Vue.jsプロジェクト作成後のメッセージのとおり、sampleディレクトリに移動して、npm run serveを実行します。
 DONE  Compiled successfully in 9284ms                                                                                   16:09:58

  App running at:
  - Local:   http://localhost:8080/
  - Network: http://192.168.1.20:8080/

  Note that the development build is not optimized.
  To create a production build, run npm run build.
アプリケーションが起動できたらhttp://localhost:8080/にブラウザでアクセス。
 |
|---|
Vue.js Appができたぞ〜!!
ちなみにManually select featuresを選択した場合。
Vue CLI v5.0.1
? Please pick a preset:
  Default ([Vue 3] babel, eslint)
  Default ([Vue 2] babel, eslint)
❯ Manually select features
こんな感じでマニュアル選択ができます。
Vue CLI v5.0.1
? Please pick a preset: Manually select features
? Check the features needed for your project: (Press <space> to select, <a> to toggle all, <i> to invert selection, and <enter> t
o proceed)
 ◉ Babel
❯◯ TypeScript
 ◯ Progressive Web App (PWA) Support
 ◯ Router
 ◯ Vuex
 ◯ CSS Pre-processors
 ◉ Linter / Formatter
 ◯ Unit Testing
 ◯ E2E Testing

~~~

Vue CLI v5.0.1
? Please pick a preset: Manually select features
? Check the features needed for your project: Babel, TS, Router, Vuex, Linter
? Choose a version of Vue.js that you want to start the project with 3.x
? Use class-style component syntax? Yes
? Use Babel alongside TypeScript (required for modern mode, auto-detected polyfills, transpiling JSX)? Yes
? Use history mode for router? (Requires proper server setup for index fallback in production) Yes
? Pick a linter / formatter config: (Use arrow keys)
❯ ESLint with error prevention only
  ESLint + Airbnb config
  ESLint + Standard config
  ESLint + Prettier
S3にバケットを作成&ひとまず公開してみる
Vue.jsプロジェクトをビルドする
今回Vue.jsアプリをS3にホストしますが、Vue.jsで作成されたコードはそのままブラウザでは実行できないため、実行可能なソースコードに変換(ビルド)します。
npm run build
distディレクトリにビルドされたファイルができます。
dist
├── css
│   └── app.2cf79ad6.css
├── favicon.ico
├── index.html
└── js
    ├── app.50a66ac0.js
    ├── app.50a66ac0.js.map
    ├── chunk-vendors.835690bc.js
    └── chunk-vendors.835690bc.js.map
S3にバケットを作成
AWSコンソールでS3バゲットを作成します。
作成したバゲットに先ほどビルドしたVue.jsアプリのdistディレクトリの下にあるファイルとフォルダすべてアップロードします。
静的ウェブサイトホスティングを有効にする
プロパティで下記を設定します。
- 作成したオブジェクトのプロパティの「静的ウェブサイトホスティング」を「有効にする」を選択
- ホスティングタイプが選べるようになるので「静的ウェブサイトをホストする」を選択
- インデックスドキュメントに「index.html」を指定
アクセス許可のブロックパブリックアクセス(バケット設定)の設定
ブロックパブリックアクセス (バケット設定)の「パブリックアクセスをすべて ブロック」のチェックボックスをすべて外します。
アクセス許可のバゲットポリシーの編集
{
    "Version": "2012-10-17",
    "Statement": [
        {
            "Sid": "PublicReadGetObject",
            "Effect": "Allow",
            "Principal": "*",
            "Action": "s3:GetObject",
            "Resource": "arn:aws:s3:::【S3バゲット名】/*"
        }
    ]
}
公開されたURLを確認。
外部アクセスできるよう設定ができると、オブジェクトのプロパティ 静的ウェブサイトホスティングにバケットウェブサイトエンドポイントのURLが表示されます。
http://【S3バゲット名】.s3-website-us-east-1.amazonaws.com/ がブラウザで表示できたらS3の設定完了です!
このあたりでおやつのグミを食べてもいいでしょう。
 |
|---|
なお、S3の静的ウェブサイトホスティングはHTTPSに対応してないので、CloudFront経由でHTTPS接続出来るようにする等の対応が必要です。
GitHub Actionsを設定
リポジトリ作成、git pushする
GitHubにリポジトリ、git pushする
git remote add origin git@github.com:【githubユーザー名】/【リポジトリ名】
git branch -M main # <= ブランチ名をmasterからmainに変更
git push -u origin main # mainブランチにpushする
AWS IAMでS3デプロイ用のユーザーを作成する
AWSのIAMでS3デプロイ用のロールを作成、S3のポリシーをアタッチ。
アクセスキーID、シークレットアクセスキーを控える。
Githubリポジトリにアクセス情報を設定する
Settings>Secrets>ActionsでActions secretsを追加。
S3デプロイ用ユーザーのアクセスキーID、シークレットアクセスキーをそれぞれ登録する。
 |
|---|
ここでは、AWS_ACCESS_KEY_IDがアクセスキーID、AWS_SECRET_ACCESS_KEYがシークレットアクセスキー。
GitHub Actionsにデプロイ手順を記載する
新しく.github/workflows/ディレクトリを作成、その下にdeploy.ymlを作成する。
(ファイル名は任意、何でもよい)
jobs:
  deploy:
    runs-on: ubuntu-latest
    steps:
      - name: Checkout
        uses: actions/checkout@main  # リポジトリをチェックアウト

      - name: Install Dependencies
        run: npm install

      - name: Build
        run: npm run build

      - name: Deploy  # S3にデプロイ
        env:
          AWS_ACCESS_KEY_ID: ${{ secrets.AWS_ACCESS_KEY_ID }}
          AWS_SECRET_ACCESS_KEY: ${{ secrets.AWS_SECRET_ACCESS_KEY }}
        run: aws s3 cp --recursive --region ap-northeast-1 dist/ s3://【S3のオブジェクト名】
作成したymlファイルをGitHubリポジトリにpushします。
git add .github/workflows/deploy.yml
git commit -m "add github action workflow"
git push
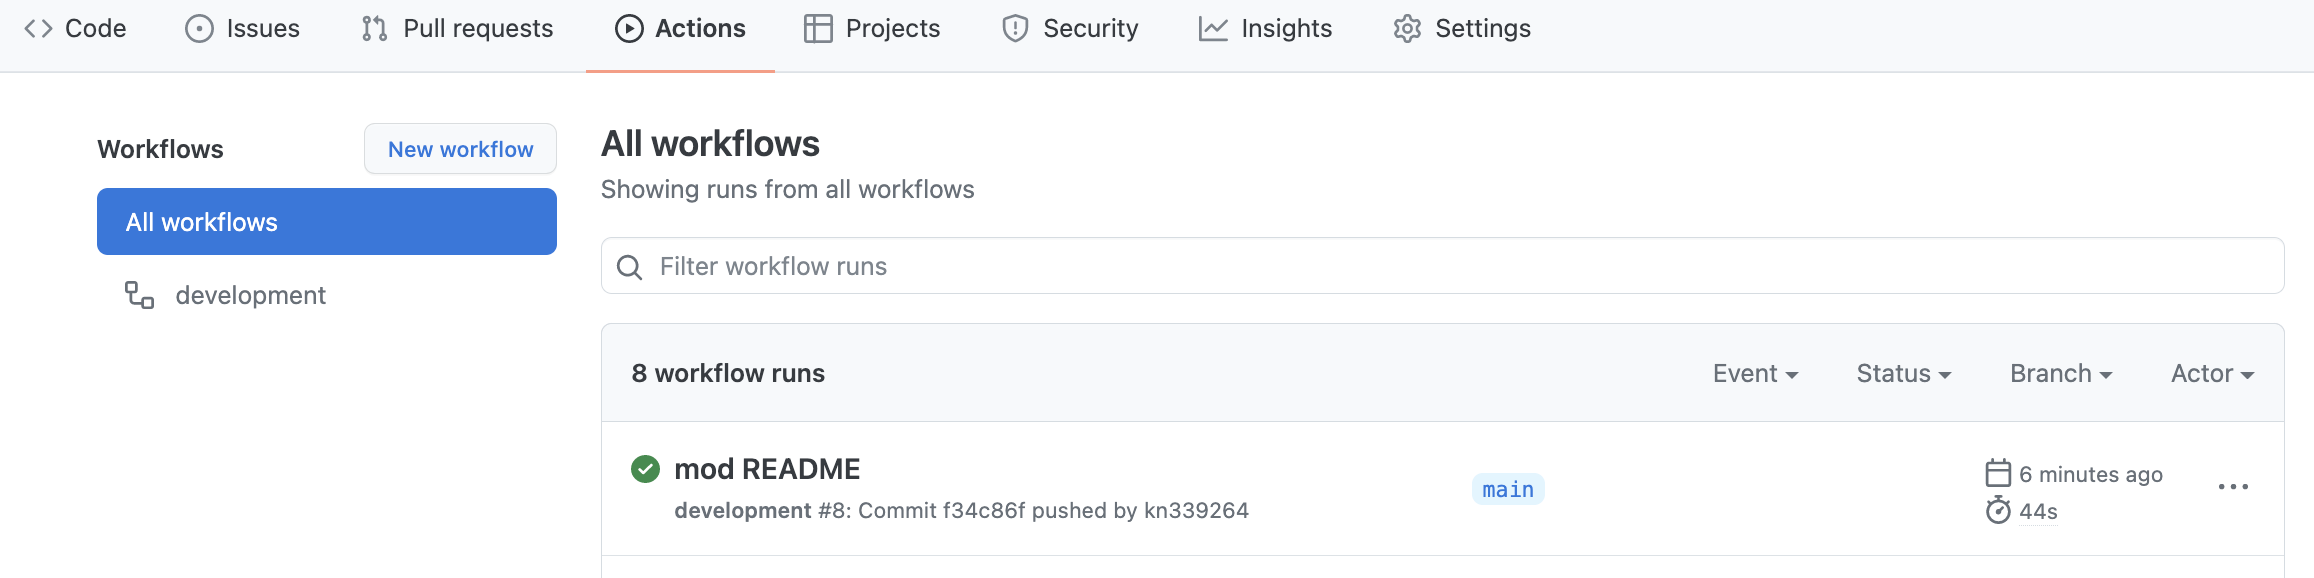
git pushするとGitHub Actionsのworkflowが実行されます。
 |
|---|
workflowが実行中の黄色から緑に変わったら完了です。
 |
|---|