目的
HLS形式の再生中動画から画像キャプチャを取得したいのでその方法を検証する
使うもの
Docker
VSCode(Remote Development拡張機能使用)
Vue(Vite)
開発環境の準備
ローカルには何も入れないで仮想環境上で開発していきます。
VSCode で開発用の空フォルダを開く
フォルダ名は hls_capture としました
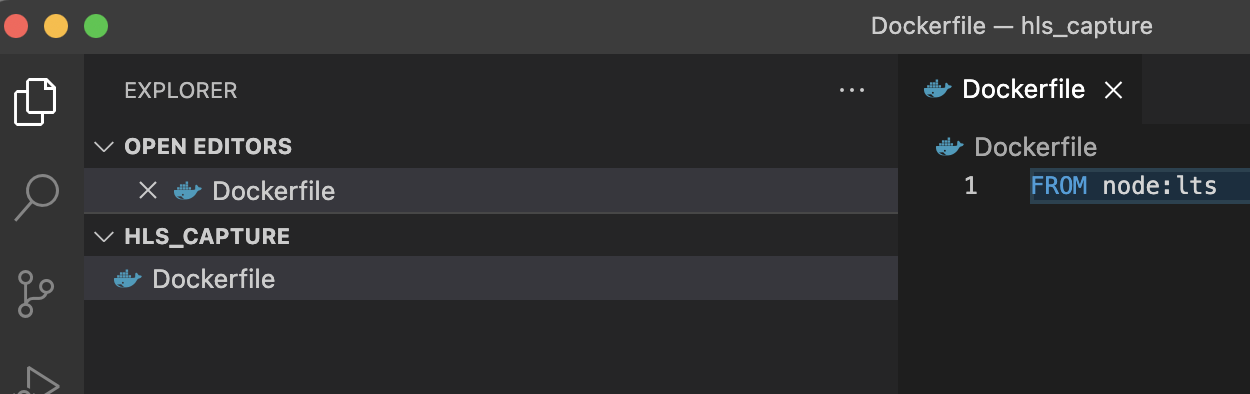
仮想環境用の Dockerfile を用意
FROM node:lts
VSCode で Reopen in Container, From 'Dockerfile' を実行して仮想環境を起動


ターミナルを起動し node バージョン確認


vue インストール
今回は vite を使いました。
yarn create vite . --template vue
途中の上書き確認は y, Package name には package.json と入力します。

フォルダを作りたくないので . を指定しましたが、そうすると Dockerfile が消えてしまうので、再作成しておきます。
FROM node:lts
一度ローカルに戻って再度仮想環境を開き直します。

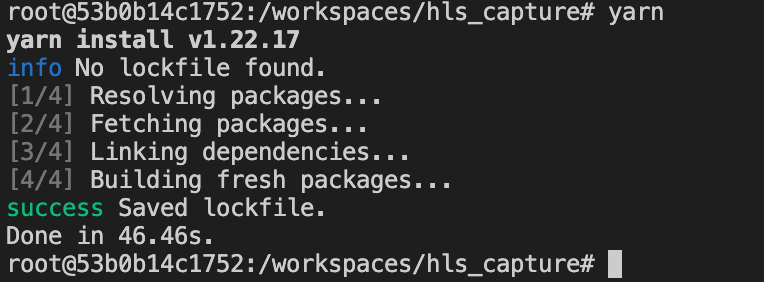
yarn で必要なモジュールをインストールします。
yarn
開発サーバ起動
NPM SCRIPTS の dev の起動ボタンを押します。
※ NPM SCRIPTS が表示されていない場合は package.json ファイルを選択すると表示されます

ブラウザで確認
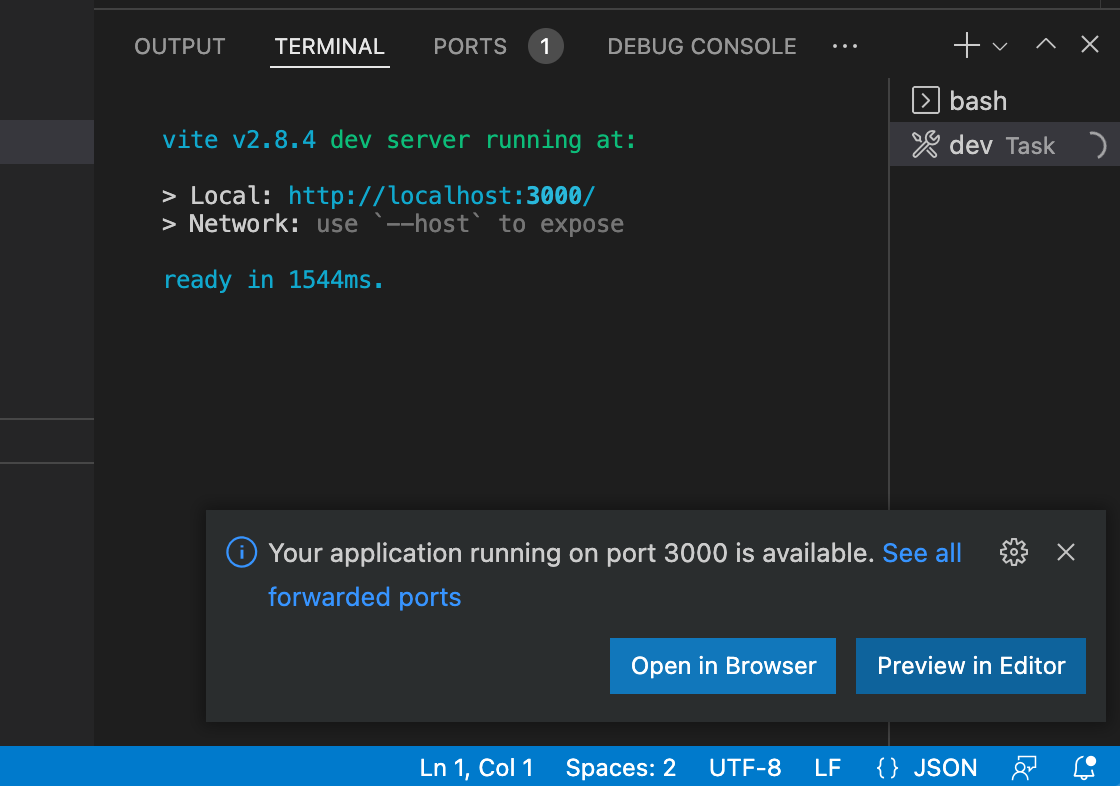
起動すると Open in Browser ボタンが表示されるので押してブラウザを開きます。
拡張機能追加
仮想環境で使う vue の拡張機能(Volar)を devcontainer.json に追加します。
"extensions": []
"extensions": ["johnsoncodehk.volar"]
Rebuild Container を実行して拡張機能をインストールします。

これで開発環境の準備が完了です。
HLSの再生に対応したコンポーネント作成
トップページの編集
ビデオ表示枠と画像表示枠、画像ダウンロードボタンを配置します。
<script setup>
</script>

<template>
  <h1>HLSライブ動画のキャプチャ</h1>
  <article>
    <section>
      <video src="https://test-streams.mux.dev/x36xhzz/x36xhzz.m3u8" autoplay playsinline muted />
      <button type="button">キャプチャ</button>
    </section>
    <section>
      <img />
      <button type="button">ダウンロード</button>
    </section>
  </article>
</template>

<style>
h1 {
  text-align: center;
}
article {
  display: flex;
  flex-wrap: wrap;
  justify-content: center;
  gap: 10px;
}
section {
  display: flex;
  gap: 10px;
  flex-direction: column;
  justify-content: center;
}
video, img {
  width: 684px;
  height: 360px;
  border: 1px solid silver;
}
</style>
サンプル動画は HLS.js のものを使わせていただいています。
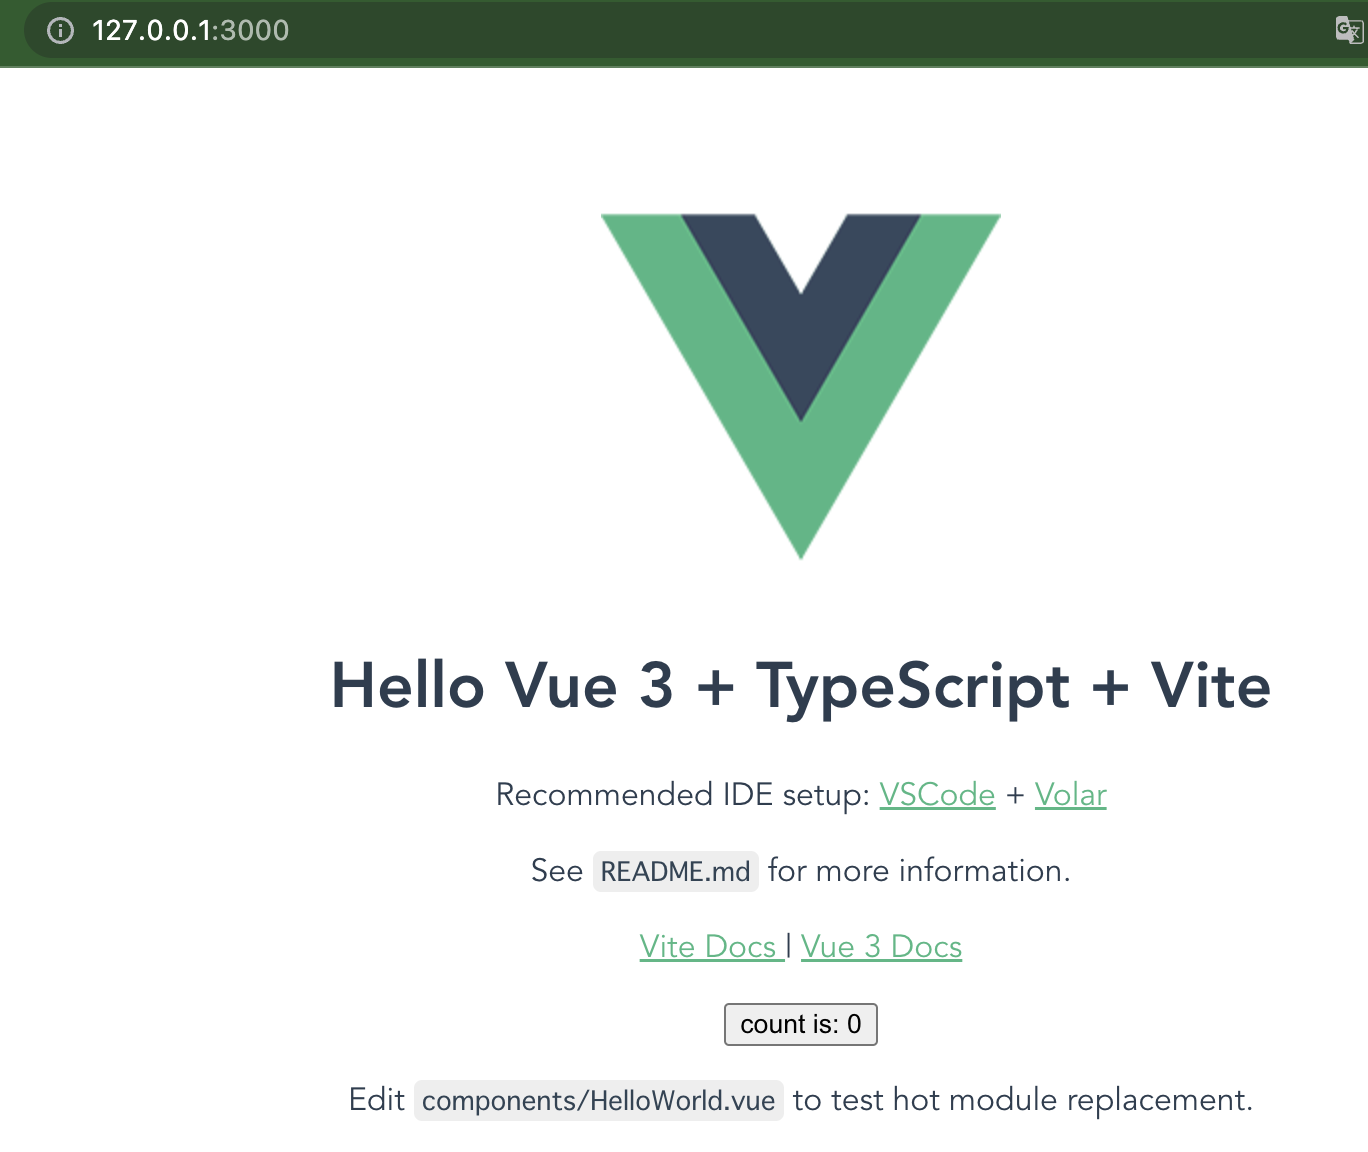
ブラウザで確認すると以下のようになります。
2022/2現在、mac だと Safari では再生されますが、Chrome, Edge, Firefox では再生されません。
 |
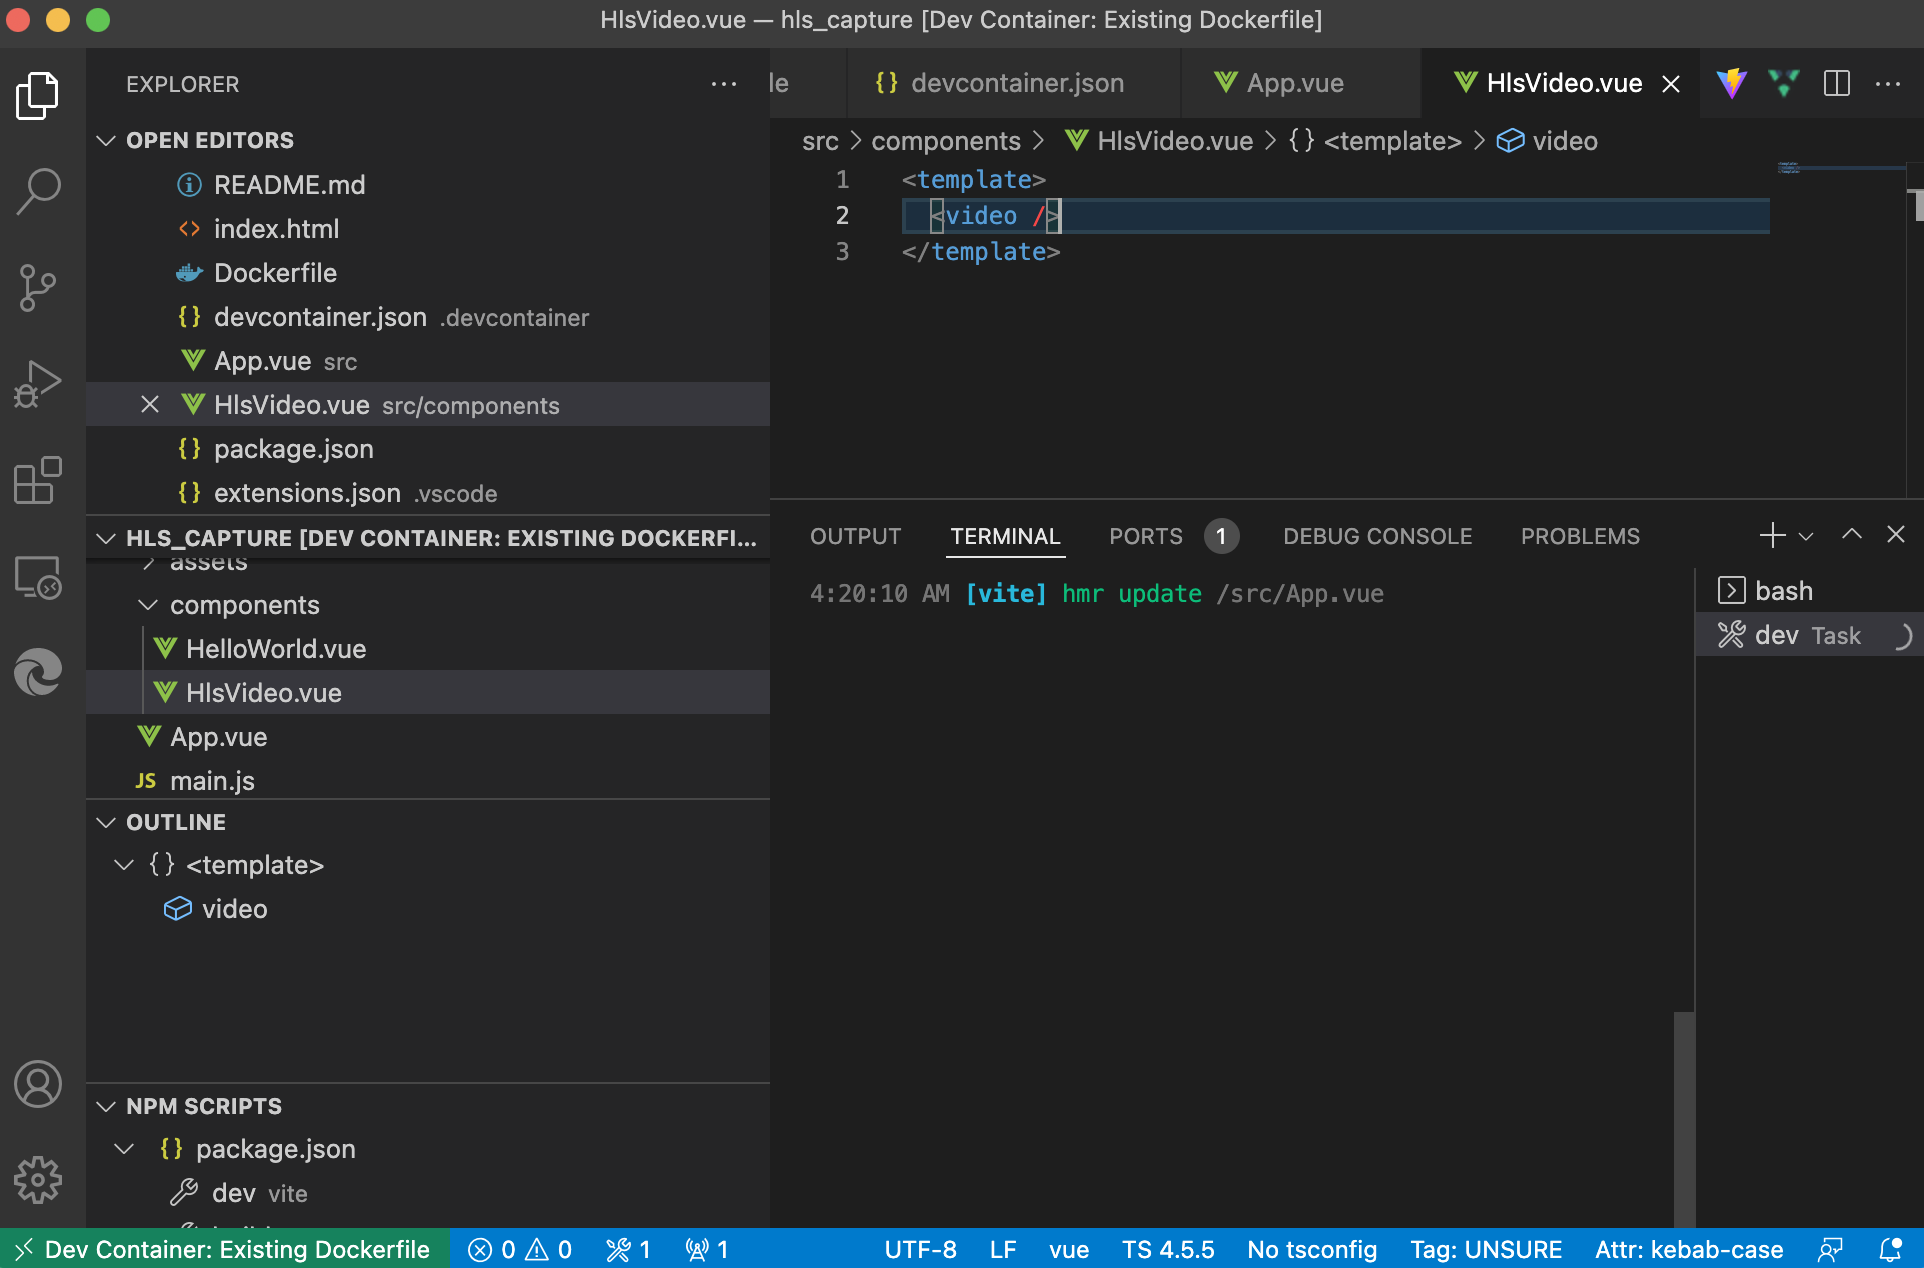
HlsVideo.vue ファイルを作成
<template>
  <video/>
</template>
HlsVideo コンポーネントを読み込みます
<script setup>
import HlsVideo from './components/HlsVideo.vue';
</script>

<template>
  <h1>HLSライブ動画のキャプチャ</h1>
  <article>
    <section>
      <HlsVideo src="https://test-streams.mux.dev/x36xhzz/x36xhzz.m3u8" autoplay playsinline muted />
      <button type="button">キャプチャ</button>
    </section>
    <section>
      <img />
      <button type="button">ダウンロード</button>
    </section>
  </article>
</template>

(以下省略)
import 行と videoタグを HlsVideo に置き換えました。
ブラウザでの表示は変わらないはずです。
HLS.js を追加
対応していないブラウザでも再生できるように HLS.js というライブラリを組み込みます。
まずターミナルから hls.js を追加します。
yarn add hls.js

HlsVideo.vue 編集
HLS.js を使ってビデオを読み込む処理を追加します。
<template>
  <video ref="video" />
</template>

<script setup>
import { onMounted, onBeforeUnmount, ref, watch } from "vue"
import Hls from "hls.js"

const props = defineProps({
  src: String
})

const video = ref()
const hls = new Hls()
const updateSrc = (src) => {
  hls.detachMedia()
  if (!src) {
    return
  }
  if (video.value.canPlayType && video.value.canPlayType('application/vnd.apple.mpegurl')) {
    video.value.src = src
  } else if (Hls.isSupported()) {
    hls.loadSource(src)
    hls.attachMedia(video.value)
  }
}

onMounted(() => updateSrc(props.src))

watch(() => props.src, src => updateSrc(src))

onBeforeUnmount(() => updateSrc())
</script>
video.value.canPlayType でブラウザが対応しているか調べて対応していればそのまま video の src をセットします。
HLS.js に対応しているブラウザの場合は hls を介して再生されるよう video を設定しています。
これで Chrome, Edge, FireFox でも動画が再生されるようになりました。
画像キャプチャ機能追加
HlsVideo コンポーネントに capture メソッドを追加します。
<template>
  <video ref="video" />
</template>

<script setup>
import { onMounted, onBeforeUnmount, ref, watch } from "vue"
import Hls from "hls.js"

const props = defineProps({
  src: String
})

const video = ref()
const hls = new Hls()
const updateSrc = (src) => {
  hls.detachMedia()
  if (!src) {
    return
  }
  if (video.value.canPlayType && video.value.canPlayType('application/vnd.apple.mpegurl')) {
    video.value.src = src
  } else if (Hls.isSupported()) {
    hls.loadSource(src)
    hls.attachMedia(video.value)
  }
}
const capture = (then, format = 'image/png') => {
  const width = video.value.videoWidth
  const height = video.value.videoHeight
  const canvas = document.createElement('canvas')
  canvas.width = width
  canvas.height = height
  canvas.getContext('2d').drawImage(video.value, 0, 0, width, height)
  then(canvas.toDataURL(format))
}
defineExpose({ capture })

onMounted(() => updateSrc(props.src))

watch(() => props.src, src => updateSrc(src))

onBeforeUnmount(() => updateSrc())
</script>
キャプチャボタン、ダウンロードボタンの処理を追加します。
<script setup>
import HlsVideo from './components/HlsVideo.vue'
import { ref } from 'vue'

const video = ref()
const image = ref()
const download = () => {
  const a = document.createElement('a')
  a.download = 'capture.png'
  a.href = image.value.src
  a.click()
}
</script>

<template>
  <h1>HLSライブ動画のキャプチャ</h1>
  <article>
    <section>
      <HlsVideo ref="video" src="https://test-streams.mux.dev/x36xhzz/x36xhzz.m3u8" autoplay playsinline muted crossorigin="anonymous" />
      <button type="button" @click="video.capture(url => image.src = url)">キャプチャ</button>
    </section>
    <section>
      <img ref="image" />
      <button type="button" @click="download">ダウンロード</button>
    </section>
  </article>
</template>

<style>
h1 {
  text-align: center;
}
article {
  display: flex;
  flex-wrap: wrap;
  justify-content: center;
  gap: 10px;
}
section {
  display: flex;
  gap: 10px;
  flex-direction: column;
  justify-content: center;
}
video, img {
  width: 684px;
  height: 360px;
  border: 1px solid silver;
}
</style>
これでキャプチャとダウンロードができるようになりました。

ただし、動作確認すると、 Chrome, Edge, FireFox は問題ないですが、 Safari だけキャプチャ画像が透明になってしまうようです。
https://github.com/video-dev/hls.js/issues/1806
ISSUEを見るとブラウザの動作なのでライブラリ側ではどうしようもないようです。
仕方がないのでキャプチャ画像が透明な場合はクリップボードの画像を貼り付ける処理をいれて、
Safari の場合は Shift + Command + 4 で手動でクリップボードでキャプチャしたものを貼り付けられるようにしておきます。
//(省略)
const capture = (then, format = 'image/png') => {
  const width = video.value.videoWidth
  const height = video.value.videoHeight
  const canvas = document.createElement('canvas')
  canvas.width = width
  canvas.height = height
  const context = canvas.getContext('2d')
  context.drawImage(video.value, 0, 0, width, height)
  if (context.getImageData(0, 0, 1, 1).data.every(i => i == 0)) {
    navigator.clipboard.read().then(items => {
      const getImage = items.map(i => {
        const type = i.types.find(j => j.startsWith('image'))
        return type && (() => i.getType(type))
      })[0]
      if (getImage) {
        getImage().then(image => then(URL.createObjectURL(image)))
      }
    })
  } else {
    then(canvas.toDataURL(format))
  }
}
//(省略)
これで一応目的は達成できました。
safari が HLS ビデオの画像キャプチャに対応する日が来るのでしょうか。
今回のソース