※記事内で動かない・間違い箇所などありましたら是非教えて下さい!
モチベーション
・LDAをとりあえず使いたかった!
・Qiitaの中での、非エンジニアの活動状況を知りたかった!
(僕自身が非エンジニアでプログラミング頑張っていこうと思っているので。)
この記事の概要
Qiita内「非エンジニア」キーワードの記事に対してLDAでトピック分類することを目的に、この記事ではLDAにかける前処理として、スクレイピング、単語分解、正規化を行いました。
続編ではLDAでの結果を紹介するが、結果的にscikit-learnのLDAが遅すぎて全記事でできなかったので、lda(ややこしい!このldaです)を使ってみた。
まずはスクレイピング
今回のスクレイピング対象のURLはコチラ。
Qiita内の検索でキーワード「非エンジニア」に引っかかる記事です。
最後のページまで飛ばすと、どうやら169ページまであり、1682記事あるっぽい。
URLはコチラ。
ということで以下の内容を取得するよう、コードを書いていく。
- タイトル
- 投稿日
- ディスクリプション
- ☆記事の本文
この中で記事の本文は一度記事URLに入って取得する必要があります。
ということでレッツ・スクレイプ!
※JupyterNotebook上で実行しているので、その点ご注意下さい。
# まずスクレイピングに必要なライブラリの読み込み
import pandas as pd
import numpy as np
from bs4 import BeautifulSoup
import requests
import time
from tqdm import tqdm_notebook as tqdm
# 初期設定と後で使う箱の準備
PAGE_NUM = 170 #最後のページが169ページ
MAIN_URL = "https://qiita.com/search?page="
PARA = '&q=非エンジニア' #検索パラメータ部

# 各コンテンツ格納用
titles = []
dates = []
descriptions = []
contents = []

# 各記事URL格納用
article_urls = []
# 1〜169ページの各ページで、タイトルなど要素を取得。
base_url = "https://qiita.com" #取得したURLはドメインがない状態なので、これを付け加える必要がある。

for i in tqdm(range(1,PAGE_NUM)):
    root_url = MAIN_URL + "{}".format(i) + PARA
    r = requests.get(root_url)
    soup = BeautifulSoup(r.content, 'html.parser')
    articles = soup.find_all('div', class_ =  'searchResult')
    time.sleep(1)

    for article in articles:
        #ブログのタイトルを取得
        titles.append(article.find('h1').text)
        #ブログの日付を取得
        dates.append(article.find('div', class_='searchResult_header').text)
        #ブログの本文を取得
        descriptions.append(article.find('div', class_='searchResult_snippet').text.replace('\n', ''))
        #記事内へのURL取得
        article_urls.append(article.find('h1').find('a').get('href'))
# 取ってきた各記事URLリストから、ページへ飛んで中身を取得
for each_url in tqdm(article_urls):
    r = requests.get(base_url + each_url)
    soup = BeautifulSoup(r.content, 'html.parser')
    content = soup.find('section', class_='it-MdContent').text.replace('\n', '')
    contents.append(content)
    time.sleep(1)
# 名前を付けて整形
df = pd.DataFrame({"Title": titles,
                    "Date": dates,
            "Description" : descriptions,
                "Content" : contents})
df = df[["Title", "Date", "Description","Content"]]
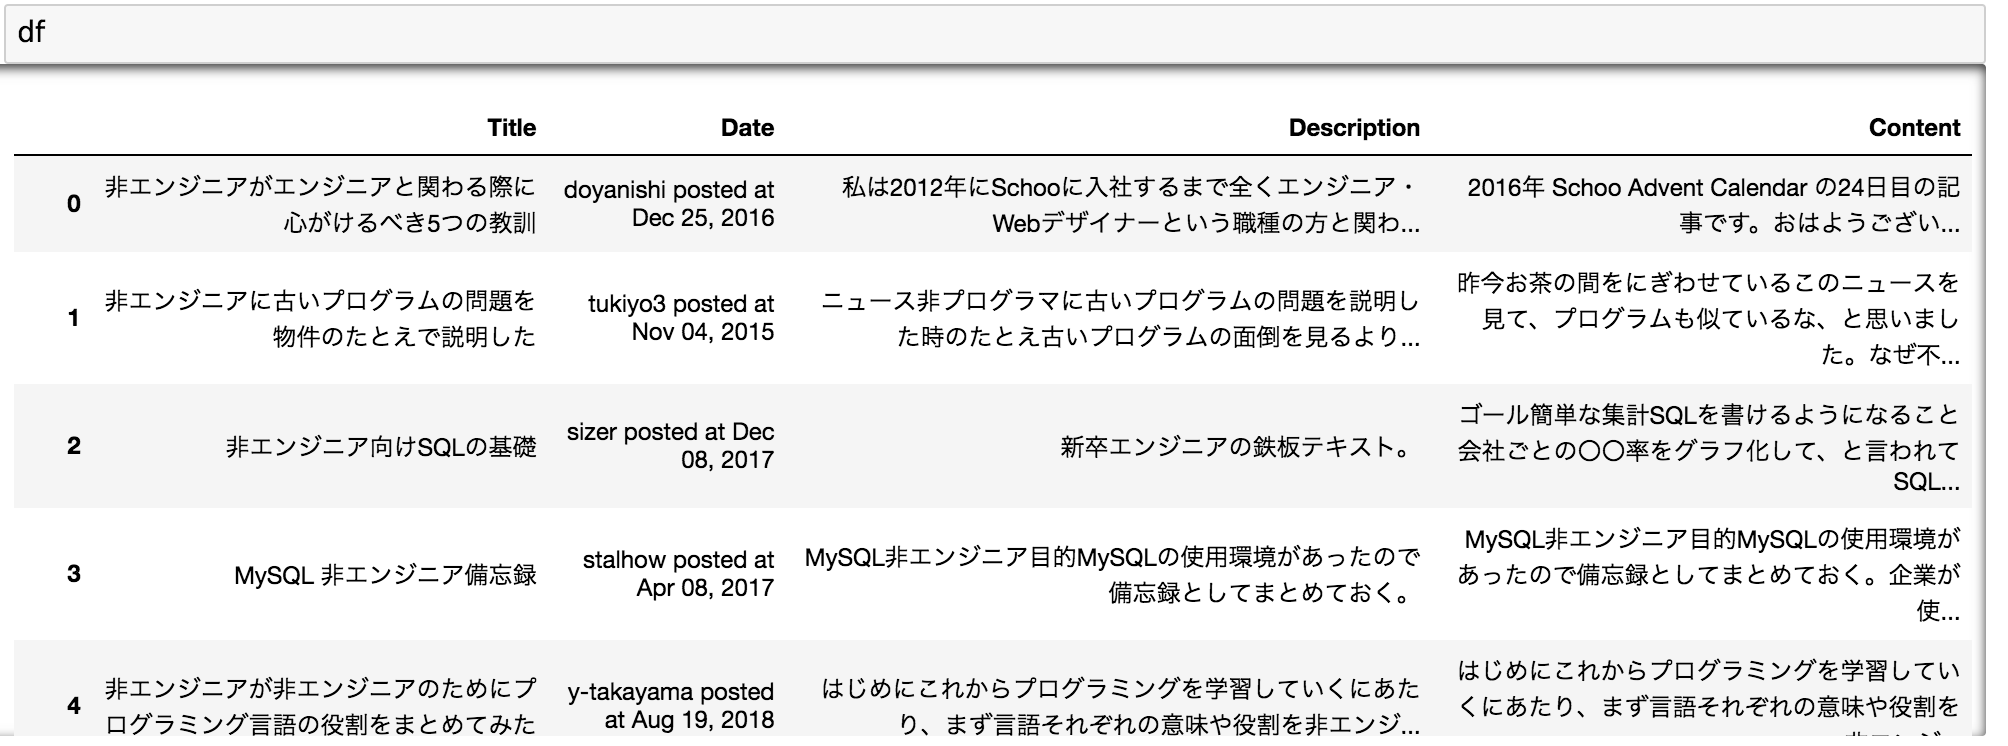
取ってきたデータフレームはこんな感じ。
▼JupyterNotebook
単語分解・正規化
次に、LDAにかける準備として単語分解と正規化を行い、数字や大文字小文字を補正する。
# mecabインスタンス
import MeCab

mecab = MeCab.Tagger("-b 5242880")
mecab.parse("")
# 分割して、名刺をcontent_nounにそれぞれ格納
content_noun = []
for idx in tqdm(df.index):
    noun_list = []
    node = mecab.parseToNode(df.Content.ix[idx])
    while node:
        if re.search("^(名詞)", node.feature):
            noun_list.append(node.surface)
        node = node.next
    content_noun.append(noun_list)
# 上で作ったデータフレームdfに、単語分解した列を追加
df['Content_noun'] = [','.join(each_content) for each_content in content_noun]
# 正規化
import re
import unicodedata
content_normalization = []
for i in df["Content_noun"]:
l =i.lower() #大文字小文字の統一
m = unicodedata.normalize("NFKC", l) #カタカナ半角を全角に、変なものを修正
n = re.sub('\d+', '0', m) #数字の種類が多いので全て0に
content_normalization.append(n)
# データフレームdfに正規化した列を追加
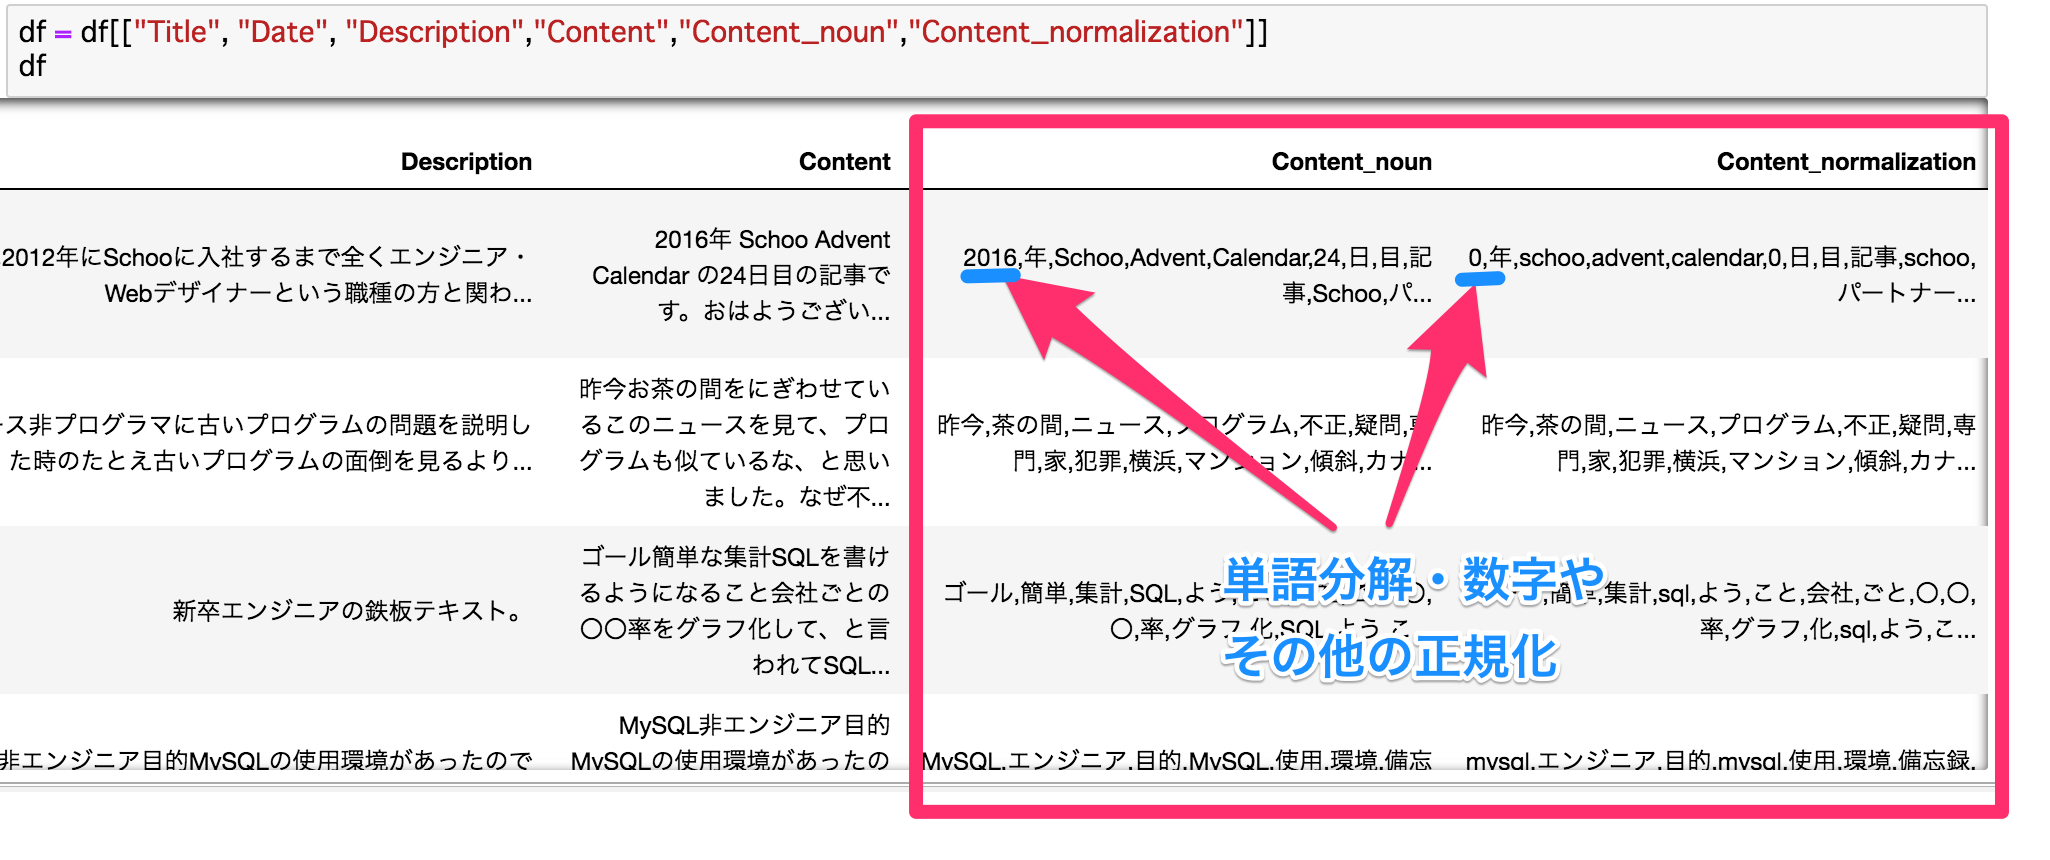
df["Content_normalization"] = content_normalization
出力してみると・・・うまく出来ています!
▼JupyterNotebook
最後にcsvに保存しておきます。
# csvで取得
df.to_csv("result.csv")
今回はスクレイピングから単語分解・ちょっとした正規化補正をしました。
次は実際にLDAにかけてみます!
To be continue・・・