ゴール:Unity(iOS/Android)でgRPCを動かす
- UnityでgRPCを動かす #1 コンソールアプリ
- UnityでgRPCを動かす #2 Unity
- UnityでgRPCを動かす #3 iOS
- UnityでgRPCを動かす #4 Android
開発環境:macOS Sierra + Unity 2017.3.0f3
開発環境:macOS Mojave + Unity 2019.1.5f1
今回はその2です。
(前準備)UnityとVisual Studioの連携
その1でVisual Studio for Macをインストールしていると思いますので、Unityと連携しておいてください。"Unity + Visual Studio for Mac"で検索すると、色々出てくると思います。以下、簡単に手順を記載しておきます。
- メニューから"Unity"を選択して、Unity Preferenceダイアログを開く
- ダイアログから"External Tools"を選択する
- "External Script Editor"から"Visual Studio"を選択する
プロジェクトの.NET Frameworkのバージョンを4.xにする
メニューから"File - Build Settings"を選択する。"Player Settings ..."ボタンをクリックして、Inspectorを表示する。"Configuration - Scripting Runtime Version*"から".NET 4.x Equivalent"を選択する。Unity再起動の確認が出た時には、はいと答えてUnityを再起動する。
UnityでgRPCのサンプルを動かす
Unity用のサンプルプロジェクトが用意されています。
/grpc/examples/csharp/HelloworldUnity
さらにこのディレクトリの中にあるREADME.mdに動かし方が書いてあります。基本はこのドキュメントに書かれている通りにすれば動作します。
- Follow instructions in https://github.com/grpc/grpc/tree/master/src/csharp/experimental#unity to obtain the grpc_csharp_unity.zip
  that contains gRPC C# for Unity. Unzip it under `Assets/Plugins` directory.
- Open the `HelloworldUnity.sln` in Unity Editor.
- Build using Unity Editor.
HelloworldUnity.slnをUnityエディターで開くには、Unity HubでHelloworldUnityディレクトリをリストに追加してください。

実行する
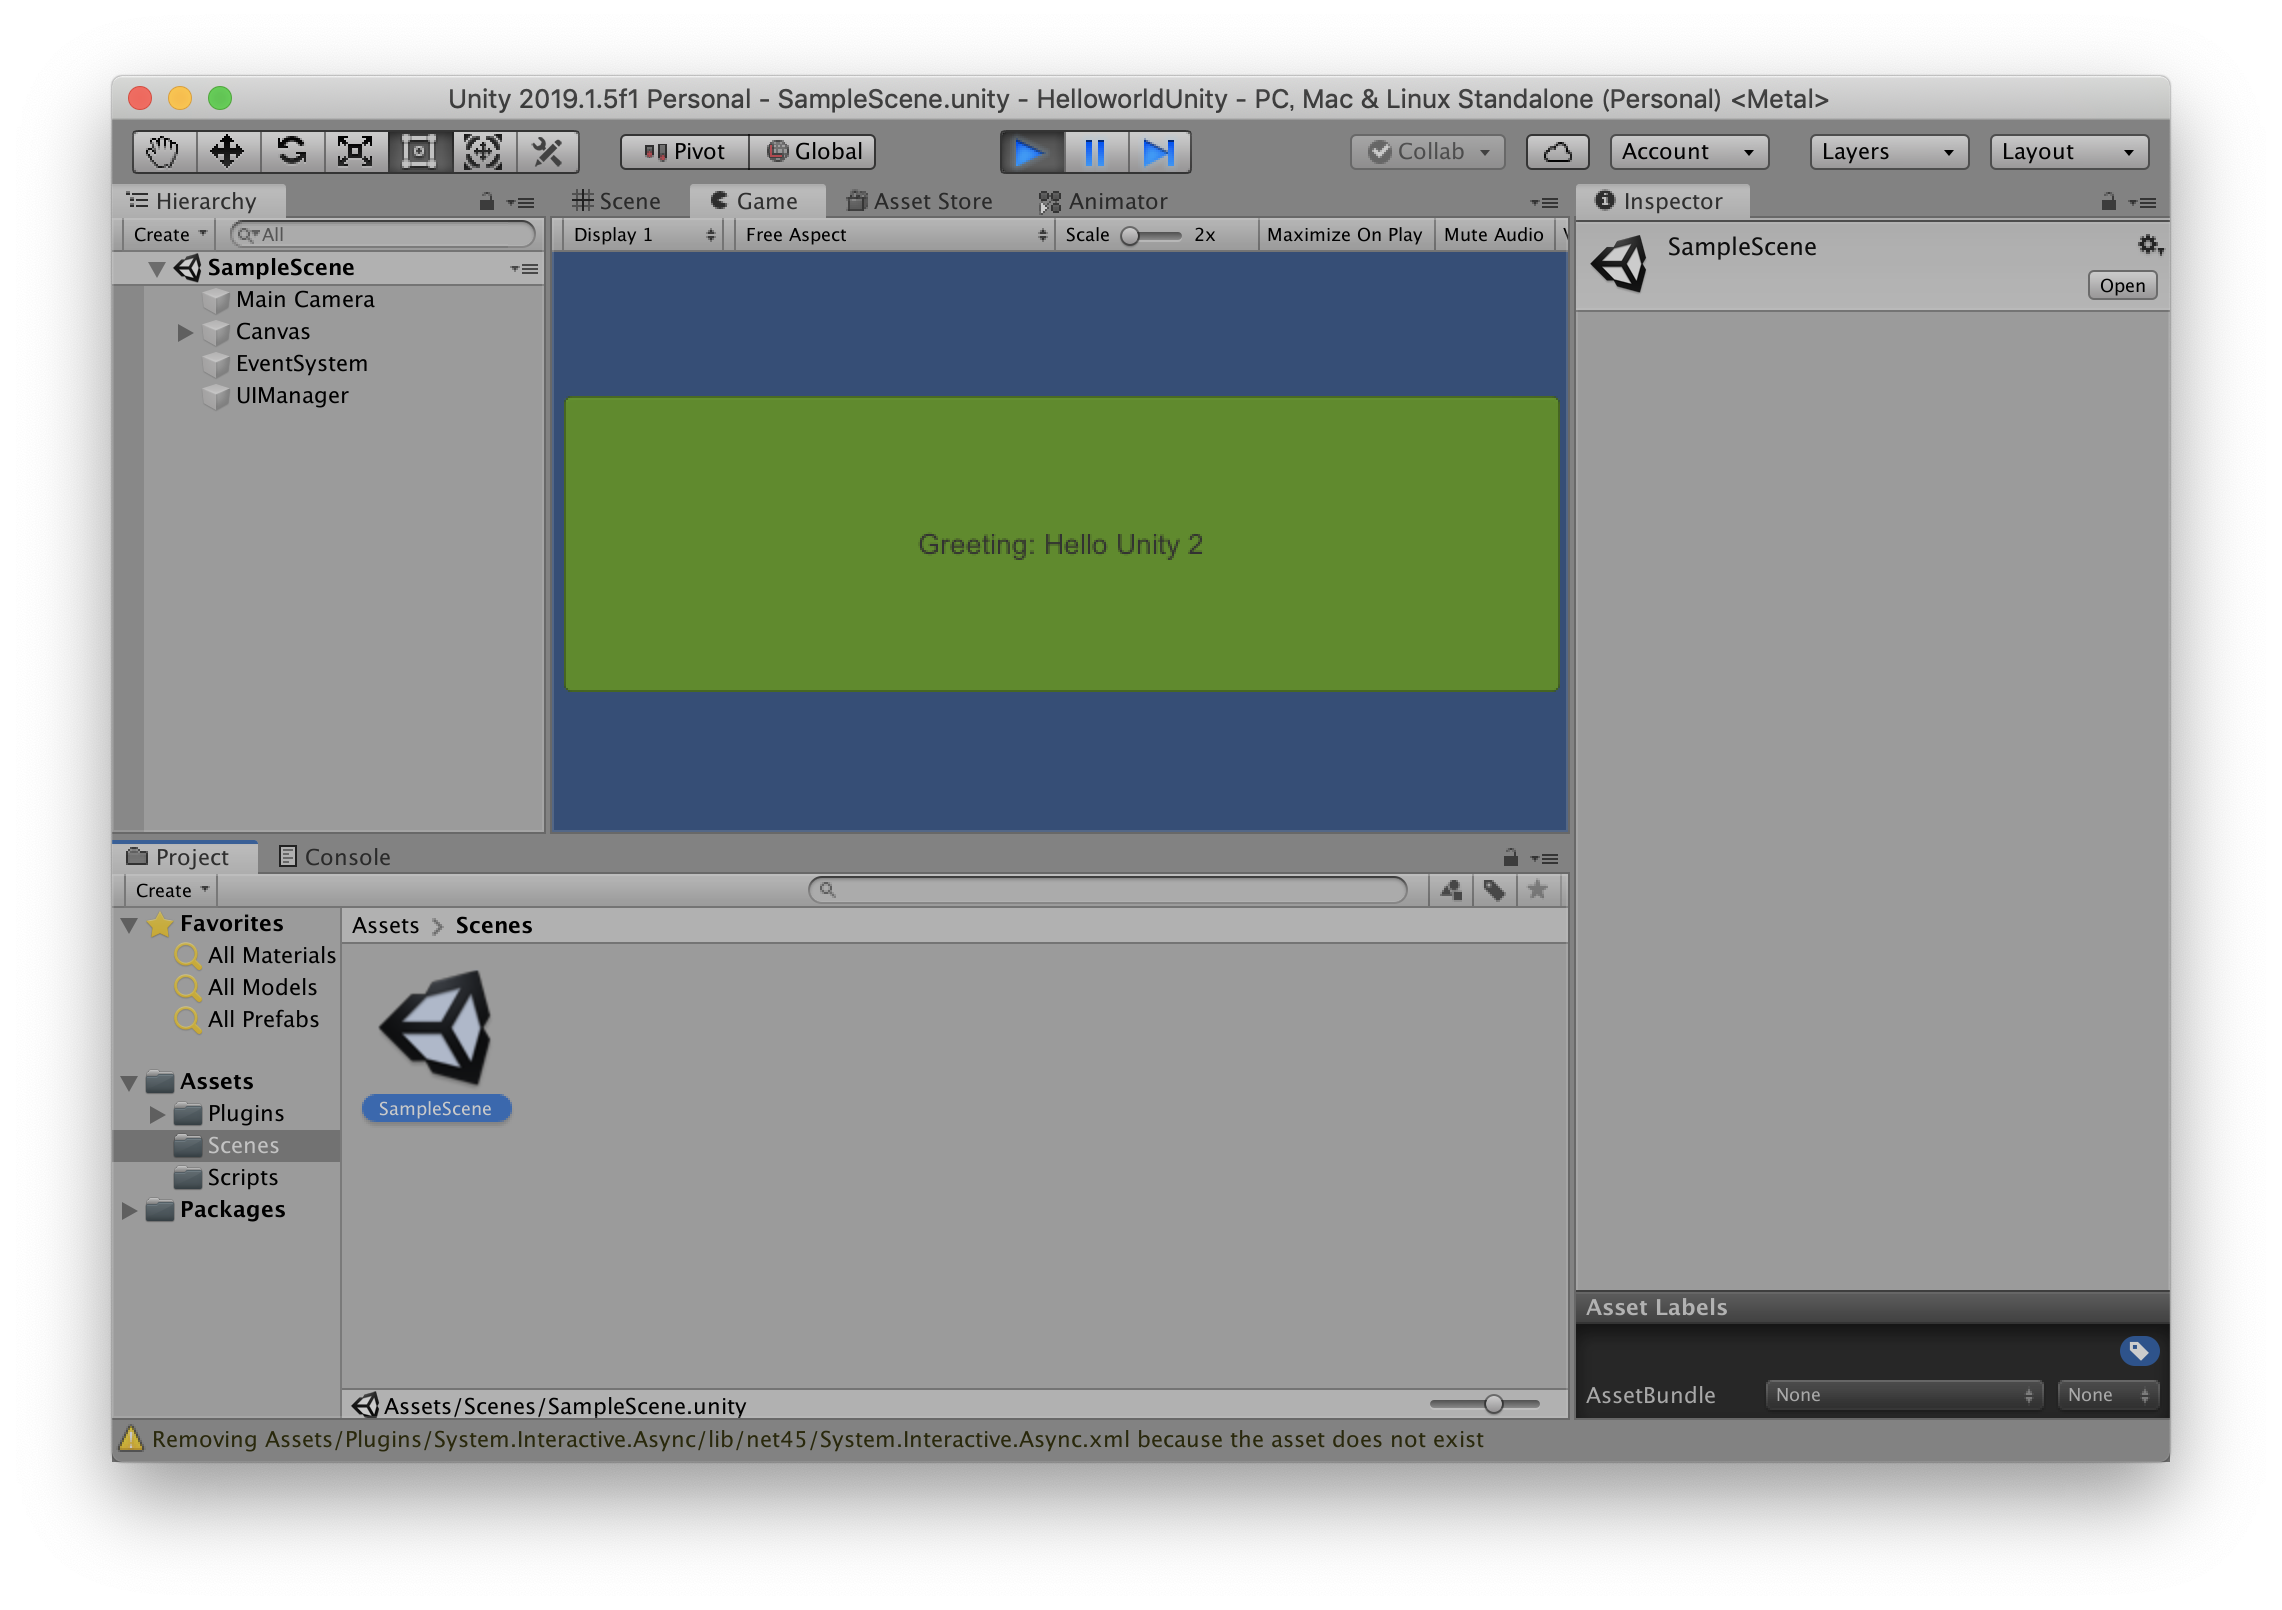
Unityで実行すると、画面上に緑色のボタンが表示されます。ボタンを押すたびに通信が発生してボタン上の文字列が更新されます。

ボタンが表示されない場合は、シーンが選ばれていない可能性があります。Assets/Scenes/SampleSceneをダブルクリックして、Hierarchy上のルートがSampleSceneになっていることを確認してください。
プログラムの解説
このサンプルプロジェクトでは、Unityプロジェクトの中にサーバーとクライアントが両方用意されています。
(略)
class HelloWorldTest
{
(略)
  public static HelloReply Greet(string greeting)
  {
    // サーバーを起動する処理、ここから
    const int Port = 50051;

    Server server = new Server
    {
      Services = { Greeter.BindService(new GreeterImpl()) },
      Ports = { new ServerPort("localhost", Port, ServerCredentials.Insecure) }
    };
    server.Start();
    // サーバーを起動する処理、ここまで

    Channel channel = new Channel("127.0.0.1:50051", ChannelCredentials.Insecure);

    var client = new Greeter.GreeterClient(channel);

    var reply = client.SayHello(new HelloRequest { Name = greeting });

    channel.ShutdownAsync().Wait();

    // 起動したサーバーをシャットダウンする処理、ここから
    server.ShutdownAsync().Wait();
    // 起動したサーバーをシャットダウンする処理、ここまで

    return reply;
  }

  // サーバーサイドの処理、ここから
  class GreeterImpl : Greeter.GreeterBase
  {
    // Server side handler of the SayHello RPC
    public override Task<HelloReply> SayHello(HelloRequest request, ServerCallContext context)
    {
      return Task.FromResult(new HelloReply { Message = "Hello " + request.Name });
    }
  }
  // サーバーサイドの処理、ここまで
}
別プロセスのサーバーを呼び出すように修正する
まずは、オリジナルのソースから、サーバーサイドの処理を削除します。上記のソースコードの「ここから〜ここまで」のコメント内のコードをすべて削除します。
(略)
class HelloWorldTest
{
(略)
  public static HelloReply Greet(string greeting)
  {
    Channel channel = new Channel("127.0.0.1:50051", ChannelCredentials.Insecure);

    var client = new Greeter.GreeterClient(channel);

    var reply = client.SayHello(new HelloRequest { Name = greeting });

    channel.ShutdownAsync().Wait();

    return reply;
  }
}
次にUnityでgRPCを動かす #1 コンソールアプリで説明したGreeting Serverを起動します。Visual Studioは複数のソリューションを開けないので、HelloworldUnityソリューションは閉じられてしまいますが、大丈夫です。
サーバーの処理が使われていることを確認するために、GreeterImpl.SayHelloメソッドを少し書き換えておきましょう。
// "Hello "から"Hello Server "に文字列を修正
return Task.FromResult(new HelloReply { Message = "Hello Server " + request.Name });
もう一度Unityを起動します。ボタンの文字列が今編集した内容で更新されることを確認します。

次回予告
次は、iOSで動かしてみます。