AWS Lambdaを使った開発を行う機会があったので、AWS SAMを使ってみました。
Lambda開発といえばServerless Frameworkが有名みたいですが、今回はAmazon公式という点とテンプレートが充実していそうという点でAWS SAMを採用しました。
AWS SAMとは
AWS SAMとは、サーバーレスアプリケーション構築用のフレームワークであり、AWS CloudFormationテンプレートの拡張機能です。
Lambda関数やロール、API Gatewayの作成などをYAMLを使ったテンプレートで定義できます。
アプリの構築にはAWS SAM CLIを使います。テンプレートで定義されたアプリの構築、テストを行うコマンドラインツールです。
準備
AWS CLIのインストール
まずはAWS CLIをインストールします。
AWS SAM CLIを使うにはAWS CLIも必要になるので、導入していない場合は併せてインストールが必要です。
ドキュメント沿ってやっていきます。
Installing, updating, and uninstalling the AWS CLI version 2 on Linux - AWS Command Line Interface
curl "https://awscli.amazonaws.com/awscli-exe-linux-x86_64.zip" -o "awscliv2.zip"
unzip awscliv2.zip
sudo ./aws/install
AWS CLIがインストールできたら認証プロファイルの設定もしておきます。
aws configure
AWS SAM CLIのインストール
続いてAWS SAM CLIのインストールを行います。
こちらもドキュメントを参考に。
Installing the AWS SAM CLI on Linux - AWS Serverless Application Model
curl -L "https://github.com/aws/aws-sam-cli/releases/latest/download/aws-sam-cli-linux-x86_64.zip" -o "awssamcli.zip"
unzip awssamcli.zip -d awssam
sudo ./awssam/install
これで準備は完了です。
テンプレートをダウンロードする
sam initで既存のテンプレートを使って、プロジェクトを初期化できます。
言語ごとにクイックスタートが用意されており、はじめて触る場合はここから慣れていけばよさそうです。
今回はPython3.8のHello Worldを選択。LambdaはZipファイルまたはコンテナイメージでデプロイできますが、今回はZipファイルで行います。
$ sam init
Which template source would you like to use?
        1 - AWS Quick Start Templates
        2 - Custom Template Location
Choice: 1
What package type would you like to use?
        1 - Zip (artifact is a zip uploaded to S3)
        2 - Image (artifact is an image uploaded to an ECR image repository)
Package type: 1

Which runtime would you like to use?
        1 - nodejs14.x
        2 - python3.8
        3 - ruby2.7
        4 - go1.x
        5 - java11
        6 - dotnetcore3.1
        7 - nodejs12.x
        8 - nodejs10.x
        9 - python3.7
        10 - python3.6
        11 - python2.7
        12 - ruby2.5
        13 - java8.al2
        14 - java8
        15 - dotnetcore2.1
Runtime: 2

Project name [sam-app]:

Cloning app templates from https://github.com/aws/aws-sam-cli-app-templates

AWS quick start application templates:
        1 - Hello World Example
        2 - EventBridge Hello World
        3 - EventBridge App from scratch (100+ Event Schemas)
        4 - Step Functions Sample App (Stock Trader)
        5 - Elastic File System Sample App
Template selection: 1

    -----------------------
    Generating application:
    -----------------------
    Name: sam-app
    Runtime: python3.8
    Dependency Manager: pip
    Application Template: hello-world
    Output Directory: .

    Next steps can be found in the README file at ./sam-app/README.md
Python3.8のHello Worldの場合は以下のファイルが作られます。
sam-app/
├── README.md
├── __init__.py
├── events                 # ローカル実行用のEvent
│   └── event.json
├── hello_world            # Lambda本体のコード
│   ├── __init__.py
│   ├── app.py
│   └── requirements.txt
├── template.yaml          # AWS SAMのテンプレート
└── tests                  # テストコード
    ├── __init__.py
    ├── integration
    │   ├── __init__.py
    │   └── test_api_gateway.py
    ├── requirements.txt
    └── unit
        ├── __init__.py
        └── test_handler.py
Lambdaコード
Lambdaで実行されるhello_world/app.pyの中身は以下の通り。
import json

# import requests

def lambda_handler(event, context):
    """Sample pure Lambda function

    Parameters
    ----------
    event: dict, required
        API Gateway Lambda Proxy Input Format

        Event doc: https://docs.aws.amazon.com/apigateway/latest/developerguide/set-up-lambda-proxy-integrations.html#api-gateway-simple-proxy-for-lambda-input-format

    context: object, required
        Lambda Context runtime methods and attributes

        Context doc: https://docs.aws.amazon.com/lambda/latest/dg/python-context-object.html

    Returns
    ------
    API Gateway Lambda Proxy Output Format: dict

        Return doc: https://docs.aws.amazon.com/apigateway/latest/developerguide/set-up-lambda-proxy-integrations.html
    """

    # try:
    #     ip = requests.get("http://checkip.amazonaws.com/")
    # except requests.RequestException as e:
    #     # Send some context about this error to Lambda Logs
    #     print(e)

    #     raise e

    return {
        "statusCode": 200,
        "body": json.dumps({
            "message": "hello world",
            # "location": ip.text.replace("\n", "")
        }),
    }
今回のサンプルはAPI Gatewayをトリガーとして実行し、レスポンスボディにメッセージを返すだけの簡単なコードです。
コードのコメントにも記載がありますが、lambda_handlerの引数、返り値はAPI Gatewayのフォーマットに合わせる必要があります。
SAMテンプレート
アプリケーションの構成を定義しているtemplate.yamlの中身はこちら。
AWSTemplateFormatVersion: '2010-09-09'
Transform: AWS::Serverless-2016-10-31
Description: >
  sam-app

  Sample SAM Template for sam-app

# More info about Globals: https://github.com/awslabs/serverless-application-model/blob/master/docs/globals.rst
Globals:
  Function:
    Timeout: 3

Resources:
  HelloWorldFunction:
    Type: AWS::Serverless::Function # More info about Function Resource: https://github.com/awslabs/serverless-application-model/blob/master/versions/2016-10-31.md#awsserverlessfunction
    Properties:
      CodeUri: hello_world/
      Handler: app.lambda_handler
      Runtime: python3.8
      Events:
        HelloWorld:
          Type: Api # More info about API Event Source: https://github.com/awslabs/serverless-application-model/blob/master/versions/2016-10-31.md#api
          Properties:
            Path: /hello
            Method: get

Outputs:
  # ServerlessRestApi is an implicit API created out of Events key under Serverless::Function
  # Find out more about other implicit resources you can reference within SAM
  # https://github.com/awslabs/serverless-application-model/blob/master/docs/internals/generated_resources.rst#api
  HelloWorldApi:
    Description: "API Gateway endpoint URL for Prod stage for Hello World function"
    Value: !Sub "https://${ServerlessRestApi}.execute-api.${AWS::Region}.amazonaws.com/Prod/hello/"
  HelloWorldFunction:
    Description: "Hello World Lambda Function ARN"
    Value: !GetAtt HelloWorldFunction.Arn
  HelloWorldFunctionIamRole:
    Description: "Implicit IAM Role created for Hello World function"
    Value: !GetAtt HelloWorldFunctionRole.Arn
基本的にはAWS CloudFormationのテンプレートと同じ構造でリソースを定義できますが、AWS SAMではTransform: AWS::Serverless-2016-10-31が必要になります。
これを設定しておくことで、AWS SAMによる拡張をCloudFormation準拠のテンプレートに変換する処理を行っています。
アプリケーションのリソース定義はResourcesで行っています。
Lambda関数の作成にはAWS::Serverless::Functionを使用しており、LambdaとLambdaに関連するリソースをまとめて定義できます。
今回のサンプルではRuntimeでPython3.8が、EventsのTypeでApi(API Gateway)が指定されていることが確認できます。
ビルド
sam buildコマンドでアプリケーションをビルドします。
$ sam build
Building codeuri: /home/****/sam-app/hello_world runtime: python3.8 metadata: {} functions: ['HelloWorldFunction']
Running PythonPipBuilder:ResolveDependencies
Running PythonPipBuilder:CopySource

Build Succeeded

Built Artifacts  : .aws-sam/build
Built Template   : .aws-sam/build/template.yaml

Commands you can use next
=========================
[*] Invoke Function: sam local invoke
[*] Deploy: sam deploy --guided
ビルドに成功すると.aws-sam/buildにアプリケーションの依存関係を含めたデプロイ用のファイルが作られます。
テスト
ローカルで実行するにはAWS Lambdaの実行環境を再現するためdockerイメージが使用されます。
sam local invokeコマンドでLambdaをローカルで実行できます。
$ sam local invoke
Invoking app.lambda_handler (python3.8)
Image was not found.
Building image.......................................................................................................................................................................................................................................................................
Skip pulling image and use local one: amazon/aws-sam-cli-emulation-image-python3.8:rapid-1.22.0.

Mounting /home/daisuke/sam-app/.aws-sam/build/HelloWorldFunction as /var/task:ro,delegated inside runtime container
START RequestId: e80b6598-1f4d-43d0-ab92-38c7482817d3 Version: $LATEST
END RequestId: e80b6598-1f4d-43d0-ab92-38c7482817d3
REPORT RequestId: e80b6598-1f4d-43d0-ab92-38c7482817d3  Init Duration: 0.11 ms  Duration: 60.86 ms      Billed Duration: 100 msMemory Size: 128 MB     Max Memory Used: 128 MB
{"statusCode": 200, "body": "{\"message\": \"hello world\"}"}
レスポンスが正しく確認できました!
デプロイ
sam deployコマンドでアプリケーションをデプロイします。
--guidedオプションをつけることで、デプロイ設定を対話的に実行できます。
$ sam deploy --guided

Configuring SAM deploy
======================

        Looking for config file [samconfig.toml] :  Not found

        Setting default arguments for 'sam deploy'
        =========================================
        Stack Name [sam-app]:
        AWS Region [ap-northeast-1]:
        #Shows you resources changes to be deployed and require a 'Y' to initiate deploy
        Confirm changes before deploy [y/N]: y
        #SAM needs permission to be able to create roles to connect to the resources in your template
        Allow SAM CLI IAM role creation [Y/n]:
        HelloWorldFunction may not have authorization defined, Is this okay? [y/N]: y
        Save arguments to configuration file [Y/n]:
        SAM configuration file [samconfig.toml]:
        SAM configuration environment [default]:

        Looking for resources needed for deployment: Not found.
        Creating the required resources...
        Successfully created!

                Managed S3 bucket: aws-sam-cli-managed-default-samclisourcebucket-****
                A different default S3 bucket can be set in samconfig.toml

~~~~(省略)
Save arguments to configuration file [Y/n]:と聞かれるのでYと答えておくと、デプロイ時の設定ファイルが作成されるので、次回からはsam deployのみでデプロイできます。
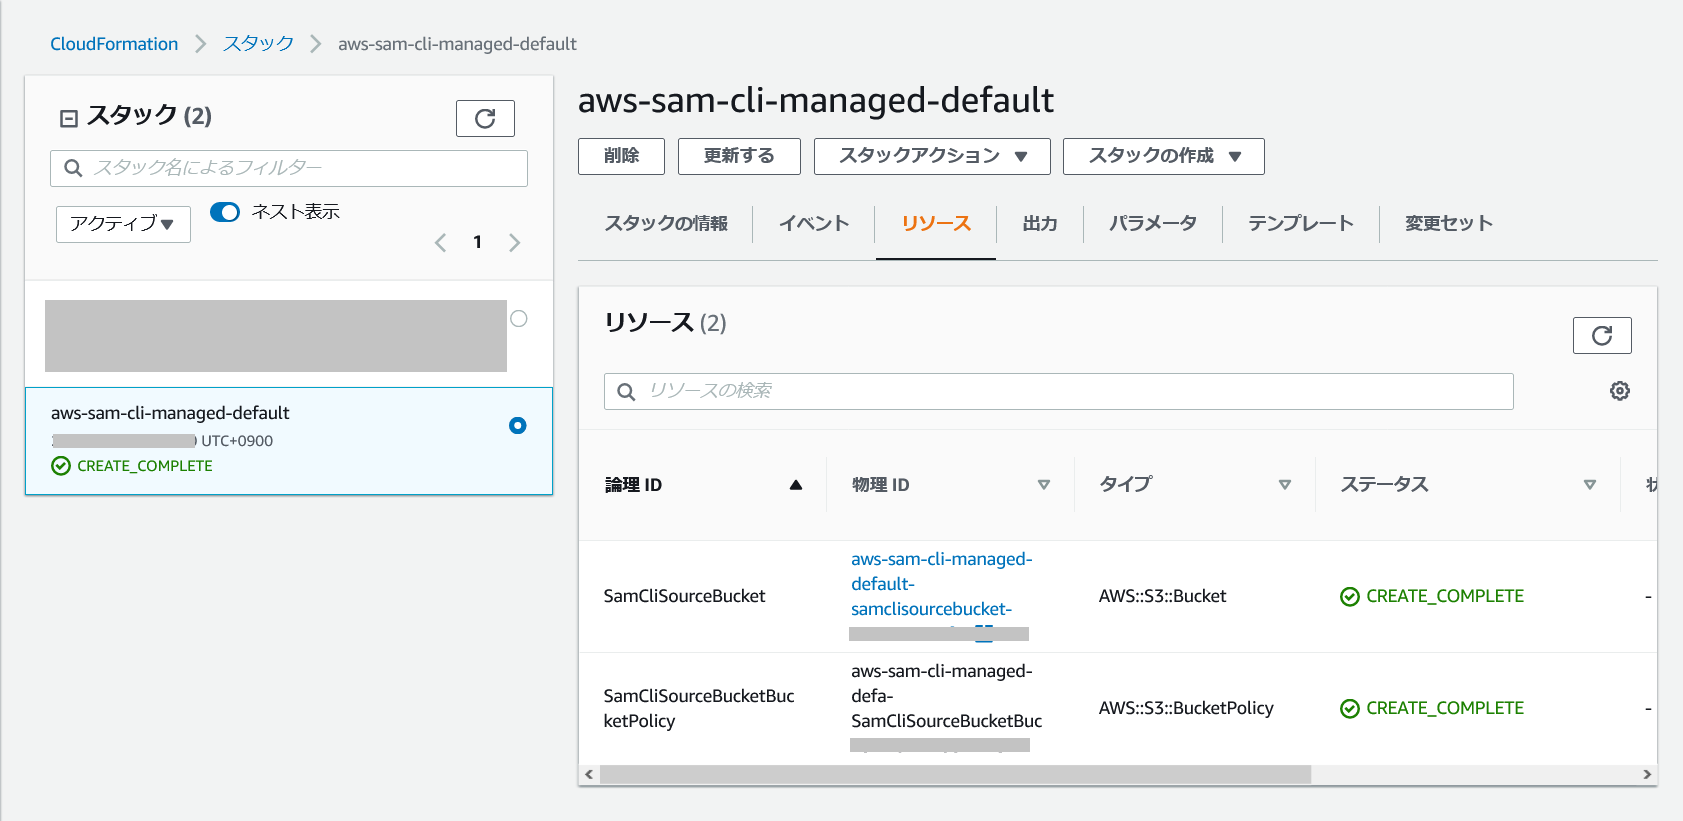
はじめてSAMを利用する場合は、S3のバケットを作成するCloudFormationが走ります。
これはビルドしたアプリケーションをアップロードするために使用されます。