はじめに
最近、Raspberry Piを使い出したのですが、色々な用途に使えるので面白いですね!
今回はRaspberry Piとセンサーの勉強を兼ねて、Raspberry Pi 3 と DSUN-PIR(赤外線センサー)を使って人感センサーを作り、人感センサーの検知状況を表示する簡易Webアプリケーションを作ってみました。
今回使用した機材 及び 実行環境
今回は以下の機材を使用しました。
Raspberry Pi3 Model Bを使用しました。
Raspberry Pi スターターパック (Pi3用Standard)
Raspberry Pi3 Model B ボード&ケースセット 3ple Decker対応 (Element14版, Blue)
Raspberry Piには以下の赤外線感知センサーを取り付けました。
人感センサーの検知状況を表示する簡易WebアプリケーションはAmazon EC2(Amazon Linux)のRuby + Sinatraで作りました。RubyやSinatraサーバのセットアップ手順は以下をご参照下さい。
Amazon LinuxにRuby Sinatra環境構築(rbenv + ruby-build + Ruby 2.3.1 + Sinatra 1.4.7インストール)
参考資料
以下の記事を参考にさせて頂きました。
とても参考になりました。ありがとうございました。
Raspberry PiのGPIO制御方法を確認する(GPIO制御編その1)
人感センサ A500BP (DSUN-PIR, SB00412A-1も) が安いだけでなく Raspberry Pi との相性もバッチリだったので、人感カメラが10分で出来てしまった話。
Raspberry Pi 3 (Raspbian Jessie)の無線LANに固定IPアドレスを設定する
[Raspberry Pi の初期設定] (http://openrtm.org/openrtm/ja/node/266 "Raspberry Pi の初期設定")
Raspberry Pi側のセットアップ手順
(1) Raspberry Piをセットアップします。
参考資料の記事を見ながら、Raspberry Piをセットアップします。
人感センサ A500BP (DSUN-PIR, SB00412A-1も) が安いだけでなく Raspberry Pi との相性もバッチリだったので、人感カメラが10分で出来てしまった話。
Raspberry Pi 3 (Raspbian Jessie)の無線LANに固定IPアドレスを設定する
以下は任意ですが、Raspberry Piに無線LANでIPアドレスを自動付与するようにしておくと、Raspberry PiにLANケーブルを接続しなくても良くなるので便利です。
root@raspberrypi:~# wpa_passphrase 無線LANのSSID SSIDのパスフレーズ >> /etc/wpa_supplicant/wpa_supplicant.conf
root@raspberrypi:~# cat /etc/wpa_supplicant/wpa_supplicant.conf
country=GB
ctrl_interface=DIR=/var/run/wpa_supplicant GROUP=netdev
update_config=1
network={
	ssid="SSID"
	psk=パスフレーズが暗号化されて設定される
}
root@raspberrypi:~#
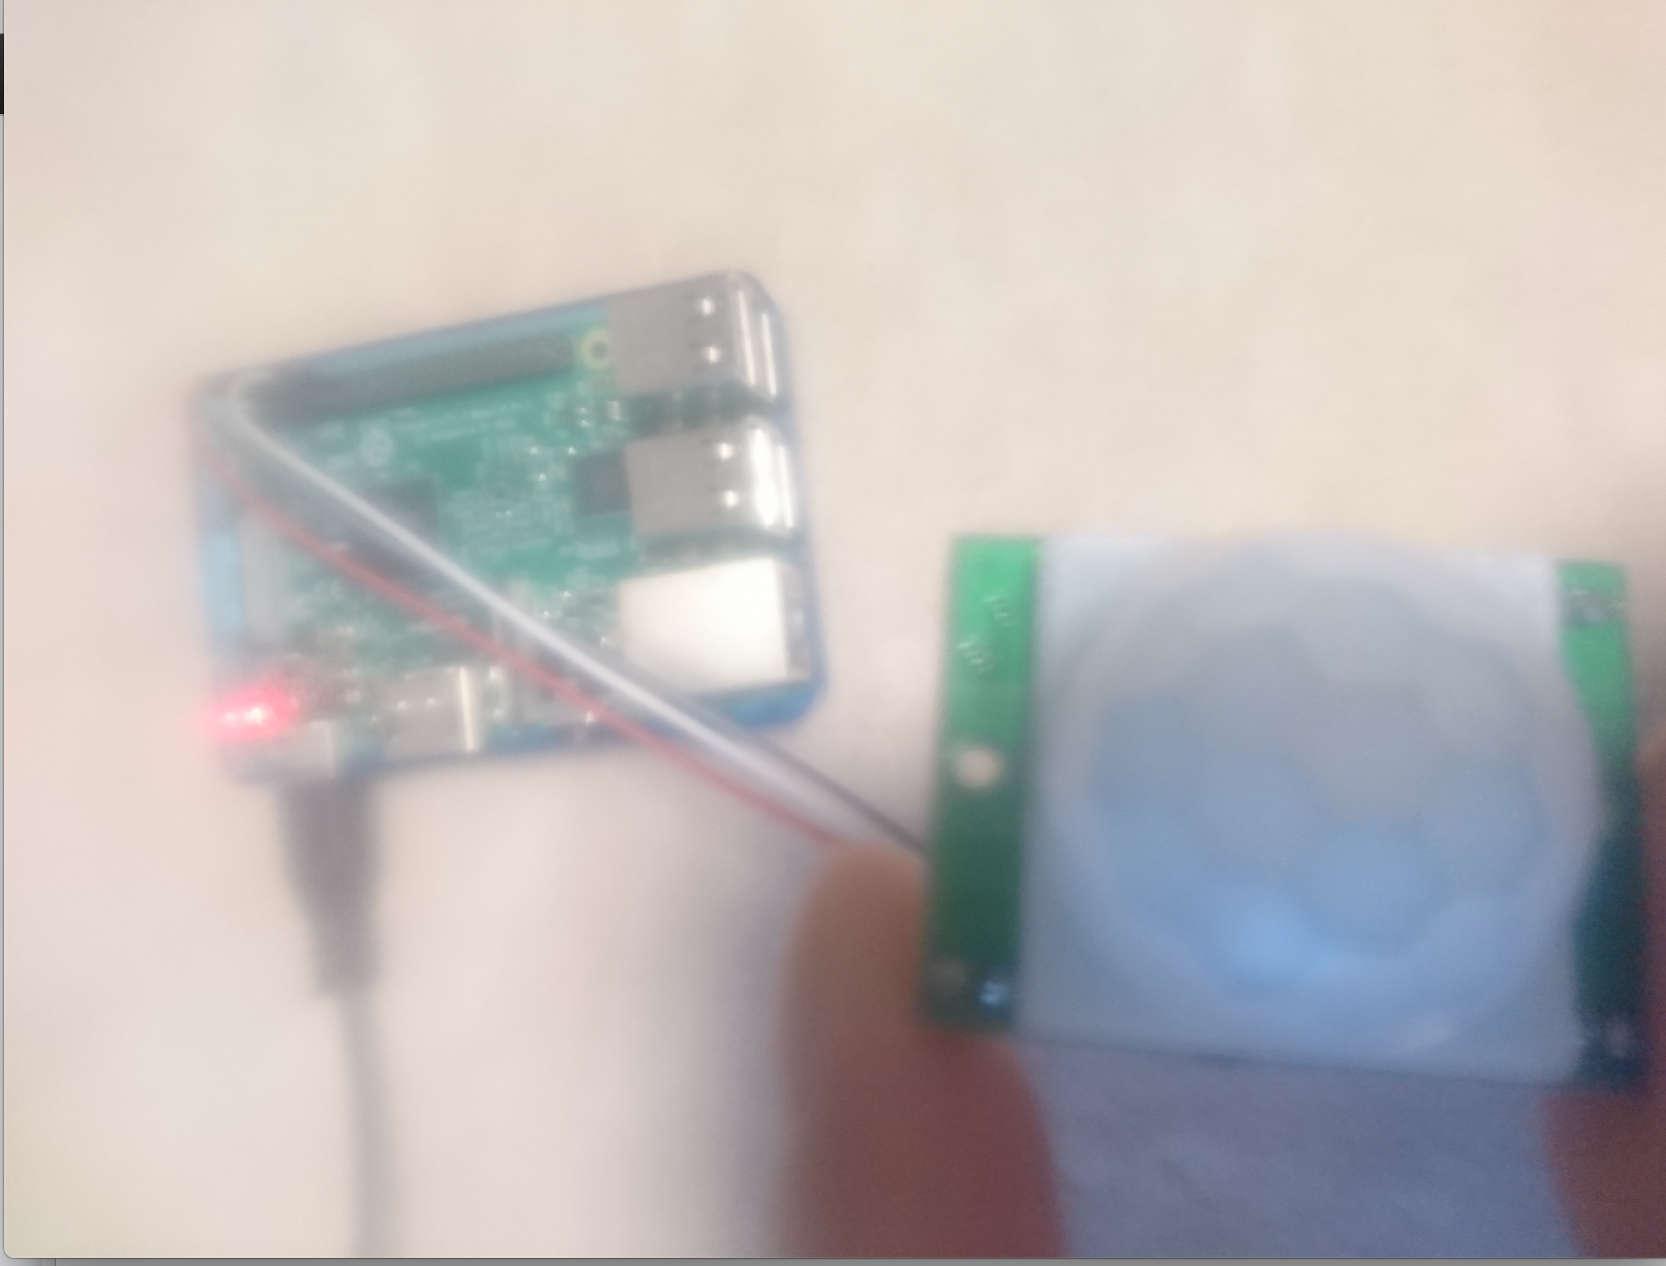
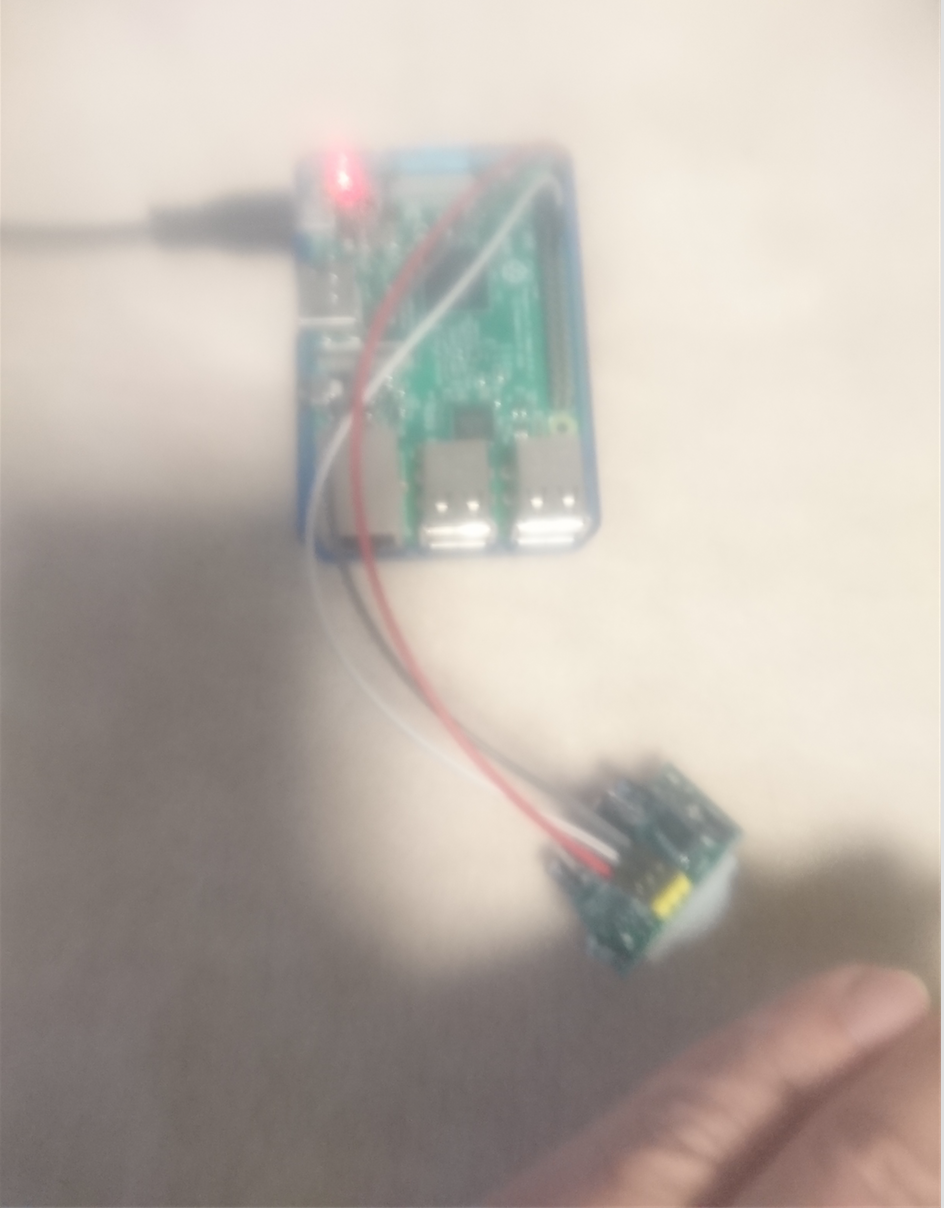
(2) Raspberry PiのGPIO18に人感センサー(DSUN-PIR)を取り付けます。
Raspberry Piに人感センサー(DSUN-PIR)を取り付けます。


(3) Raspberry Piへsshログインします。
本記事では、例としてRaspberry Piに設定したIPアドレスを 198.51.100.10 と表記させて頂きます。
Raspberry Piへsshでログインします。piユーザでログインします。
MacBookProPC001:~ user$ ssh pi@198.51.100.10
pi@198.51.100.10's password: -> piユーザの初期パスワード raspberry を入力します。

The programs included with the Debian GNU/Linux system are free software;
the exact distribution terms for each program are described in the
individual files in /usr/share/doc/*/copyright.

Debian GNU/Linux comes with ABSOLUTELY NO WARRANTY, to the extent
permitted by applicable law.
Last login: Tue Mar 28 18:05:14 2017
pi@raspberrypi:~ $
(4) Raspberry PiのGPIO18を有効化します。
rootユーザにスイッチします。
pi@raspberrypi:~ $ sudo su -
root@raspberrypi:~#
Raspberry PiのGPIO18を有効化するスクリプトを作成します。
root@raspberrypi:~# mkdir /root/scripts
root@raspberrypi:~# vi /root/scripts/start_gpio.sh
# !/bin/sh

GPIO="18"

echo $GPIO > /sys/class/gpio/export

ls -lrta /sys/class/gpio/
root@raspberrypi:~# chmod 755 /root/scripts/start_gpio.sh
root@raspberrypi:~#
スクリプトを実行し、Raspberry PiのGPIO18を有効化します。
root@raspberrypi:~# /root/scripts/start_gpio.sh
total 0
drwxr-xr-x 50 root root    0 Jan  1  1970 ..
-rwxrwx---  1 root gpio 4096 Mar 28 18:05 unexport
lrwxrwxrwx  1 root gpio    0 Mar 28 18:05 gpiochip100 -> ../../devices/platform/soc/soc:virtgpio/gpio/gpiochip100
lrwxrwxrwx  1 root gpio    0 Mar 28 18:05 gpiochip0 -> ../../devices/platform/soc/3f200000.gpio/gpio/gpiochip0
-rwxrwx---  1 root gpio 4096 Apr  2 13:56 export
drwxrwx---  2 root gpio    0 Apr  2 13:56 .
lrwxrwxrwx  1 root root    0 Apr  2 13:56 gpio18 -> ../../devices/platform/soc/3f200000.gpio/gpio/gpio18
root@raspberrypi:~#
(5) Raspberry PiのGPIO18に取り付けた人感センサー(DSUN-PIR)のテストを行います。
Raspberry PiのGPIO18に人感センサーを取り付けた場合、人感センサーに人が近くづくと /sys/class/gpio/gpio18/value の値が 0 から 1 へ変わります。
人感センサー周辺に人がいない場合、以下ファイルの値は 0 になります。
root@raspberrypi:~# cat /sys/class/gpio/gpio18/value
0
root@raspberrypi:~#
人感センサーに近づいてみます。
すると、以下ファイルの値が 0 から 1 に変わります。
root@raspberrypi:~# cat /sys/class/gpio/gpio18/value
1
root@raspberrypi:~#
人感センサーから離れたら、以下ファイルの値が 1 から 0 に戻る事を確認します。
root@raspberrypi:~# cat /sys/class/gpio/gpio18/value
0
root@raspberrypi:~#
人感センサー検知状況表示用Webアプリケーションサーバのセットアップ手順
(6) 人感センサー検知情報用の簡易Webアプリケーションを作ります。
人感センサー検知情報表示用の簡易Webアプリケーションサーバ(Webサーバ)を作成します。
人感センサーは人が近づくと、Raspberry Piの/sys/class/gpio/gpio18/valueの値が変化しますので、この値をAPIサーバへ送信するようにします。
今回の記事では、WebサーバはRubyとSinatraで作ります。
RubyやSinatraのセットアップ手順は以下を参考にしてみて下さい。
Amazon LinuxにRuby Sinatra環境構築(rbenv + ruby-build + Ruby 2.3.1 + Sinatra 1.4.7インストール)
本記事では、例としてWebサーバを 198.51.100.20 と表記させて頂きます。
Webサーバへsshログインします。
MacBookProPC001:~ user$ ssh -i EC2インスタンスログイン用のSSH秘密鍵 ec2-user@198.51.100.20
Last login: Sun Apr  2 23:29:03 2017 from i121-115-95-232.s42.a013.ap.plala.or.jp

       __|  __|_  )
       _|  (     /   Amazon Linux AMI
      ___|\___|___|

https://aws.amazon.com/amazon-linux-ami/2016.09-release-notes/
[ec2-user@example-ruby-sinatra-server ~]$
sinatraユーザを追加します。
[ec2-user@example-ruby-sinatra-server ~]$ sudo su -
最終ログイン: 2017/04/02 (日) 23:30:13 JST日時 pts/0
[root@example-ruby-sinatra-server ~]# groupadd sinatra
[root@example-ruby-sinatra-server ~]# useradd sinatra -g sinatra -d /home/sinatra -s /bin/bash
[root@example-ruby-sinatra-server ~]#
[root@example-ruby-sinatra-server ~]# su - sinatra
[sinatra@example-ruby-sinatra-server ~]$
[sinatra@example-ruby-sinatra-server ~]$ id
uid=501(sinatra) gid=501(sinatra) groups=501(sinatra)
[sinatra@example-ruby-sinatra-server ~]$
[sinatra@example-ruby-sinatra-server ~]$ /sbin/ifconfig eth0 | grep inet
          inet addr:198.51.100.20  Bcast:198.51.100.255  Mask:255.255.255.0
          inet6 addr: XXXX::XXX:XXXX:XXXX:XXXX/64 Scope:Link
[sinatra@example-ruby-sinatra-server ~]$
sinatraユーザに権限を付与します。
[root@example-ruby-sinatra-server ~]# echo "sinatra ALL=(ALL) NOPASSWD:ALL" > /etc/sudoers.d/sinatra
[root@example-ruby-sinatra-server ~]# chown root:root /etc/sudoers.d/sinatra
[root@example-ruby-sinatra-server ~]# chmod 644 /etc/sudoers.d/sinatra
[root@example-ruby-sinatra-server ~]#
[sinatra@example-ruby-sinatra-server ~]$ ruby -v
ruby 2.3.1p112 (2016-04-26 revision 54768) [x86_64-linux]
[sinatra@example-ruby-sinatra-server ~]$
(7) 人感センサー検知情報用の簡易Webアプリケーションを作ります。
まずWebアプリケーション作成用のディレクトリを作成します。
[sinatra@example-ruby-sinatra-server ~]$ ls -lrta /home/sinatra/
total 24
-rw-r--r-- 1 sinatra sinatra  124 Aug 16  2016 .bashrc
-rw-r--r-- 1 sinatra sinatra  193 Aug 16  2016 .bash_profile
-rw-r--r-- 1 sinatra sinatra   18 Aug 16  2016 .bash_logout
drwxr-xr-x 4 root    root    4096 Apr  2 23:31 ..
-rw------- 1 sinatra sinatra    8 Apr  2 23:31 .bash_history
drwx------ 2 sinatra sinatra 4096 Apr  2 23:31 .
[sinatra@example-ruby-sinatra-server ~]$

[sinatra@example-ruby-sinatra-server ~]$ mkdir /home/sinatra/example-pir-api
[sinatra@example-ruby-sinatra-server ~]$
[sinatra@example-ruby-sinatra-server ~]$ cd /home/sinatra/example-pir-api/
[sinatra@example-ruby-sinatra-server example-pir-api]$ pwd
/home/sinatra/example-pir-api
[sinatra@example-ruby-sinatra-server example-pir-api]$
Gemfileを作成します。
[sinatra@example-ruby-sinatra-server example-pir-api]$ ls -lrta /home/sinatra/example-pir-api/
total 8
drwx------ 3 sinatra sinatra 4096 Apr  2 23:37 ..
drwxrwxr-x 2 sinatra sinatra 4096 Apr  2 23:37 .
[sinatra@example-ruby-sinatra-server example-pir-api]$
[sinatra@example-ruby-sinatra-server example-pir-api]$ bundle init
Writing new Gemfile to /home/sinatra/example-pir-api/Gemfile
[sinatra@example-ruby-sinatra-server example-pir-api]$
[sinatra@example-ruby-sinatra-server example-pir-api]$ ls -lrta /home/sinatra/example-pir-api/Gemfile
-rw-r--r-- 1 sinatra sinatra 75 Apr  2 23:37 /home/sinatra/example-pir-api/Gemfile
[sinatra@example-ruby-sinatra-server example-pir-api]$
[sinatra@example-ruby-sinatra-server example-pir-api]$ echo "gem 'sinatra'" >> /home/sinatra/example-pir-api/Gemfile
[sinatra@example-ruby-sinatra-server example-pir-api]$ echo "gem 'sinatra-contrib'" >> /home/sinatra/example-pir-api/Gemfile
[sinatra@example-ruby-sinatra-server example-pir-api]$ echo "gem 'json'"    >> /home/sinatra/example-pir-api/Gemfile
[sinatra@example-ruby-sinatra-server example-pir-api]$
[sinatra@example-ruby-sinatra-server example-pir-api]$ cat /home/sinatra/example-pir-api/Gemfile
# frozen_string_literal: true
source "https://rubygems.org"

# gem "rails"
gem 'sinatra'
gem 'sinatra-contrib'
gem 'json'
[sinatra@example-ruby-sinatra-server example-pir-api]$
Sinatraをインストールします。
[sinatra@example-ruby-sinatra-server example-pir-api]$ pwd
/home/sinatra/example-pir-api
[sinatra@example-ruby-sinatra-server example-pir-api]$ ls -lrta /home/sinatra/example-pir-api/
total 12
drwx------ 3 sinatra sinatra 4096 Apr  2 23:37 ..
drwxrwxr-x 2 sinatra sinatra 4096 Apr  2 23:37 .
-rw-r--r-- 1 sinatra sinatra  122 Apr  2 23:39 Gemfile
[sinatra@example-ruby-sinatra-server example-pir-api]$
[sinatra@example-ruby-sinatra-server example-pir-api]$ bundle install --path vendor/bundle
Fetching gem metadata from https://rubygems.org/..........
Fetching version metadata from https://rubygems.org/.
Resolving dependencies...
Installing backports 3.7.0
Installing json 2.0.3 with native extensions
Installing multi_json 1.12.1
Installing rack 1.6.5
Installing tilt 2.0.7
Using bundler 1.13.2
Installing rack-protection 1.5.3
Installing rack-test 0.6.3
Installing sinatra 1.4.8
Installing sinatra-contrib 1.4.7
Bundle complete! 3 Gemfile dependencies, 10 gems now installed.
Bundled gems are installed into ./vendor/bundle.
[sinatra@example-ruby-sinatra-server example-pir-api]$
[sinatra@example-ruby-sinatra-server example-pir-api]$ ls -lrta /home/sinatra/example-pir-api/
total 24
-rw-r--r-- 1 sinatra sinatra  122 Apr  2 23:39 Gemfile
drwxrwxr-x 2 sinatra sinatra 4096 Apr  2 23:39 .bundle
drwxrwxr-x 3 sinatra sinatra 4096 Apr  2 23:39 vendor
drwx------ 4 sinatra sinatra 4096 Apr  2 23:39 ..
-rw-rw-r-- 1 sinatra sinatra  568 Apr  2 23:39 Gemfile.lock
drwxrwxr-x 4 sinatra sinatra 4096 Apr  2 23:39 .
[sinatra@example-ruby-sinatra-server example-pir-api]$
[sinatra@example-ruby-sinatra-server example-pir-api]$
人感センサー検知状況表示用の簡易Webアプリケーションを作成します。
[sinatra@example-ruby-sinatra-server ~]$ vi /home/sinatra/example-pir-api/example-pir-api.rb
require 'sinatra'
require 'sinatra/reloader'
require 'json'

PIR_STATUS_FILE = "/tmp/example-pir-status.log"
PIR_STATUS_FILE.freeze

get '/' do

  if File.exist?(PIR_STATUS_FILE)

    status = File.read(PIR_STATUS_FILE, :encoding => Encoding::UTF_8)
    status = status.chomp

    if status == "1" then
      room_status = "[リビングに人がいます] " + status + ""
    else
      room_status = "[リビングに人はいません] " + status + ""
    end

  else

    room_status = "[リビングの人感センサー検知状況を表示できません]"

  end

  room_status

end

post '/put' do
  body = request.body.read

  File.open(PIR_STATUS_FILE, "w") do |f|
    f.puts(body);
  end

  if body == ''
    status 400
  else
    body.to_json
  end
end
(8) Webサーバを起動します。
[sinatra@example-ruby-sinatra-server example-pir-api]$ sudo /usr/local/rbenv/shims/bundle exec ruby /home/sinatra/example-pir-api/example-pir-api.rb -o 0.0.0.0 -p 80 &
[1] 4965
[sinatra@example-ruby-sinatra-server example-pir-api]$ [2017-04-03 00:28:03] INFO  WEBrick 1.3.1
[2017-04-03 00:28:03] INFO  ruby 2.3.1 (2016-04-26) [x86_64-linux]
== Sinatra (v1.4.8) has taken the stage on 80 for development with backup from WEBrick
[2017-04-03 00:28:03] INFO  WEBrick::HTTPServer#start: pid=4966 port=80

 -> Enterキーを押します。
[sinatra@example-ruby-sinatra-server example-pir-api]$ ps awux | grep -v grep | grep ruby
root      4965  0.0  0.4 186148  4452 pts/2    S    00:28   0:00 sudo /usr/local/rbenv/shims/bundle exec ruby /home/sinatra/example-pir-api/example-pir-api.rb -o 0.0.0.0 -p 80
root      4966  1.7  2.7 360380 28236 pts/2    Sl   00:28   0:00 ruby /home/sinatra/example-pir-api/example-pir-api.rb -o 0.0.0.0 -p 80
[sinatra@example-ruby-sinatra-server example-pir-api]$
Raspberry Pi側の作業
(9) Raspberry Piで人感センサーが検知した情報をWebサーバへ定期的に送信するようにします。
人感センサー検知情報をWebサーバへ送信するスクリプトを作成します。
本記事では例としてWebサーバを 198.51.100.20 と表記しておりますので、198.51.100.20 を指定します。
root@raspberrypi:~# vi /root/scripts/put_gpio_status.sh
# !/bin/sh

GPIO="18"
GPIO_VALUE="/sys/class/gpio/gpio$GPIO/value"
API="https://198.51.100.20/put"

SLEEP="2"

if [ ! -f $GPIO_VALUE ] ; then
  echo "$GPIO_VALUE not found."
  exit
fi

while :
do
  curl -H "Accept: text/plain" -X POST -d `cat $GPIO_VALUE` $API

  sleep $SLEEP
done
スクリプトを実行し、人感センサー検知情報をWebサーバへ定期的に送信するようにします。
root@raspberrypi:~# chmod 755 /root/scripts/put_gpio_status.sh
root@raspberrypi:~#
root@raspberrypi:~# /root/scripts/put_gpio_status.sh &
[1] 1833
root@raspberrypi:~#
動作確認
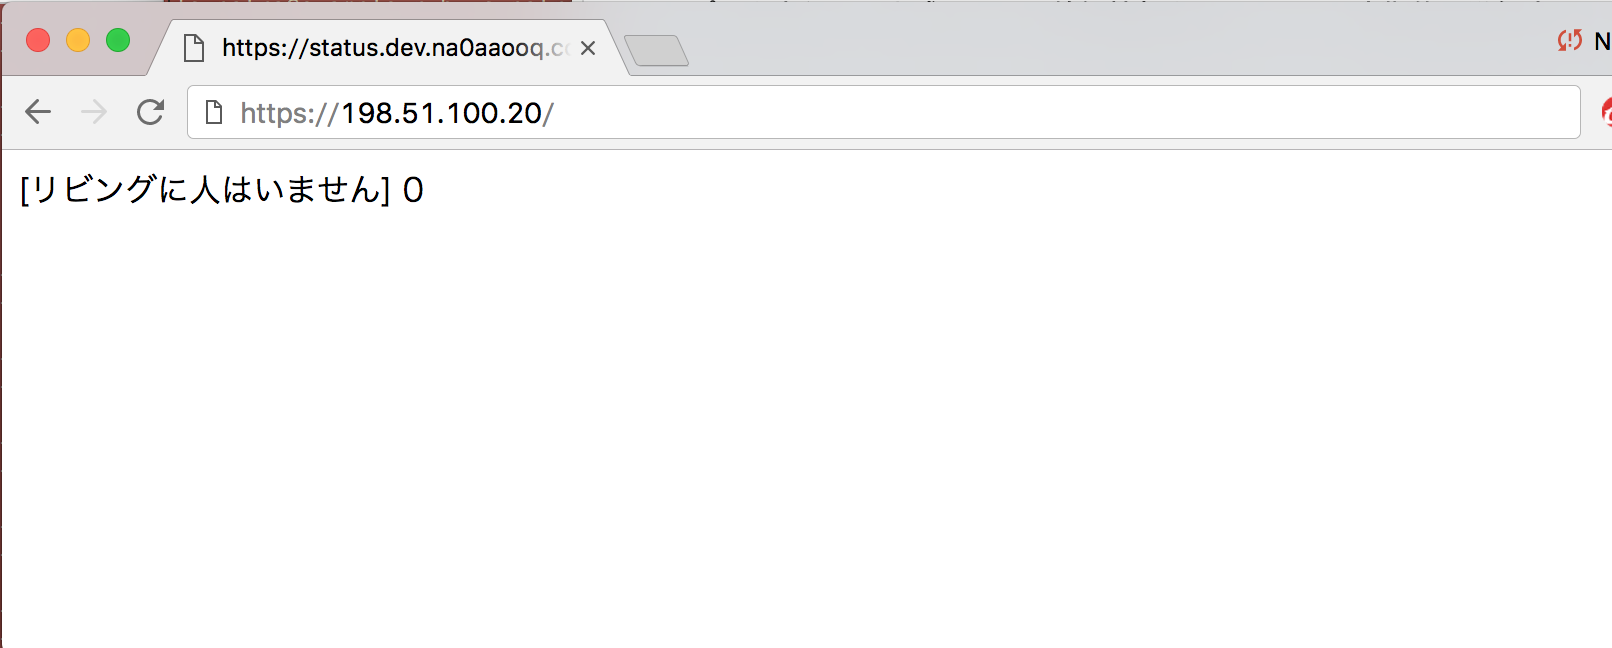
(10) Webブラウザを起動して、人感センサー検知情報表示用の簡易Webアプリケーションを表示してみます。
WebブラウザからWebサーバへアクセスしてみます。
人感センサーの周辺に人がいない場合は [リビングに人はいません] と表示されます。
人感センサーに近づいてみます。

すると、[リビングに人がいます] と表示が変わる事を確認します。

Raspberry Piとセンサー類を組み合わせると、部屋の入室検知やそれに応じたアクションの自動化等、色々な事に活用出来そうですね!
以上になります。