Nefryクラウドを使ってWebブラウザからNefry BTのLEDの色を変えてみます。
注: Nefryクラウドはテスト的に作ってるので急になくなる場合もあります。ご利用はご自身の責任で。
バグってたのでそのうち修正
ホスティングもしたのでここにキー入れるだけでも出来そうです https://n0bisuke.github.io/nefrycloud/
環境
- Nefry BT R2
- Nefry ライブラリ v1.1.1
- Arduino IDE v1.8.5
- macOS High Sierra
- Google Chrome v63
Nefryクラウド登録
こちらから登録します。
APIキーを取得しましょう。
Nefry BTにプログラムを書き込む
Nefry CloudライブラリをArduino IDEに読み込ませます。
以下のスケッチをNefry BTに書き込みます。
led.ino
# include <Nefry.h>
# include <NefryCloud.h>

NefryCloud nefryCloud;

void onpush(String message);

void setup() {
  nefryCloud.begin("user","apikey");//サイトで登録したuser,メールで受け取ったapikeyを入力してください
  nefryCloud.on(onpush);
  Nefry.setProgramName("NefryBT Nefry Cloud");
  analogRead(A0);
}

void loop() {
  nefryCloud.loop();
}

void onpush(String message) {//Nefryクラウド(仮)から通知が来ます
  Nefry.print("onpush : ");
  Nefry.println(message);

  if(message.equals("red")){
    Nefry.setLed(255,0,0);
  }else if(message.equals("green")){
    Nefry.setLed(0,255,0);
  }else if(message.equals("blue")){
    Nefry.setLed(0,0,255);
  }
}
これでNefryクラウドから情報が送られてきたらLEDの色が変わるようになりました。
制御用のWebサイト作成
以下のhtmlファイルを作成し、ブラウザで確認します。
index.html
<html>
    <head>
        <meta charset="utf-8">
        <title>Nefry BT LED制御するやつ</title>
    </head>

    <body>
        <h1>Nefry BT LED制御するやつ</h1>

        <div>
            User: <input type="text" id="user" />
        </div>

        <div>
            API Key: <input type="text" id="apikey" />
        </div>

        <div>
            LED Color:
            <input type="button" class="red" value="red" />
            <input type="button" class="green" value="green" />
            <input type="button" class="blue" value="blue" />
        </div>

        <a href="http://cloud.nefry.studio:1880/nefrysetting/" target="_blank">API Keyの取得</a>

        <script src="https://unpkg.com/axios/dist/axios.min.js"></script>
        <script>
            'use strict';

            const $buttons = document.querySelectorAll('input[type=button]');
            const BASE_URL = `http://cloud.nefry.studio:1880/nefrysetting/setdata`;

            const ncPost = (ref) => {
                const USER = document.querySelector('#user').value;
                const APIKEY = document.querySelector('#apikey').value;
                const COLOR = ref.toElement.value;
                const API_ENDPOINT = `${BASE_URL}?user=${USER}&key=${APIKEY}&data=${COLOR}`

                axios.post(BASE_URL,{
                    user: USER,
                    key: APIKEY,
                    data: COLOR
                })
                .then(response => console.log(response))
                .catch(error => console.log(error));

                //GETの場合
                // axios.get(API_ENDPOINT)
                // .then(response => console.log(response))
                // .catch(error => console.log(error));
            }

            $buttons[0].addEventListener('click', ncPost);
            $buttons[1].addEventListener('click', ncPost);
            $buttons[2].addEventListener('click', ncPost);

        </script>

    </body>
</html>
使ってみる
説明するまでもないくらいシンプルなフォームしかないです。笑
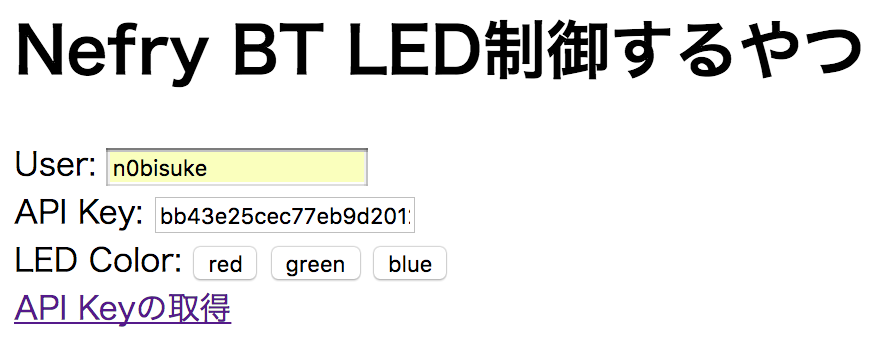
Userとapikeyを入れてボタンを押すとNefry BTのLEDの色が変わりました!
終わりに
Nefry BT -> Webにはいくつか実装がありましたが、 Web -> Nefry BTの例は少なかったので参考になれば幸いです。