Raspberry Pi Picoを調べてると、通常のRaspberry Piから接続して書き込む...みたいな記載がよくあります。
僕はMacから直接書き込みをしたいので、進めてみました。
PicoのGetting Startedの34ページのあたりを参考に進めてみます。
いつもみるのはこちら
↑まじでここのリンク分からなくなる
事前情報など
- MacBook Pro (2019) / Big Sur
- Pico SDKを利用
- https://github.com/raspberrypi/pico-sdk
- これをC/C++の開発で利用するらしい
- MicroPythonでのLチカは終わったところ
- 僕はC/C++開発がよくわかっていない
必要なコマンドのインストール
0. homebrewの準備
homebrew経由でビルドツールをインストールしていくので、事前にインストールしましょう。
まずはアップデート準備
$ brew update
$ brew upgrade
1. cmakeのインストール
$ brew install cmake
問題なくインストールできました。
2. arm-none-eabi-gccのインストール
$ brew tap ArmMbed/homebrew-formulae
$ brew install arm-none-eabi-gcc
ここでarm-none-eabi-gccのインストールでこんなエラーが
・
・
・
==> Downloading https://cli-assets.heroku.com/heroku-v7.47.12/heroku-v7.47.12.tar.xz
######################################################################## 100.0%
Error: Your CLT does not support macOS 11.
It is either outdated or was modified.
Please update your CLT or delete it if no updates are available.
Update them from Software Update in System Preferences or run:
  softwareupdate --all --install --force

If that doesn't show you any updates, run:
  sudo rm -rf /Library/Developer/CommandLineTools
  sudo xcode-select --install

Alternatively, manually download them from:
  https://developer.apple.com/download/more/.
Homebrewで「Your CLT does not support macOS 11」エラーの対応の記事を参考に対応してみます。
僕もこの記事同様にxcode本体はmacにインストールしてなく、コマンドラインツールだけいれてました。
$ sudo rm -rf /Library/Developer/CommandLineTools
Password:
めちゃ時間かかるな...
完了したら次のコマンドです。
$ sudo xcode-select --install
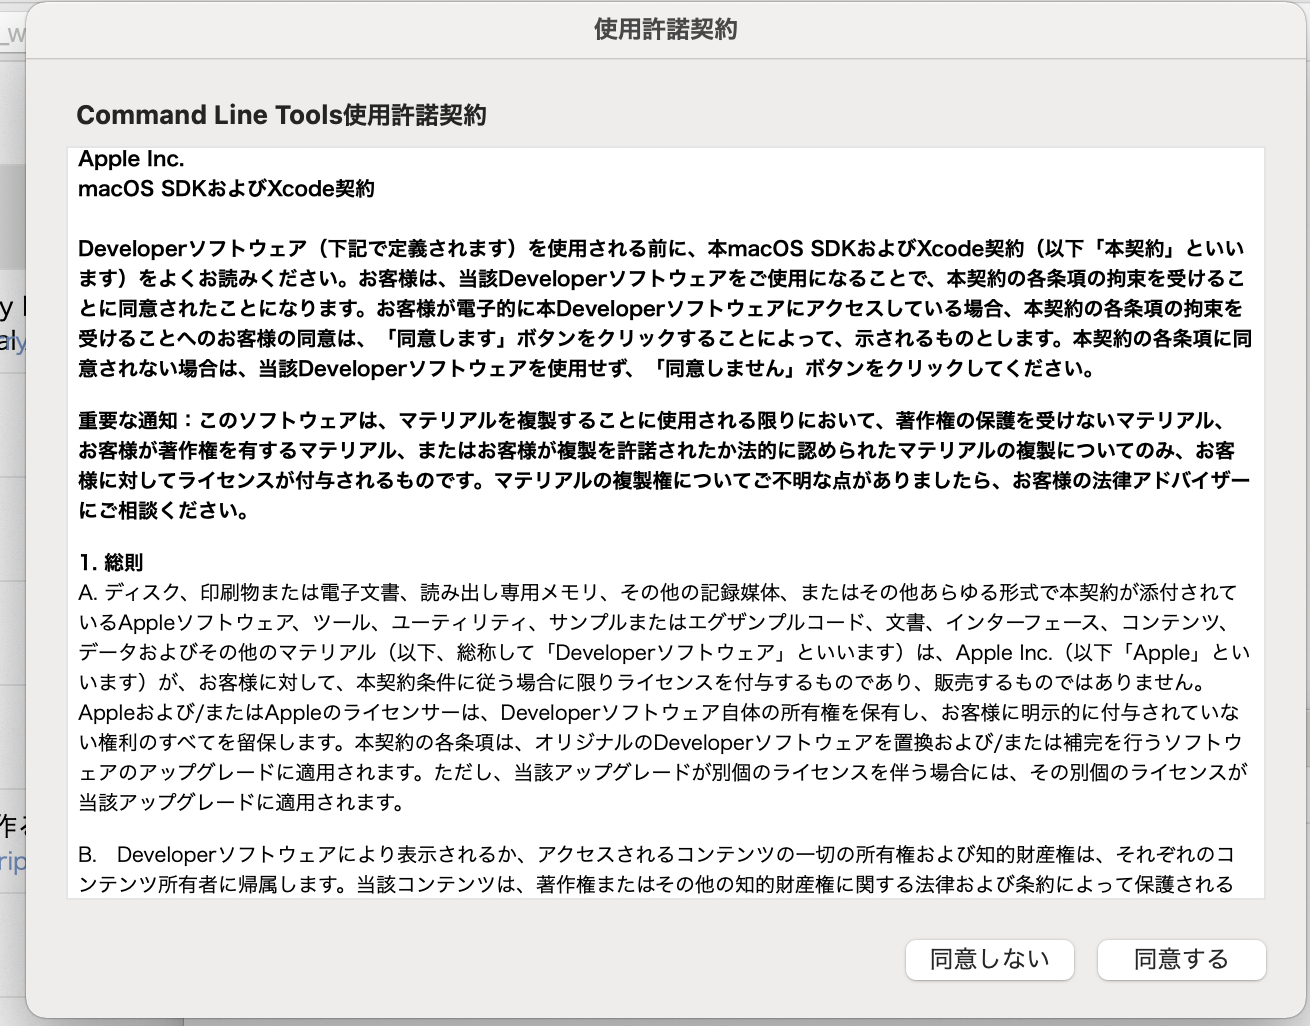
またエラーが出ました。
xcode-select: error: command line tools are already installed, use "Software Update" to install updates
との表示なので、すでにインストールされてる風だった(↑のプロセスがそれだった気がする)ので再度arm-none-eabi-gccのインストール。
$ brew install arm-none-eabi-gcc
3. インストール完了を確認
$ cmake
Usage

  cmake [options] <path-to-source>
  cmake [options] <path-to-existing-build>
  cmake [options] -S <path-to-source> -B <path-to-build>

Specify a source directory to (re-)generate a build system for it in the
current working directory.  Specify an existing build directory to
re-generate its build system.

Run 'cmake --help' for more information.
$ arm-none-eabi-gcc
arm-none-eabi-gcc: fatal error: no input files
compilation terminated.
無事にどちらのコマンドもインストールされました。
Pico SDKの準備
ドキュメント(PicoのGetting Started)の7ページの2.1を参照です。
以下の二つのリポジトリを利用します。
1. 適当なフォルダを作成
$ cd ~/
$ mkdir pico
$ cd pico
2. pico-sdkとpico-examplesの二つをclone
$ git clone -b master https://github.com/raspberrypi/pico-sdk.git
$ cd pico-sdk
$ git submodule update --init
$ cd ..
$ git clone -b master https://github.com/raspberrypi/pico-examples.git
picoフォルダ以下にpico-examplesとpico-sdkのフォルダがある感じになりました。
$ ls
pico-examples pico-sdk
VC Codeから使えるようにする
CMake Toolsの拡張機能をVS Codeにインストールします。
1. settings.jsonの作成
pico-examplesのフォルダをVS Codeで開き、.vscodeフォルダを作成します。
更にその中にsettings.jsonを作成します。
{
    "cmake.environment": {
        "PICO_SDK_PATH":"先ほどcloneしたPICO SDKのパス"
    },
    "C_Cpp.default.configurationProvider": "ms-vscode.cmake-tools"
}
ちなみに僕はこんな感じで絶対パスで指定してます。相対パスでも動くかもしれませんが試してません。
{
    "cmake.environment": {
        "PICO_SDK_PATH":"/Users/n0bisuke/Documents/playground/pico/pico-sdk"
    },
    "C_Cpp.default.configurationProvider": "ms-vscode.cmake-tools"
}
2. サンプルコードをビルドする
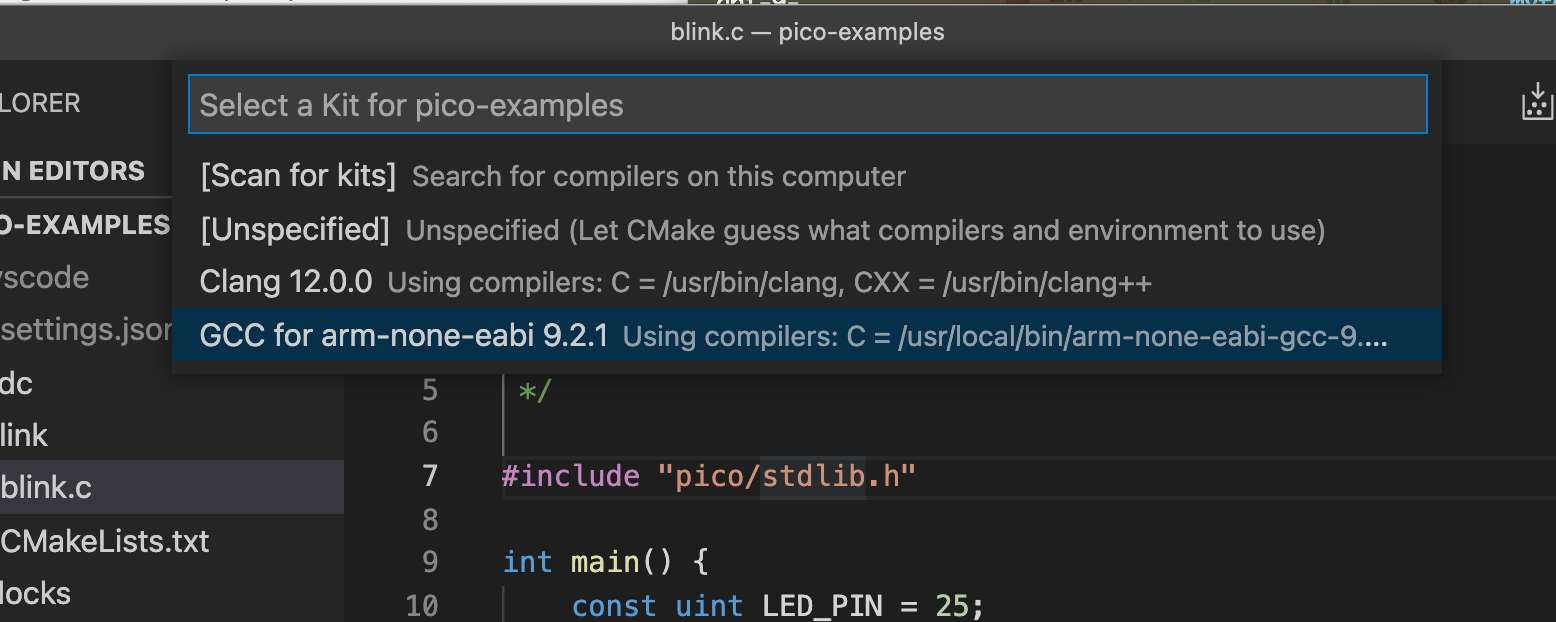
確かプロジェクトを開くとか、cファイルを開くとかどちらかで以下のような選択フォームが出てきます。
ここでGCC for arm-none-eabiを選択しましょう。
cmd+shift+pで出てくるコマンドパレットでCMake: Buildを選択してビルドします。
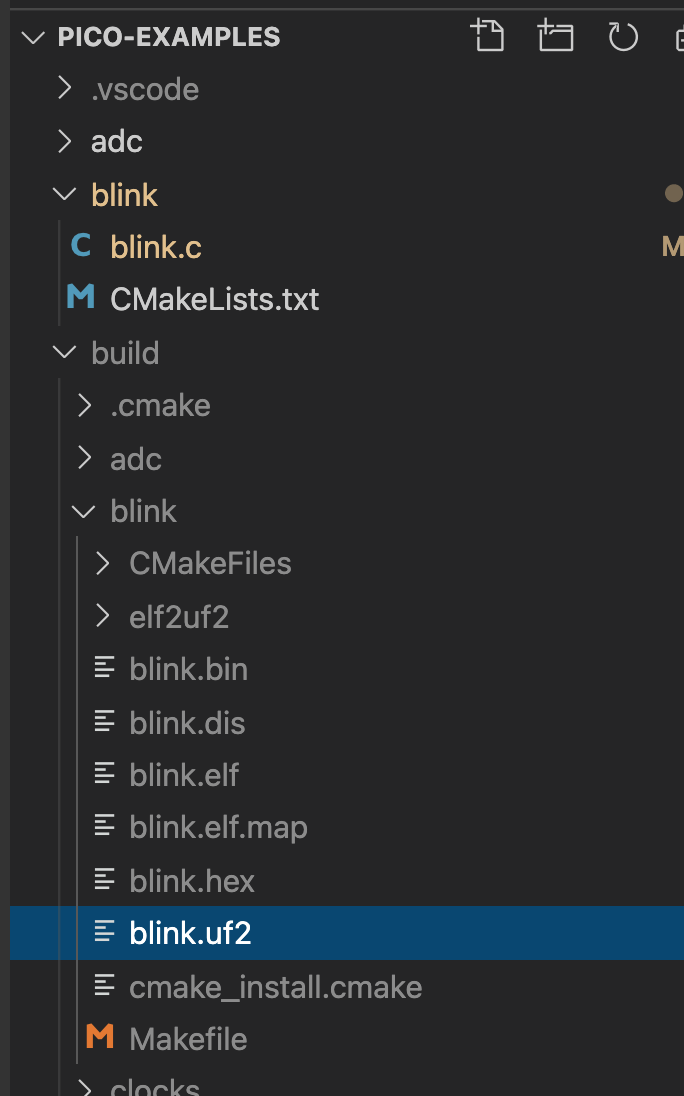
buildフォルダが作成されて、その中にビルド後のファイルが生成されていきます。試しにblink.cを編集してみたのですが、build/blink/blink.uf2として生成されていました。
あとはこのuf2ファイルをMicroPythonのファームを書き込んだときのように、BOOTSELボタンを押しながらRaspberry Pi Picoの電源を起動してマウントされたディレクトリにドラッグ&ドロップで書き込めます。
所感など
VS Codeで開発できるのは便利ですね!
毎回BOOTSELで起動するのはUSBケーブルの再接続が必要で手間があるのでそのままPicoに流し込むやり方を調べていきます。
UF2ファイルってなんだろうと思ってましたがMicrosoftがマイコンフラッシュ向けに開発したファイル形式らしいです。
pico-goとかで出来るんですかね?


