Line Messaging APIを使ってLINE Botを作ってみます。 localtunnelを使うとSSL証明書など用意しなくていいのでめちゃ楽です。
セキュリティ的にあれなのでちょっと試すくらいで利用しましょう。
Go言語初心者向けハンズオンでもくもくやってます。

LINE Botのアカウント作成などは以下を参考にしました。
スピード優先でちょっと説明雑かもしれません。
LINE BOTアカウント作成
https://business.line.me/ja/services/bot ここからMessaging APIを選択してBOTを作ります。
(Developer Trialでも問題ないかも?)
環境
- macOS Sierra
- Go 1.6
Goのインストール(してない人むけ)
インストール
$ brew install go
GOPATHの設定
$ export GOPATH=$HOME/.go
Messaging APIのGO SDKのインストール
$ go get github.com/line/line-bot-sdk-go/linebot
app.goを作ります。
Go SDK for the LINE Messaging APIを見つつ、進めます。
- Channel Secret
- Channel Access Token
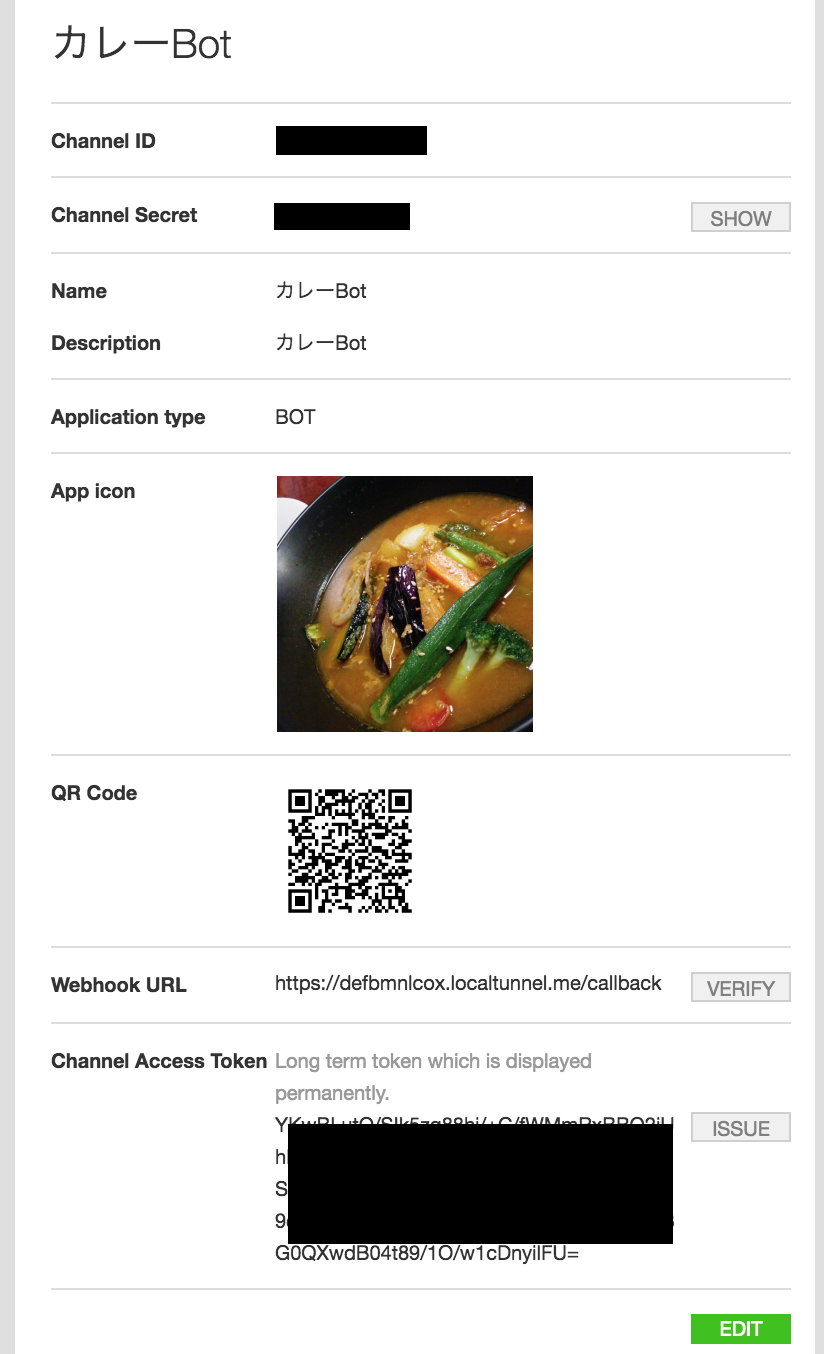
の値を埋めましょう。公式サンプルを元にログ出力などちょっといじってます。
app.go
package main

import (
	"log"
	"net/http"
	"fmt"

	"github.com/line/line-bot-sdk-go/linebot"
)

func main() {
	bot, err := linebot.New(
		"Channel Secret",
		"Channel Access Token",
	)
	if err != nil {
		log.Fatal(err)
	}

	// Setup HTTP Server for receiving requests from LINE platform
	http.HandleFunc("/callback", func(w http.ResponseWriter, req *http.Request) {
        fmt.Printf("ping\n")
		events, err := bot.ParseRequest(req)
		if err != nil {
			if err == linebot.ErrInvalidSignature {
				w.WriteHeader(400)
			} else {
				w.WriteHeader(500)
			}
			return
		}
		for _, event := range events {
			if event.Type == linebot.EventTypeMessage {
				switch message := event.Message.(type) {
				case *linebot.TextMessage:
                    fmt.Printf("%v", message)
					if _, err = bot.ReplyMessage(event.ReplyToken, linebot.NewTextMessage(message.Text)).Do(); err != nil {
						log.Print(err)
					}
				}
			}
		}
	})

	// This is just a sample code.
	// For actually use, you must support HTTPS by using `ListenAndServeTLS`, reverse proxy or
	if err := http.ListenAndServe(":1337", nil); err != nil {
		log.Fatal(err)
	}
}
- 起動
go run app.go
これで http://localhost:1337 にサーバーが起動します。
localtunnnelでローカルサーバーに外部からアクセスできるようにする
インストール
npm install -g localtunnel
これだけです。かんたん。
- 1337ポートを公開する
$ lt --port 1337

your url is: http://xxxxxxxxxxxx.localtunnel.me
これで表示されたhttp://xxxxxxxxxxxx.localtunnel.meに外部からアクセスできるようになります。
localtunnelのすごいところはSSL(https://xxxxxxxxxxxx.localtunnel.me)アクセスもこの時点でできるところです。
LINE側に設定
https://xxxxxxxxxxxx.localtunnel.me/callbackをLINE BOTの設定画面でWebhook URLに設定します。
これで設定完了です。
起動させると記事の最初に出した画像のように動いてくれました!
絵文字とかも対応してあるやつはおうむ返ししてくれますね。